


上篇我们介绍了sharepoint2007的部署前的实验环境,今天这篇我们开始部署sharepoint 2007,接着上篇的继续做。开始安装sharepoint 2007
四、安装sharepoint2007
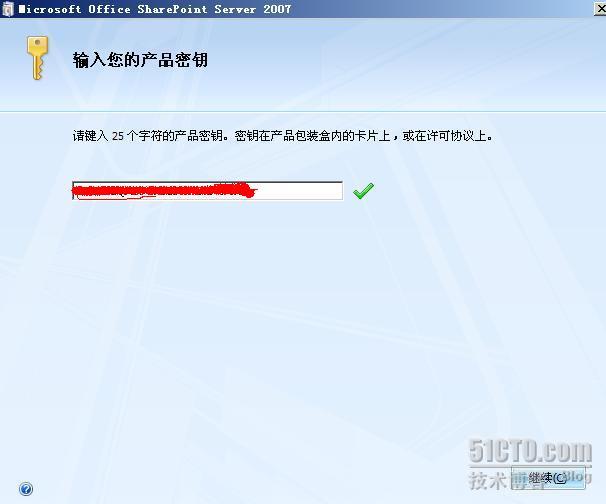
条件都具备了,我们来安装sharepoint2007吧!在shanghai上放入sharepoint2007安装光盘,输入序列号后,点继续
<?xml:namespace prefix = v ns = "urn:schemas-microsoft-com:vml" /><?xml:namespace prefix = o ns = "urn:schemas-microsoft-com:office:office" />
同意安装许可协议

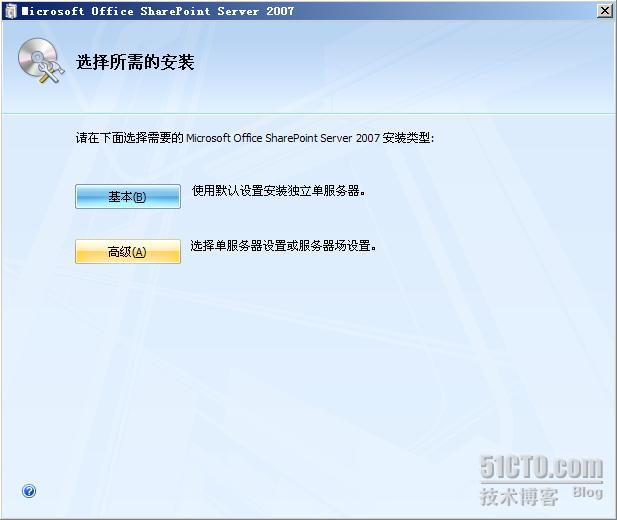
我们选择高级的安装
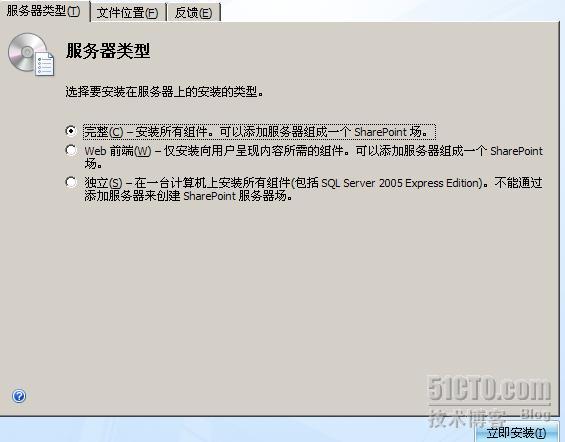
服务器类型选择完整安装
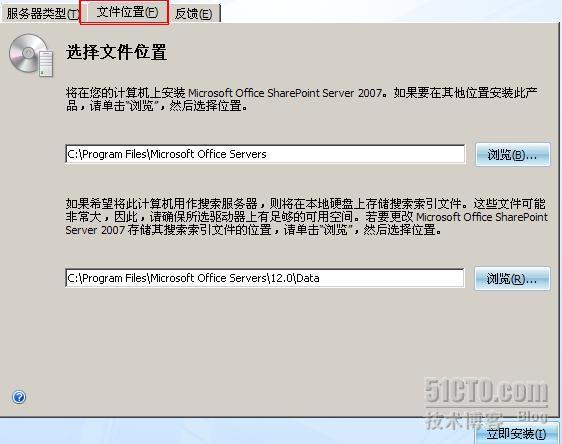
接着切换到“文件位置”选择文件的安装位置
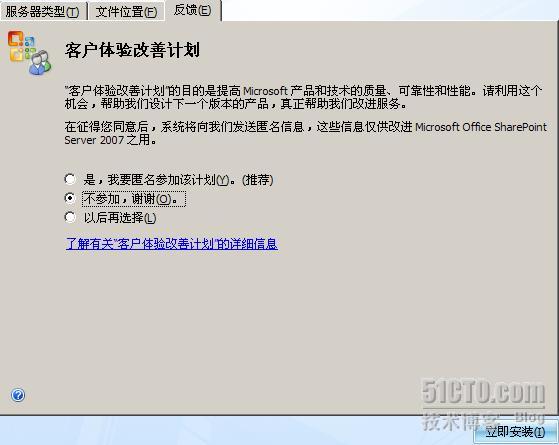
反馈信息选择“不参加”,然后点击右下角的“立即安装”
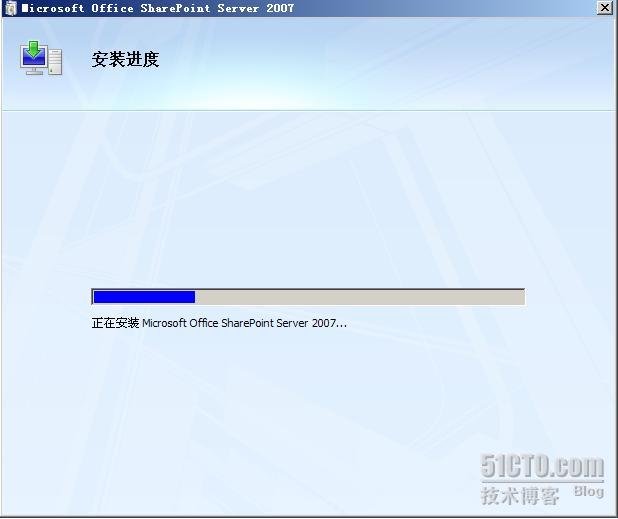
Sharepoint2007安装进度
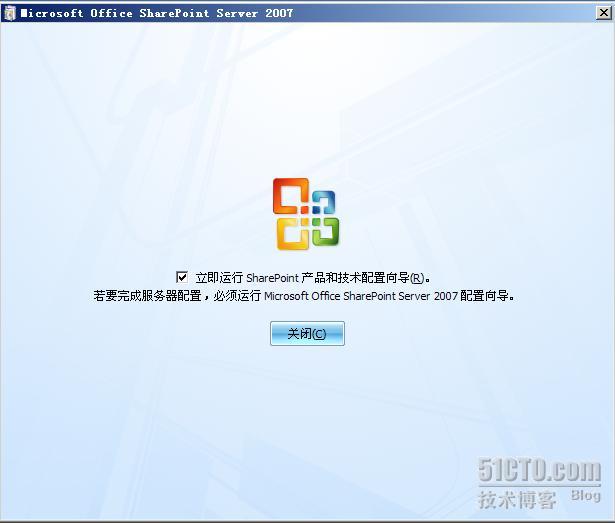
经过20多分钟的等待sharepoint2007终于安装完毕。点击关闭后退出安装向导。
安装完毕后,可能会提示你需要重启服务器。一般不会的
五、配置sharepoint2007
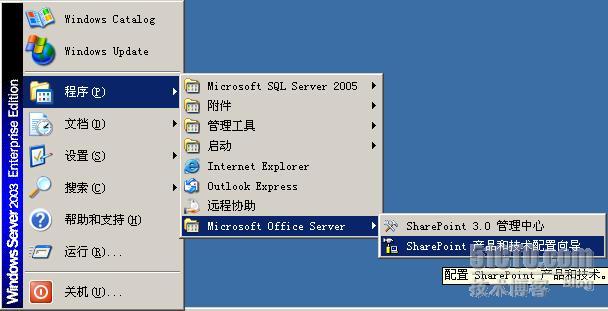
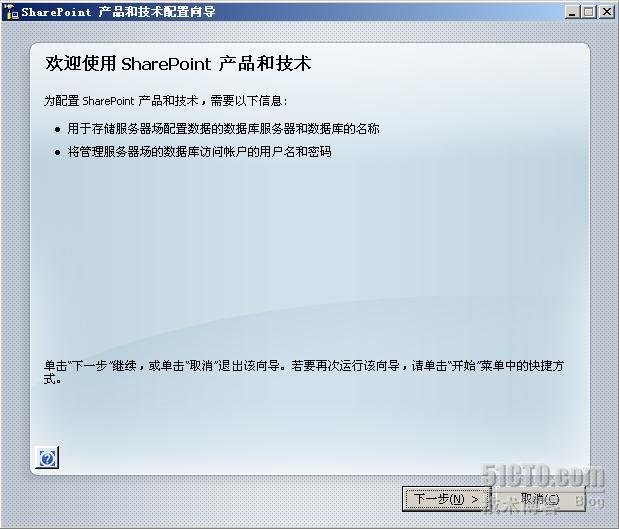
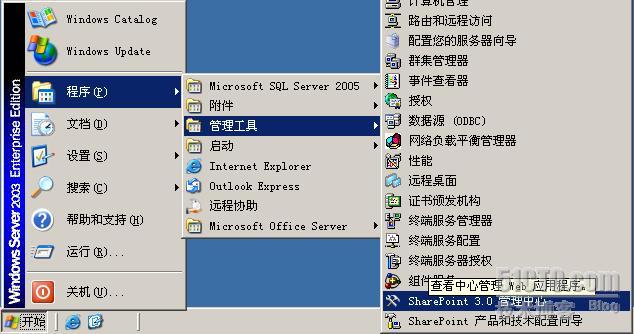
sharepoint2007安装完成后,我们该对 sharepoint2007进行配置了,打开shanghai的开始-------程序-----“Microsoft office server”,选择“产品和技术配置向导”
点击下一步进行sharepoint2007的配置
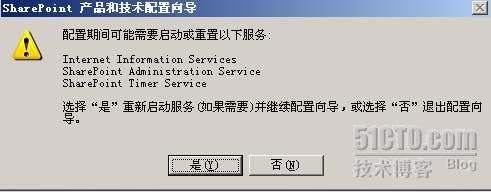
向导提示,配置sharepoint的时候,有可能要重启下面的几项服务,我们点击“是”
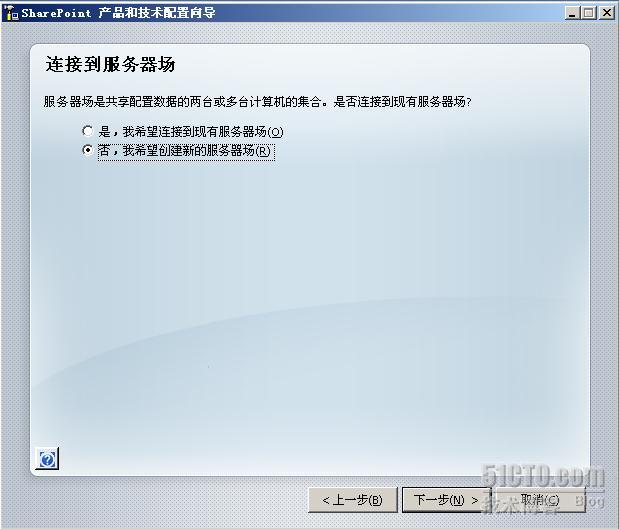
创建新的服务器场,选择“否”
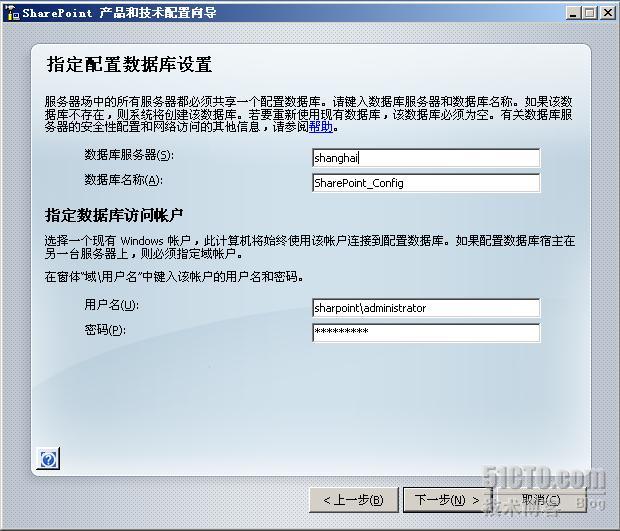
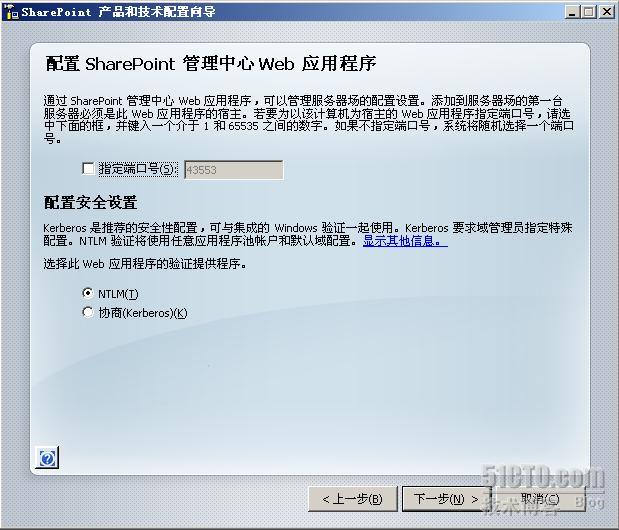
输入数据库服务器名称以及指定数据库访问账户
Web
应用验证程序选择“
NTLM
”,点下一步
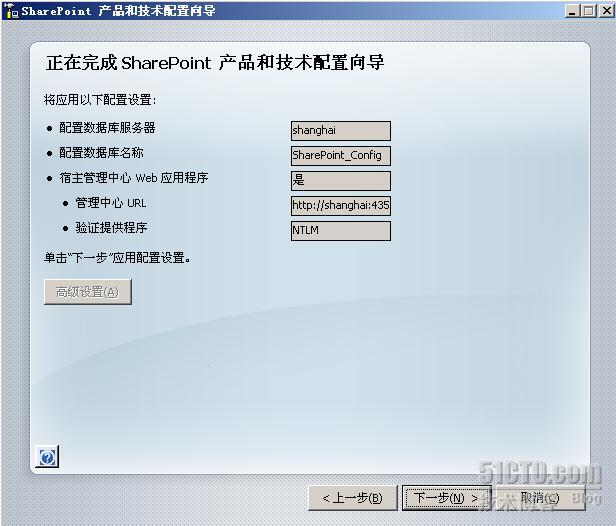
点击下一步
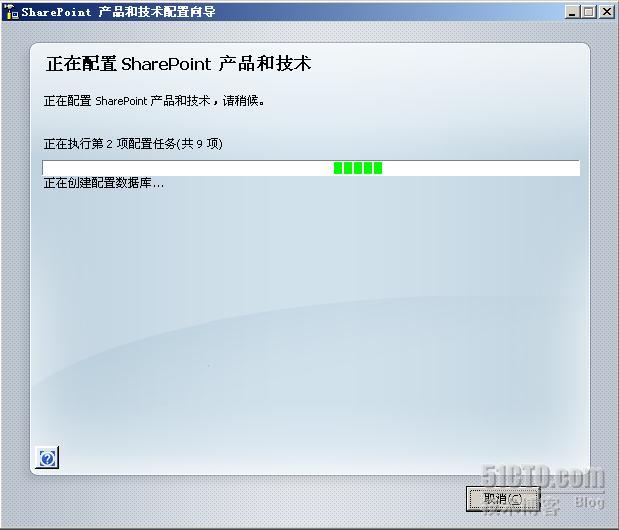
正在配置有关的设置,服务。现在只有一个字“等”
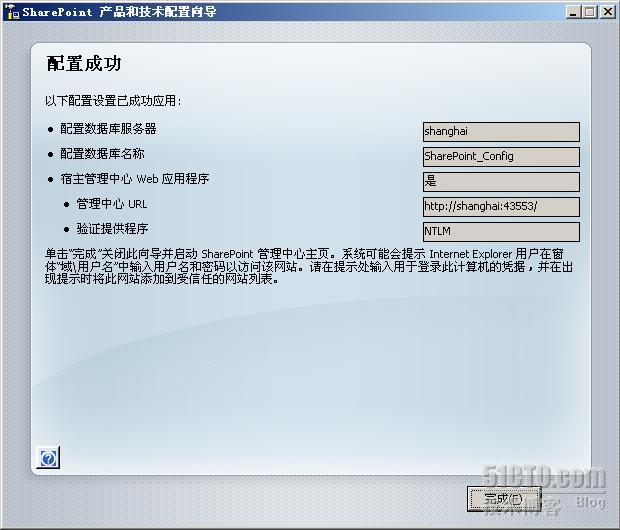
经过半个多小时的等待,终于配置完成了。
六、创建sharepoint web站点
开始创建sharepoint站点,如图打开sharepoint3.0管理中心
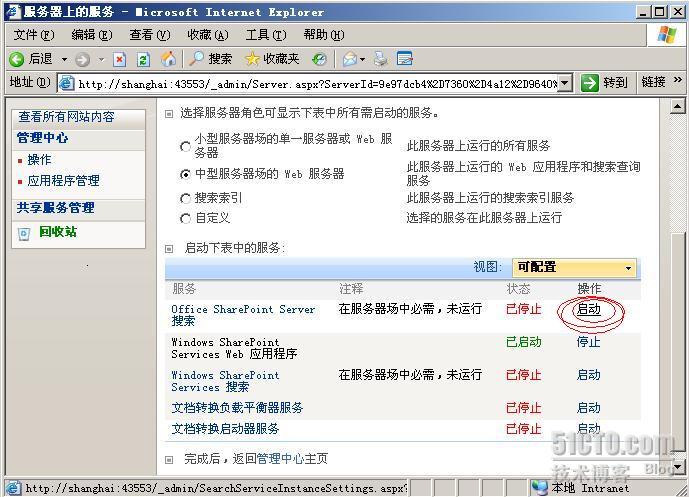
打开sharepoint管理台后,我们点击shanghai

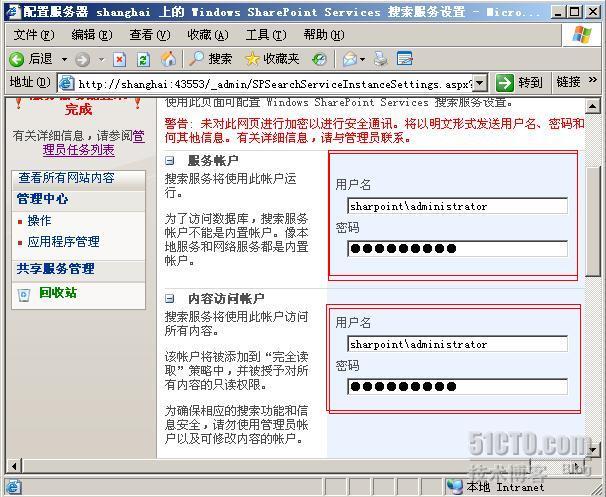
首先我们把“office sharepoint server 搜索”启动起来
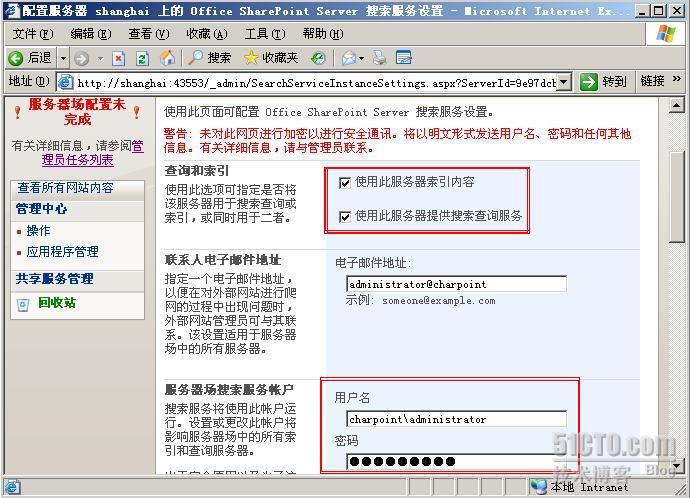
勾选“使用此服务器索引内容”和“使用此服务器搜索查询服务”。然后输入管理员的电子邮箱地址。服务器场搜索服务账户我们用域中的管理员,输入完成后,点击“确定”
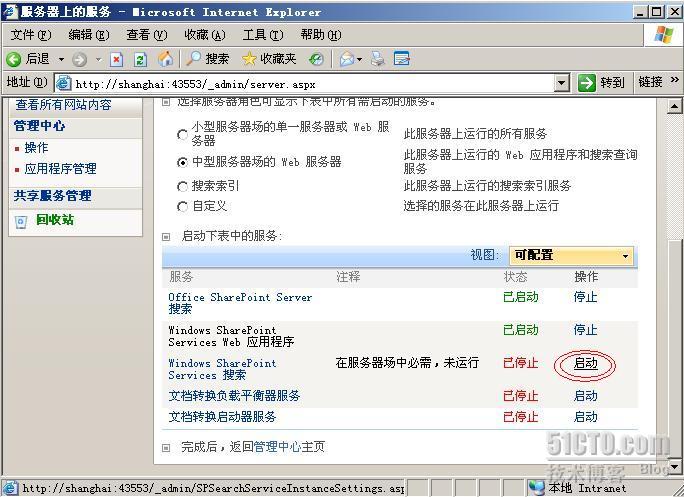
接下来在启动“windows sharepoint services web应用程序服务”
内容访问账户和服务账户我们还是使用管理员用户
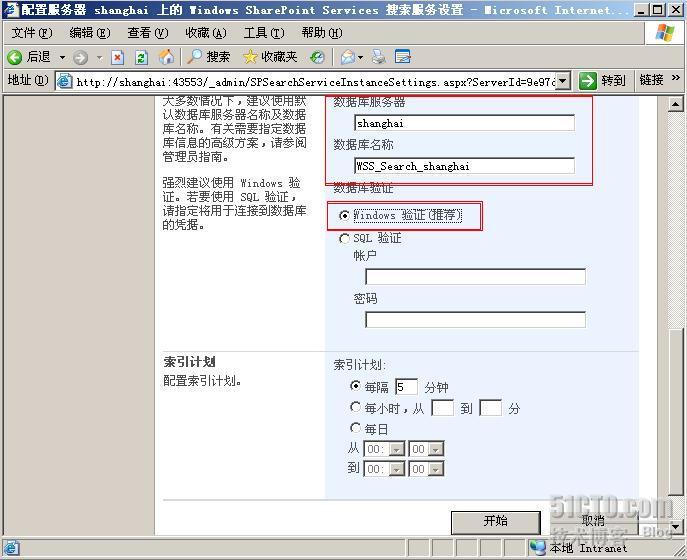
输入数据库服务器名称和数据库名称,连接数据库时用“windows验证”
正在保存更改后的设置
接下来我们需要创建两个
Web
应用程序。一个端口为
80
给
SharePoint
站点用,另外一个端口为
8080
给共享服务用。
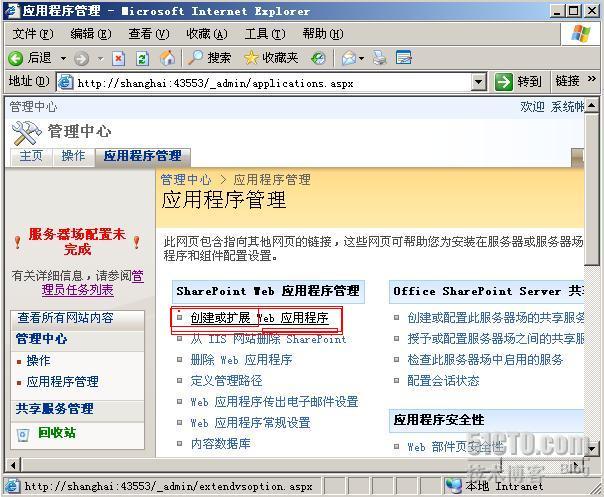
点击页面上方的
“
应用程序管理
”
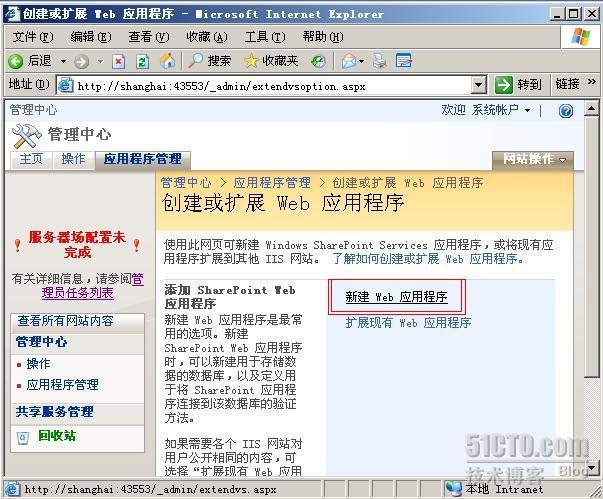
菜单,打开应用程序管理界面,然后点击
“
创建或扩展
Web
应用程序
”
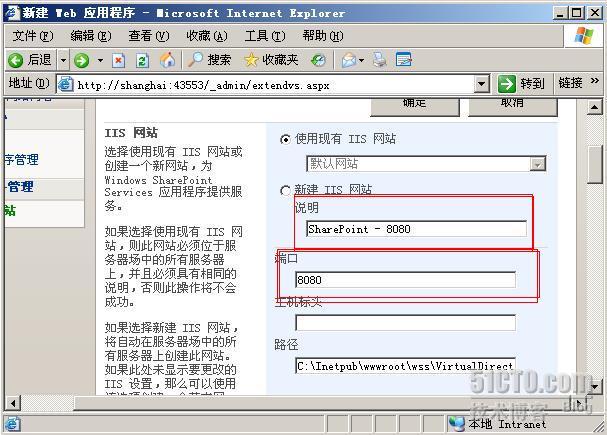
选择“新建web应用程序”
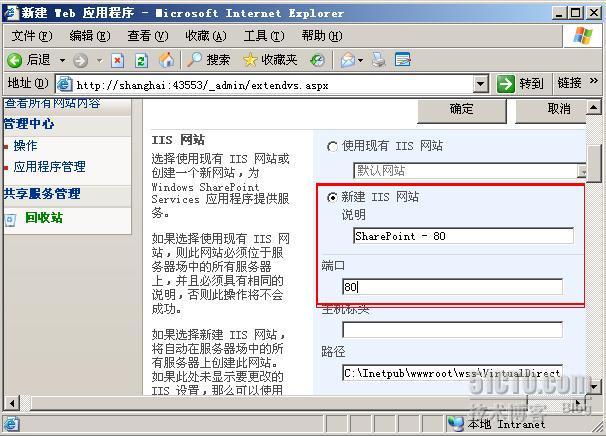
新建IIS网站说明输入sharepoint -80,端口号为80端口
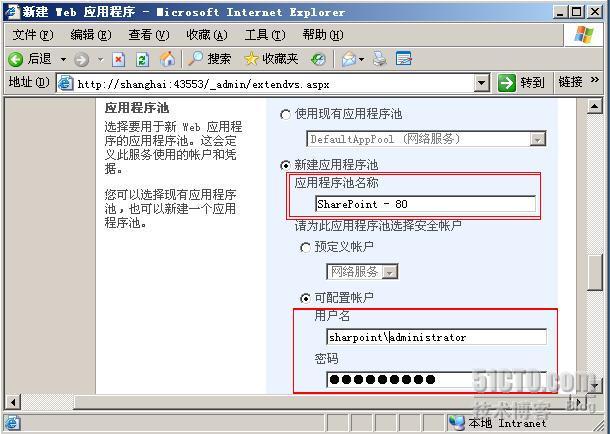
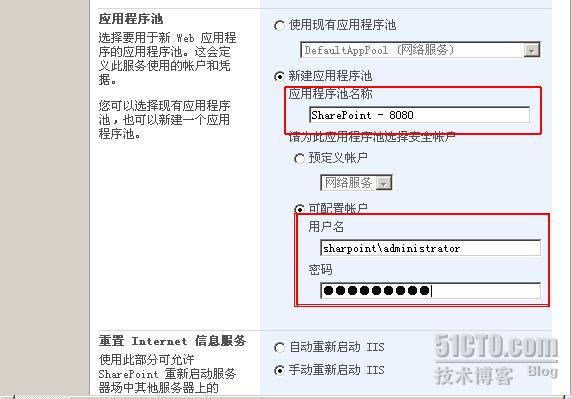
应用程序池名称也输入“sharepoint – 80,” 配置帐户输入域管理员帐号以及口令,完成后点击右下角的确定

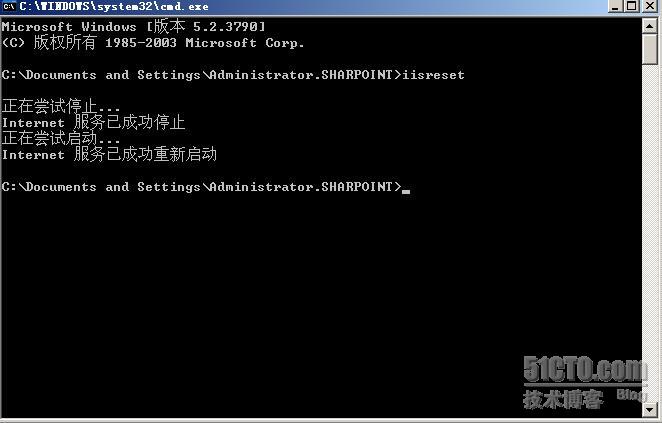
退出后我们需要重启一下IIS服务,在DOS命令下输入“iisreset”来重启IIS服务
还是用上面的方法,我们来创建一个
Web
应用程序。端口为
8080
给共享服务用。
应用程序池名称输入“sharepoint - <?xml:namespace prefix = st1 ns = "urn:schemas-microsoft-com:office:smarttags" />8080”配置帐户还选择管理员的帐户
正在保存创建的设置
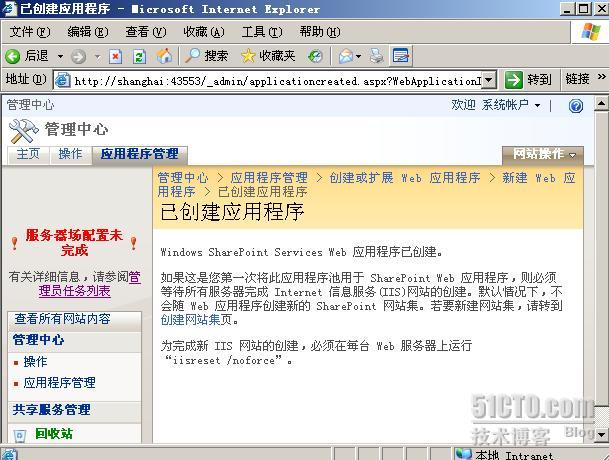
几分钟后,共享服务同的
8080
端口创建完毕,点击右下角的确定
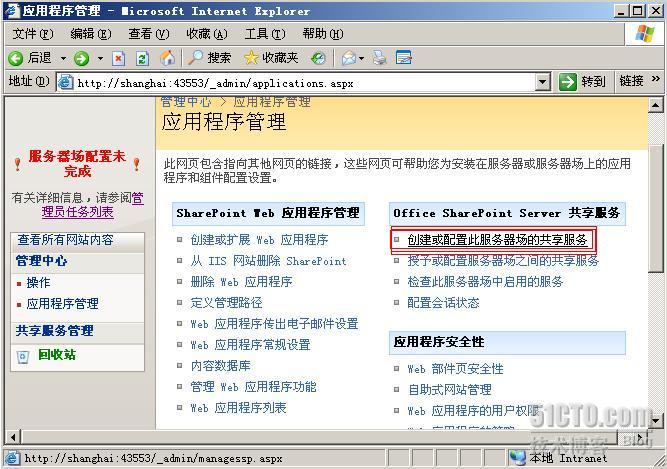
两个web应用程序都创建好了,我们该创建服务器的共享服务了,点击应用程序菜单下的“创建或配置此服务器的共享配置”
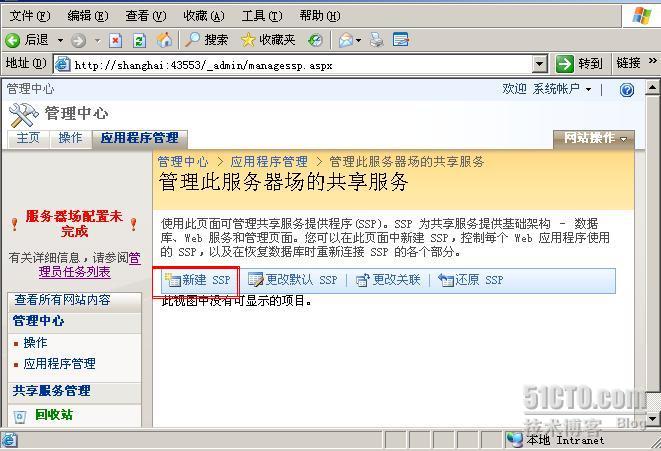
选择“新建SSP”。
SSP
是共享服务提供程序
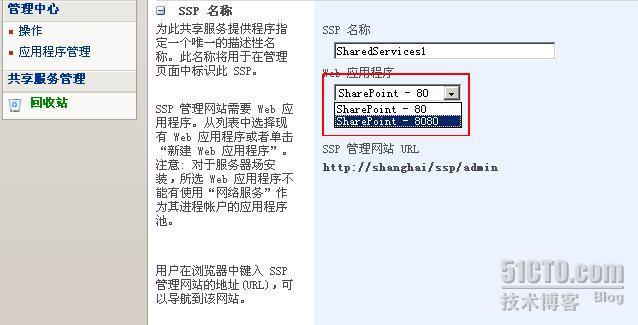
SSP名称选择默认的,web应用程序选择“sharepoint - 8080”
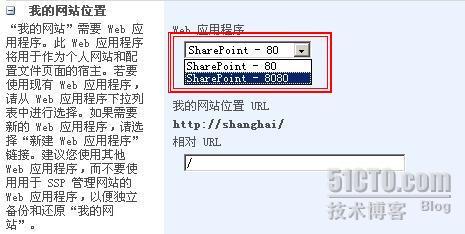
“网站位置”也选择“sharepoint - 8080”
输入管理员帐号及口令,数据库验证使用“windows验证”
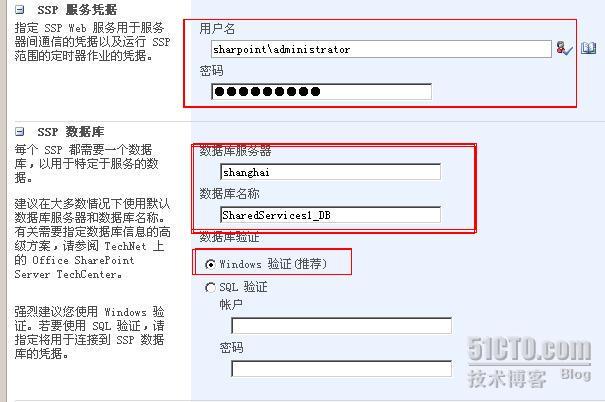
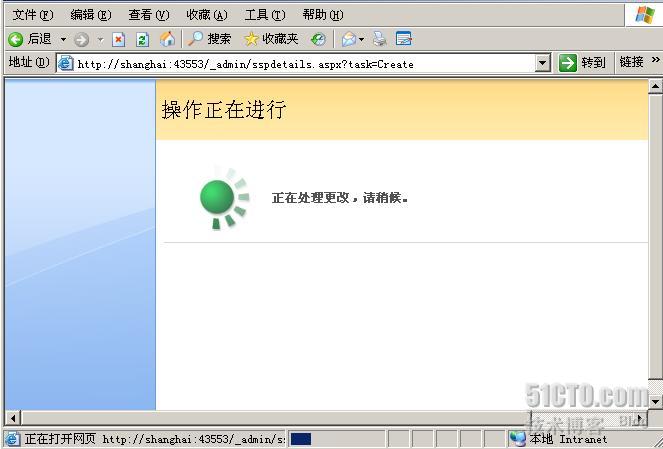
输入完相关的信息后,点击右下角的确定,如图操作正在进行
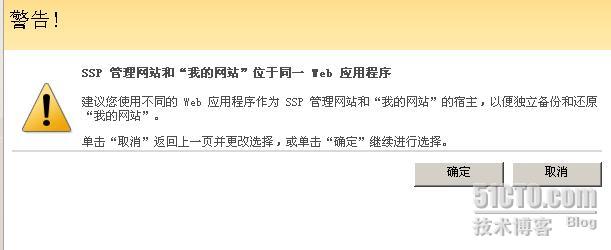
这个大家莫怕啊!点击确定就行了
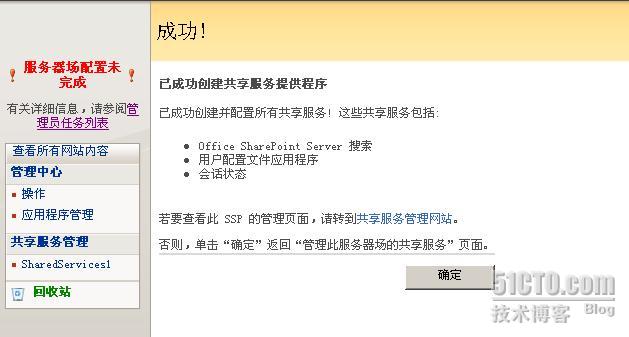
Ok!共享服务成功创建完成,点击确定
七、
创建
sharepoint
站点
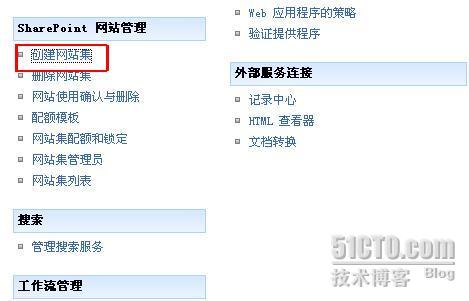
下面我们来创建sharepoint站点,也就是这个实验的最后一步了。打开“应用程序管理”选择“创建网站集”
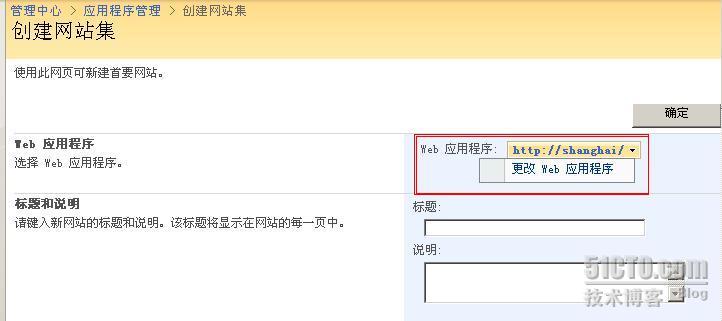
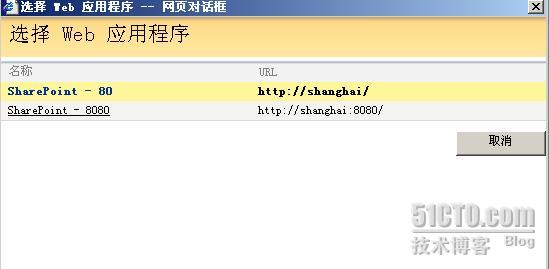
选择名称为sharepoint – 8080,端口号为8080的那项
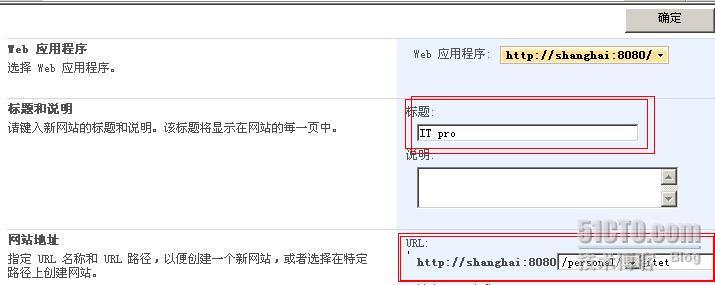
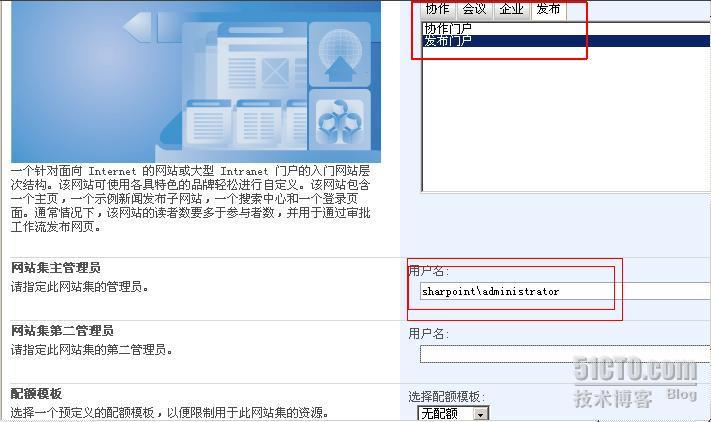
输入一个网站的标题。随便输入一个就行,我们就把网站的标题定义为“IT pro”,还得输入网站的地址。
最后选择发布类型,我选择的是“发布门户”,此网站的管理员我们使用域管理员,配额模板选择“无配额”,配置完成后点击右下角的“确定”按钮退出
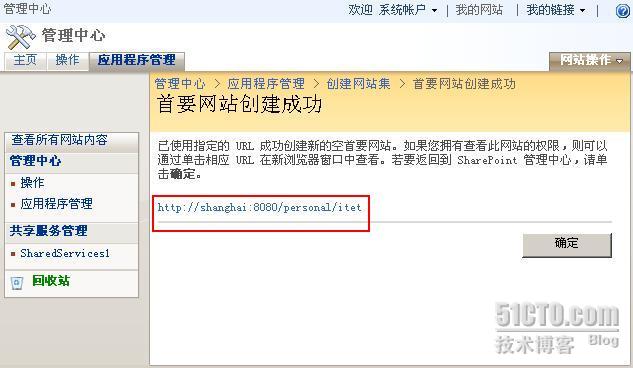
Ok!首要网站创建成功,如下图地址为“http://shanghai:8080/personal/itet”
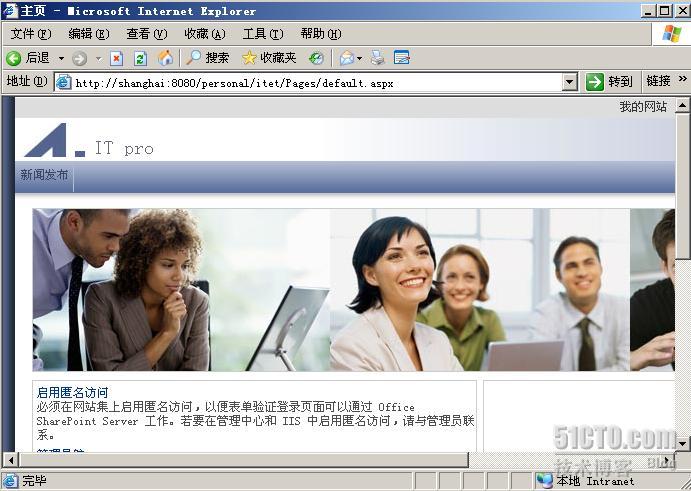
OK!终于成功的部署完了sharepoint2007了,两个字“高兴”。安装SQL2005数据库我前后一共安装了三遍,最后功夫不负有心人,今天终于把sharepoint2007安装成功了。
这也算是一个小小的成功,以后我会继续努力的。以后还请各位高手多多指点,本菜鸟感激不尽。
一切都在不言中.........
转载于:https://blog.51cto.com/hongwei/139107


 99
99


 被折叠的 条评论
为什么被折叠?
被折叠的 条评论
为什么被折叠?
 到【灌水乐园】发言


