


感谢朋友支持本博客,欢迎共同探讨交流,由于能力和时间有限,错误之处在所难免,欢迎指正!
如有转载,请保留源作者博客信息。
如需交流,欢迎大家博客留言。

首先测试默认镜像cirros:

1、virt-cat:

-a :使用镜像文件
-d :使用domain

|
virt-cat -d instance-0000003f /etc/passwd
|

可以看到读取出来的文件。

|
virt-edit -d instance-0000003f /etc/shadow
|

提示需要关机,关机继续:

修改root密码:
|
将
修改为:
|
修改成功后:

启动虚拟机:

显示密码错误,无法登陆,说明密码修改成功了。
接下来测试centos的lvm分区的镜像实例:

|
virt-cat -d instance-00000040 /etc/passwd
|


编译supermin报错:

strace跟踪:

yum install glibc-static

yum install glib2*
出现pcre错误:
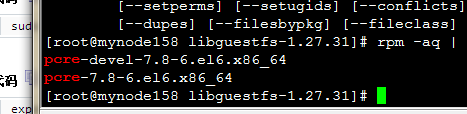
yum install pcre-devel pcre

yum install augeas

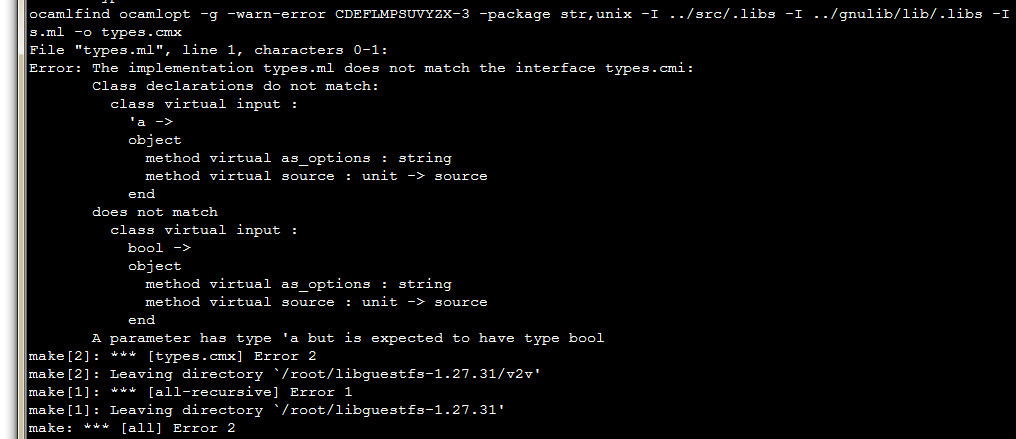
编译1.27.31报语法错(应该是最新版的bug)。
重新编译1.27.24版本看是否出现同样问题:

安装1.27.24成功
接下来继续试验上述lvm不能操作问题:
|
virt-cat -d instance-00000040 /etc/passwd
|

说明libvirt没有编译到1.27.24版本:
换个方式试验:

验证lvm系统centos6.5镜像文件:
|
virt-cat -a /var/lib/nova/instances/76f00ea2-16a8-41e2-b128-6357634edbb9/disk /etc/shadow
|

再来验证下cirros镜像:

得出结论无论是lvm还是sda分区都能virt-cat。
再用root和密码yunjisuan登陆:

登陆成功。
接下来继续试验virt-edit修改密码功能:
原始密码文件:
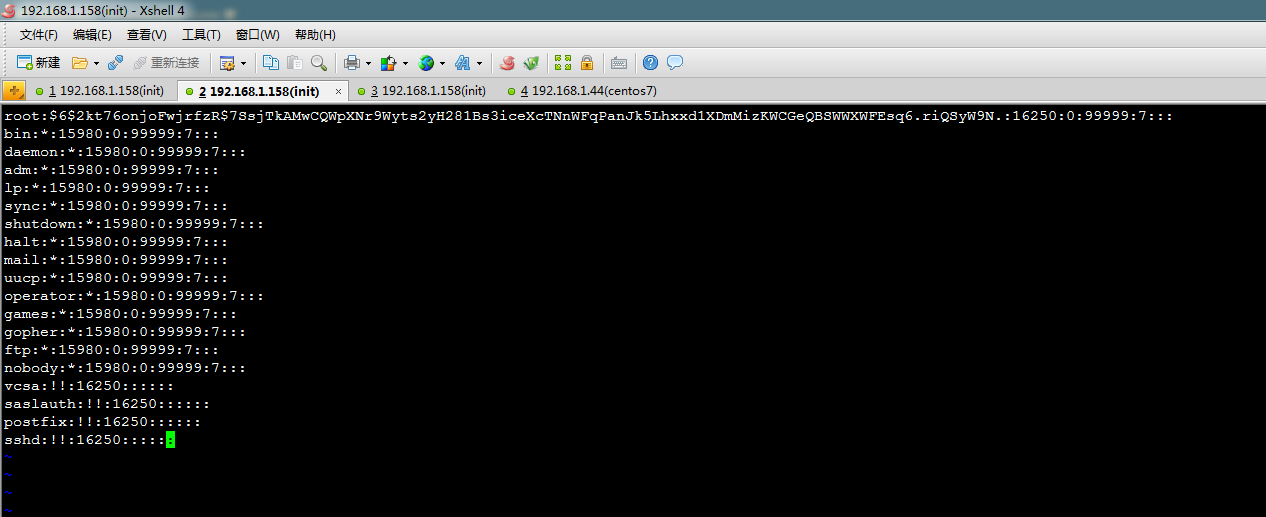
|
virt-edit -a /var/lib/nova/instances/76f00ea2-16a8-41e2-b128-6357634edbb9/disk /etc/shadow
|
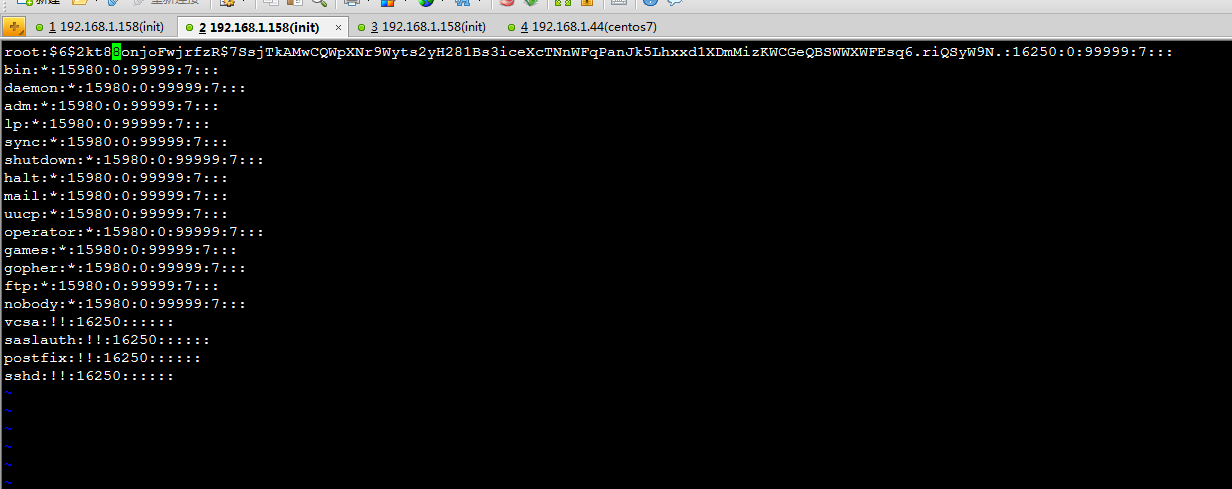
修改为:

保存退出。(
提醒:大家有没有注意到新版的密码修改不需要和老版本一样需要关机!!!!)
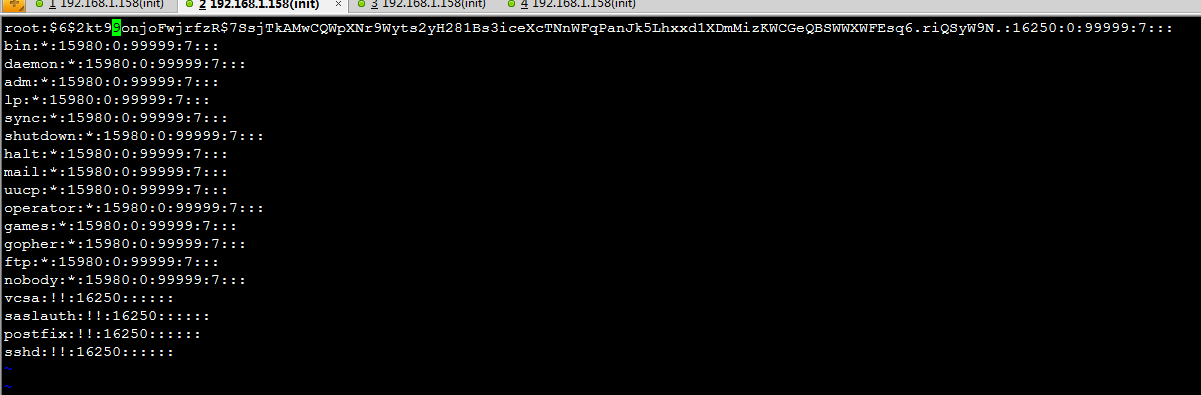
重新登陆密码没有成功修改:

再次打开虚拟机密码文件:
|
virt-edit -a /var/lib/nova/instances/76f00ea2-16a8-41e2-b128-6357634edbb9/disk /etc/shadow
|

变成了乱码。汗!!!!
关机重试:

|
virt-edit -a /var/lib/nova/instances/76f00ea2-16a8-41e2-b128-6357634edbb9/disk /etc/shadow
|
|
virt-cat -a /var/lib/nova/instances/76f00ea2-16a8-41e2-b128-6357634edbb9/disk /etc/shadow
|

关机之后修改没有出现乱码。
重启机器登陆:

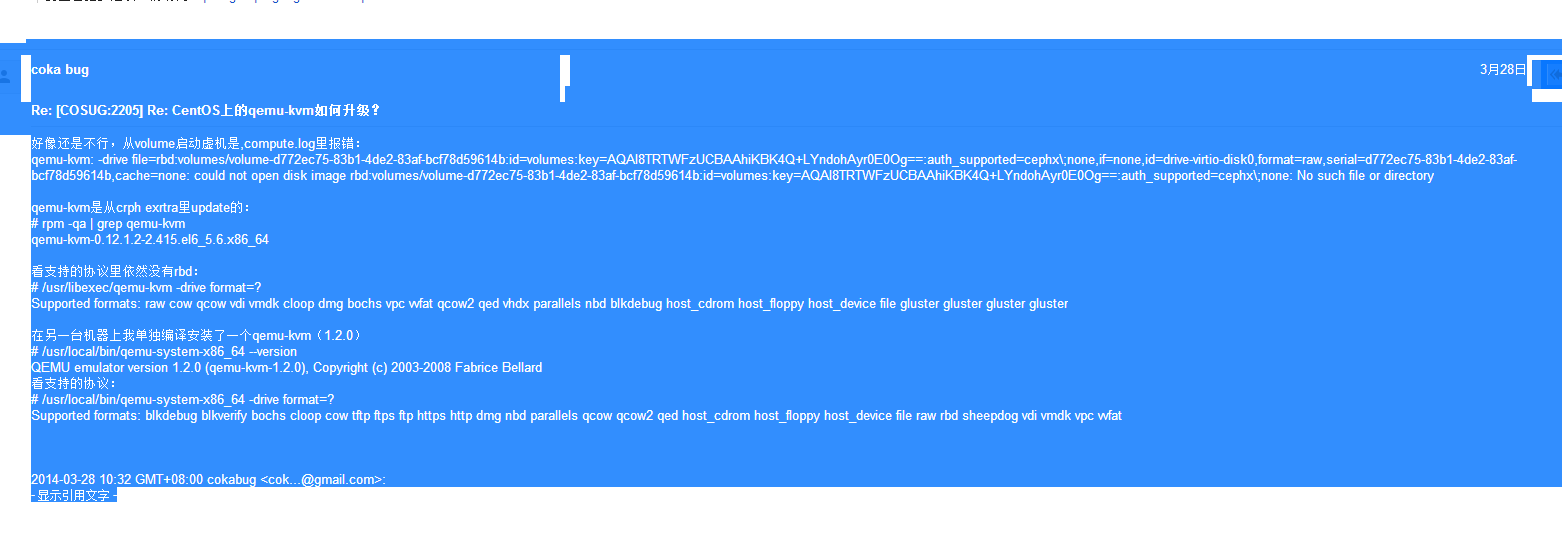
页面重启:


可能由于升级了新版的qemu-kvm导致。

qemu-kvm在编译libgutstfs时候被替换成1.2.0,因此我们回去之前版本:


重新生成虚拟机:

成功。


继续上述测试,为了防止乱码,先关闭虚拟机再操作:

|
virt-edit -a /var/lib/nova/instances/76f00ea2-16a8-41e2-b128-6357634edbb9/disk /etc/shadow
|

可能由于qemu-kvm被替换掉原因,替换回去1.2.0:

接下来就能修改虚拟机文件了:
重启机器继续出错:
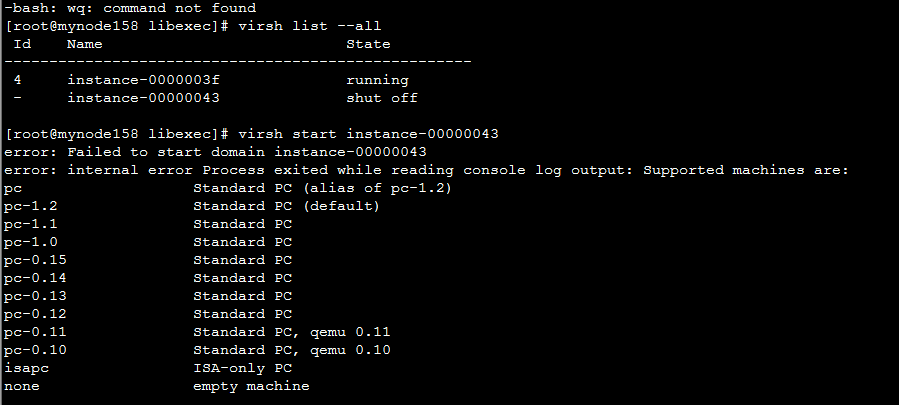
替换回原来的qemu-kvm:

页面重启虚拟机成功:

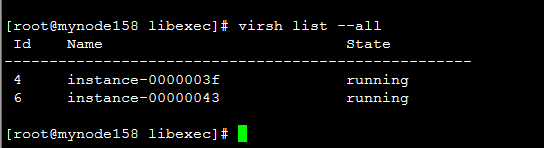
此时用root,cdyanfa 登陆密码不正确,说明lvm镜像面膜被修改成功了。

|
结论:
opesntack中不能将密码或者keypair注入到lvm分区的镜像中去导致原因可能有两个:
1、openstack环境中的libguestfs的版本太低(这个最大)
2、openstack调用libguestfs的驱动模块代码有bug(大概看了下源码,似乎这个也有些问题)
|


 966
966


 被折叠的 条评论
为什么被折叠?
被折叠的 条评论
为什么被折叠?
 到【灌水乐园】发言


