


在 使用Spring Boot构建独立的OAuth服务器(一) 中,构建了一个简单版的OAuth服务器,这里将进行更多的配置。
使用Redis存储Token
在前一篇中Token是存储在内存中,这样的话一旦服务器重启,所有Token都会丢失,这种情况明显是不许发生的,根据官方的 OAuth 2 Developers Guide ,Spring提供了多种存储Token的方式,除了InMemoryTokenStore,JdbcTokenStore和JwtTokenStore,还有文档中没有提到的RedisTokenStore,基于性能的考虑,我采用了RedisTokenStore。
配置使用RedisTokenStore很简单,只需:
- 在application.properties中配置Redis相关连接信息
spring.redis.host=localhost spring.redis.port=6379 - 修改OAuth配置类OauthConfig
@Configuration
@ImportResource("classpath:/client.xml")
public class OauthConfig extends AuthorizationServerConfigurerAdapter {

	@Autowired
	private AuthenticationManager authenticationManager;
	@Autowired
	private RedisConnectionFactory redisConnectionFactory;

	@Override
	public void configure(AuthorizationServerEndpointsConfigurer endpoints) throws Exception {
		endpoints.tokenServices(tokenServices(endpoints)).authenticationManager(authenticationManager);
	}

	private DefaultTokenServices tokenServices(AuthorizationServerEndpointsConfigurer endpoints) {
		DefaultTokenServices services = new DefaultTokenServices();
		services.setTokenStore(tokenStore());
		services.setSupportRefreshToken(true);
		services.setReuseRefreshToken(false);
		services.setClientDetailsService(endpoints.getClientDetailsService());
		return services;
	}

	private TokenStore tokenStore() {
		return new RedisTokenStore(redisConnectionFactory);
	}

}
自定义认证授权错误信息
在认证授权过程中,有可能会出现因用户名密码错误等导致失败的情况,这时客户端可能需要一些额外的信息以便与用户进行更友好的交互。
比如认证失败后,客户端需要显示累计失败的次数,这时就需要OAuth服务器在返回错误信息的同时返回累计失败的次数。
- 定义错误类AuthenticationFailedException
@SuppressWarnings("serial") public class AuthenticationFailedException extends UnauthorizedUserException { public AuthenticationFailedException(int attempt) { super("Authentication failed"); addAdditionalInformation("attempt", String.valueOf(attempt)); } } - 修改CustomUserDetailsService,定义一个固定用户,用户名为failed_user,只要过来认证的用户名是这个,就抛出AuthenticationFailedException,设置累计失败次数为7
@Component
public class CustomUserDetailsService implements UserDetailsService {

	@Override
	public UserDetails loadUserByUsername(String username) throws UsernameNotFoundException {
		if ("failed_user".equals(username)) {
			throw new AuthenticationFailedException(7);
		}
		return new User("user", "pwd", AuthorityUtils.createAuthorityList("ROLE_USER"));
	}

}
若调用http://localhost:8080/oauth/token时username参数为failed_user,则会得到如下认证授权失败结果,其中attempt为累计失败次数
{
    "error": "unauthorized_user",
    "error_description": "Authentication failed",
    "attempt": "7"
}
自定义授权模式
如果官方提供的授权模式不能满足需求,就需要自定义一个新的授权模式。
比如现在要定义一个授权模式,这个模式只需要检查用户名的格式,格式正确就授权成功。
- 定义授权类CustomTokenGranter,授权类型名称为custom
public class CustomTokenGranter extends AbstractTokenGranter { private static final String GRANT_TYPE = "custom"; public CustomTokenGranter(AuthorizationServerTokenServices tokenServices, ClientDetailsService clientDetailsService, OAuth2RequestFactory requestFactory) { super(tokenServices, clientDetailsService, requestFactory, GRANT_TYPE); } @Override protected OAuth2Authentication getOAuth2Authentication(ClientDetails client, TokenRequest tokenRequest) { Map<String, String> param = tokenRequest.getRequestParameters(); String username = param.get("username"); if (!Pattern.matches("[0-9a-zA-Z]*", username)) { throw new InvalidRequestException("Invalid username"); } Authentication auth = new AnonymousAuthenticationToken("NA", username, AuthorityUtils.createAuthorityList("ROLE_USER")); OAuth2Authentication oauth2Auth = new OAuth2Authentication(tokenRequest.createOAuth2Request(client), auth); return oauth2Auth; } } - 修改OauthConfig,配置CustomTokenGranter,一旦手动配置了授权模式,默认的授权模式就会被覆盖,所以要用CompositeTokenGranter把官方定义的授权模式也一起配置进去
@Configuration @ImportResource("classpath:/client.xml") public class OauthConfig extends AuthorizationServerConfigurerAdapter { @Autowired private AuthenticationManager authenticationManager; @Autowired private RedisConnectionFactory redisConnectionFactory; @Override public void configure(AuthorizationServerEndpointsConfigurer endpoints) throws Exception { endpoints.tokenServices(tokenServices(endpoints)).authenticationManager(authenticationManager); endpoints.tokenGranter(tokenGranter(endpoints)); } private DefaultTokenServices tokenServices(AuthorizationServerEndpointsConfigurer endpoints) { DefaultTokenServices services = new DefaultTokenServices(); services.setTokenStore(tokenStore()); services.setSupportRefreshToken(true); services.setReuseRefreshToken(false); services.setClientDetailsService(endpoints.getClientDetailsService()); return services; } private TokenStore tokenStore() { return new RedisTokenStore(redisConnectionFactory); } private TokenGranter tokenGranter(AuthorizationServerEndpointsConfigurer endpoints) { List<TokenGranter> granters = new ArrayList<TokenGranter>(Arrays.asList(endpoints.getTokenGranter())); granters.add(new ResourceOwnerPasswordTokenGranter(authenticationManager, endpoints.getTokenServices(), endpoints.getClientDetailsService(), endpoints.getOAuth2RequestFactory())); granters.add(new RefreshTokenGranter(endpoints.getTokenServices(), endpoints.getClientDetailsService(), endpoints.getOAuth2RequestFactory())); granters.add(new CustomTokenGranter(endpoints.getTokenServices(), endpoints.getClientDetailsService(), endpoints.getOAuth2RequestFactory())); return new CompositeTokenGranter(granters); } } - 修改client.xml,为client1配置授权类型custom
<?xml version="1.0" encoding="UTF-8"?>
<beans xmlns="http://www.springframework.org/schema/beans"
	xmlns:xsi="http://www.w3.org/2001/XMLSchema-instance" xmlns:oauth2="http://www.springframework.org/schema/security/oauth2"
	xsi:schemaLocation="http://www.springframework.org/schema/security/oauth2 http://www.springframework.org/schema/security/spring-security-oauth2.xsd
		http://www.springframework.org/schema/beans http://www.springframework.org/schema/beans/spring-beans.xsd">

	<oauth2:client-details-service id="clientDetailsService">
		<oauth2:client client-id="client1" secret="secret1"
			authorized-grant-types="password,refresh_token,custom" access-token-validity="1800"
			refresh-token-validity="604800" scope="all" />
	</oauth2:client-details-service>

</beans>
调用http://localhost:8080/oauth/token时grant_type参数为custom,username参数为test#123,会返回认证授权失败的结果
{
    "error": "invalid_request",
    "error_description": "Invalid username"
}
若username参数为test123,则会返回认证授权成功的结果
{
    "access_token": "7210b63c-5b30-4240-b716-5059112a0564",
    "token_type": "bearer",
    "refresh_token": "7d0c7249-7342-4f1b-b219-047a7ad6b24e",
    "expires_in": 1799,
    "scope": "all"
}
端点安全
查看启动日志时,发现服务器开放了这四个关于OAuth的端点:/oauth/authorize,/oauth/token,/oauth/check_token,/oauth/confirm_access和/oauth/error,使用Sprint Boot实现的OAuth服务器默认只保护了/oauth/token,由于该服务器有可能会被外部访问,所以需要保护其他三个端点不被随意访问。
- 修改OauthConfig,只有角色为ROLE_CLIENT才能访问/oauth/check_token
@Configuration @ImportResource("classpath:/client.xml") public class OauthConfig extends AuthorizationServerConfigurerAdapter { @Autowired private AuthenticationManager authenticationManager; @Autowired private RedisConnectionFactory redisConnectionFactory; @Override public void configure(AuthorizationServerEndpointsConfigurer endpoints) throws Exception { endpoints.tokenServices(tokenServices(endpoints)).authenticationManager(authenticationManager); endpoints.tokenGranter(tokenGranter(endpoints)); } @Override public void configure(AuthorizationServerSecurityConfigurer security) throws Exception { security.checkTokenAccess("hasAuthority('ROLE_CLIENT')"); } private DefaultTokenServices tokenServices(AuthorizationServerEndpointsConfigurer endpoints) { DefaultTokenServices services = new DefaultTokenServices(); services.setTokenStore(tokenStore()); services.setSupportRefreshToken(true); services.setReuseRefreshToken(false); services.setClientDetailsService(endpoints.getClientDetailsService()); return services; } private TokenStore tokenStore() { return new RedisTokenStore(redisConnectionFactory); } private TokenGranter tokenGranter(AuthorizationServerEndpointsConfigurer endpoints) { List<TokenGranter> granters = new ArrayList<TokenGranter>(Arrays.asList(endpoints.getTokenGranter())); granters.add(new ResourceOwnerPasswordTokenGranter(authenticationManager, endpoints.getTokenServices(), endpoints.getClientDetailsService(), endpoints.getOAuth2RequestFactory())); granters.add(new RefreshTokenGranter(endpoints.getTokenServices(), endpoints.getClientDetailsService(), endpoints.getOAuth2RequestFactory())); granters.add(new CustomTokenGranter(endpoints.getTokenServices(), endpoints.getClientDetailsService(), endpoints.getOAuth2RequestFactory())); return new CompositeTokenGranter(granters); } } - 修改client.xml,为client1配置角色ROLE_CLIENT
<?xml version="1.0" encoding="UTF-8"?> <beans xmlns="http://www.springframework.org/schema/beans" xmlns:xsi="http://www.w3.org/2001/XMLSchema-instance" xmlns:oauth2="http://www.springframework.org/schema/security/oauth2" xsi:schemaLocation="http://www.springframework.org/schema/security/oauth2 http://www.springframework.org/schema/security/spring-security-oauth2.xsd http://www.springframework.org/schema/beans http://www.springframework.org/schema/beans/spring-beans.xsd"> <oauth2:client-details-service id="clientDetailsService"> <oauth2:client client-id="client1" secret="secret1" authorities="ROLE_CLIENT" authorized-grant-types="password,refresh_token,custom" access-token-validity="1800" refresh-token-validity="604800" scope="all" /> </oauth2:client-details-service> </beans> - 定义安全配置类SecurityConfig,禁止访问/oauth下所有的子端点,Spring Boot对/oauth/token和/oauth/check_token的保护会覆盖掉这个配置类的保护,所以不会影响原本的认证授权功能
@Configuration
public class SecurityConfig extends WebSecurityConfigurerAdapter {

	@Override
	protected void configure(HttpSecurity http) throws Exception {
		http.antMatcher("/oauth/**").authorizeRequests().anyRequest().denyAll();
	}

}
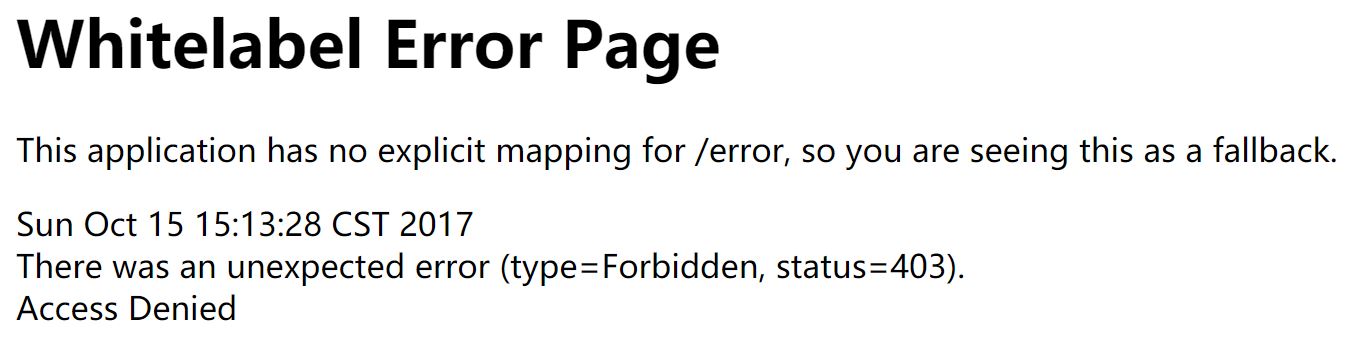
配置完成后访问http://localhost:8080/oauth/token和http://localhost:8080/oauth/check_token会被要求进行HTTP Basic认证,访问http://localhost:8080/oauth/authorize和http://localhost:8080/oauth/confirm_access会出现下图结果
后面在 使用Spring Boot构建独立的OAuth服务器(三) 中会对Resource进行配置


 287
287

 被折叠的 条评论
为什么被折叠?
被折叠的 条评论
为什么被折叠?
 到【灌水乐园】发言


