


1:确保自己的电脑已经安装了node和Git软件
2:自己在盘里随便创建一个文件夹一般为英文(也就是你自己的项目名称)
3:在新创建好的文件夹里面右键点击调出git指令窗口在窗口里面输入如下指令:
1:npm install webpack -g
2: npm install webpack-cli -g
3: npm init -y
4: npm install webpack --save-dev
5 npm install html-webpack-plugin (html编译插件)
6:npm install clean-webpack-plugin
5:把项目拖进编辑器
6新建一个src文件夹 和webpack.config.js
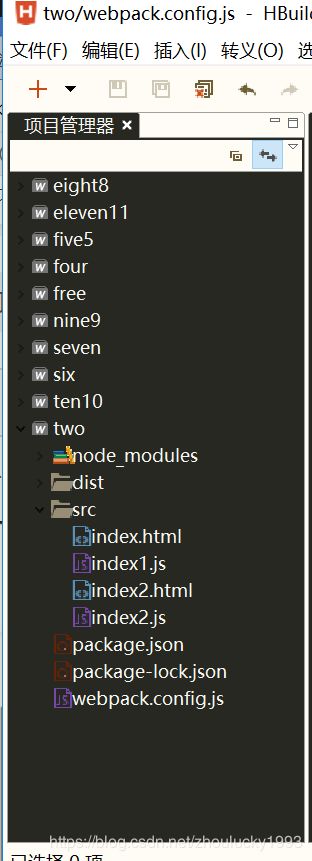
7:webpack.config.js内容配置如下:
const path = require("path");
const WebpackHtmlPlugin = require('html-webpack-plugin'); //导入html打包插件
const clear= require("clean-webpack-plugin"); //导入清除dist插件 不用手动每次去删除dist文件
// 夹
module.exports = {
entry: {
index1: './src/index1.js',
index2: './src/index2.js'
},
output: {
path: path.resolve(__dirname, "dist"),
filename: "[name].js"
},
plugins: [
new WebpackHtmlPlugin({
minify: {
collapseWhitespace: true, //清除空格
removeAttributeQuotes: true, //清除多余引号
removeComments: true //删除注释
},
title: "hello",
template: "./src/index.html",
chunks: ['index'],
filename: "index.html"
}),
new WebpackHtmlPlugin({
minify: {
collapseWhitespace: true, //清除空格
removeAttributeQuotes: true, //清除多余引号
removeComments: true //删除注释
},
title: "hello2", //打包成功后的html名字
template: "./src/index2.html",//要打包的文件路径
chunks: ['index2'],
filename: "index2.html" //要打包的文件名称
}),
new clear() //导入模块清除dist插件 不用手动每次去删除dist文件
// 夹
]
}
8:package.json scripts配置如下:
"scripts": {
"build": "webpack --mode production" //production生产环境 development开发环境
},
9:要打包的html title处需配置
10:执行命令进行打包 npm run build


 842
842


 被折叠的 条评论
为什么被折叠?
被折叠的 条评论
为什么被折叠?
 到【灌水乐园】发言


