


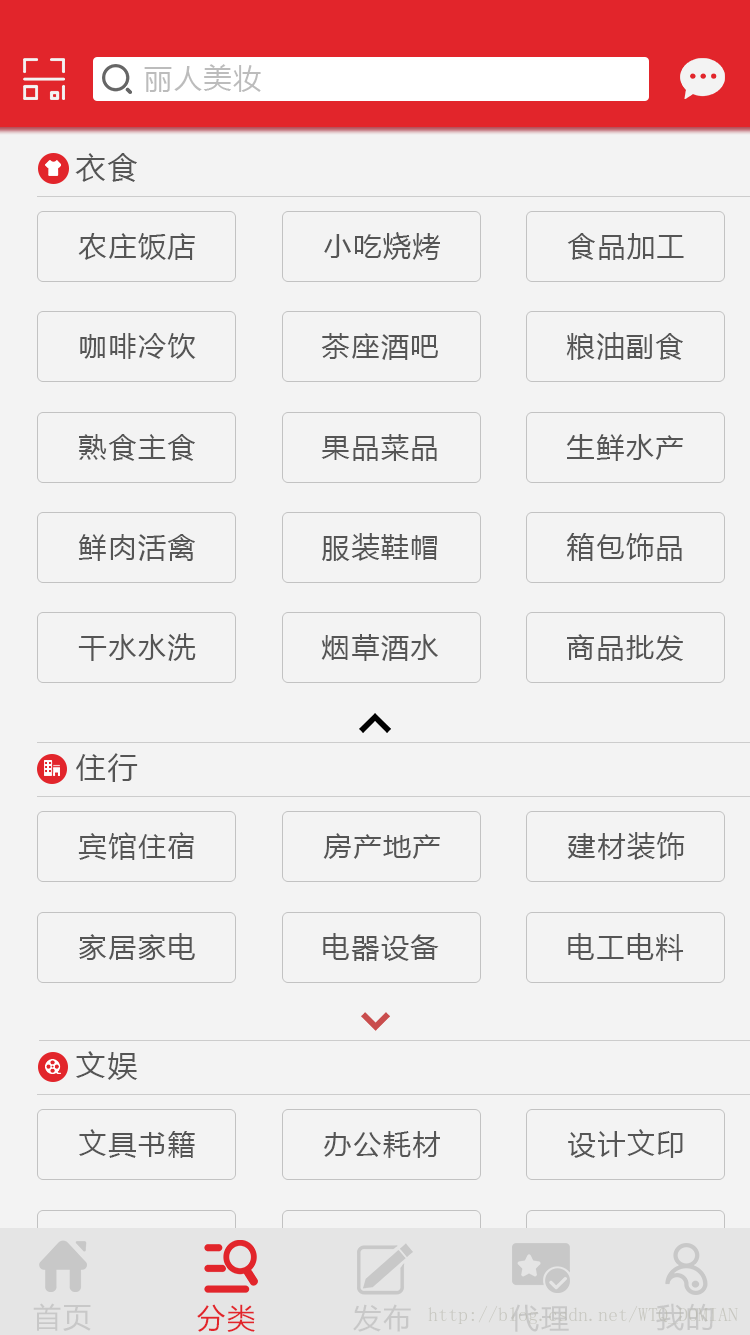
最近项目实现下面的图示的效果,本来想用listview+gridview实现,但是貌似挺麻烦的于是就用flowlayout 来addview实现添加伸缩的效果,实现也比较简单。
mainActivity 布局
xmlns:android="http://schemas.android.com/apk/res/android"
android:layout_width="match_parent"
android:layout_height="match_parent"
android:orientation="vertical"
>
android:id="@+id/rl_category_title_bar_layout"
android:layout_height="wrap_content"
android:layout_width="match_parent"
>
android:layout_height="50dp"
android:layout_width="match_parent"
>
android:id="@+id/tv_category_title"
android:layout_height="50dp"
android:layout_width="wrap_content"
android:text="分类"
android:textSize="18sp"
android:layout_centerInParent="true"
android:gravity="center"
/>
android:id="@+id/lv_category_menu"
android:layout_height="match_parent"
android:layout_width="match_parent"
/>
自定义布局flowlayout
package comskyball.addflowlayout;
import android.content.Context;
import android.content.res.TypedArray;
import android.util.AttributeSet;
import android.view.View;
import android.view.ViewGroup;
import java.util.ArrayList;
import java.util.List;
public class FlowLayout extends ViewGroup {
private Context mContext;
private int usefulWidth; // the space of a line we can use(line's width minus the sum of left and right padding
private int lineSpacing = 0; // the spacing between lines in flowlayout
List childList = new ArrayList();
List lineNumList = new ArrayList();
public FlowLayout(Context context) {
this(context, null);
}
public FlowLayout(Context context, AttributeSet attrs) {
this(context, attrs, 0);
}
public FlowLayout(Context context, AttributeSet attrs, int defStyleAttr) {
super(context, attrs, defStyleAttr);
mContext = context;
TypedArray mTypedArray = context.obtainStyledAttributes(attrs,
R.styleable.FlowLayout);
lineSpacing = mTypedArray.getDimensionPixelSize(
R.styleable.FlowLayout_lineSpacing, 0);
mTypedArray.recycle();
}
@Override
protected void onMeasure(int widthMeasureSpec, int heightMeasureSpec) {
int mPaddingLeft = getPaddingLeft();
int mPaddingRight = getPaddingRight();
int mPaddingTop = getPaddingTop();
int mPaddingBottom = getPaddingBottom();
int widthSize = MeasureSpec.getSize(widthMeasureSpec);
int heightMode = MeasureSpec.getMode(heightMeasureSpec);
int heightSize = MeasureSpec.getSize(heightMeasureSpec);
int lineUsed = mPaddingLeft + mPaddingRight;
int lineY = mPaddingTop;
int lineHeight = 0;
for (int i = 0; i < this.getChildCount(); i++) {
View child = this.getChildAt(i);
if (child.getVisibility() == GONE) {
continue;
}
int spaceWidth = 0;
int spaceHeight = 0;
LayoutParams childLp = child.getLayoutParams();
if (childLp instanceof MarginLayoutParams) {
measureChildWithMargins(child, widthMeasureSpec, 0, heightMeasureSpec, lineY);
MarginLayoutParams mlp = (MarginLayoutParams) childLp;
spaceWidth = mlp.leftMargin + mlp.rightMargin;
spaceHeight = mlp.topMargin + mlp.bottomMargin;
} else {
measureChild(child, widthMeasureSpec, heightMeasureSpec);
}
int childWidth = child.getMeasuredWidth();
int childHeight = child.getMeasuredHeight();
spaceWidth += childWidth;
spaceHeight += childHeight;
if (lineUsed + spaceWidth > widthSize) {
/
 最低0.47元/天 解锁文章


 632
632


 被折叠的 条评论
为什么被折叠?
被折叠的 条评论
为什么被折叠?
 到【灌水乐园】发言


