


 1. 程序截图拖动红色区域,可以显示出清晰的汽车部分。拖动下面的滑块,可以更改模糊程度。 2. 程序实现方法实现思路,用FrameLayout搞了三层,最底下一层是清晰的图片,中间一层是模糊的图片,最上面的一层,是红色区域,这一层是清晰的图片。public static class PlaceholderFragment extends Fragment { // 新版android a...
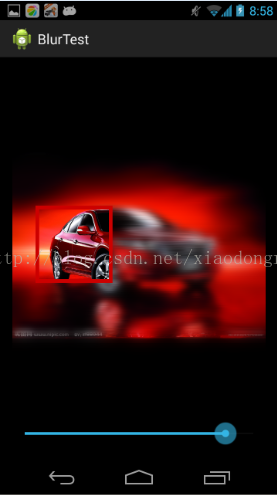
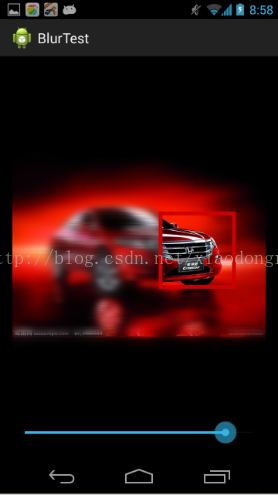
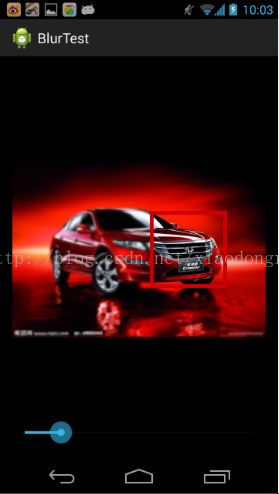
1. 程序截图
拖动红色区域,可以显示出清晰的汽车部分。拖动下面的滑块,可以更改模糊程度。
2. 程序实现方法
实现思路,用FrameLayout搞了三层,最底下一层是清晰的图片,中间一层是模糊的图片,最上面的一层,是红色区域,这一层是清晰的图片。
public static class PlaceholderFragment extends Fragment { // 新版android adt-bundle默认在activity中带一个fragment,据说android stdio早就这样了
private ImageView mOriginIv;
private ImageView mBlurIv;
private ImageView mClearIv;
private SeekBar mRadiusSb;
public PlaceholderFragment() {
}
@Override
public View onCreateView(LayoutInflater inflater, ViewGroup container,
Bundle savedInstanceState) {
View rootView = inflater.inflate(R.layout.fragment_main, container,
false);
return rootView;
}
@Override
public void onActivityCreated(Bundle savedInstanceState) {
super.onActivityCreated(savedInstanceState);
mOriginIv = (ImageView) getActivity().findViewById(
R.id.origin_image);
mBlurIv = (ImageView) getActivity().findViewById(R.id.blur_image);
mClearIv = (ImageView) getActivity().findViewById(R.id.clear_image);
mRadiusSb = (SeekBar) getActivity().findViewById(
R.id.radius_seekbar);
drawBlurImage(); // 初始化模糊层。
setSeekBarChangeListen(); // 设置SeekBar回调,滑块位置变化的时候,更新模糊层。
// 延迟是为了保证view.getX,view.getWidth 这类方法能够去到数
 最低0.47元/天 解锁文章


 368
368


 被折叠的 条评论
为什么被折叠?
被折叠的 条评论
为什么被折叠?
 到【灌水乐园】发言


