


整个流程比较简单:
定义View
首先在view.py文件中:
import matplotlib.pyplot as plt
from io import StringIO
from django.shortcuts import render
from django.views.generic import View
def return_graph():
plt.clf() # 清空图像
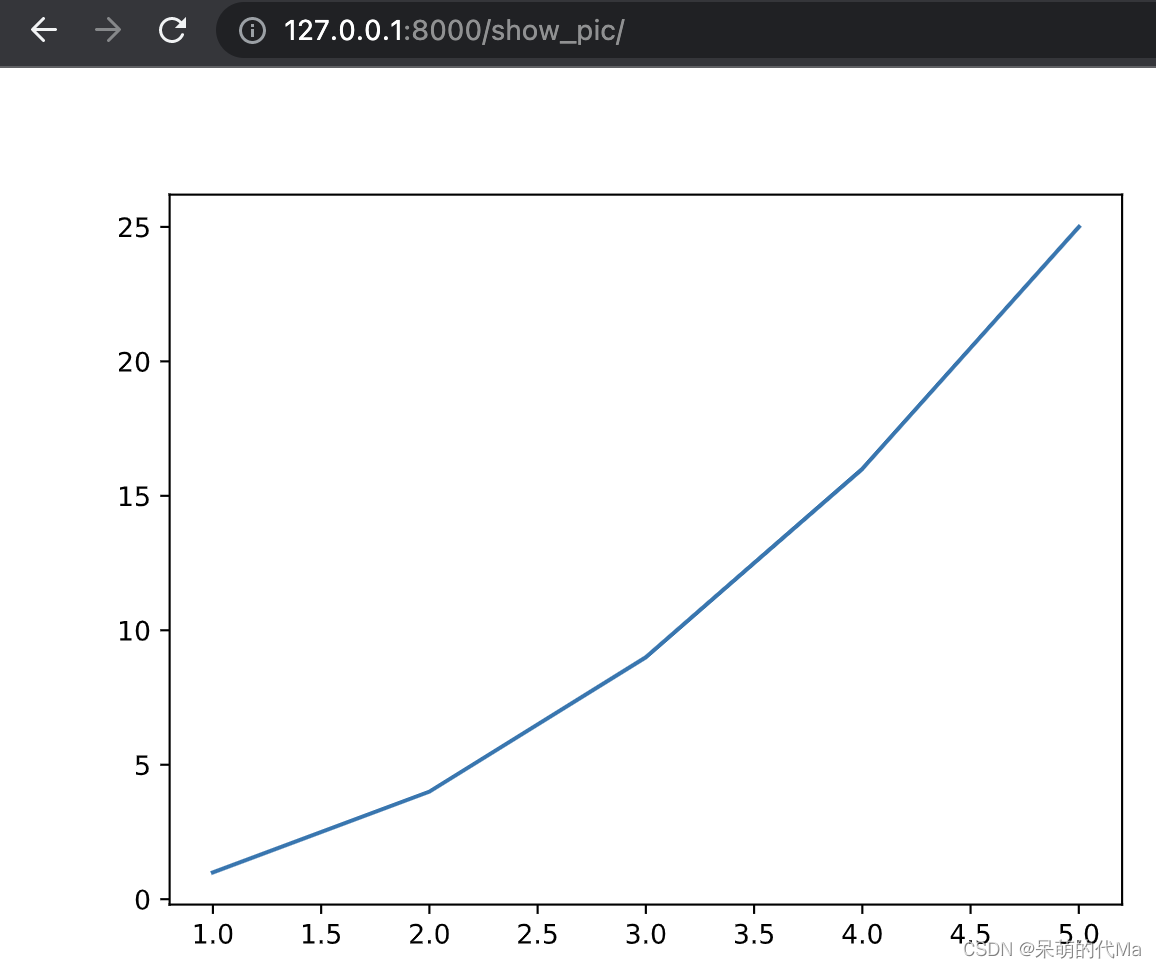
x = [1, 2, 3, 4, 5]
y = [1, 4, 9, 16, 25]
fig = plt.figure()
plt.plot(x, y)
img_stringio = StringIO()
fig.savefig(img_stringio, format='svg')
img_stringio.seek(0)
data = img_stringio.getvalue()
return data
class ShowMatplotlibView(View):
def get(self, request):
graph = return_graph()
context = {}
context['graph'] = graph # 这个graph其实是一段包含了html,css的xml格式数据
return render(request, "show_pic.html", context=context)
其中return_graph()函数是用来打包图像的,通过ShowMatplotlibView的get()方法就可以得到需要的图像了
定义URL
然后我们定义路由(这里根据自己的项目定义哈):
from django.urls import path
from .views import ShowMatplotlibView

urlpatterns = [
    path("show_pic/", ShowMatplotlibView.as_view()),
]
前端页面
最后新建一个页面,叫show_pic.html(这个页面要与上面view.py的render()函数对应),比如:
<!DOCTYPE html>
<html lang="en">
<head>
    <meta charset="UTF-8">
    <title>Title</title>
</head>
<body>
{{ graph | safe }}
</body>
</html>
然后访问:http://127.0.0.1:8000/show_pic,就可以得到想要的结果图:


 1349
1349

 被折叠的 条评论
为什么被折叠?
被折叠的 条评论
为什么被折叠?
 到【灌水乐园】发言


