


用户个人主页
现在我们来写一个用户个人主页,请求url为/user/<username>
app/routes.py: User profile view function
@app.route('/user/<username>')
@login_required
def user(username):
    user = User.query.filter_by(username=username).first_or_404()
    posts = [
        {
    'author': user, 'body': 'Test post #1'},
        {
    'author': user, 'body': 'Test post #2'}
    ]
return render_template('user.html', user=user, posts=posts)可以看到@app.route和之前的有所不同,里面包含了一个username的变量,也就是说这个链接会根据不同的username进到不同的人的主页中。当然,前提是你必须登录,所以我加了一个@loginrequired的装饰器。上面这个view函数很简单,first_or_404()这个可以找到唯一一条数据,找不到就抛错。下面是对应的前端页面代码。
app/templates/user.html: User profile template
{% extends "base.html" %}

{% block content %}
    <h1>User: {
    { user.username }}</h1>
    <hr>
    {% for post in posts %}
    <p>
    {
    { post.author.username }} says: <b>{
    { post.body }}</b>
    </p>
    {% endfor %}
{% endblock %}
功能完成了,然后在页面上加一个个人主页的点击入口,如下:
app/templates/base.html: User profile template
 <div>
      Microblog:
      <a href="{
    { url_for('index') }}">Home</a>
      {% if current_user.is_anonymous %}
      <a href="{
    { url_for('login') }}">Login</a>
      {% else %}
      <a href="{
    { url_for('user', username=current_user.username) }}">Profile</a>
      <a href="{
    { url_for('logout') }}">Logout</a>
      {% endif %}
    </div>
以上步骤得到的效果如下:
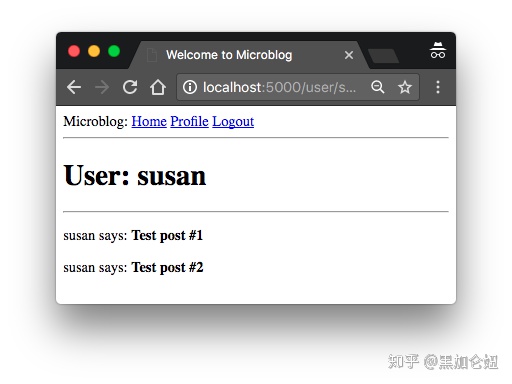
点击Profile试试看,是不是登录到你自己的主页里面去了
头像
加了个人主页之后,想要让用户能够添加自己喜欢的头像。如果直接把头像放在服务器上的话,除了占位置没什么好处--
 最低0.47元/天 解锁文章


 202
202


 被折叠的 条评论
为什么被折叠?
被折叠的 条评论
为什么被折叠?
 到【灌水乐园】发言


