


修改MySQL的登录设置:
# vi /etc/my.cnf
在[mysqld]的段中加上一句:skip-grant-tables
例如:
[mysqld]
datadir=/var/lib/mysql
socket=/var/lib/mysql/mysql.sock
skip-name-resolve
skip-grant-tables
保存并且退出vi。
3.重新启动mysqld
# /etc/init.d/mysqld restart
Stopping MySQL: [ OK ]
Starting MySQL: [ OK ]
4.登录并修改MySQL的root密码
# /usr/bin/mysql
Welcome to the MySQL monitor. Commands end with ; or \g.
Your MySQL connection id is 3 to server version: 3.23.56
Type ‘help;’ or ‘\h’ for help. Type ‘\c’ to clear the buffer.
mysql> USE mysql ;
Reading table information for completion of table and column names
You can turn off this feature to get a quicker startup with -A
Database changed
mysql> UPDATE user SET Password = password ( ‘new-password’ ) WHERE User = ‘root’ ;
Query OK, 0 rows affected (0.00 sec)
Rows matched: 2 Changed: 0 Warnings: 0
# 上面那个过程需要注意一下,如果mysql版本是5.7的话,会提示无password字段。因为在5.7之后,
# 被authentication_string字段替代了,应该写成
# UPDATE user SET authentication_string= password ( ‘new-password’ ) WHERE User = ‘root’ ;。但是需要还注意
# 一点后面那个password是个命令,不能改,千万不要写成了
# UPDATE user SET authentication_string= authentication_string( ‘new-password’ ) WHERE User = ‘root’ ;
mysql> flush privileges ;
Query OK, 0 rows affected (0.01 sec)
mysql> quit
Bye
5.将MySQL的登录设置修改回来
# vi /etc/my.cnf
将刚才在[mysqld]的段中加上的skip-grant-tables删除
保存并且退出vi。
6.重新启动mysqld
# /etc/init.d/mysqld restart
Stopping MySQL: [ OK ]
Starting MySQL: [ OK ]
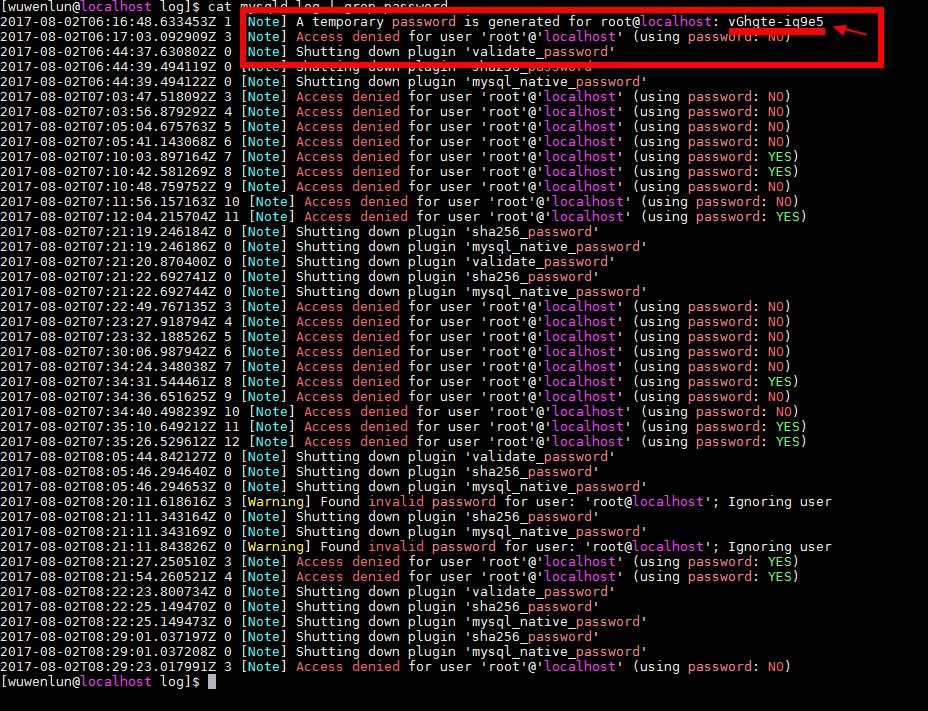
参考点:有同事告诉我,在安装后,mysql会随机生成一个默认密码。默认密码可以在/var/log/mysqld.log文件里找到。执行cat /var/log/mysqld.log。得到结果如下图:
补充:在上面的修改默认密码方法中,其实不行。只能通过命令:mysql -u root -p登录进去mysql。却没有缺陷进入数据库,比如use recruit(假如存在),会出现需要重置密码的提示。所以此时还需要重新具体的密码,通过如下命令来修改:
ALTER USER 'root'@'localhost' IDENTIFIED BY 'root_JUST_666';
那么此时的登录密码就是:root_JUST_666。


 1488
1488


 被折叠的 条评论
为什么被折叠?
被折叠的 条评论
为什么被折叠?
 到【灌水乐园】发言


