


【过年了,每天发一篇以前的存货,一共七篇。】
思路是,先用源,安装好php5和php5所依赖的所有项目,再安装phpbrew,通过phpbrew管理php版本,并安装7.0.0。
首先安装一些依赖
apt-get install gcc
apt-get install libmcrypt-dev libreadline-dev
安装php5所依赖的所有项目
apt-get build-dep php5-cli
其中还包括mysql,会让你输入mysql的root密码。
安装完成后,查看此时的php版本,发现是php5.6.14(debian8的系统,源也算新)

curl -L -O https://github.com/phpbrew/phpbrew/raw/master/phpbrew
chmod +x phpbrew
sudo mv phpbrew /usr/local/bin/phpbrew
phpbrew init
好,实际上就是下载了phpbrew的可执行文件并放到PATH里。
然后将以下命令加入.bashrc,再使.bashrc生效:
[[ -e ~/.phpbrew/bashrc ]] && source ~/.phpbrew/bashrc
使之生效:
source ~/.bashrc
利用phpbrew编译安装php7.0.0:
phpbrew install 7.0.0 +default
OK,然后你即可享受美妙的安装过程了。
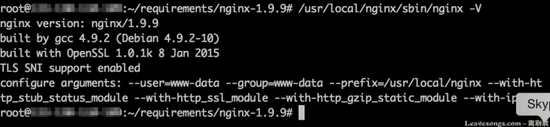
编译nginx,老套路了:
./configure --user=www-data --group=www-data --prefix=/usr/local/nginx --with-http_stub_status_module --with-http_ssl_module --with-http_gzip_static_module --with-ipv6
make -j2
make install
debian使用systemd管理服务,我先创建一个nginx的配置文件
[Unit]
Description=The nginx HTTP and reverse proxy server
After=syslog.target network.target remote-fs.target nss-lookup.target
[Service]
Type=forking
PIDFile=/usr/local/nginx/logs/nginx.pid
ExecStartPre=/usr/local/nginx/sbin/nginx -t
ExecStart=/usr/local/nginx/sbin/nginx -c /usr/local/nginx/conf/nginx.conf
ExecReload=/bin/kill -s HUP $MAINPID
ExecStop=/bin/kill -s QUIT $MAINPID
PrivateTmp=true
[Install]
WantedBy=multi-user.target
启动起来,没问题:
systemctl start nginx.service

之后在检查php环境的时候,发现居然没装fpm。于是还得『返厂检修』,重新编译,装fpm。(之后发现gd库安装的时候不支持ttf和jpeg,所以这里也要进行一些修改)
phpbrew install 7.0.0 +default+fpm+mysql+intl -- --with-jpeg-dir=/usr --with-png-dir=/usr --with-gd=shared --enable-gd-natf --enable-gd-native-ttf --with-freetype-dir=/usr
重新编译好以后,就可以一键启动php7-fpm了。
phpbrew fpm start
phpbrew fpm stop
出错,提示是没有fpm pool,原来pool还得我自己配置:
cd /root/.phpbrew/php/php-7.0.0/etc/php-fpm.d/
cp www.conf.default www.conf
将www.conf中,user和group和listen-user和listen-group改成www-data,listen的9000端口改成unix域套接字:listen = /var/run/php7-fpm.sock
再启动就OK了。
nginx配置文件中将php-fpm加上:
location ~ \.php$ {
root html;
fastcgi_pass unix:/var/run/php7-fpm.sock;
fastcgi_index index.php;
include fastcgi.conf;
}
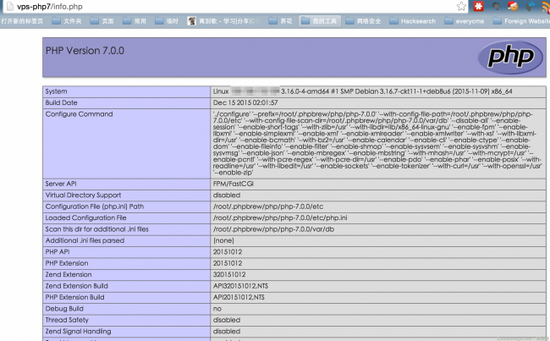
在/usr/local/nginx/html里加上php代码,就可以成功访问phpinfo了:


 1万+
1万+


 被折叠的 条评论
为什么被折叠?
被折叠的 条评论
为什么被折叠?
 到【灌水乐园】发言


