


 本文介绍了如何在PostgreSQL 9.x版本中利用pgAgent创建定时任务。首先,通过PostgreSQL Application Stack Builder安装pgAgent,然后配置安装过程中所需的数据库和Windows用户账号。接着,创建名为Job1的Job,设置Schedule schedule1,使其每30分钟执行一次。最后,定义Job1的执行内容,包括选择执行数据库、设置执行类型为SQL以及处理错误的方式。完成这些步骤后,可以通过pgAdmin监控Job1的运行状态。
使用Postgresql自带的pgAgent,可以很方便地创建定时执行任务。现在网上的资料都比较旧,Postgresql版本更新得比较快,导致网上的一些教程都不合用了,现在我写分享一下自己的经验。
Postgresql的版本是 9.X
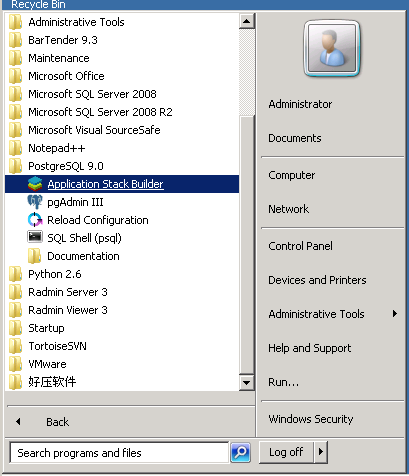
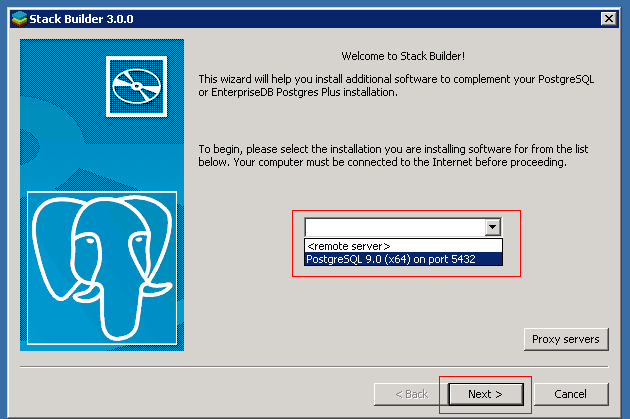
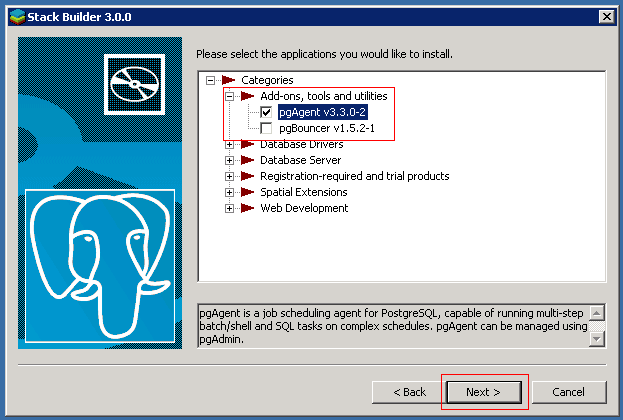
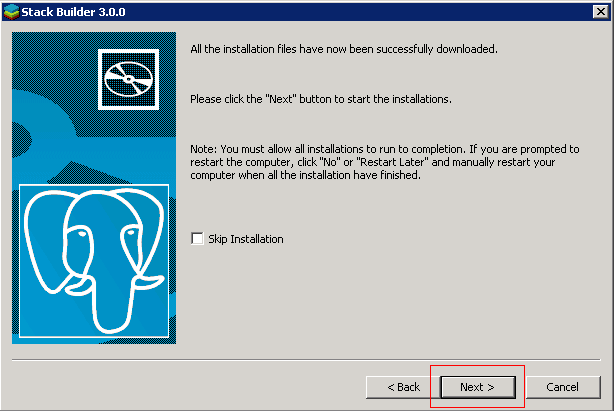
1.安装pgAgent。pgAgent在以前旧的版本是pgAdmin自带的,但新版本的pgAgent是需要通过Postgresql自带的Application Stack Builder这个软件来安装的。具体流程如下:
[](http://static.oschina.net/uploads/space/2013/0503/172202_LlTL_94610.png)
[](http://static.oschina.net/uploads/space/2013/0503/172233_ceXM_94610.png)
[](http://static.oschina.net/uploads/space/2013/0503/172248_eekN_94610.png)
[](http://static.oschina.net/uploads/space/2013/0503/172304_bGxr_94610.png)
[](http://static.oschina.net/uploads/space/2013/0503/172318_uRxU_94610.png)[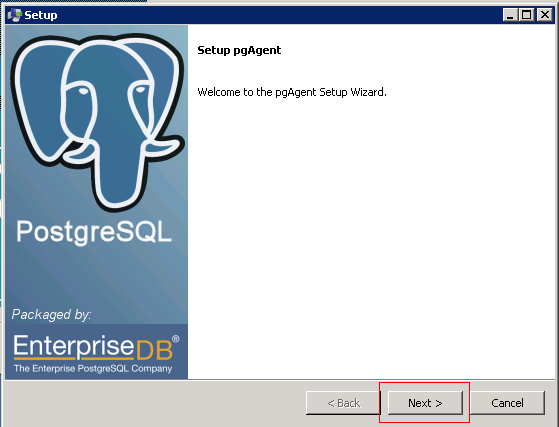](http://static.oschina.net/uploads/space/2013/0503/172337_iJqX_94610.png)
[](http://static.oschina.net/uploads/space/2013/0503/172352_SDSo_94610.png)
[](http://static.oschina.net/uploads/space/2013/0503/172427_Vuth_94610.png)
[](http://static.oschina.net/uploads/space/2013/0503/172444_l9bS_94610.png)
*在这里要填写Postgresql的postgres的用户名密码,或者具有操作postgres这个数据库权限的用户账号。因为pgAgent需要在postgres这个数据库里面创建相应的表,所以这里填写的用户必须需要有操作postgres这个数据库的权限,在这里就用最大权限的postgres用户。
[](http://static.oschina.net/uploads/space/2013/0503/173100_qMCL_94610.png)
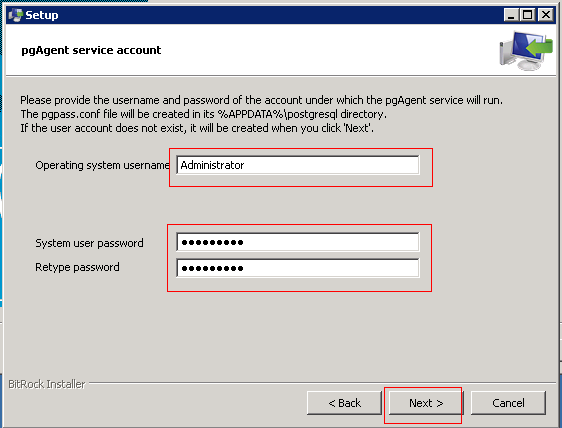
*在这里是埴写执行pgAgent的windows用户账号,如果是域用户,请填写完整的域用户名和密码。因为pgAgent会在windows的服务里面添加一个叫“PostgreSQL Scheduling Agent - pgAgent”的服务,而这个服务需要登录后才能运行,所以这里填写的账号必须是当前widnows可以登录的账号。
[](http://static.oschina.net/uploads/space/2013/0503/173442_ODAv_94610.png)
[](http://static.oschina.net/uploads/space/2013/0503/173500_Yzuj_94610.png)[](http://static.oschina.net/uploads/space/2013/0503/173520_aRKS_94610.png)
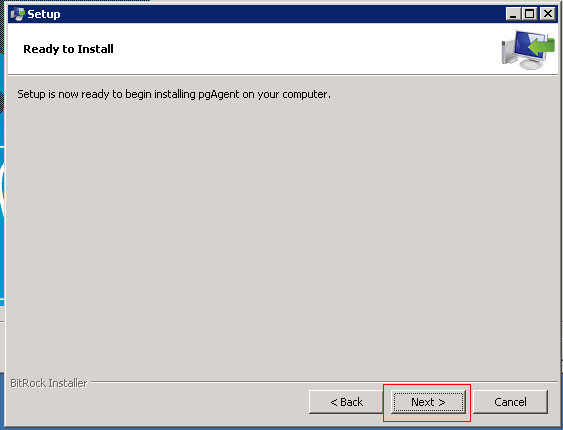
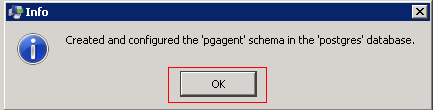
[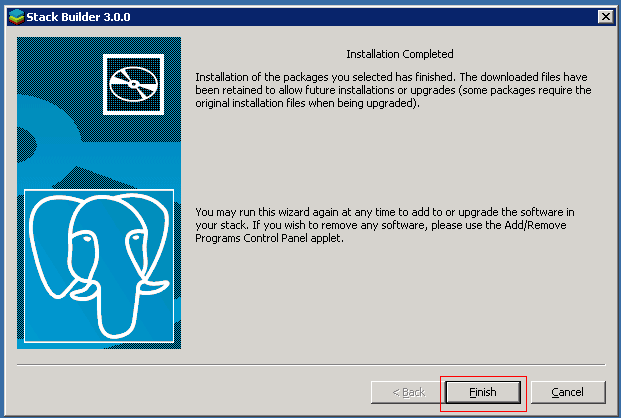](http://static.oschina.net/uploads/space/2013/0503/173532_Z3ef_94610.png)
来到这里,就表示pgAgent已经成功安装了。可以到windows的服务里面看一下pgAgent的服务添加没有,是否在运行:
[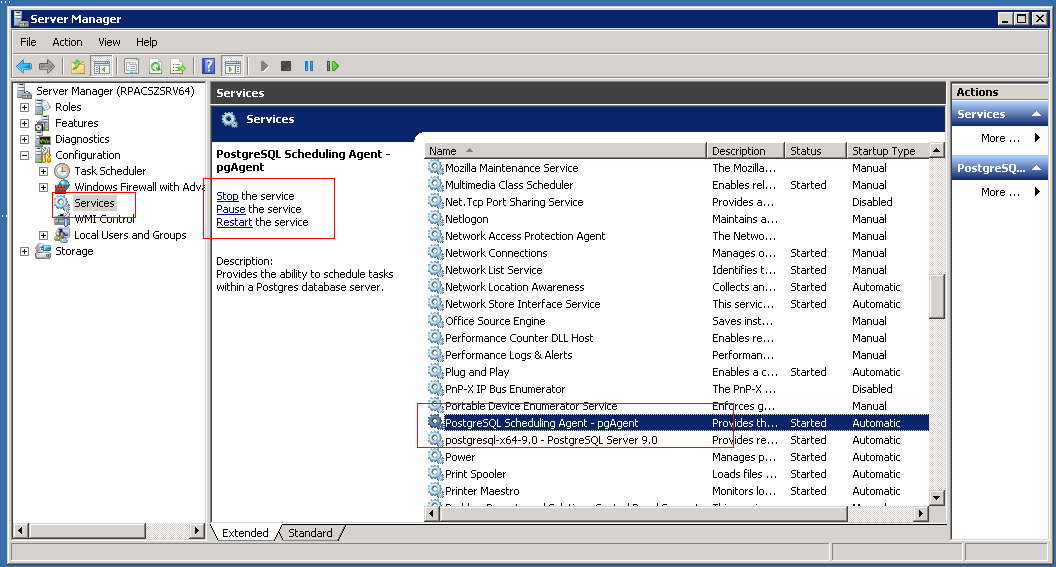](http://static.oschina.net/uploads/space/2013/0503/173619_GBna_94610.png)
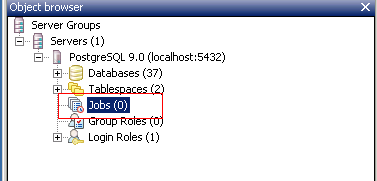
2.创建Job. 当成功安装pgAgent,并且pgAgent已经在正常运行后,接下来的任务就是创建定时执行任务。Postgresql的定时任务的概念分为两个部分:Schedule和Step。 Schedule是定时器,配置这个Job什么时候执行。而Step是执行任务的内容。通过这两部分结合,就可以配置这个Job什么时候做什么。一个Job可以有多个Schedule和多个Step,他们是叠加的作用。
具体操作如下:
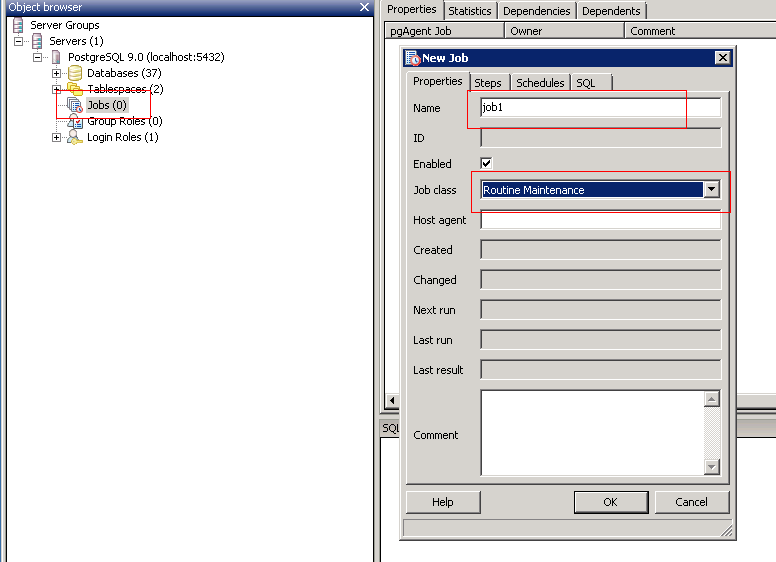
新建一个Job,命名为Job1,设置Job Class为Routine Maintenance,并且勾选前面的Enabled。
[](http://static.oschina.net/uploads/space/2013/0503/174022_quzc_94610.png)
[](http://static.oschina.net/uploads/space/2013/0503/174037_RaSw_94610.png)
为job1添加Schedule,命名为schedule1,勾选Enabled,然后设置开始和结束时间。如果结束时间不填,就表示这个Job会无止境地运行下去。然后在Times这个Tab的Minutes部分,勾选 00 和 30 ,这里表示这个job1会在每个小时的整点(00),和半点(30)执行。也就是每隔30分钟执行一次。如果只勾选 30, 就表示每个小时的30分钟执行,例如 4:30,5:30,这就是每隔一个小时执行一次了。其它的Hours,Week Days,Month Days,Months的概念是相同的。
[](http://static.oschina.net/uploads/space/2013/0503/174312_uF5y_94610.png)[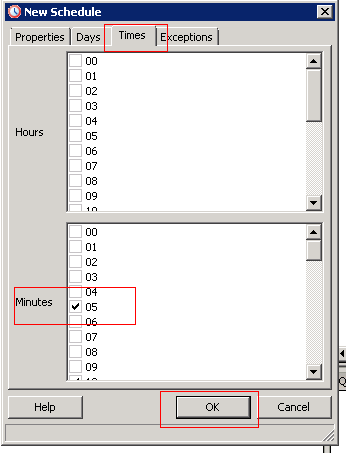](http://static.oschina.net/uploads/space/2013/0503/174434_PXWN_94610.png)
另外Exceptions Tab是例外的情况,就是当这种情况的时候就不会执行这个Job。
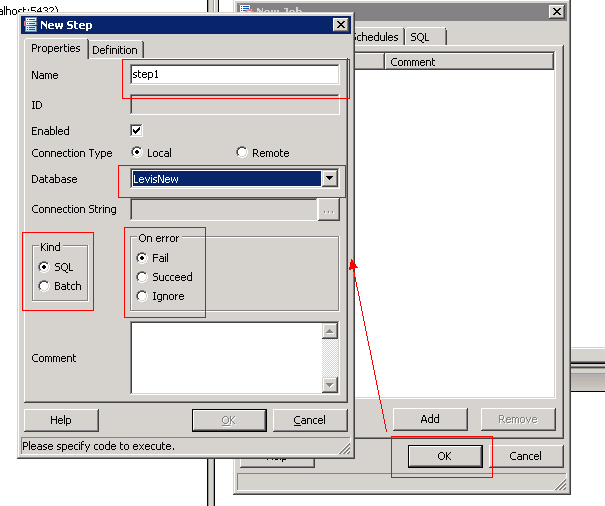
然后就是为job1添加执行的内容。现在添加一个Step,命名为step1。勾选Enabled。然后选择需要执行这个job的数据库。另外还需要注意Kind部分和On Error部分。Kind部分是指明执行这个job是SQL还是batch类型。job除了可以运行SQL,还可以运行windows的batch命令。在这个例子中我们选用SQL。在On Error部分,表示当执行这个job出现错误的时候,是停止(Fail),是正常(Succeed),还是忽略(Ignore)。现在这个例子选用Fail,就表示当执行的内容一出错,就停止运行,退出。
[](http://static.oschina.net/uploads/space/2013/0503/175138_fFeZ_94610.png)
现在就是定义job1需要执行的SQL,一般建议把这些SQL写在一个事务中,这样就算job1运行失败,都不会影响到数据。
[](http://static.oschina.net/uploads/space/2013/0503/175743_u5HW_94610.png)
到这一步,job1就基本创建完成了。
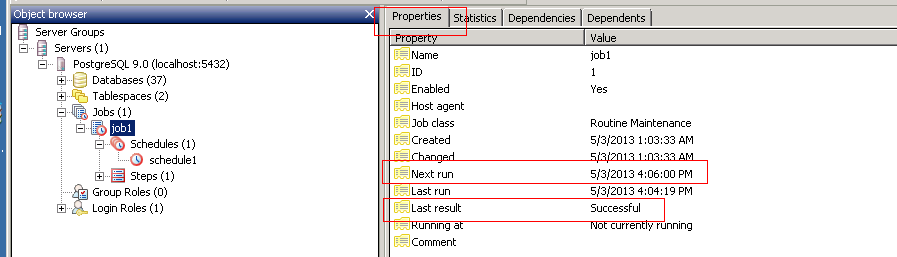
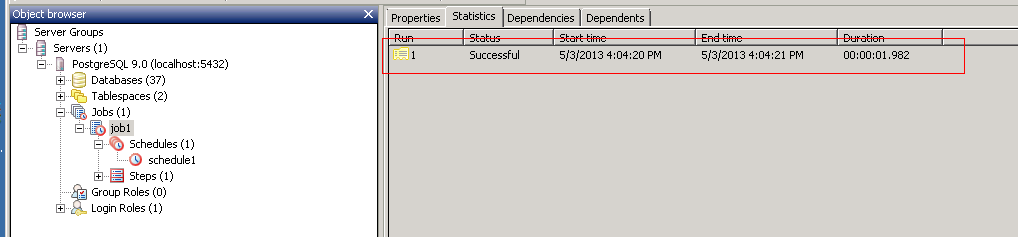
现在要监视job1的运行状态,可以通过pgAdmin,在job1的Properties Tab,可以看到job1下次运行的时间,上次运行的时间,结果,当前是否在运行。还可以通过 Statistics Tab,查看job1运行的次数。
[](http://static.oschina.net/uploads/space/2013/0503/180025_KCsX_94610.png)
[](http://static.oschina.net/uploads/space/2013/0503/180155_St61_94610.png)
好了,到这里,如何用pgAgent创建定时任务的介绍就完了。以后再有更深入的探讨,再给大家介绍。
谢谢


 339
339

 被折叠的 条评论
为什么被折叠?
被折叠的 条评论
为什么被折叠?
 到【灌水乐园】发言


