


 本文大致介绍了pillow, dlib,face_recognition 包的安装及使用,以及深度学习中人脸识别的简单运用。
环境搭建
简单的人脸识别
环境搭建
Anaconda 、Python 和 Pycharm 的安装和调试本文不做过多的赘述,不太了解的小伙伴可以在上一篇AI宝宝接生指南中看到。 安装 pillow 、face_recognition 包也可参照上一篇文章,如果报错缺失环境文件,建议按照下面步骤先安装Cmake、c++ build tools 和 dlib。 因为用直接安装的方法安装 dlib 很可能会报错,所以这里就简单的介绍一下。 由于dlib包中有c语言编译成分所以安装它的时候系统中必须要有适配的C++编译器。 官网下载: https://visualstudio.microsoft.com/visual-cpp-build-tools/ 下载完成后打开安装包,稍等片刻,进入应用界面后默认勾选红框内的选项,然后点击右下角安装。
友情提示:在工具栏的第三个选项可以安装中文的适配包,安装完成后,会提示需要重启。电脑重启后即可完成安装。
下载完成后打开安装包,稍等片刻,进入应用界面后默认勾选红框内的选项,然后点击右下角安装。
友情提示:在工具栏的第三个选项可以安装中文的适配包,安装完成后,会提示需要重启。电脑重启后即可完成安装。

 重启后我们打开Pycharm,新建一个工程文件或 python 文件,或者在 github 上提前下载好需要运行的的代码,然后直接在右下角选取合适的编译环境。
 打开左下角第三栏的terminal,依次输入以下代码,友情提示这个过程可能会有点慢。
pip install cmakepip install dlibpip install face-recognitionpip install pillow简单的人脸识别
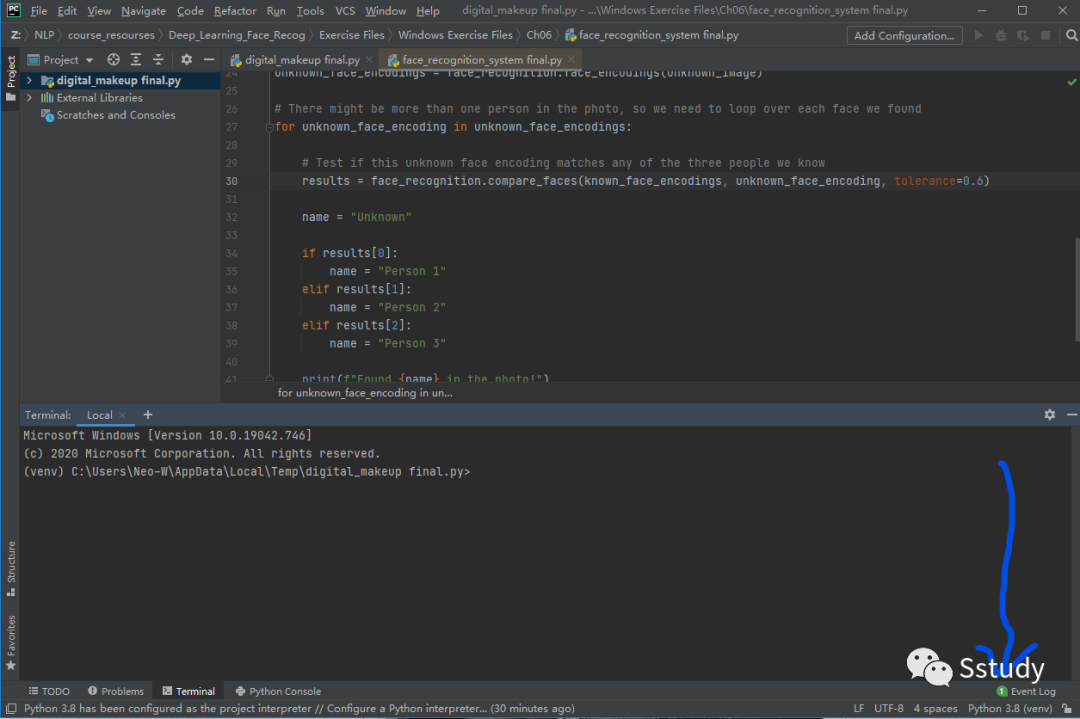
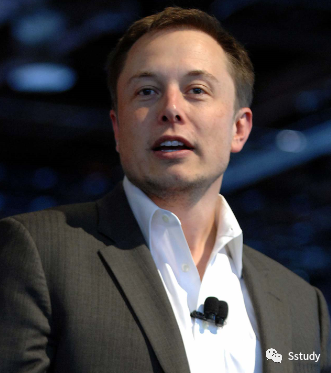
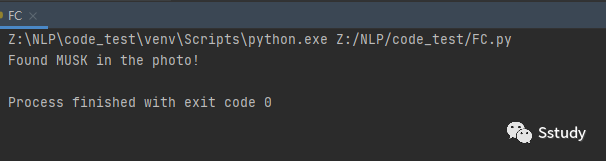
因为face_reccognition包不支持读取在线的图片文件,所以我们先把要要识别的图片下载到本地目录。import face_recognitionimport requests#这里的链接你可以改成网上任意的照片链接,只要保证后缀是.jpg或.png计算机可读取即可response = requests.get("https://raw.githubusercontent.com/neowalter/Neural_network/main/pics/MUSK.jpg")file = open("MUSK.jpg", "wb")file.write(response.content)file.close()response = requests.get("https://raw.githubusercontent.com/neowalter/Neural_network/main/pics/MHT.jpg")file = open("MHT.jpg", "wb")file.write(response.content)file.close()response = requests.get("https://raw.githubusercontent.com/neowalter/Neural_network/main/pics/Elon-Musk-2010.jpg")file = open("p3.jpg", "wb")file.write(response.content)file.close()MUSK = face_recognition.load_image_file("MUSK.jpg")MHT = face_recognition.load_image_file("MHT.jpg")# Get the face encoding of each person. This can fail if no one is found in the photo.musk_face_encoding = face_recognition.face_encodings(MUSK)[0]mht_face_encoding = face_recognition.face_encodings(MHT)[0]# Create a list of all known face encodingsknown_face_encodings = [ musk_face_encoding, mht_face_encoding,]# Load the image we want to checkunknown_image = face_recognition.load_image_file("p3.jpg")# Get face encodings for any people in the pictureface_locations = face_recognition.face_locations(unknown_image, number_of_times_to_upsample=2)unknown_face_encodings = face_recognition.face_encodings(unknown_image, known_face_locations=face_locations)# There might be more than one person in the photo, so we need to loop over each face we foundfor unknown_face_encoding in unknown_face_encodings: # Test if this unknown face encoding matches any of the three people we know results = face_recognition.compare_faces(known_face_encodings, unknown_face_encoding, tolerance=0.6) name = "Unknown" if results[0]: name = "MUSK" elif results[1]: name = "MHT" print(f"Found {name} in the photo!")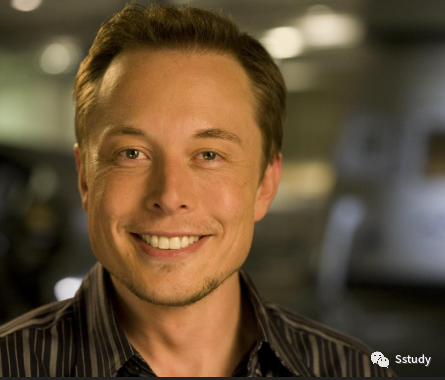 供识别图片
供识别图片
 很好,我们的代码有效的识别出了MUSK!
 感兴趣的朋友也可以用自己的照片来试试
。
感兴趣的朋友也可以用自己的照片来试试
。
 精彩推荐
精彩推荐
数据分析的Python之路
IT项目管理
NLP学习笔记


 被折叠的 条评论
为什么被折叠?
被折叠的 条评论
为什么被折叠?
 到【灌水乐园】发言


