 使用matplotlib美化日期轴


 该博客介绍了如何使用matplotlib库中的fig.autofmt_xdate()函数优化日期轴的显示,以获得更清晰的图表。示例代码展示了一种将日期转换为datetime对象并绘制散点图的方法,然后通过调整日期标签来改善视觉效果。尽管存在一些不足,但这种方法提供了一个基本的解决方案。
首先,您可以使用fig.autofmt_xdate()函数自动处理xtick标签,这是最简单的方法。在
所以你会得到这样的东西:import datetime as dt
import matplotlib.dates as mdates
from matplotlib import pyplot
from random import randint
array1 = ['2014-10-28', '2014-11-17', '2014-09-29', '2014-10-17', '2014-10-22']
array2 = [1,4,5,6,9]
dates = ["2014-{month:0>2d}-{day:0>2d}".format(month=m, day=d) for m in [1,5] for d in range(1,32)]
dates = [dt.datetime.strptime(d, '%Y-%m-%d').date() for d in dates]
freqs = [randint(0,4) for _ in dates]
fig = pyplot.figure()
ax = fig.add_subplot(1,1,1)
ax.plot_date(dates, freqs, "ro")
fig.autofmt_xdate()
pyplot.show()
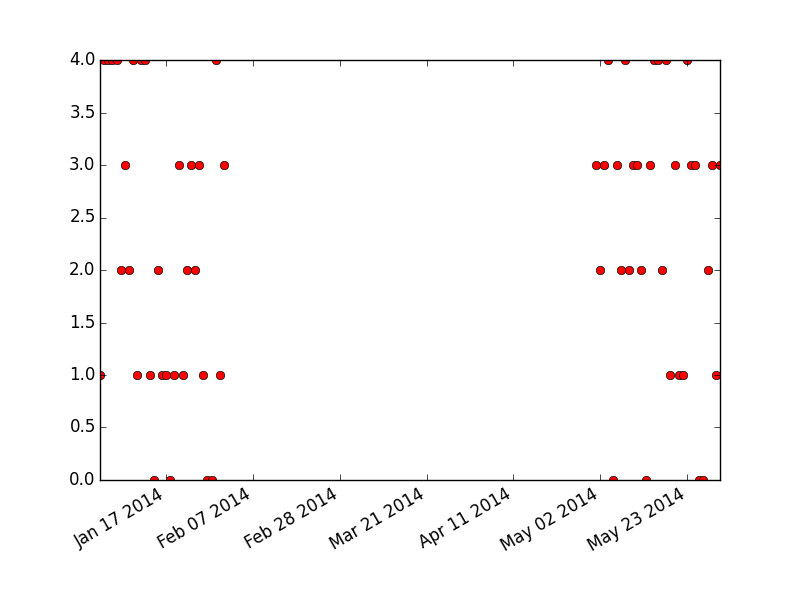
这仍然有很大的差距,你不希望,但勾号标签更好。在
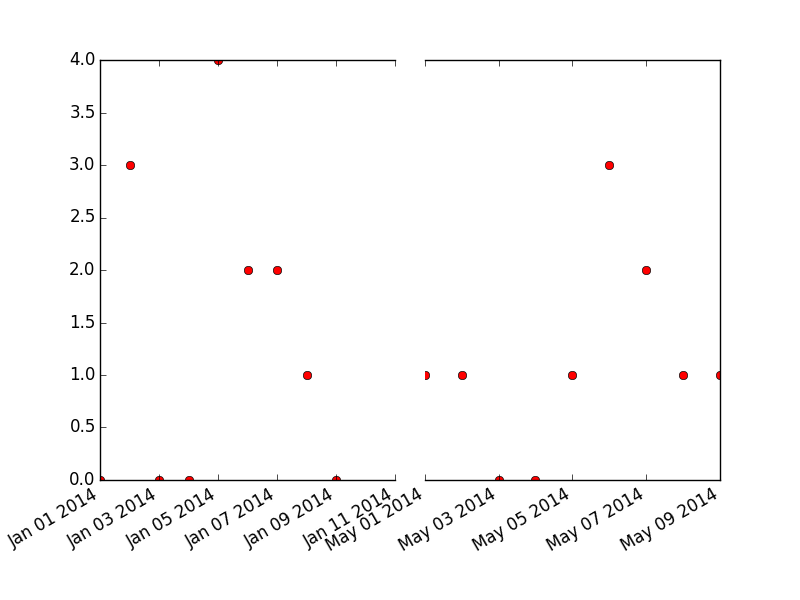
接下来,要处理分割,有几个选项,但它们还没有出现在主matplotlib中(据我所知)。这是通过实际绘制两个图,去掉中间的尖刺,并使用sharey选项来完成的:
^{pr2}$
还有一些额外的东西需要清理,但我想你明白了。在


 2176
2176

 被折叠的 条评论
为什么被折叠?
被折叠的 条评论
为什么被折叠?
 到【灌水乐园】发言


