


本文示例下载地址:https://github.com/cmyeyi/NetFramework.git
1、Volley简介
Volley是一个网络通信框架,在2013年的Google I/O被推出。
Volley是一个优秀的网路访问框架,即可以通过它访问普通的网络数据,如JSON格式的数据,也可以下载图片。
2、Volley的使用场景:
Volley适合进行数据量不大但是通信频繁的网络操作,而对于数据量比较大的网络操作其表现就很糟糕了,比如使用Volley经行下载文件操作等。
3、Volley的基本用法
3.1、Volley的引入
3.1.1 Volley的下载
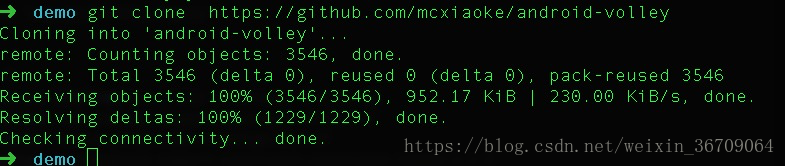
使用git命令下载一份Volley到本地
下载地址:https://github.com/mcxiaoke/android-volley
命令:git clone https://github.com/mcxiaoke/android-volley
3.1.2 新建一个android工程将Volle作为一个模块引入
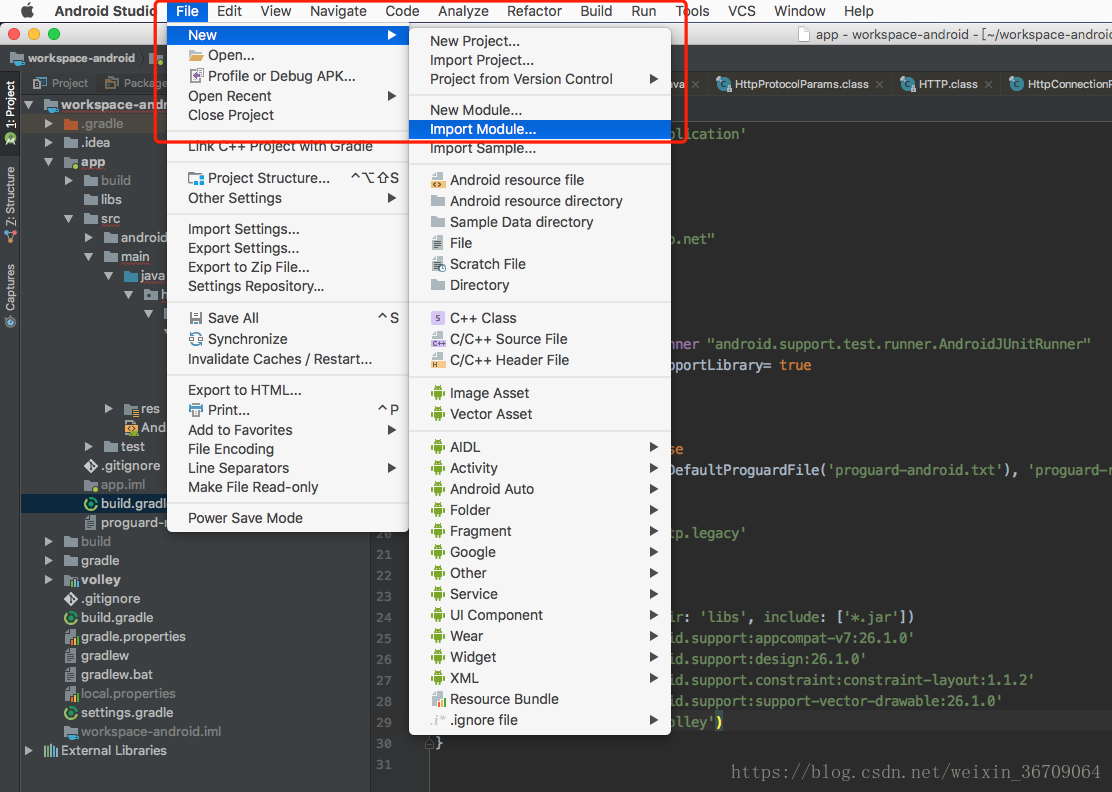
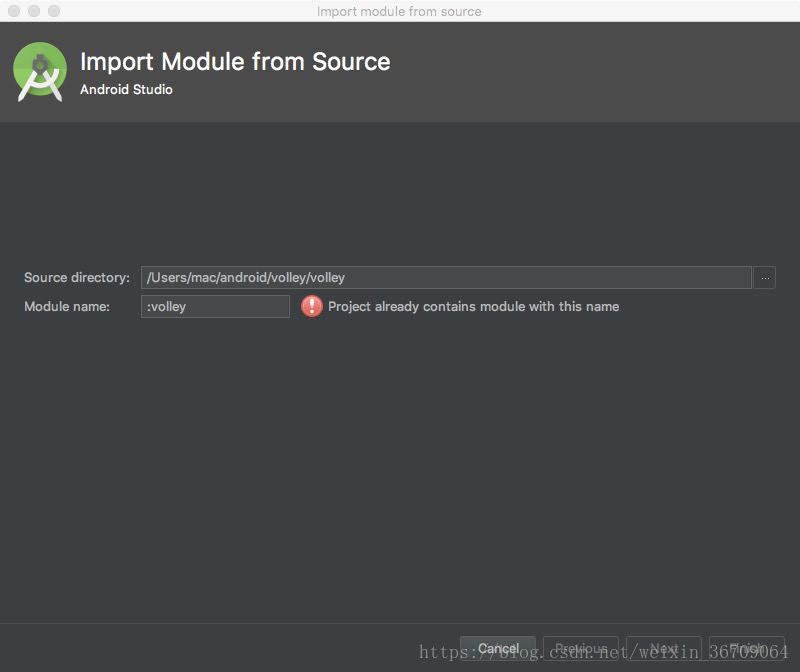
工程中的配置,一般在这样引入后AS会给我们自动配置
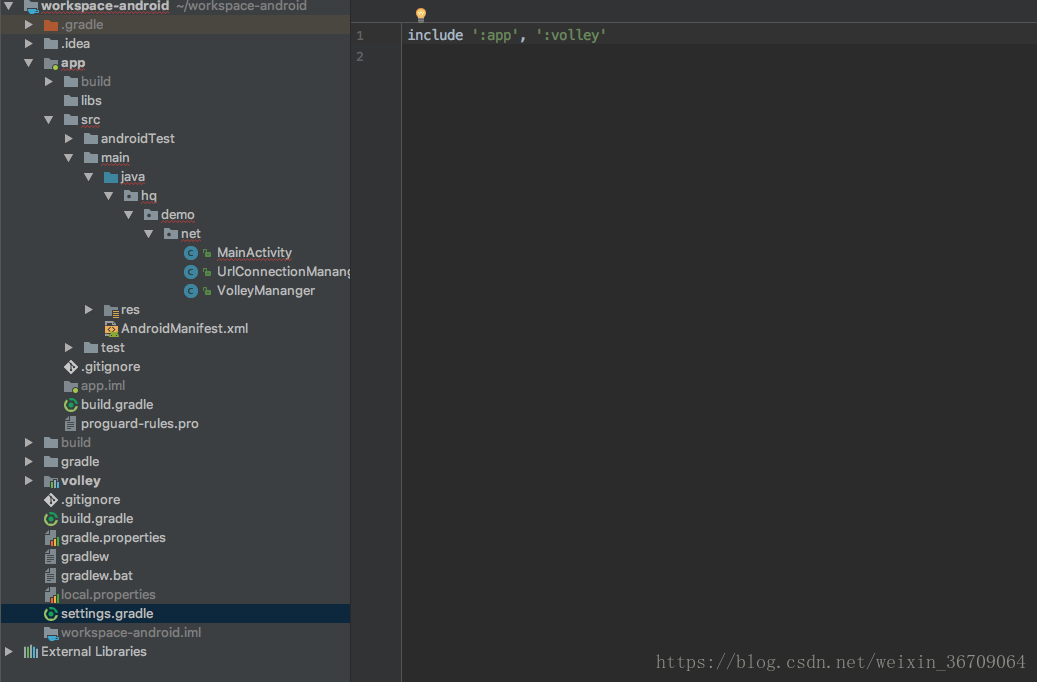
settings.gradle文件中配置如下
include ':app', ':volley'
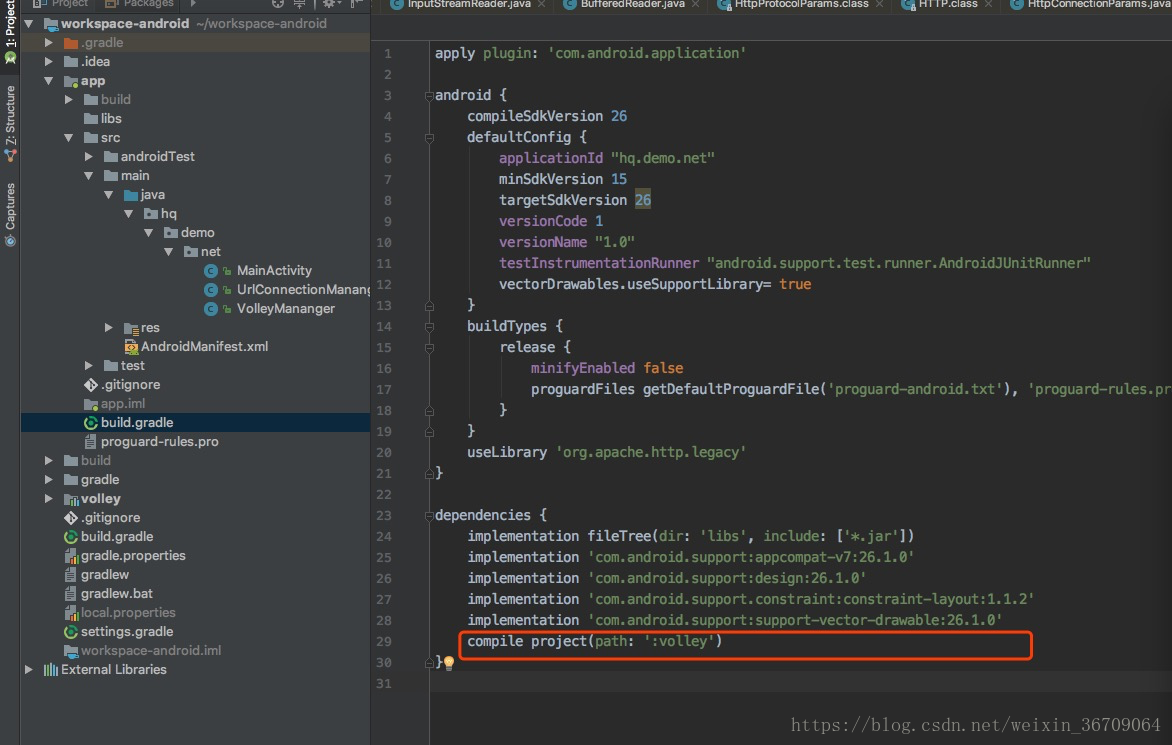
然后在app的builde.gradle文件中配置
dependencies {
    implementation fileTree(dir: 'libs', include: ['*.jar'])
    implementation 'com.android.support:appcompat-v7:26.1.0'
    implementation 'com.android.support:design:26.1.0'
    implementation 'com.android.support.constraint:constraint-layout:1.1.2'
    implementation 'com.android.support:support-vector-drawable:26.1.0'
    compile project(path: ':volley')
}
在引入Volley之后可能会抱一个错误:Error:Gradle DSL method not found: 'has()'
这是因为has()方法已经不能使用了,并且从Grandle3.0中移除了,使用 hasProperty() 或 ext.has() 方法代替。

经过以上配置就可以在项目中使用Volley了
3.1.3 Volley的基本使用
3.1.3.1实践 StringRequest private void testStringRequest() {
String url = "http://api.k780.com/?app=weather.history&weaid=1&date=2015-07-20&appkey=10003&sign=b59bc3ef6191eb9f747dd4e83c99f2a4&format=json";
RequestQueue queue = Volley.newRequestQueue(getApplicationContext());
StringRequest stringRequest = new StringRequest(Request.Method.GET, url, new Response.Listener<String>() {
@Override
public void onResponse(String response) {
Log.i("response:", response);
}
}, new Response.ErrorListener() {
@Override
public void onErrorResponse(VolleyError error) {
Log.e("error",error.getMessage());
}
}
);
queue.add(stringRequest);
}打印结果:
{
"success": "1",
"result": [
{
"weaid": "1",
"week": "星期一",
"cityno": "beijing",
"citynm": "北京",
"cityid": "101010100",
"uptime": "2015-07-20 00:50:00",
"temperature": "22℃",
"humidity": "97%",
"aqi": "101",
"weather": "晴",
"weather_icon": "http://api.k780.com/upload/weather/d/0.gif",
"wind": "东北风",
"winp": "1级",
"temp": "22",
"weatid": "1",
"windid": "13",
"winpid": "201",
"weather_iconid": "0"
},
{
"weaid": "1",
"week": "星期一",
"cityno": "beijing",
"citynm": "北京",
"cityid": "101010100",
"uptime": "2015-07-20 01:50:00",
"temperature": "22℃",
"humidity": "99%",
"aqi": "102",
"weather": "晴",
"weather_icon": "http://api.k780.com/upload/weather/d/0.gif",
"wind": "东北风",
"winp": "1级",
"temp": "22",
"weatid": "1",
"windid": "13",
"winpid": "201",
"weather_iconid": "0"
}
]
}
3.1.3.2实践 JsonRequest
在使用JsonRequest的之前我们需要先配置一下,因为我们需要将返回的json格式的数据转换成一个java实体类,所以首先我们需要根据json数据创建两个类,在浏览器上访问:
http://api.k780.com/?app=weather.history&weaid=1&date=2015-07-20&appkey=10003&sign=b59bc3ef6191eb9f747dd4e83c99f2a4&format=json从网页上将json数据复制,然后粘贴到:https://www.bejson.com/json2javapojo/这个工具中生成实体类&#
 最低0.47元/天 解锁文章


 1793
1793


 被折叠的 条评论
为什么被折叠?
被折叠的 条评论
为什么被折叠?
 到【灌水乐园】发言


