


福兮祸所伏,祸兮福所倚
今天初步了解了微服务 所以记录下 首先咱们来了解下什么是微服务架构和微服务
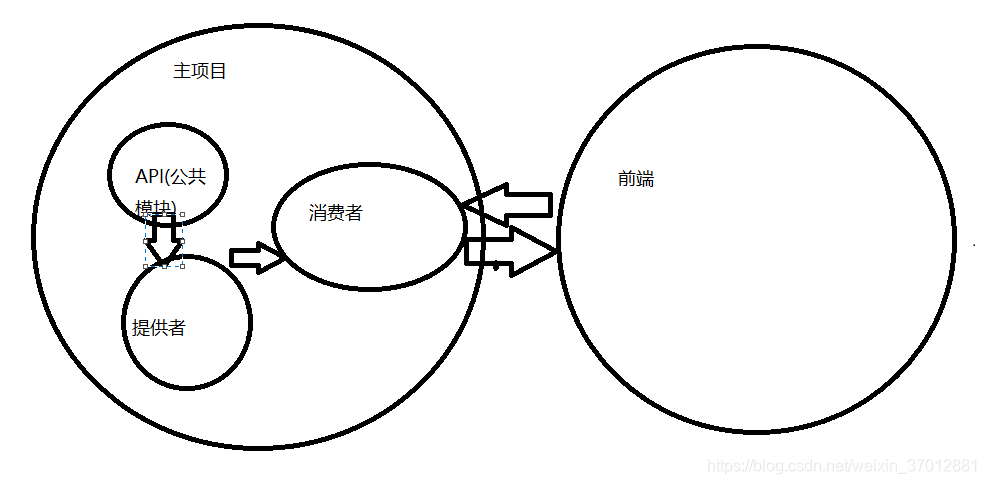
所谓的微服务架构:就是将之前开发的单一应用程序分成一个个的小服务 这个小的服务可以为理解为一个公共模块 就比如短信模块 这一个个的小服务可以在自己所属的进程中独立运行 服务之间通过http restful来进行通讯 相互协调 相互配合 而这一个个小服务就是微服务。
理解了这两个概念之后 咱们就开始咱们的搭建工作(这里我使用的idea来创建的) :
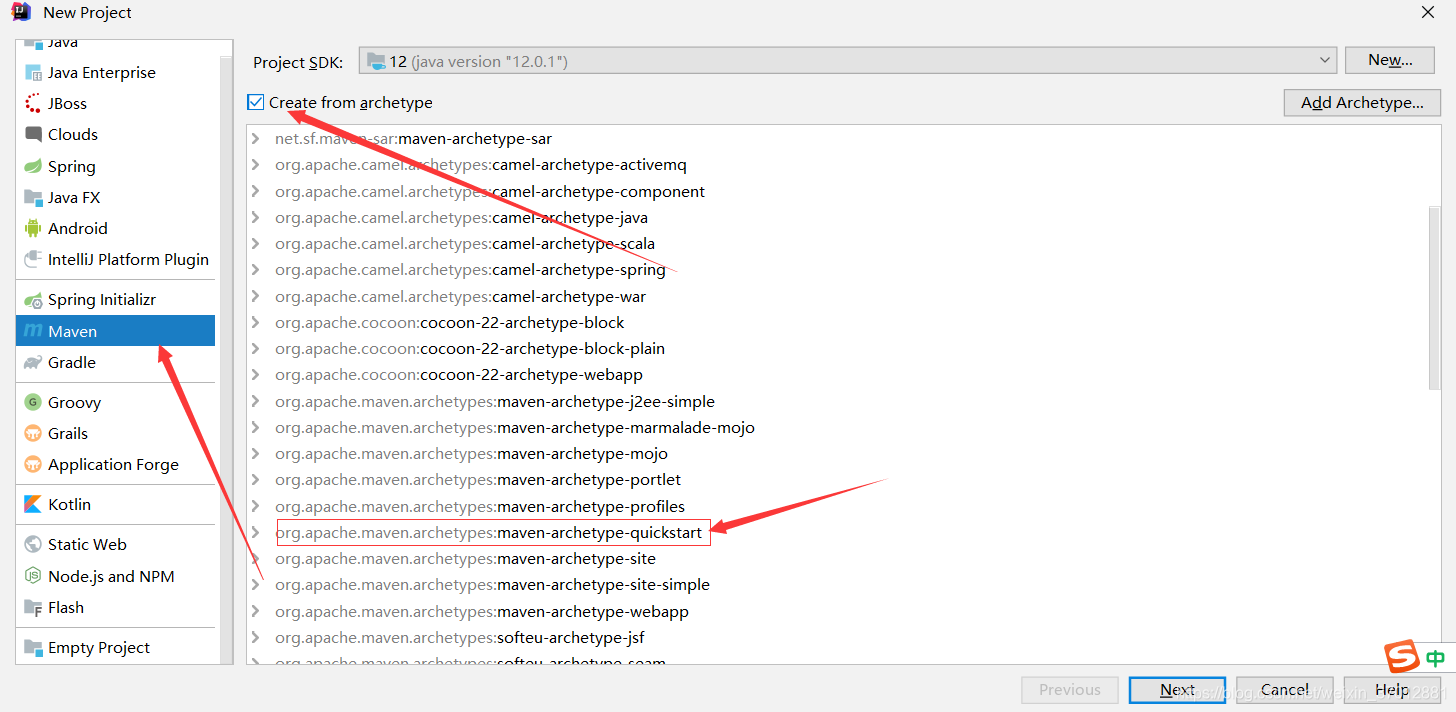
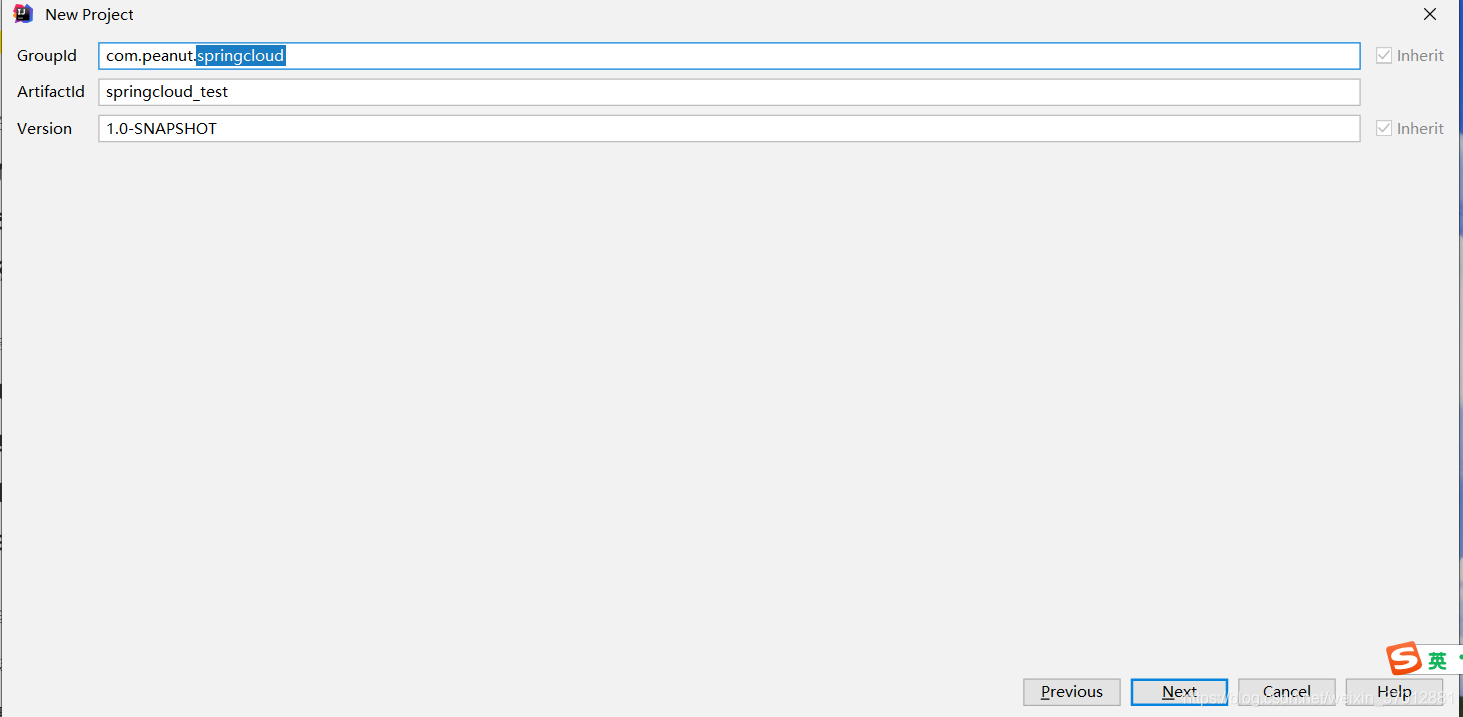
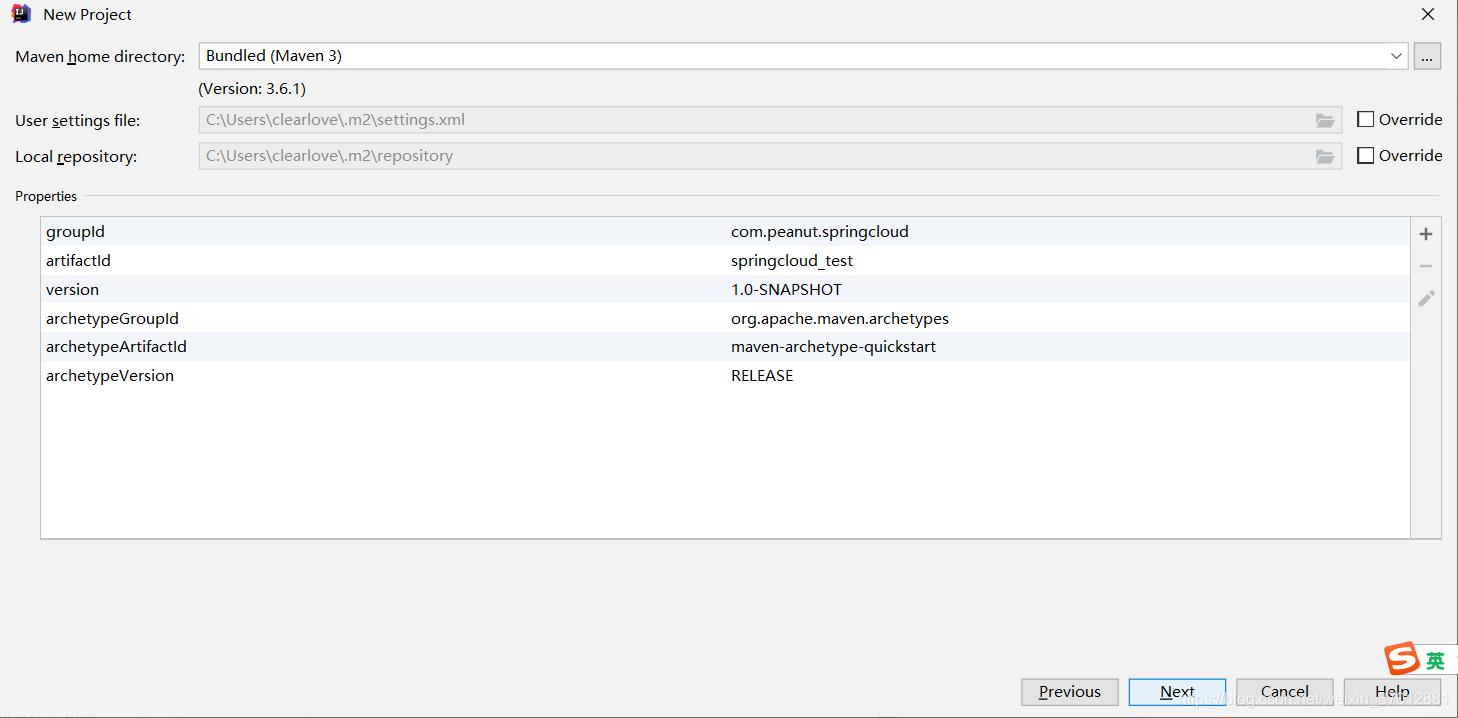
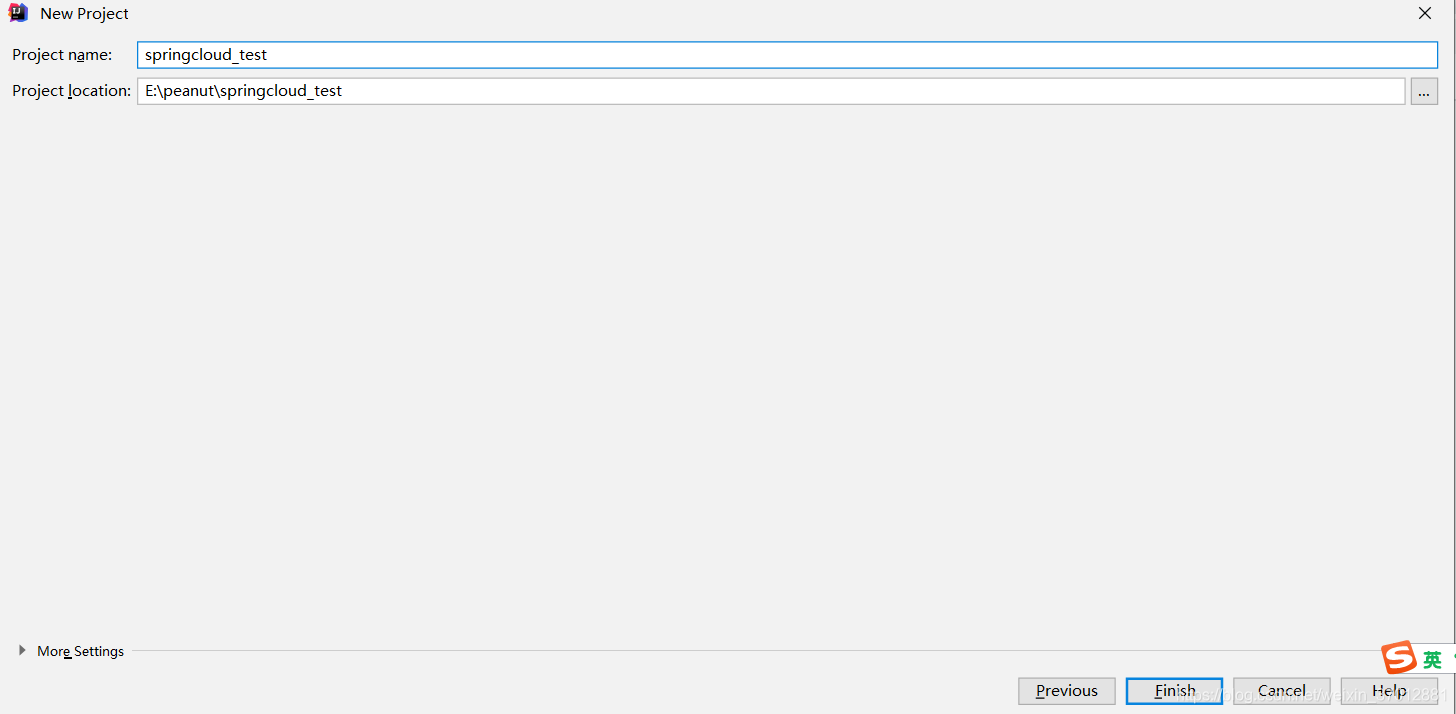
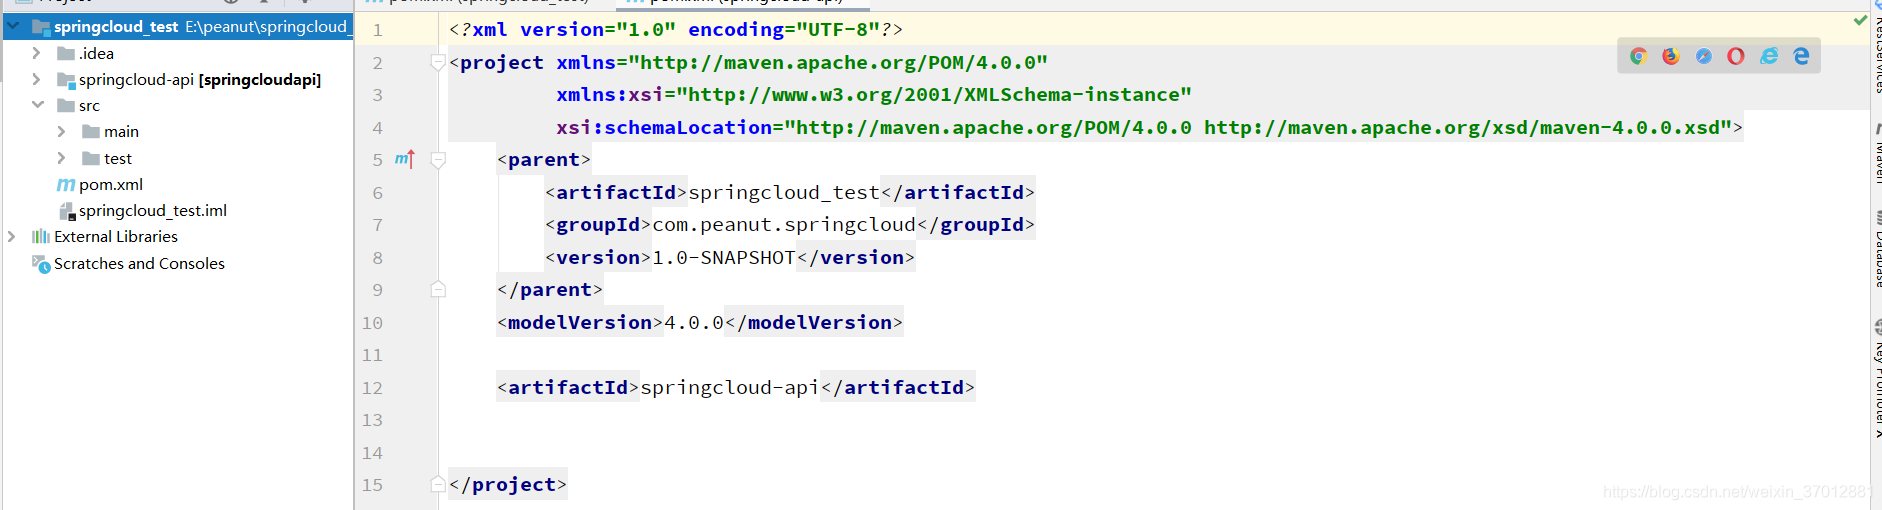
创建出项目是这样的 (我们的主程序)
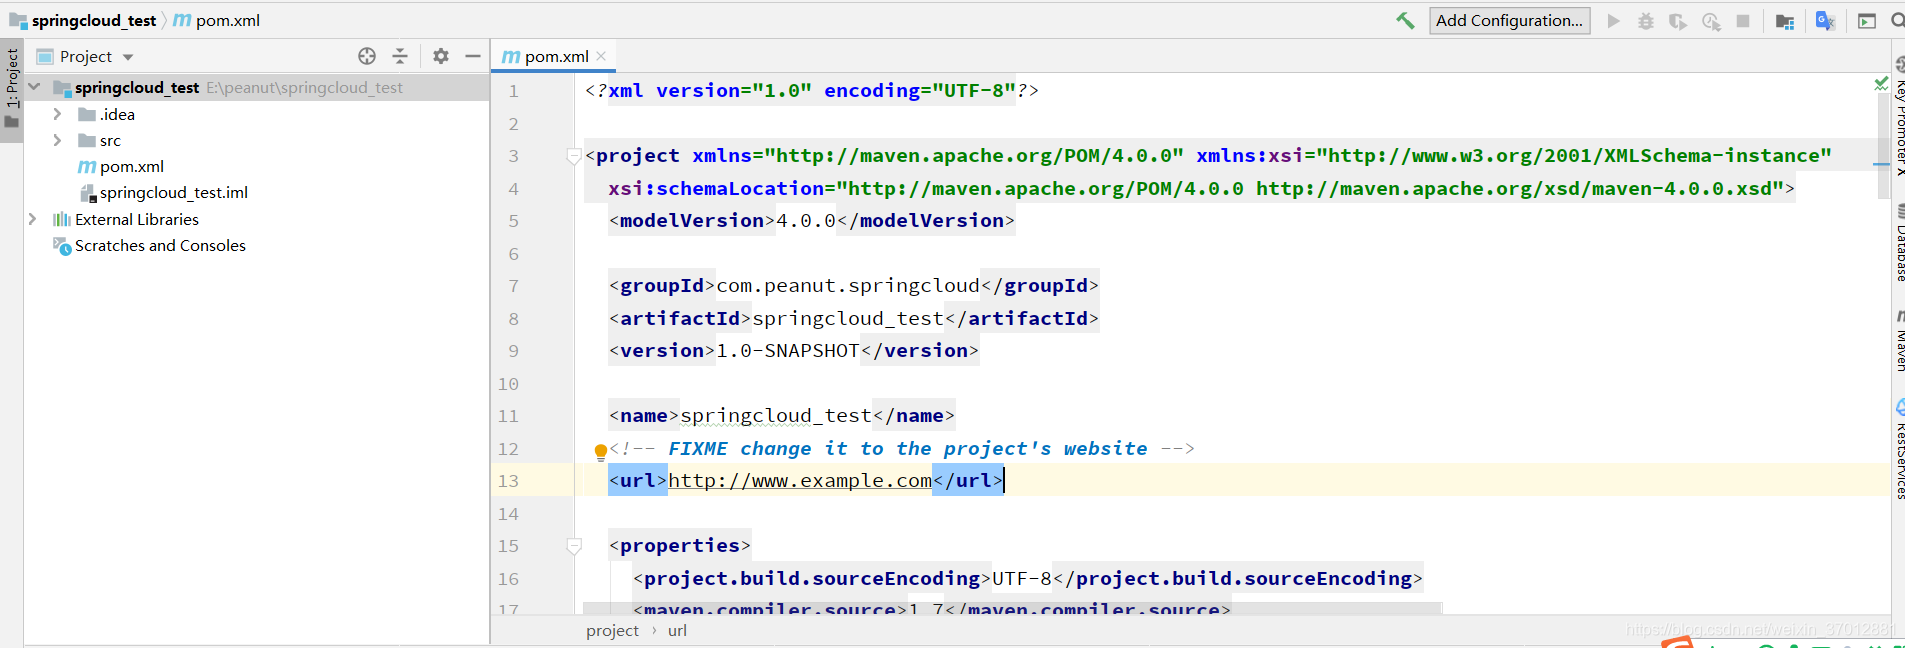
目前的话 对咱们有用就只有pom文件 我们需要引入我需要的依赖(根据自己的需要)你们也可以用我的 我把我的粘贴出来
<?xml version="1.0" encoding="UTF-8"?>

<project xmlns="http://maven.apache.org/POM/4.0.0" xmlns:xsi="http://www.w3.org/2001/XMLSchema-instance"
  xsi:schemaLocation="http://maven.apache.org/POM/4.0.0 http://maven.apache.org/xsd/maven-4.0.0.xsd">
  <modelVersion>4.0.0</modelVersion>

  <groupId>com.peanut.springcloud</groupId>
  <artifactId>springcloud_test</artifactId>
  <version>1.0-SNAPSHOT</version>

  <name>springcloud_test</name>
  <!-- FIXME change it to the project's website -->
  <url>http://www.example.com</url>

  <properties>
    <project.build.sourceEncoding>UTF-8</project.build.sourceEncoding>
    <junit.version>4.12</junit.version>
    <log4j.version>2.12.1</log4j.version>
    <lombok.version>1.18.6</lombok.version>
  </properties>
  <dependencyManagement>
    <dependencies>
      <dependency>
        <groupId>org.springframework.cloud</groupId>
        <artifactId>spring-cloud-dependencies</artifactId>
        <version>Greenwich.SR3</version>
        <!--        <version>Dalston.SR1</version>-->
        <type>pom</type>
        <scope>import</scope>
      </dependency>
      <dependency>
        <groupId>org.springframework.boot</groupId>
        <artifactId>spring-boot-dependencies</artifactId>
        <version>2.2.3.RELEASE</version>
        <type>pom</type>
        <scope>import</scope>
      </dependency>
      <dependency>
        <groupId>mysql</groupId>
        <artifactId>mysql-connector-java</artifactId>
        <version>8.0.16</version>
      </dependency>

      <dependency>
        <groupId>com.alibaba</groupId>
        <artifactId>druid</artifactId>
        <version>1.1.10</version>
      </dependency>
      <dependency>
        <groupId>org.mybatis.spring.boot</groupId>
        <artifactId>mybatis-spring-boot-starter</artifactId>
        <version>1.3.2</version>
      </dependency>
      <dependency>
        <groupId>ch.qos.logback</groupId>
        <artifactId>logback-core</artifactId>
        <version>1.2.3</version>
      </dependency>
      <dependency>
        <groupId>junit</groupId>
        <artifactId>junit</artifactId>
        <version>${junit.version}</version>
        <scope>test</scope>
      </dependency>
      <dependency>
        <groupId>log4j</groupId>
        <artifactId>log4j</artifactId>
        <version>${log4j.version}</version>
      </dependency>

    </dependencies>
  </dependencyManagement>

  <build>
    <pluginManagement><!-- lock down plugins versions to avoid using Maven defaults (may be moved to parent pom) -->
      <plugins>
        <!-- clean lifecycle, see https://maven.apache.org/ref/current/maven-core/lifecycles.html#clean_Lifecycle -->
        <plugin>
          <artifactId>maven-clean-plugin</artifactId>
          <version>3.1.0</version>
        </plugin>
        <!-- default lifecycle, jar packaging: see https://maven.apache.org/ref/current/maven-core/default-bindings.html#Plugin_bindings_for_jar_packaging -->
        <plugin>
          <artifactId>maven-resources-plugin</artifactId>
          <version>3.0.2</version>
        </plugin>
        <plugin>
          <artifactId>maven-compiler-plugin</artifactId>
          <version>3.8.0</version>
        </plugin>
        <plugin>
          <artifactId>maven-surefire-plugin</artifactId>
          <version>2.22.1</version>
        </plugin>
        <plugin>
          <artifactId>maven-jar-plugin</artifactId>
          <version>3.0.2</version>
        </plugin>
        <plugin>
          <artifactId>maven-install-plugin</artifactId>
          <version>2.5.2</version>
        </plugin>
        <plugin>
          <artifactId>maven-deploy-plugin</artifactId>
          <version>2.8.2</version>
        </plugin>
        <!-- site lifecycle, see https://maven.apache.org/ref/current/maven-core/lifecycles.html#site_Lifecycle -->
        <plugin>
          <artifactId>maven-site-plugin</artifactId>
          <version>3.7.1</version>
        </plugin>
        <plugin>
          <artifactId>maven-project-info-reports-plugin</artifactId>
          <version>3.0.0</version>
        </plugin>
      </plugins>
    </pluginManagement>
  </build>
</project>
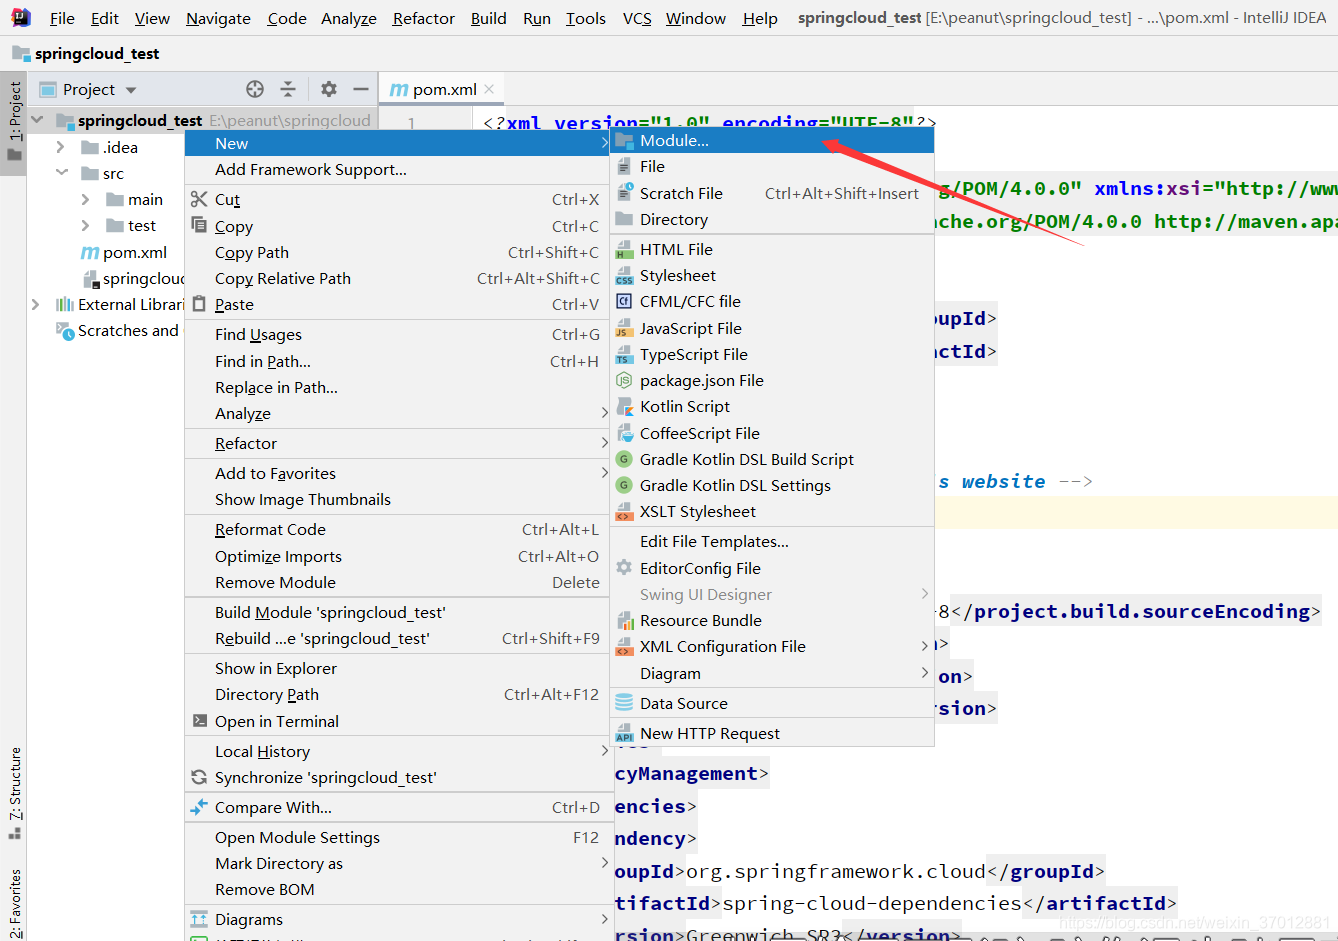
到这里的话 咱们的主项目 就创建好了
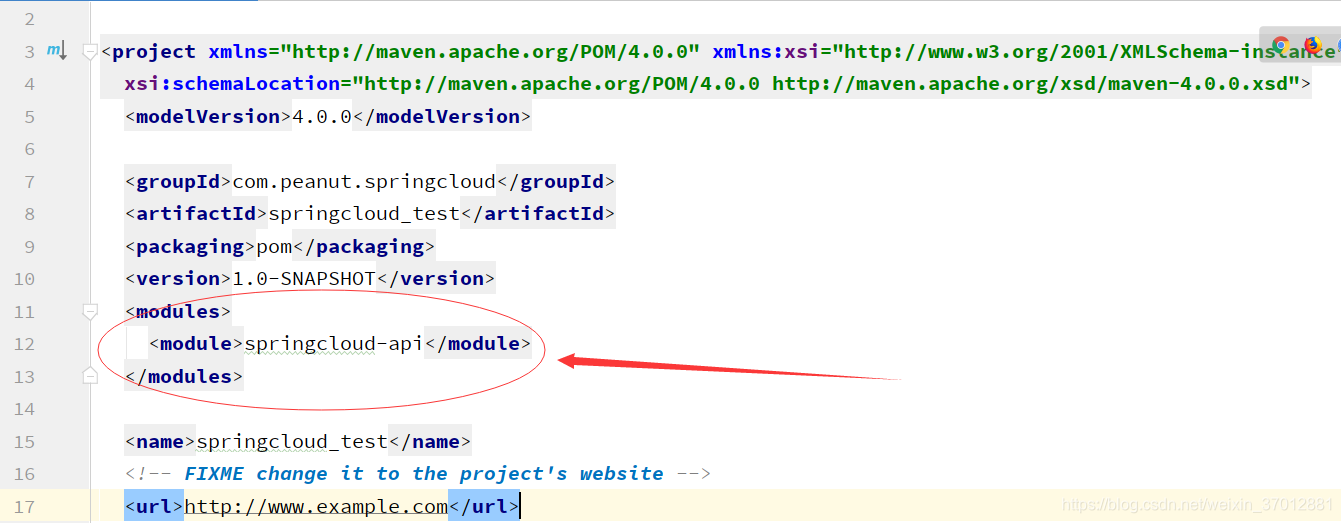
下面就在主项目下创建子项目 直接添加
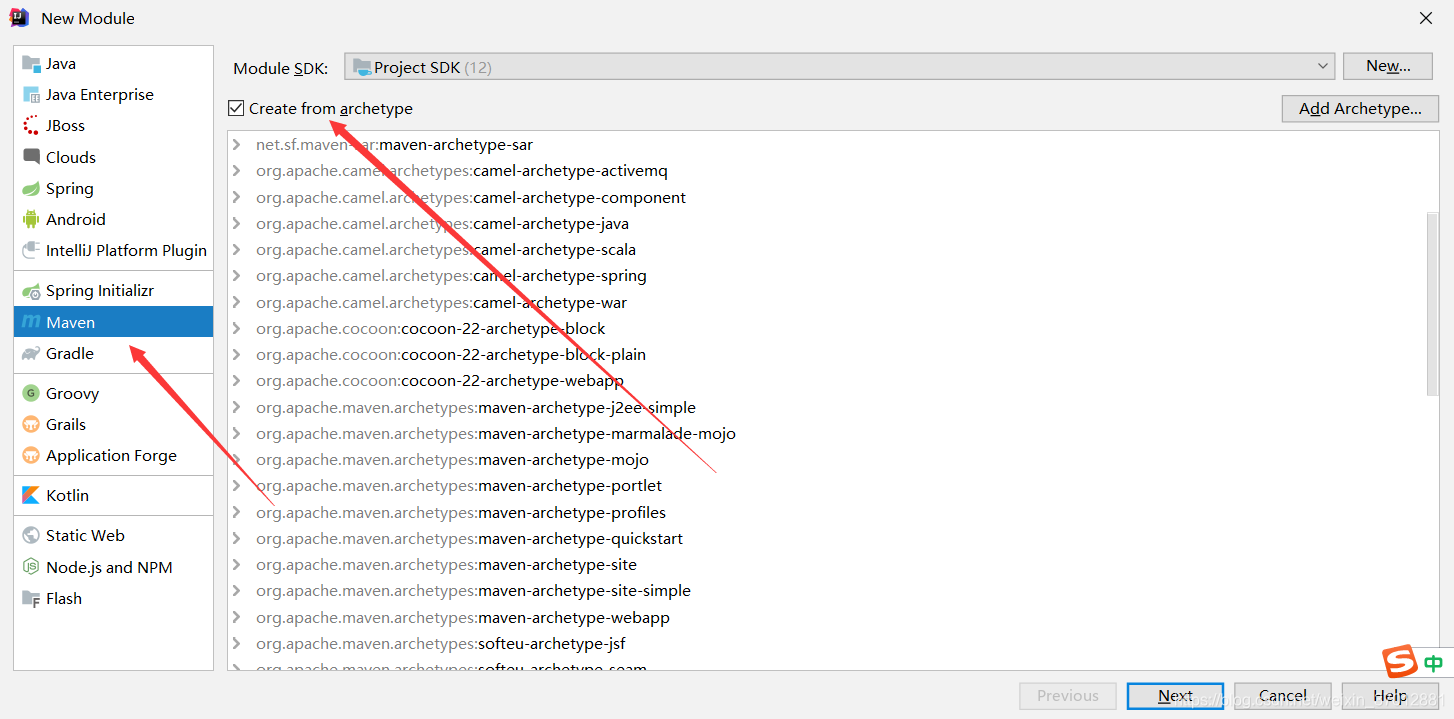
子项目就创建好了 咱们主要看主项目的pom文件的变化 maven的pom文件添加子项目的引用
针对于api这个模块呢 作为公共模块来用 举个例子 比如:公共的POJO
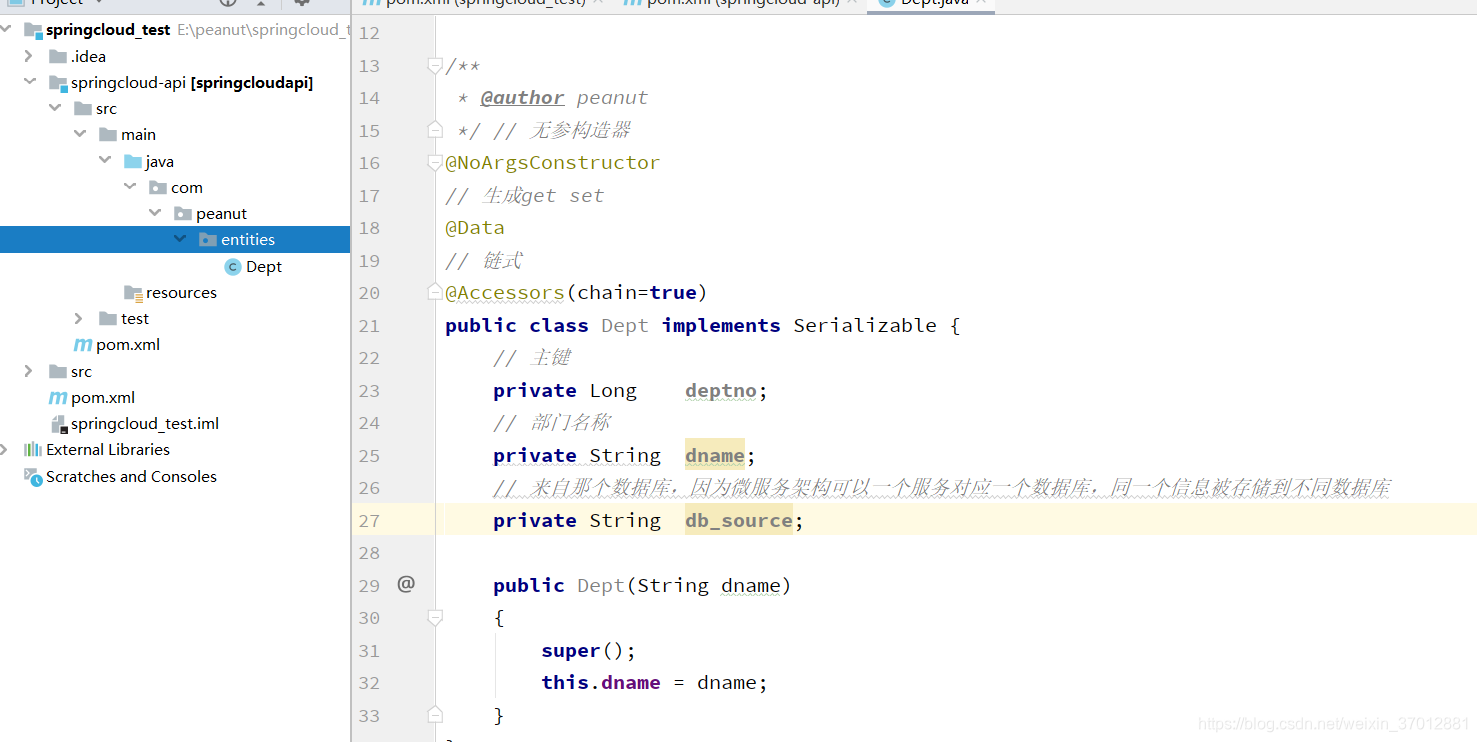
api中咱们就创建一个就可以说明问题了。接下来创建咱们的提供者 (所谓提供者就是咱们的业务逻辑) 创建的不走和api一样
既然是逻辑层 那咱们的必要的依赖jar还是要导入的 贴上
<dependencies>
        <!-- 引入自己定义的api通用包,可以使用Dept部门Entity -->
        <dependency>
            <groupId>com.peanut.springcloud</groupId>
            <artifactId>springcloud-api</artifactId>
            <version>${project.version}</version>
        </dependency>
        <!-- actuator监控信息完善 -->
        <dependency>
            <groupId>org.springframework.boot</groupId>
            <artifactId>spring-boot-starter-actuator</artifactId>
        </dependency>
        <!-- 将微服务provider侧注册进eureka -->
<!--        <dependency>-->
<!--            <groupId>org.springframework.cloud</groupId>-->
<!--            <artifactId>spring-cloud-starter-eureka</artifactId>-->
<!--        </dependency>-->
        <dependency>
            <groupId>org.springframework.cloud</groupId>
            <artifactId>spring-cloud-starter-config</artifactId>
        </dependency>
        <dependency>
            <groupId>junit</groupId>
            <artifactId>junit</artifactId>
        </dependency>
        <dependency>
            <groupId>mysql</groupId>
            <artifactId>mysql-connector-java</artifactId>
        </dependency>
        <dependency>
            <groupId>com.alibaba</groupId>
            <artifactId>druid</artifactId>
        </dependency>
        <dependency>
            <groupId>ch.qos.logback</groupId>
            <artifactId>logback-core</artifactId>
        </dependency>
        <dependency>
            <groupId>org.mybatis.spring.boot</groupId>
            <artifactId>mybatis-spring-boot-starter</artifactId>
        </dependency>
        <dependency>
            <groupId>org.springframework.boot</groupId>
            <artifactId>spring-boot-starter-jetty</artifactId>
        </dependency>
        <dependency>
            <groupId>org.springframework.boot</groupId>
            <artifactId>spring-boot-starter-web</artifactId>
        </dependency>
        <dependency>
            <groupId>org.springframework.boot</groupId>
            <artifactId>spring-boot-starter-test</artifactId>
        </dependency>
        <!-- 修改后立即生效,热部署 -->
<!--        <dependency>-->
<!--            <groupId>org.springframework</groupId>-->
<!--            <artifactId>springloaded</artifactId>-->
<!--        </dependency>-->
        <dependency>
            <groupId>org.springframework.boot</groupId>
            <artifactId>spring-boot-devtools</artifactId>
        </dependency>
    </dependencies>
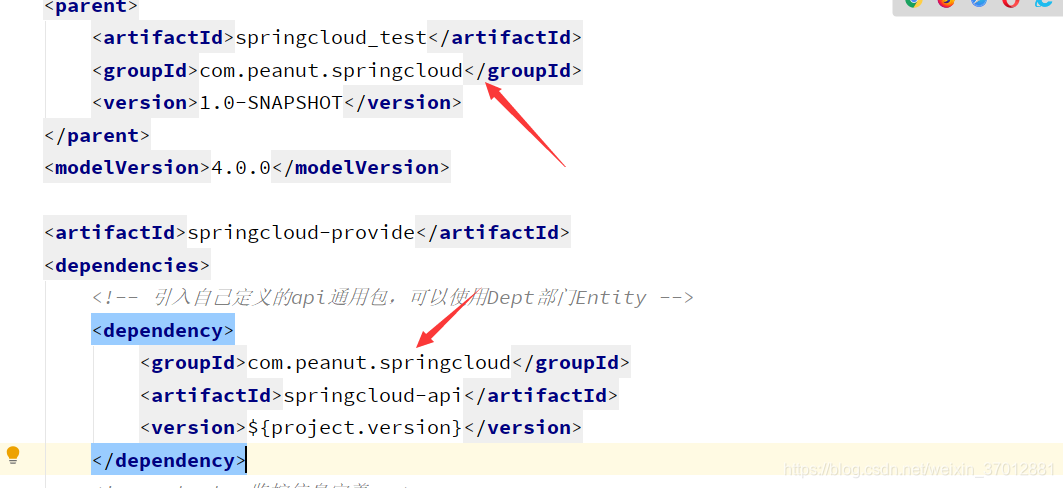
这里要相互对应 意思就是导入主项目下的springcloud-api包 版本的话 和主项目版本一样 jar导入了 配置文件也要配下

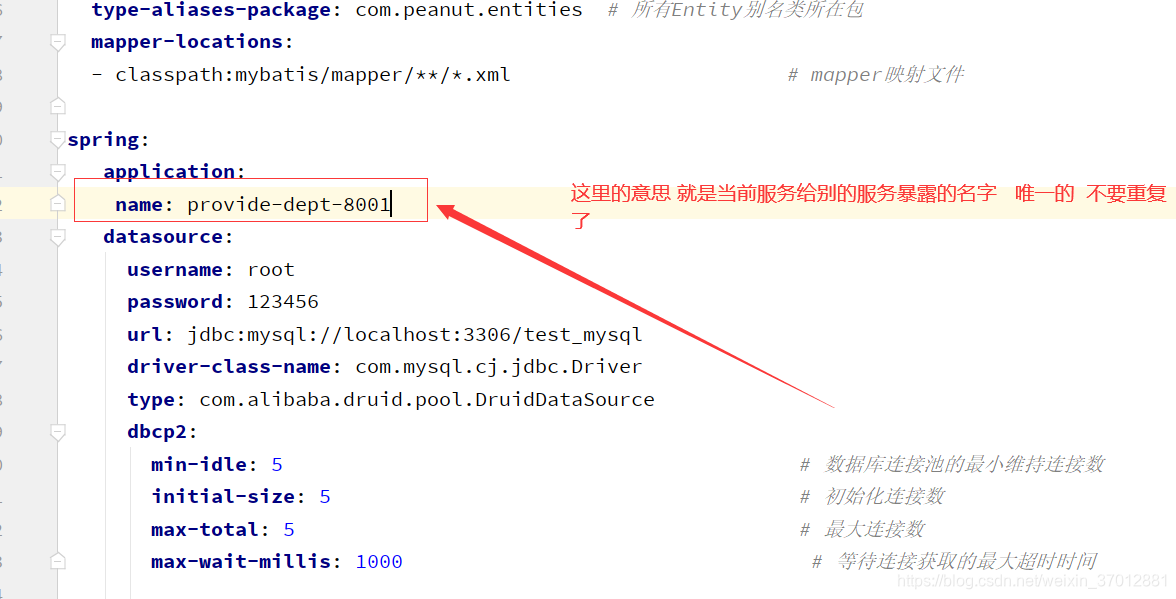
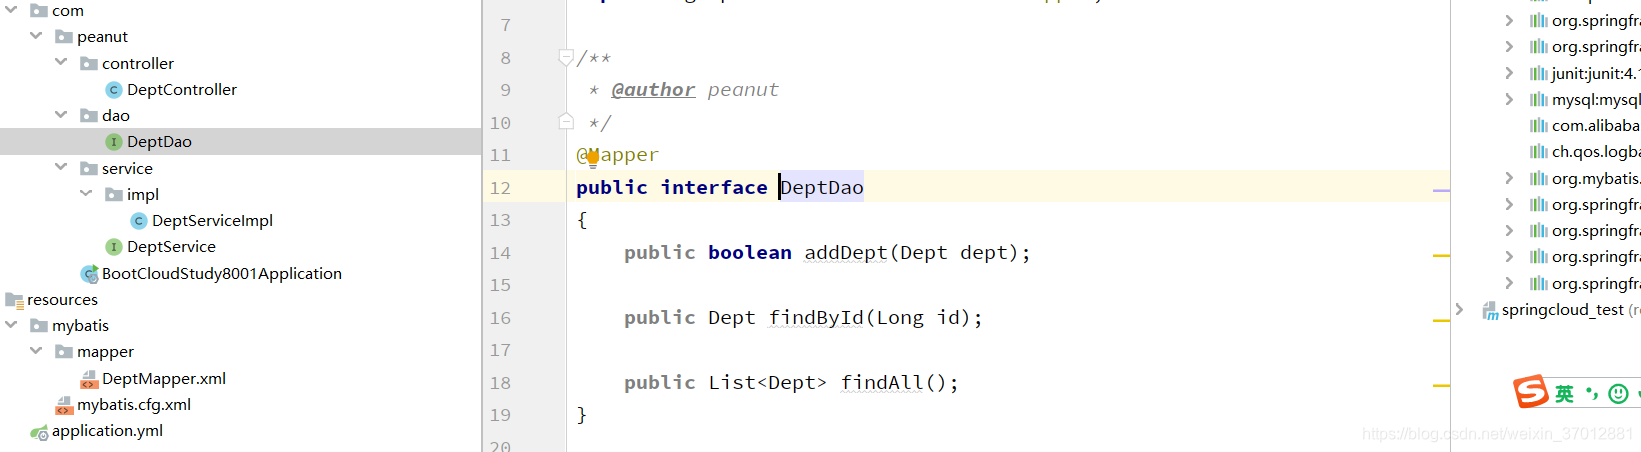
那咱们把mybatis和对应dao service controller都来引入下
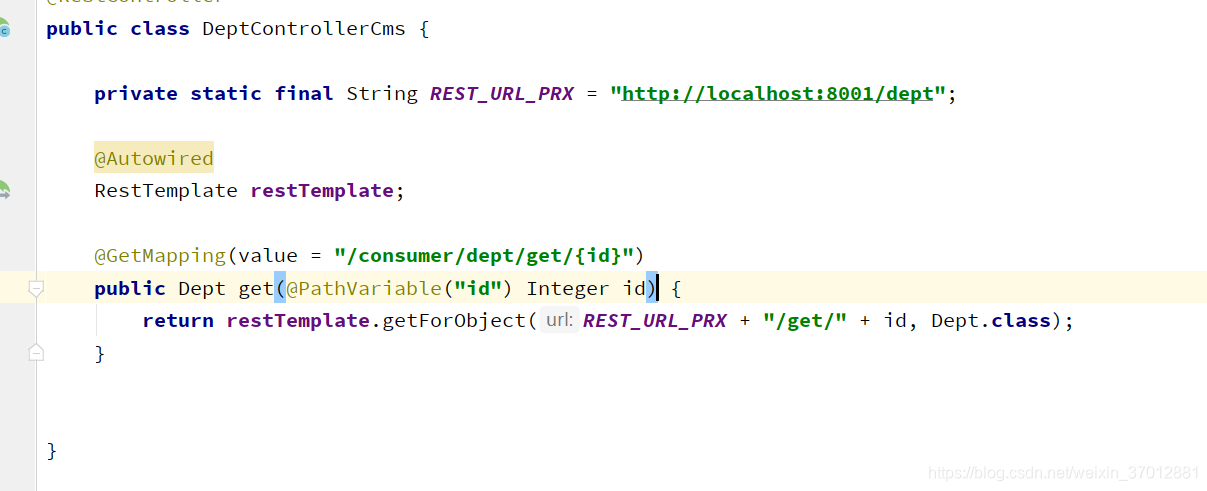
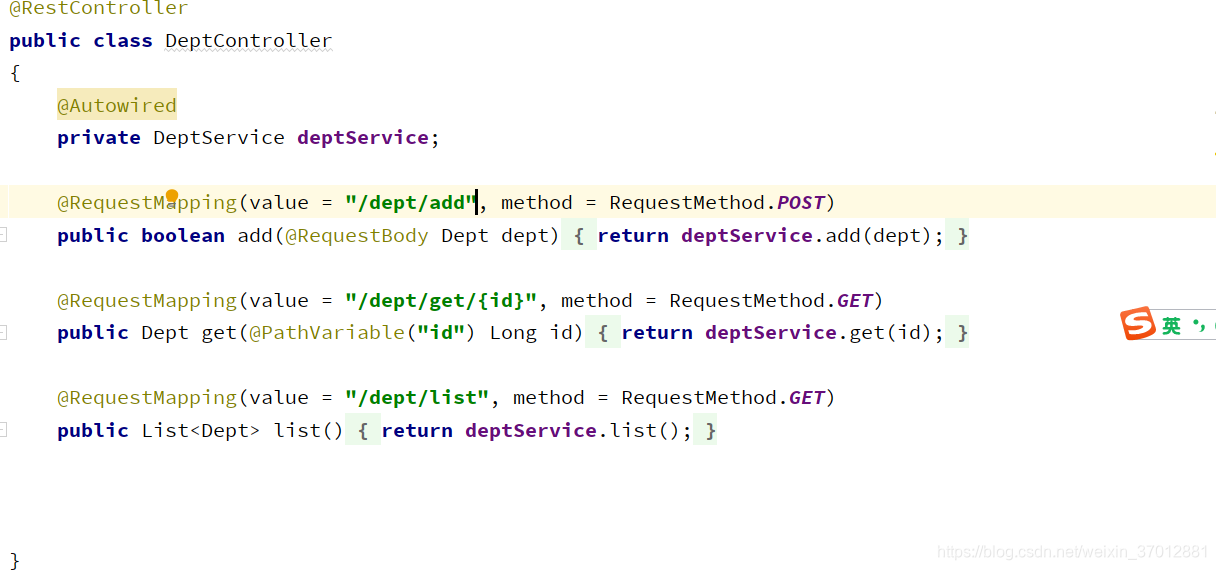 controller层遵循restful风格 到这里的话 咱们先测试下 看是否已经成了
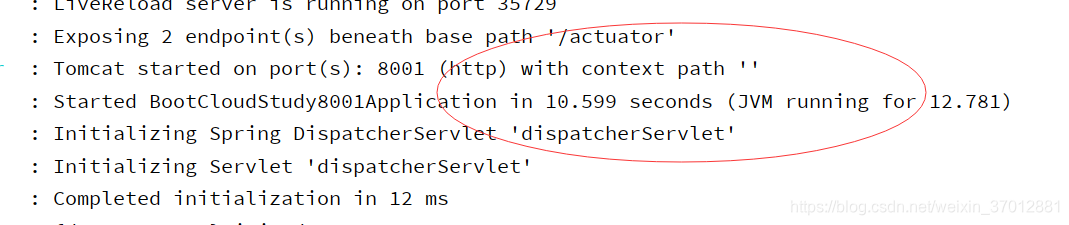
成功 咱们去获取下数据

完美!!!!!
下面咱们接下去搭建消费者 所谓的消费者 可以完全理解为 和前端进行交互的 上代码吧 先引入相关的依赖 由于和前端交互 web 是不能少的
<dependencies>
        <!-- 引入自己定义的api通用包,可以使用Dept部门Entity -->
        <dependency>
            <groupId>com.peanut.springcloud</groupId>
            <artifactId>springcloud-api</artifactId>
            <version>${project.version}</version>
        </dependency>
        <dependency>
            <groupId>org.springframework.boot</groupId>
            <artifactId>spring-boot-starter-web</artifactId>
        </dependency>
        <!-- 修改后立即生效,热部署 -->
        <dependency>
            <groupId>org.springframework.boot</groupId>
            <artifactId>spring-boot-devtools</artifactId>
        </dependency>
    </dependencies>
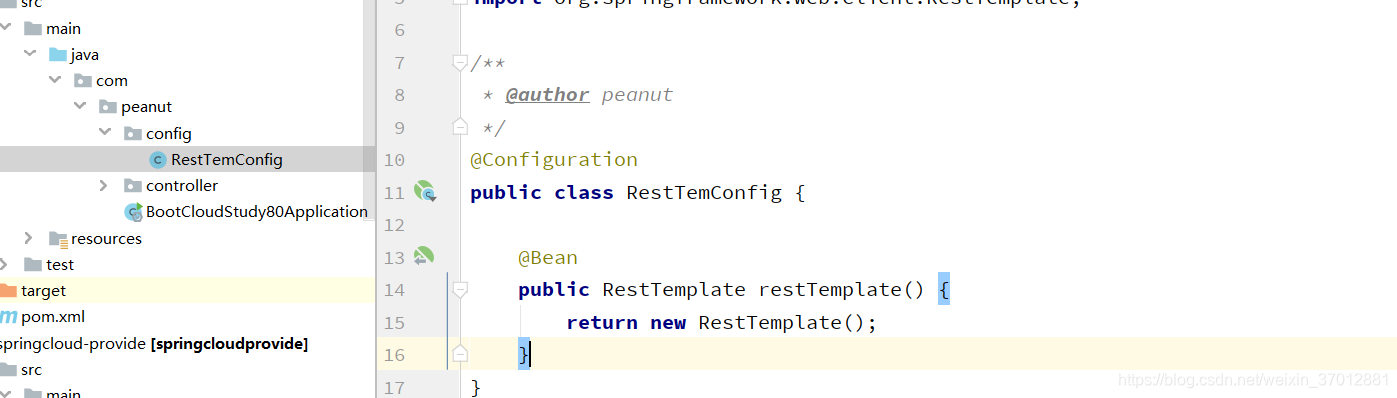
咱们请求要采取rest风格 所以直接交给restTemplate来处理 (类似于HttpClinent)
下面咱们启动提供者和消费者 看看能不能直接获取数据
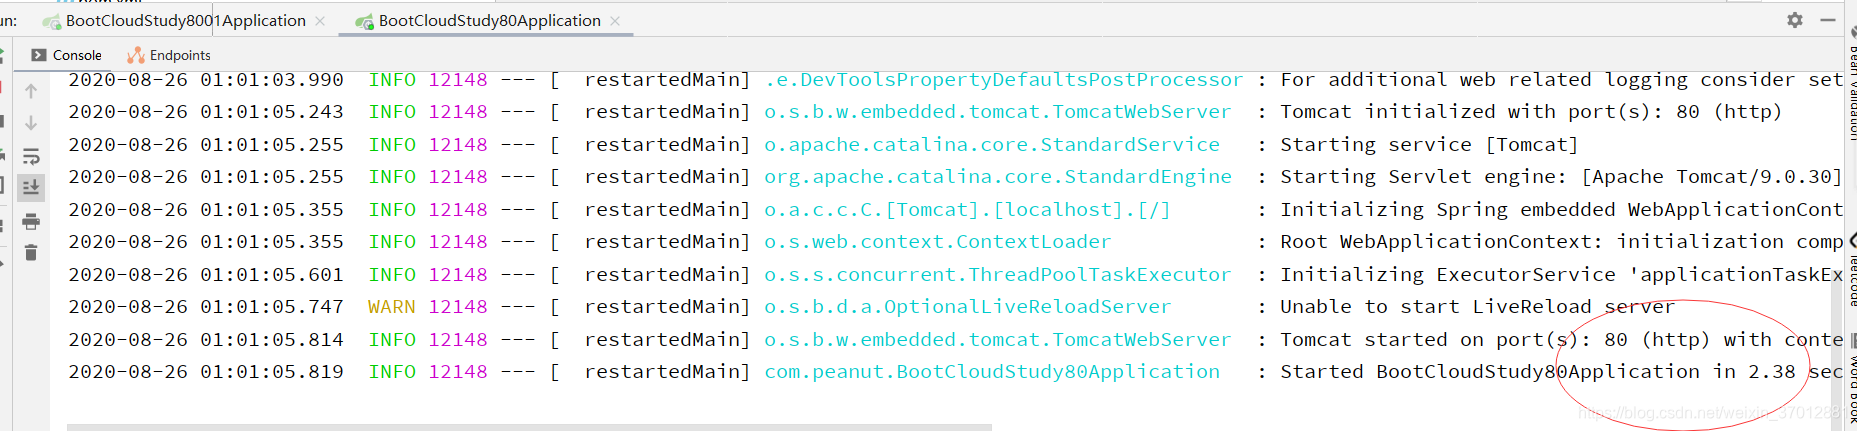
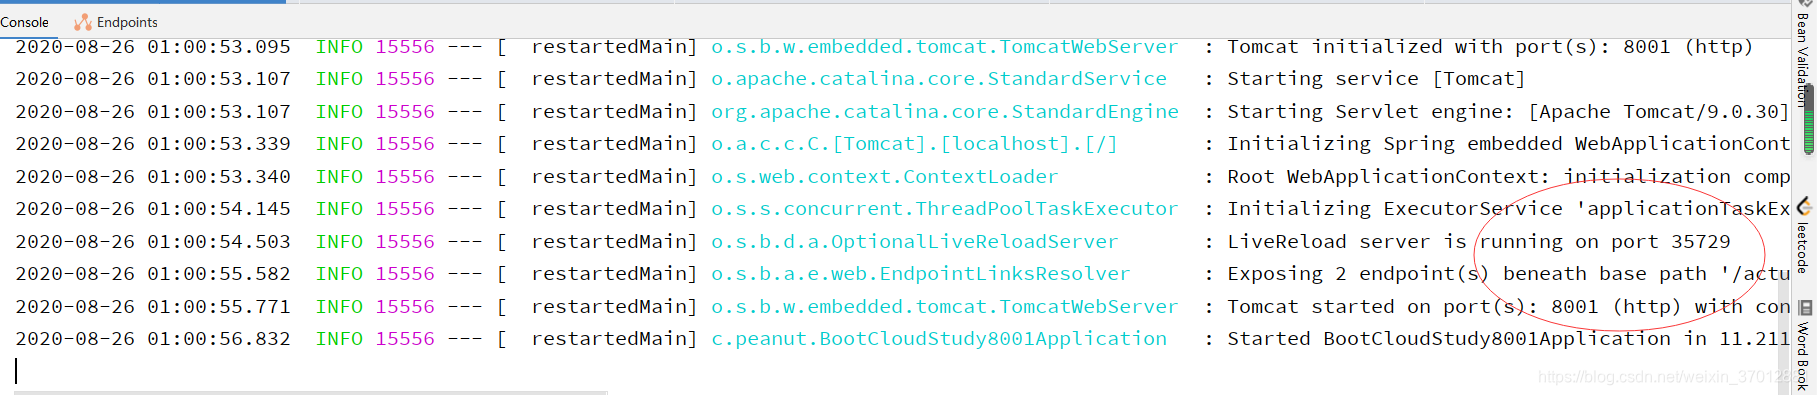
都已经成功
来访问 成功!!!!!!!

关于消费者 简单的通过resttemplate对提供者又封装了一层 这是学习微服务第一天学的东西 希望可以帮到你们 后续还会写更新文章 谢谢


 1098
1098

 被折叠的 条评论
为什么被折叠?
被折叠的 条评论
为什么被折叠?
 到【灌水乐园】发言


