


有胆量你就来跟着路老师卷起来!-- 纯干货,技术知识分享
路老师给大家分享PHP语言的知识了,旨在想让大家入门PHP,并深入了解PHP语言。
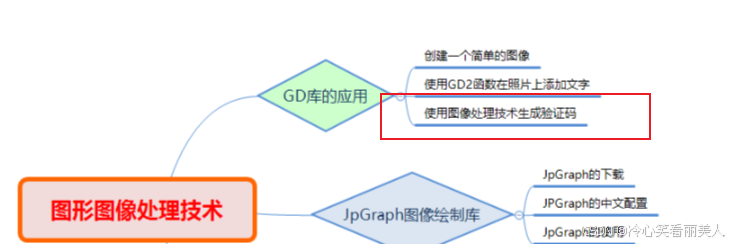
上篇文章简单的介绍了PHP的图像处理技术,本文我们实现一个验证码生成技术的讲解并实现一个登录验证功能。
1 生成验证码
验证码功能的实现方式很多,有数字验证码、图像验证码和文字验证码,今天我们使用的是图像生成的英文数字验证码。图像生成验证码常用于用户登录过程中。
1.1 创建verify.php
创建verify.php文件,用于生成验证码。第一步要先配置session存储。
1.2 定义验证码参数
接下来定义验证码的属性:
1.3 选取随机4个字符
我们随机从$str中选取4个字符作为验证码,存储到Session中:
1.4 设置样式
此时验证码文字内容已经知道了,就需要展示到验证码图片上了。接下来是绘制图像部分代码:
1.5 干扰点
一般验证码里面都会有一些干扰点,同样我们也添加一些干扰点,并设置干扰点颜色:
1.6 产品出炉
最后,指定图像生成格式并生成验证码:
1.7 效果展示
这样,验证码就能够生成出来了,看效果:

2 验证码使用
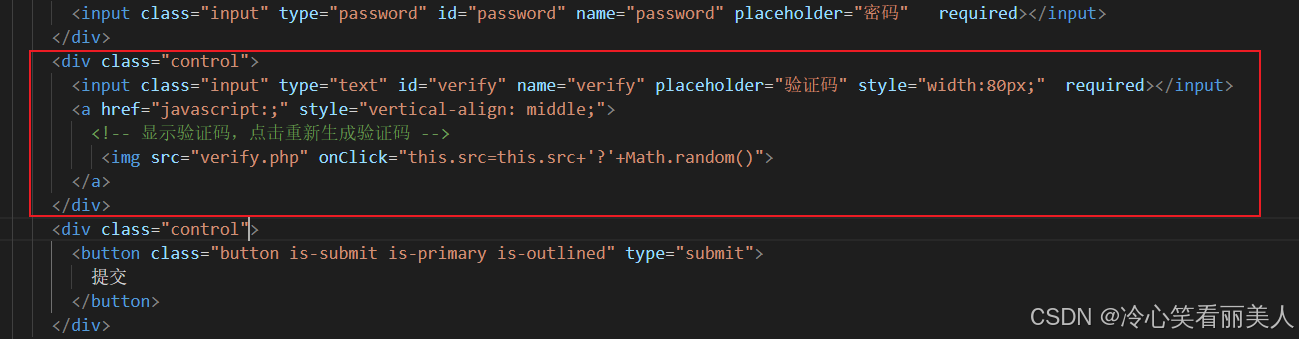
2.1 创建login.php
创建登录文件,并将验证码放进去:
注意:核心代码在这里:
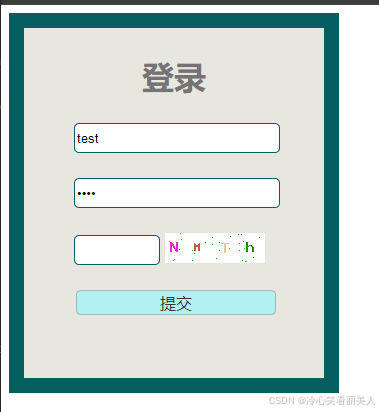
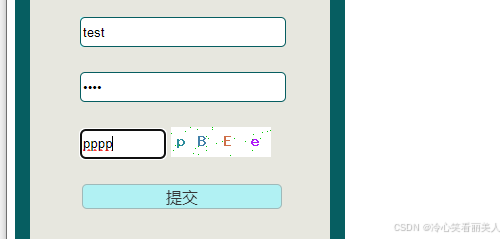
效果如下:

2.2 编写checkLogin.php
顾名思义,是校验登录和验证码的逻辑文件:
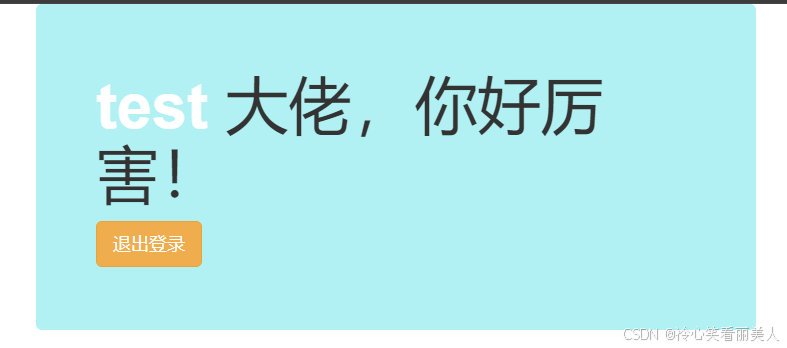
2.3 登录成功页面
2.4 操作案例
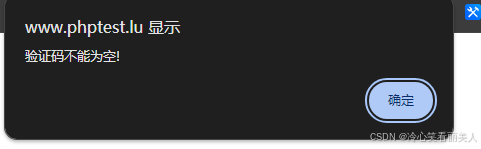
1 验证码输入框里输入一个空格,点击登录:
返回结果提示,验证码不能为空
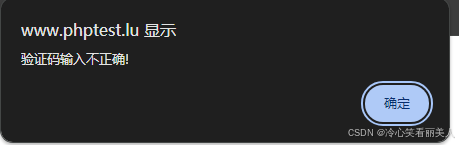
2 输入验证码错误的时候
提示验证码输入不正确
3 输入正确的验证码后
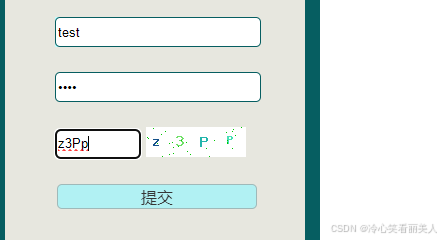
成功登录,并进入index.php页面
下一篇 JpGraph图像绘制库


 5
5

 被折叠的 条评论
为什么被折叠?
被折叠的 条评论
为什么被折叠?
 到【灌水乐园】发言


