


本文主要使用matplotlib进行多图的绘制。
%matplotlib notebook
import matplotlib
from matplotlib import pyplot as plt
plt.ion()
%matplotlib tk
from matplotlib import rcdefaults
rcdefaults()
import numpy as np
import pandas as pd
方法1: plt.subplot(x,x,x)和fig.add_subplot的使用
X = np.linspace(-3,3, 200)
C = np.sin(X)
S = np.cos(X)

#Subplots
#       With subplot you can arrange plots in a regular grid. You need to specify the number of rows and columns and the number of the plot.
#       Note that the gridspec command is a more powerful alternative.
'''plt.figure()
plt.subplot(2, 1, 1)
plt.subplot(2, 1, 2)
plt.show()'''
plt.figure()
plt.subplot(1, 2, 1)
plt.plot(X, C)
plt.title('1st figure')
plt.subplot(1, 2, 2)
plt.plot(X, S)
plt.title('2nd figure')
plt.show()
<IPython.core.display.Javascript object>
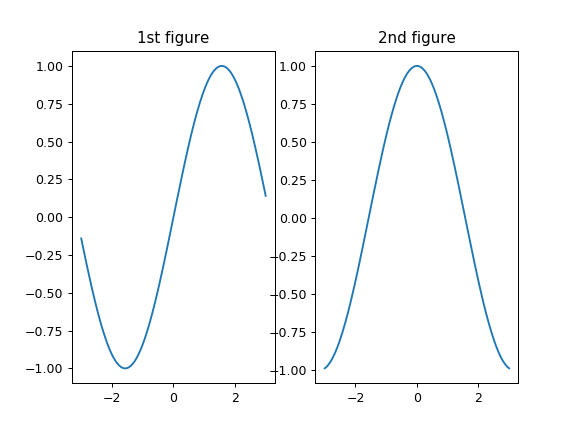
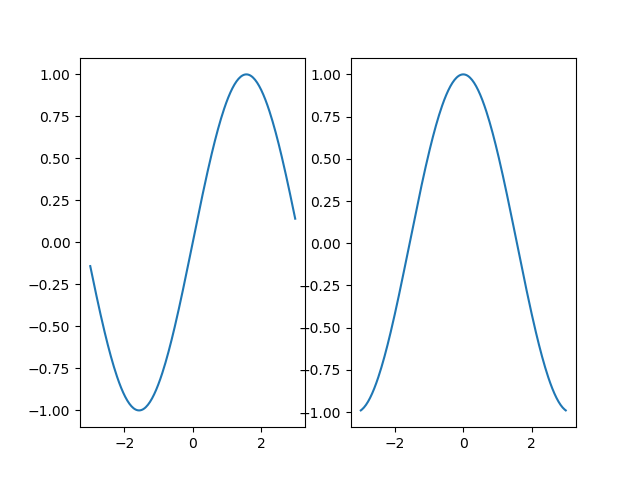
fig = plt.figure()
ax1 = fig.add_subplot(1,2,1)
ax2 = fig.add_subplot(1,2,2)

X = np.linspace(-3,3, 200)
C = np.sin(X)
S = np.cos(X)

ax1.plot(X,C)
ax2.plot(X,S)
plt.show()
<IPython.core.display.Javascript object>
方法2: plt.subplot2grid
适用于不规则的子图划分
# 定义figure
plt.figure()
# figure分成3行3列, 取得第一个子图的句柄, 第一个子图跨度为1行3列, 起点是表格(0, 0)
ax1 = plt.subplot2grid((3, 3), (0, 0), colspan = 3, rowspan = 1)
ax1.plot([0, 1], [0, 1])
ax1.set_title('Test')

# figure分成3行3列, 取得第二个子图的句柄, 第二个子图跨度为1行3列, 起点是表格(1, 0)
ax2 = plt.subplot2grid((3, 3), (1, 0), colspan = 2, rowspan = 1)
ax2.plot([0, 1], [0, 1])

# figure分成3行3列, 取得第三个子图的句柄, 第三个子图跨度为1行1列, 起点是表格(1, 2)
ax3 = plt.subplot2grid((3, 3), (1, 2), colspan = 1, rowspan = 1)
ax3.plot([0, 1], [0, 1])

# figure分成3行3列, 取得第四个子图的句柄, 第四个子图跨度为1行3列, 起点是表格(2, 0)
ax4 = plt.subplot2grid((3, 3), (2, 0), colspan = 3, rowspan = 1)
ax4.plot([0, 1], [0, 1])

plt.show()
<IPython.core.display.Javascript object>

方法3: matplotlib.gridspec.GridSpec
同样适用于不规则图划分
# 定义figure
plt.figure()
# 分隔figure
gs = matplotlib.gridspec.GridSpec(3, 3)
ax1 = plt.subplot(gs[0, :])
ax2 = plt.subplot(gs[1, 0:2])
ax3 = plt.subplot(gs[1, 2])
ax4 = plt.subplot(gs[2, :])

# 绘制图像
ax1.plot([0, 1], [0, 1])
ax1.set_title('Test')

ax2.plot([0, 1], [0, 1])

ax3.plot([0, 1], [0, 1])

ax4.plot([0, 1], [0, 1])

plt.show()
<IPython.core.display.Javascript object>
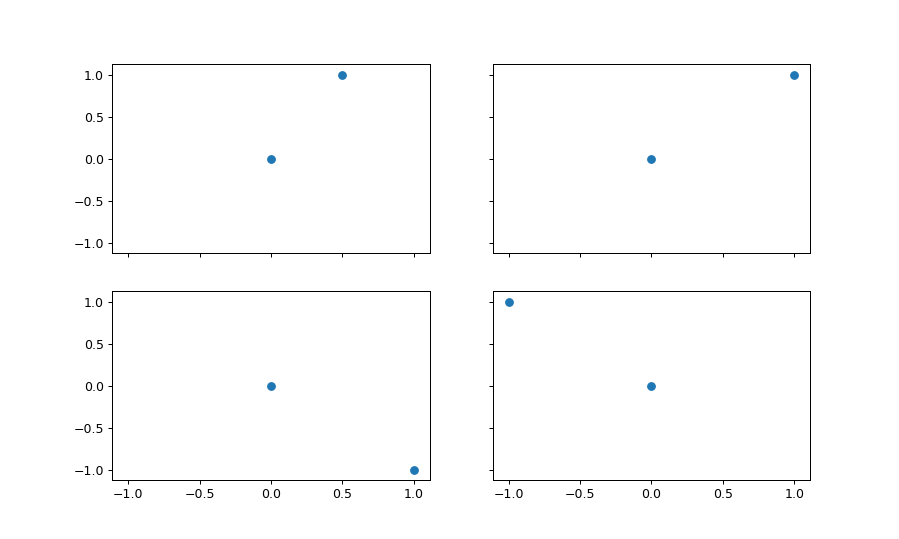
方法4 : plt.subplots
# 划分figure
fig, ((ax11, ax12), (ax21, ax22)) = plt.subplots(2, 2, sharex = True, sharey = True,figsize=(10.0, 6.0))
# 绘制图像
ax11.scatter([0, 0.5], [0, 1])
ax12.scatter([0, 1], [0, 1])
ax21.scatter([0, 1], [0, -1])
ax22.scatter([0, -1], [0, 1])

plt.show()
<IPython.core.display.Javascript object>
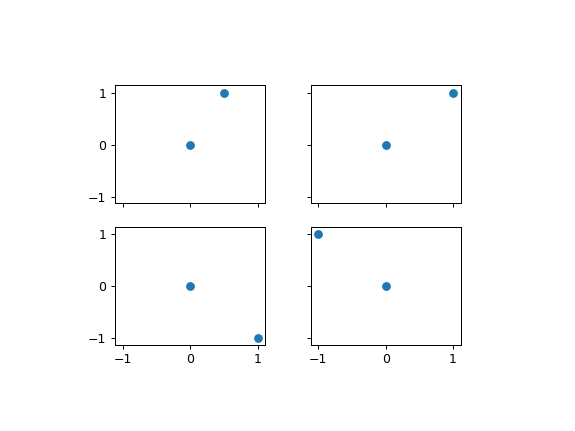
# 划分figure
# 该方法不要使用,绘制图像有问题的,显示不出
fig, ((ax11, ax12), (ax21, ax22)) = plt.subplots(2, 2, sharex = True, sharey = True )
# 绘制图像
ax11.scatter([0, 0.5], [0, 1])
ax12.scatter([0, 1], [0, 1])
ax21.scatter([0, 1], [0, -1])
ax22.scatter([0, -1], [0, 1])
plt.tight_layout()
plt.subplots_adjust(left=0.2, bottom=0.2, right=0.8, top=0.8,hspace=0.2, wspace=0.3)
plt.show()
<IPython.core.display.Javascript object>
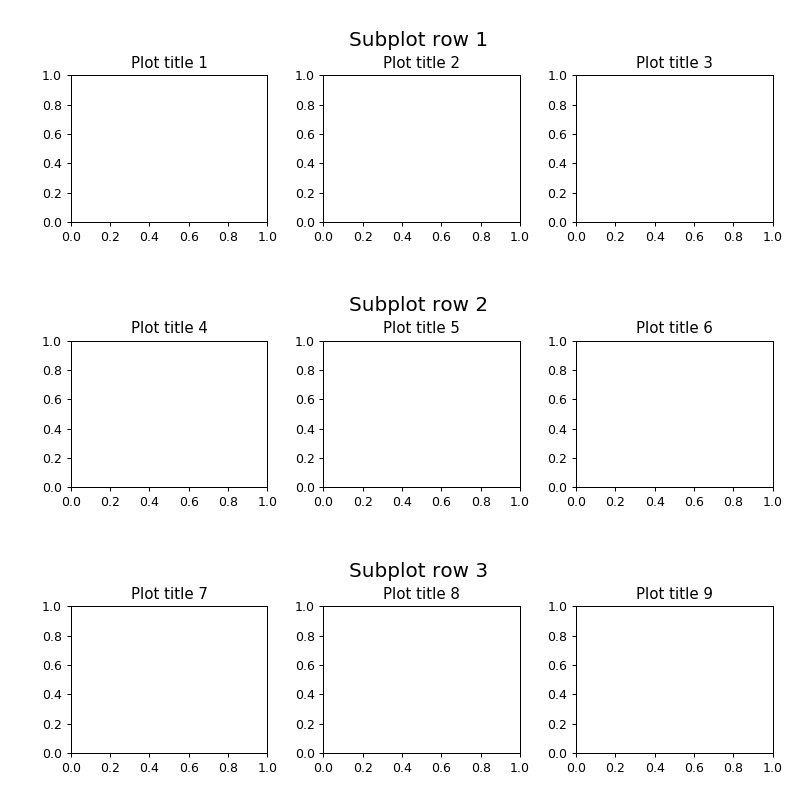
子图标题设置
子图像统一标题设置。
思路其实创建整个的子图像,然后将图像的刻度、标注等部分作不显示设置,仅仅显示图像的 title。
fig, big_axes = plt.subplots(figsize=(9, 9) , nrows=3, ncols=1, sharey=True)

for row, big_ax in enumerate(big_axes, start=1):
    big_ax.set_title("Subplot row %s \n" % row, fontsize=16)

    # Turn off axis lines and ticks of the big subplot
    # obs alpha is 0 in RGBA string!
    big_ax.tick_params(labelcolor=(0,0,0,0), top='off', bottom='off', left='off', right='off')
    # removes the white frame
    big_ax._frameon = False

for i in range(1,10):
    ax = fig.add_subplot(3,3,i)
    ax.set_title('Plot title ' + str(i))


fig.set_facecolor('w')
plt.tight_layout()
plt.show()
<IPython.core.display.Javascript object>
子图间距控制
-
图像外部边缘的调整可以使用
plt.tight_layout()进行自动控制,此方法不能够很好的控制图像间的间隔。 -
如果想同时控制图像外侧边缘以及图像间的空白区域,使用命令:
plt.subplots_adjust(left=0.2, bottom=0.2, right=0.8, top=0.8,hspace=0.2, wspace=0.3)


 4033
4033


 被折叠的 条评论
为什么被折叠?
被折叠的 条评论
为什么被折叠?
 到【灌水乐园】发言


