


下载源码的文件夹,看到里面有以下内容:

解释一下里面都有啥
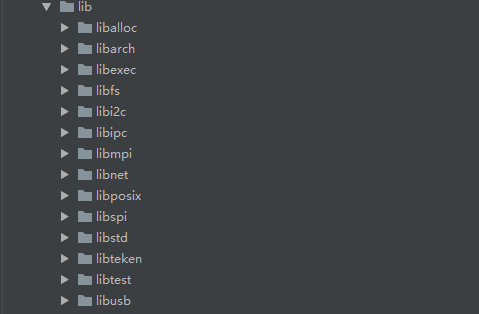
lib -> 共享代码
1、libfs 文件系统(磁盘管理)
2、liballoc 内存分配和虚拟内存映射(内存管理)
3、libexec 程序代码和数据的处理及获取
4、libmpi 并发编程的一些通信接口
5、libipc 进程间通信接口
6、libnet 一些标准网络协议的实现(网络驱动)
7、libstd 算法和数据结构的模板
8、libtest 测试框架
9、libarch 与特定处理器相关的代码
10、libposix 给应用层提供的标准系统调用接口
11、libi2c 通信驱动(I/O设备)
12、libusb 通信驱动(I/O设备)
13、libspi 通信驱动(I/O设备)
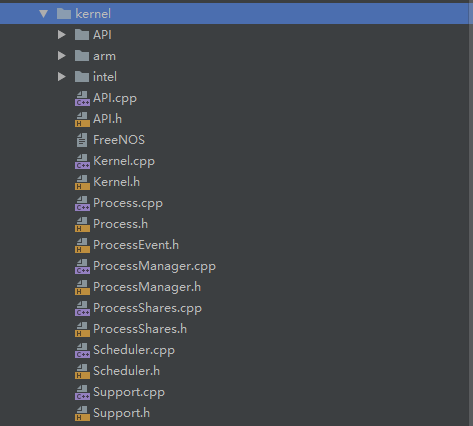
kernel -> 内核代码,包含:进程调度,虚拟内存管理
1、API(系统调用的接口及接口的内核侧实现)
2、ARM、Intel 特定处理器下的内核代码(switching、bootupcode)
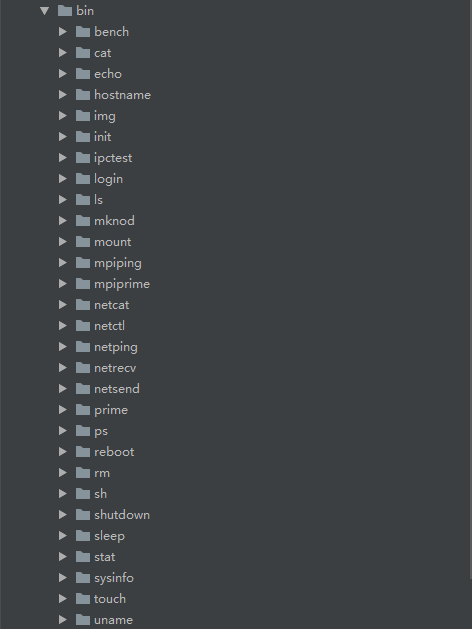
bin
sh -> 命令行交互程序,用于执行外部程序和内置命令行;算是应用程序范畴
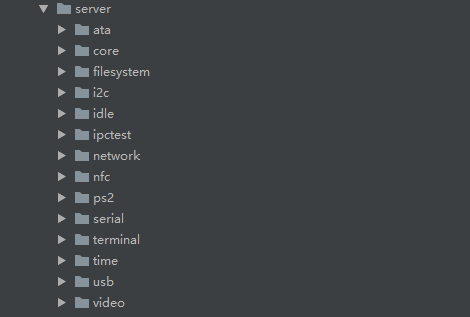
server -> 一些服务程序,作为操作系统的一些扩展组件。提供某些特定服务,设备驱动,文件系统等;
usb
video
...
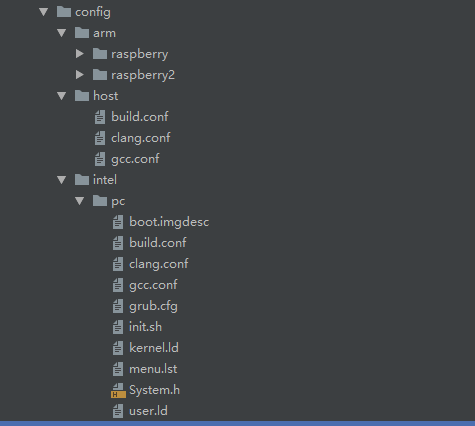
config
应该是放一些配置文件的地方
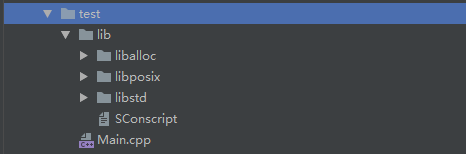
test
测试相关
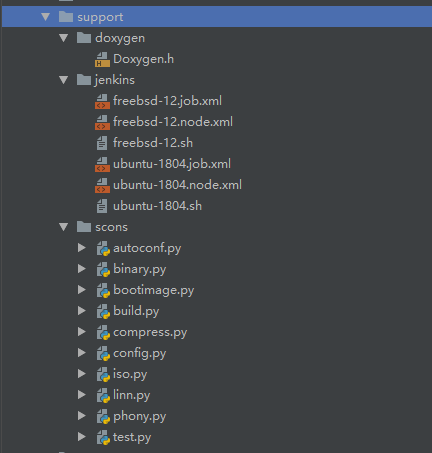
support
支撑scons等开发工具相关的
====================================================
这里以intel处理器平台为例:
在/kernel/intel/pc/main.cpp中找到内核的main函数,这里应该是整个操作系统的入口函数。

Main函数如下:
 1 extern C int kernel_main(CoreInfo *info)
 2 {
 3     // Initialize heap at 3MB offset
 4     coreInfo.heapAddress = MegaByte(3);
 5     coreInfo.heapSize    = MegaByte(1);
 6     Kernel::heap(coreInfo.heapAddress, coreInfo.heapSize);
 7
 8     // Start kernel debug serial console
 9     if (info->coreId == 0)
10     {
11         IntelSerial *serial = new IntelSerial(0x3f8);
12         serial->setMinimumLogLevel(Log::Notice);
13     }
14
15     // Run all constructors first
16     constructors();
17
18     // Create and run the kernel
19     IntelKernel *kernel = new IntelKernel(info);
20     return kernel->run();
21 }
第一步初始化heap,即初始化heap函数,它是Kernel类的静态函数。
该函数原型及注释如下:
/**
* Initialize heap.
*
* This function sets up the kernel heap for
* dynamic memory allocation with new() and delete()
* operators. It must be called before any object
* is created using new().
*
* @return Zero on success or error code on failure.
*/
static Error heap(Address base, Size size);
是建立内核堆,用于动态内存分配的,任何新对象的创建都必须在内核堆初始化之后进行。
第二步constructors
constructors是用来干嘛的?不是很清楚,后面再研究。。。
extern C void constructors()
{
    for (void (**ctor)() = &CTOR_LIST; *ctor; ctor++)
    {
        (*ctor)();
    }
}
存在于/kernel/Support.cpp中
第三步new kernel对象
info是有关内核配置信息的结构体,作为new kernel对象时构造函数的参数。info包含了一些内核初始化必要的信息。
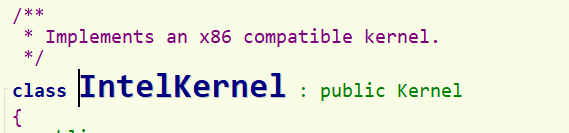
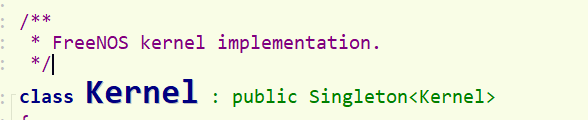
接下来研究kernel对象,kernel对象是IntelKernel类的实例,
相关类的继承关系如下所示:IntelKernel -> Kernel -> Singleton<Kernel>(这些类的详细定义有待后续研究)
new出kernel对象后,就运行了对象的run方法,该方法在Kernel中有定义,IntelKernel中没有。run方法定义如下:
int Kernel::run()
{
    NOTICE("");

    // Load boot image programs
    loadBootImage();

    // Start the scheduler
    m_procs->getScheduler()->setTimer(m_timer);
    m_procs->schedule();

    // Never actually returns.
    return 0;
}
run函数做了两件事情:
1)加载bootImage。这是一个程序,具体做啥的不清楚,有待研究。加载过程需要分析loadBootImage()函数,有待研究,这个是kernel的成员函数。
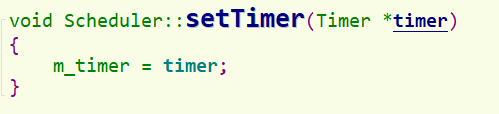
2)给调度器Scheduler设置定时器setTimer(),启动进程调度schedule()。
m_procs是kernel的成员变量,指向进程管理器这个类的指针,有待研究一下。

进程管理器调用getScheduler()成员函数,返回的是指向调度器对象的指针,m_scheduler。


调度器Scheduler这个类有待研究。

调度器Scheduler使用了其成员函数setTimer()。
Timer也是一个类,有待研究。
====================================================
其实我们忽略了一些重要的内容,就是分析一下IntelKernel的构造函数,及Kernel的构造函数,还有就是探究Singleton<>这个模板类。
以下是IntelKernel的构造函数:
IntelKernel::IntelKernel(CoreInfo *info)
    : Kernel(info)
{

    IntelMap map;
    IntelCore core;
    IntelPaging memContext(&map, core.readCR3(), m_alloc);

    // Refresh MemoryContext::current()
    memContext.activate();

    // Install interruptRun() callback
    interruptRun = ::executeInterrupt;

    // Setup exception handlers
    for (int i = 0; i < 17; i++)
    {
        hookIntVector(i, exception, 0);
    }
    // Setup IRQ handlers
    for (int i = 17; i < 256; i++)
    {
        // Trap gate
        if (i == 0x90)
            hookIntVector(0x90, trap, 0);

        // Hardware Interrupt
        else
            hookIntVector(i, interrupt, 0);
    }

    // Only core0 uses PIC and PIT.
    if (info->coreId == 0)
    {
        // Set PIT interrupt frequency to 250 hertz
        m_pit.setFrequency(250);

        // Configure the master and slave PICs
        m_pic.initialize();
        m_intControl = &m_pic;
    }
    else
        m_intControl = 0;

    // Try to configure the APIC.
    if (m_apic.initialize() == Timer::Success)
    {
        NOTICE("Using APIC timer");

        // Enable APIC timer interrupt
        hookIntVector(m_apic.getInterrupt(), clocktick, 0);

        m_timer = &m_apic;

        if (m_coreInfo->timerCounter == 0)
        {
            m_apic.start(&m_pit);
            m_coreInfo->timerCounter = m_apic.getCounter();
        }
        else
            m_apic.start(m_coreInfo->timerCounter, m_pit.getFrequency());
    }
    // Use PIT as system timer.
    else
    {
        NOTICE("Using PIT timer");
        m_timer = &m_pit;

        // Install PIT interrupt vector handler
        hookIntVector(m_intControl->getBase() +
                      m_pit.getInterrupt(), clocktick, 0);

        // Enable PIT interrupt
        enableIRQ(m_pit.getInterrupt(), true);
    }

    // Initialize TSS Segment
    Address tssAddr = (Address) &kernelTss;
    gdt[KERNEL_TSS].limitLow    = sizeof(TSS) + (0xfff / 8);
    gdt[KERNEL_TSS].baseLow     = (tssAddr) & 0xffff;
    gdt[KERNEL_TSS].baseMid     = (tssAddr >> 16) & 0xff;
    gdt[KERNEL_TSS].type        = 9;
    gdt[KERNEL_TSS].privilege   = 0;
    gdt[KERNEL_TSS].present     = 1;
    gdt[KERNEL_TSS].limitHigh   = 0;
    gdt[KERNEL_TSS].granularity = 8;
    gdt[KERNEL_TSS].baseHigh    = (tssAddr >> 24) & 0xff;

    // Fill the Task State Segment (TSS).
    MemoryBlock::set(&kernelTss, 0, sizeof(TSS));
    kernelTss.ss0    = KERNEL_DS_SEL;
    kernelTss.esp0   = 0;
    kernelTss.bitmap = sizeof(TSS);
    ltr(KERNEL_TSS_SEL);
}
然后是Kernel的构造函数:
Kernel::Kernel(CoreInfo *info)
    : Singleton<Kernel>(this), m_interrupts(256)
{
    // Output log banners
    if (Log::instance)
    {
        Log::instance->append(BANNER);
        Log::instance->append(COPYRIGHT "\r\n");
    }

    // Compute lower & higher memory
    Memory::Range highMem;
    Arch::MemoryMap map;
    MemoryBlock::set(&highMem, 0, sizeof(highMem));
    highMem.phys = info->memory.phys + map.range(MemoryMap::KernelData).size;

    // Initialize members
    m_alloc  = new SplitAllocator(info->memory, highMem);
    m_procs  = new ProcessManager(new Scheduler());
    m_api    = new API();
    m_coreInfo   = info;
    m_intControl = ZERO;
    m_timer      = ZERO;

    // Mark kernel memory used (first 4MB in phys memory)
    for (Size i = 0; i < info->kernel.size; i += PAGESIZE)
        m_alloc->allocate(info->kernel.phys + i);

    // Mark BootImage memory used
    for (Size i = 0; i < m_coreInfo->bootImageSize; i += PAGESIZE)
        m_alloc->allocate(m_coreInfo->bootImageAddress + i);

    // Mark heap memory used
    for (Size i = 0; i < m_coreInfo->heapSize; i += PAGESIZE)
        m_alloc->allocate(m_coreInfo->heapAddress + i);

    // Reserve CoreChannel memory
    for (Size i = 0; i < m_coreInfo->coreChannelSize; i += PAGESIZE)
        m_alloc->allocate(m_coreInfo->coreChannelAddress + i);

    // Clear interrupts table
    m_interrupts.fill(ZERO);
}
子类构造函数运行前会先运行其父类的构造函数。所以应该是Kernel的构造函数先执行,然后是IntelKernel的构造函数。
一、分析Kernel的构造函数
1)涉及到low&higher memory的知识
Linux high memory 学习总结:https://www.cnblogs.com/kerrycode/p/5200843.html
linux内核的high memory概念详解:https://blog.csdn.net/acs713/article/details/8575235
2)主要过程
计算 low&higher memory
初始化成员(allocator、processmanager、中断管理器、定时器、内核信息)
探究类:SplitAllocator->Allocator、ProcessManager、IntController、Timer;
分配内存(这部分我的理解是为物理内存中内核镜像建立映射到虚拟内存中),讲得不是很清楚,需要理解allocator。
二、分析IntelKernel的构造函数
1)定义了map、mapcontext类的实例(MemoryMap、 MemoryContextl类有待研究)
2)建立中断、异常、陷阱的处理函数
3) PIC和PIT的初始化,PIC是外部中断处理器,PIT是外部中断定时器;还有一种APIC不是很清楚,有待研究
PIC简介:https://www.jianshu.com/p/16bf6aaa1ade
4) TSS 任务状态段的初始化
TSS介绍:https://www.cnblogs.com/long123king/p/3501853.html
linux内核-TSS:https://www.cnblogs.com/ISeeIC/p/3617573.html


 1111
1111


 被折叠的 条评论
为什么被折叠?
被折叠的 条评论
为什么被折叠?
 到【灌水乐园】发言


