


文章目录
Openeuler22.03 部署 Postgresql10.5+PostGIS3.1
一、环境信息
-
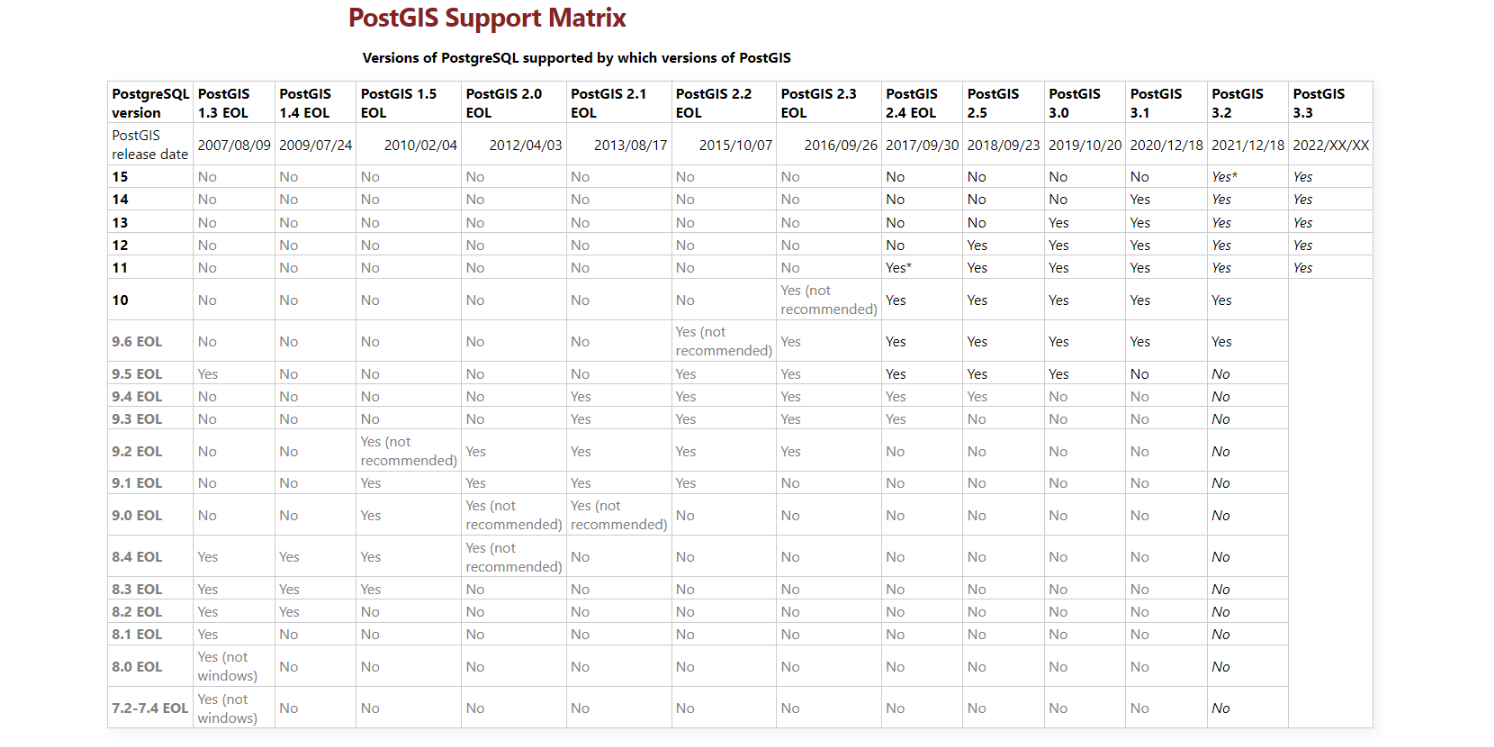
官方PostGIS 支持的 https://trac.osgeo.org/postgis/wiki/UsersWikiPostgreSQLPostGIS
-
本次部署环境信息
| 名称 | 版本 | 备注 |
|---|---|---|
| 操作系统-openeuler | 22.03 (LTS-SP1) | x86_64 |
| Postgresql | 10.5 | https://ftp.postgresql.org/pub/source/v10.5/postgresql-10.5.tar.gz |
| PostGIS | 3.1 | https://download.osgeo.org/postgis/source/postgis-3.1.0.tar.gz |
| geos | 3.8.0 | http://download.osgeo.org/geos/geos-3.8.0.tar.bz2 |
| gdal | 2.1.3 | http://download.osgeo.org/gdal/2.1.3/gdal-2.1.3.tar.gz |
| proj | 4.9.3 | http://download.osgeo.org/proj/proj-4.9.3.tar.gz |
| json-c | 0.16 | https://github.com/json-c/json-c |
二、安装所需依赖
使用的源是openeuler官方的源
[root@localhost ~]# cat /etc/yum.repos.d/openEuler.repo
#generic-repos is licensed under the Mulan PSL v2.
#You can use this software according to the terms and conditions of the Mulan PSL v2.
#You may obtain a copy of Mulan PSL v2 at:
#    http://license.coscl.org.cn/MulanPSL2
#THIS SOFTWARE IS PROVIDED ON AN "AS IS" BASIS, WITHOUT WARRANTIES OF ANY KIND, EITHER EXPRESS OR
#IMPLIED, INCLUDING BUT NOT LIMITED TO NON-INFRINGEMENT, MERCHANTABILITY OR FIT FOR A PARTICULAR
#PURPOSE.
#See the Mulan PSL v2 for more details.

[OS]
name=OS
baseurl=http://repo.openeuler.org/openEuler-22.03-LTS-SP1/OS/$basearch/
enabled=1
gpgcheck=1
gpgkey=http://repo.openeuler.org/openEuler-22.03-LTS-SP1/OS/$basearch/RPM-GPG-KEY-openEuler

[everything]
name=everything
baseurl=http://repo.openeuler.org/openEuler-22.03-LTS-SP1/everything/$basearch/
enabled=1
gpgcheck=1
gpgkey=http://repo.openeuler.org/openEuler-22.03-LTS-SP1/everything/$basearch/RPM-GPG-KEY-openEuler

[EPOL]
name=EPOL
baseurl=http://repo.openeuler.org/openEuler-22.03-LTS-SP1/EPOL/main/$basearch/
enabled=1
gpgcheck=1
gpgkey=http://repo.openeuler.org/openEuler-22.03-LTS-SP1/OS/$basearch/RPM-GPG-KEY-openEuler

[debuginfo]
name=debuginfo
baseurl=http://repo.openeuler.org/openEuler-22.03-LTS-SP1/debuginfo/$basearch/
enabled=1
gpgcheck=1
gpgkey=http://repo.openeuler.org/openEuler-22.03-LTS-SP1/debuginfo/$basearch/RPM-GPG-KEY-openEuler

[source]
name=source
baseurl=http://repo.openeuler.org/openEuler-22.03-LTS-SP1/source/
enabled=1
gpgcheck=1
gpgkey=http://repo.openeuler.org/openEuler-22.03-LTS-SP1/source/RPM-GPG-KEY-openEuler

[update]
name=update
baseurl=http://repo.openeuler.org/openEuler-22.03-LTS-SP1/update/$basearch/
enabled=1
gpgcheck=1
gpgkey=http://repo.openeuler.org/openEuler-22.03-LTS-SP1/OS/$basearch/RPM-GPG-KEY-openEuler

[update-source]
name=update-source
baseurl=http://repo.openeuler.org/openEuler-22.03-LTS-SP1/update/source/
enabled=1
gpgcheck=1
gpgkey=http://repo.openeuler.org/openEuler-22.03-LTS-SP1/source/RPM-GPG-KEY-openEuler
2.1 使用yum安装常用软件包postgresql,opengis依赖包
环境因人而异,仅供参考
yum install -y systemtap-sdt-devel.x86_64 perl-ExtUtils-Embed bzip2 readline readline-devel zlib zlib-devel openssl openssl-devel pam pam-devel libxml2 libxml2-devel libxslt libxslt-devel tcl tcl-devel openldap openldap-devel python3 python3-devel kernel-headers autoconf proj.x86_64 vim nc wget psmisc gcc-c++ gcc lrzsz make cmake telnet net-tools bind-utils tree cifs-utils ntpdate bash-completion sysstat iotop iftop htop unzip nmap bc bind-utils nethogs
三、安装Postgresql10.5
3.1创建工作目录:
[root@gis ~]# mkdir -p /home/application/gis
3.2 解压软件包:
[root@gis ~]#  tar -xf postgresql-10.5.tar.gz

[root@gis ~]#  cd postgresql-10.5
3.3 postgres 安装:
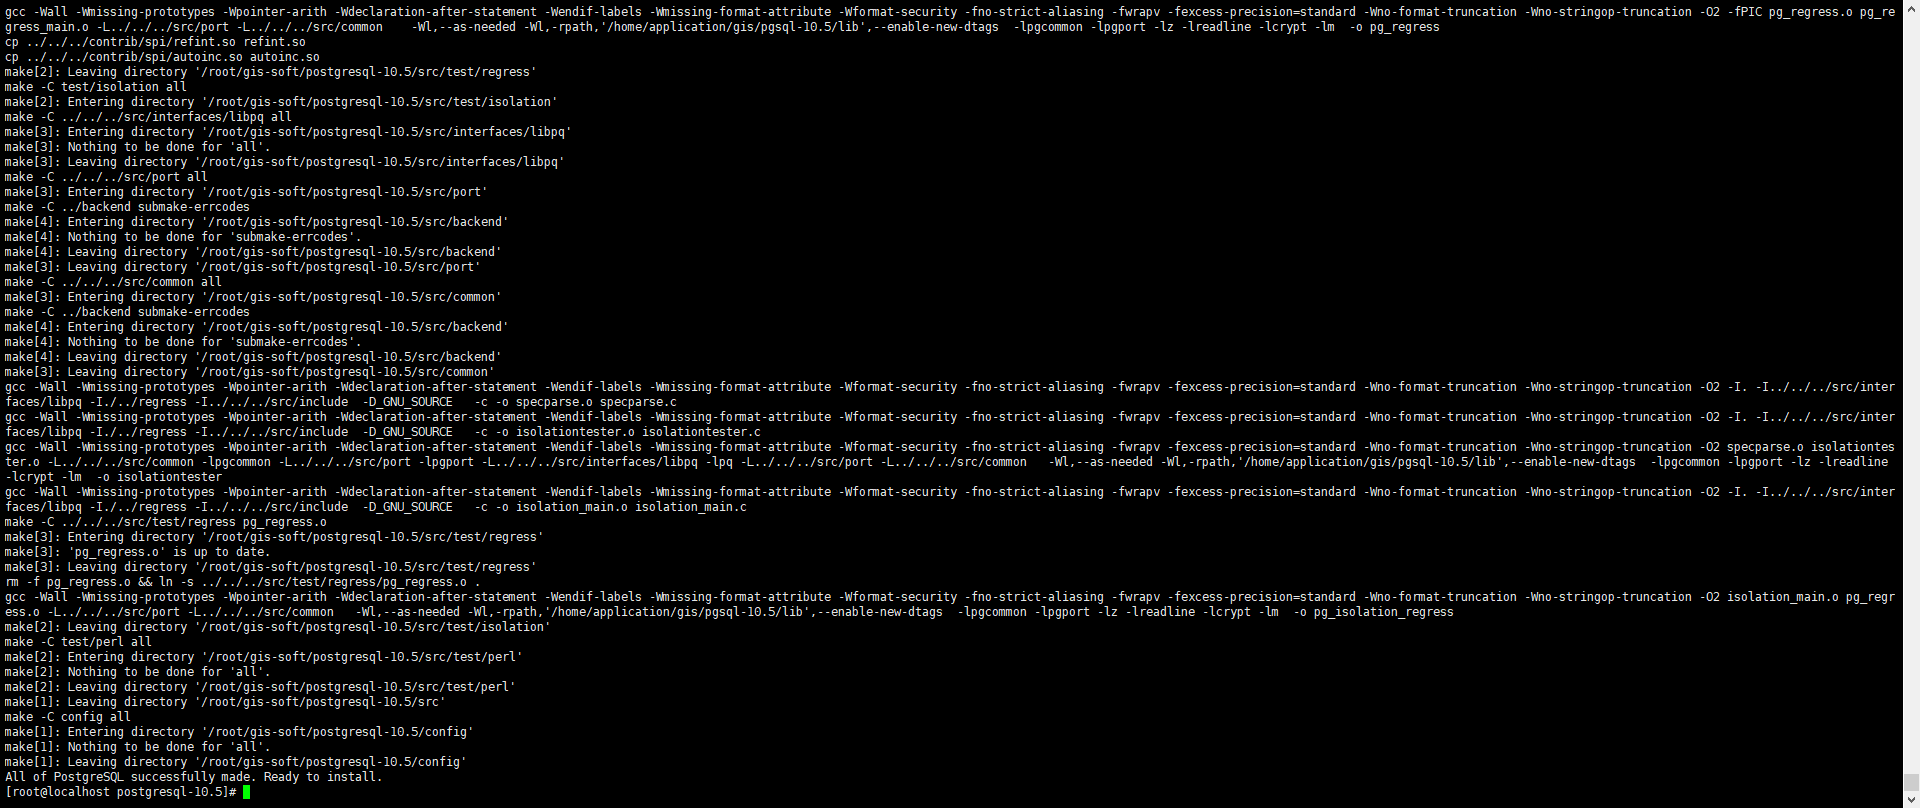
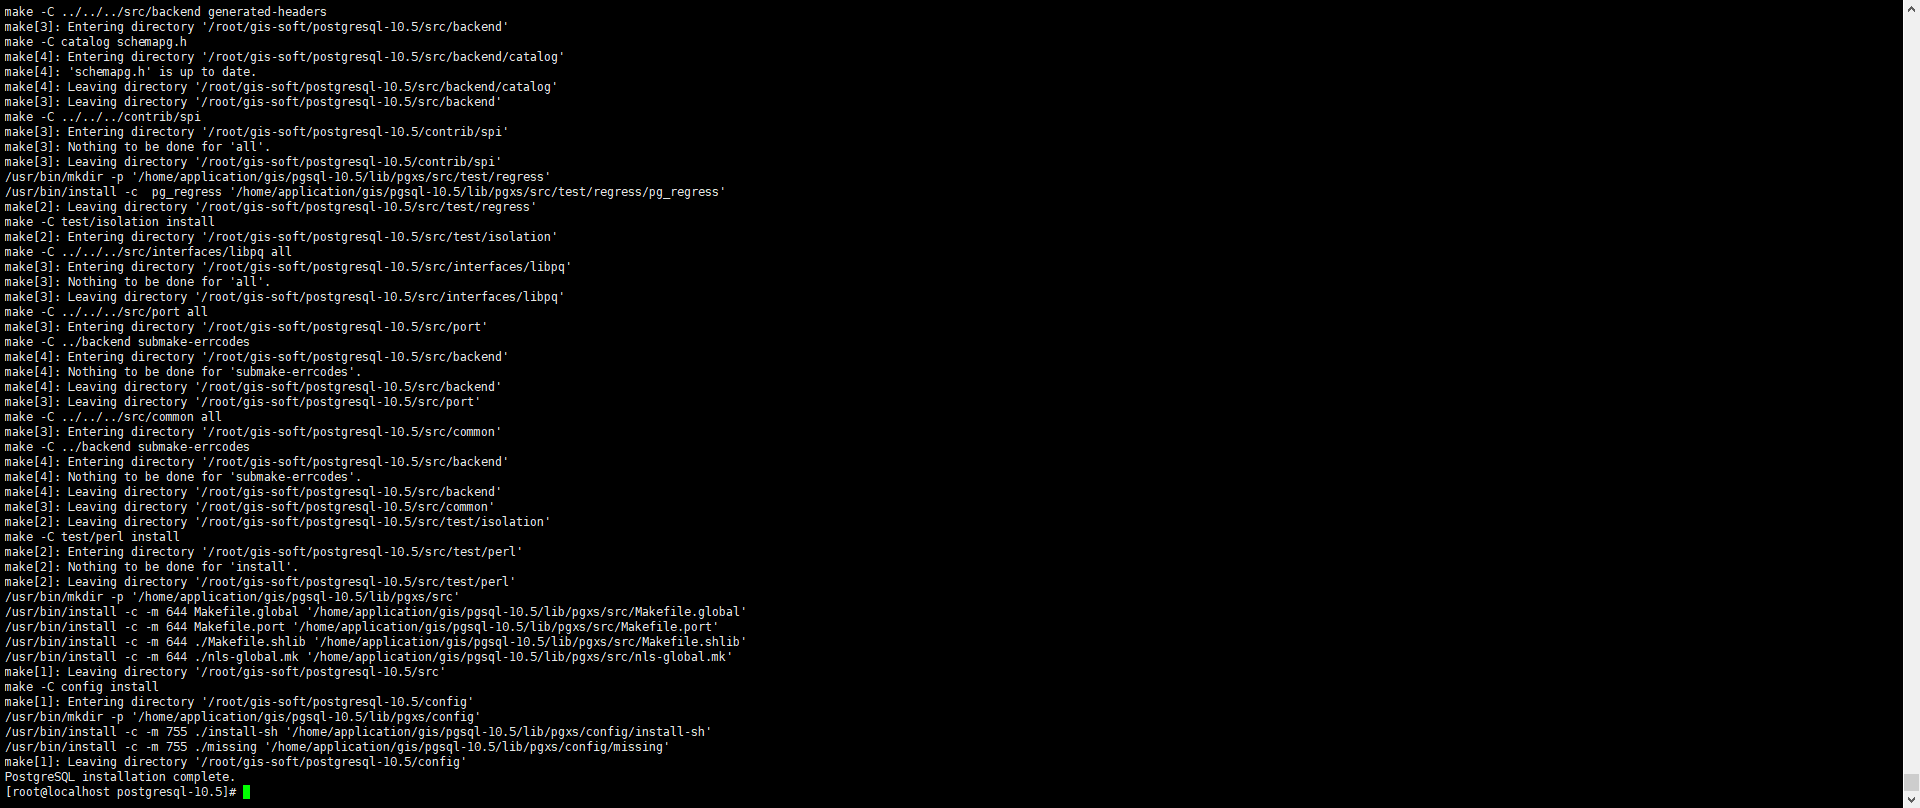
./configure --prefix=/home/application/gis/pgsql-10.5
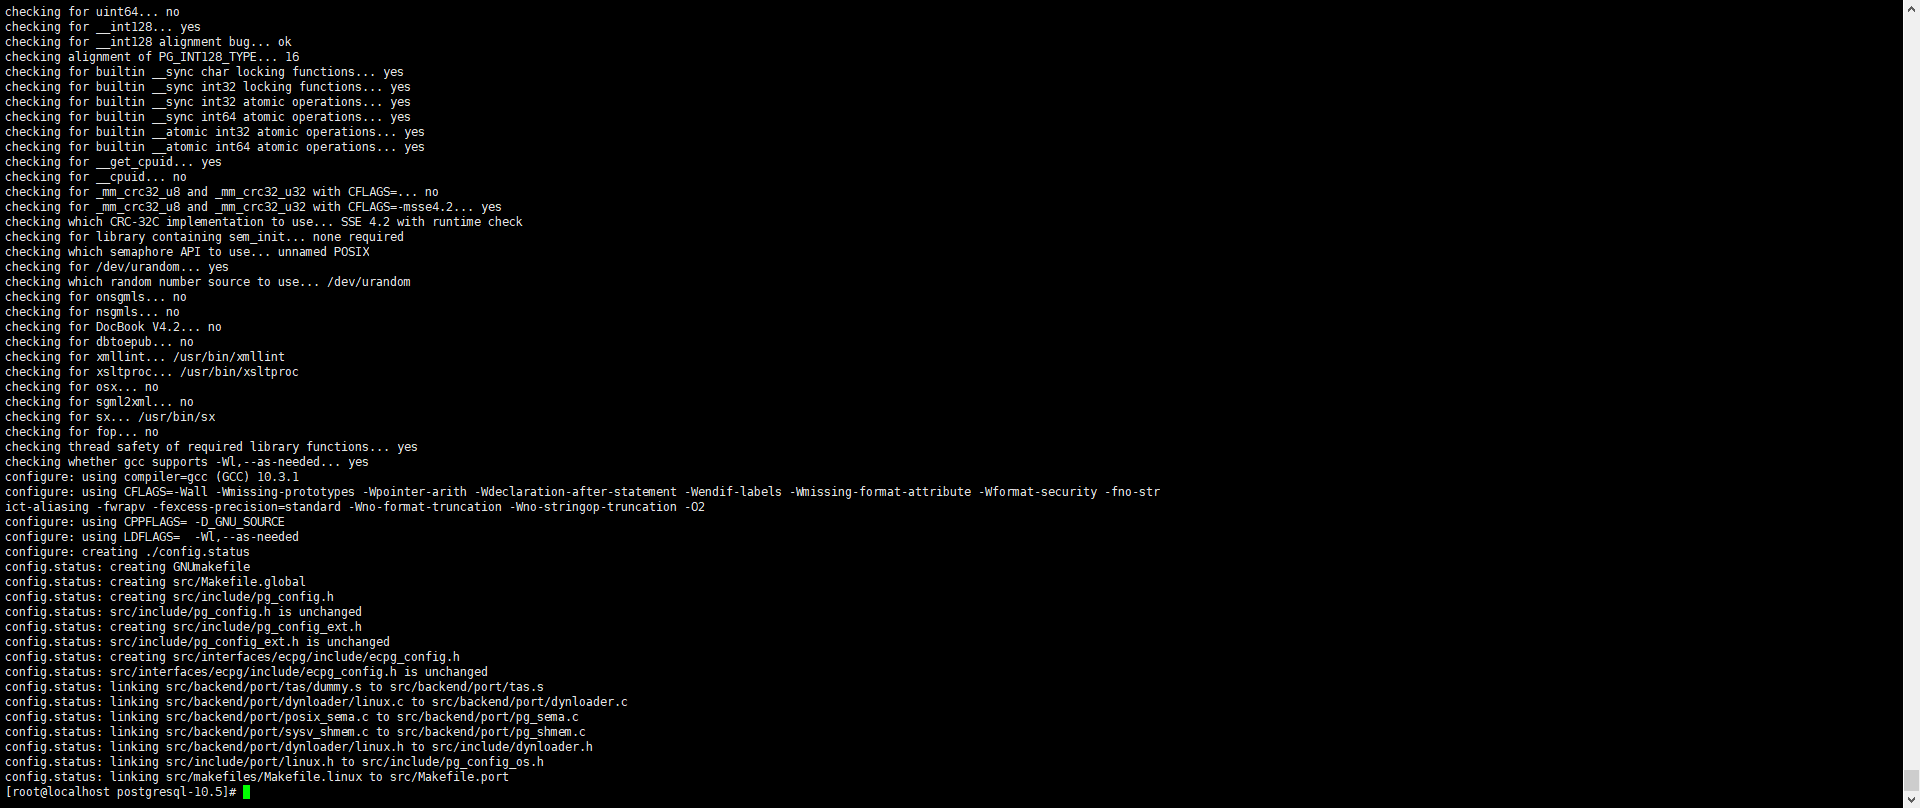
make
make install
3.4 创建用户并设置密码:
[root@gis ~]# useradd postgres && echo "openeuler@2023" | passwd --stdin "postgres" &>/dev/null
3.5 创建pg数据目录:
[root@gis ~]# mkdir /home/application/gis/pgsql-10.5/data
3.6 赋予postgres 对安装目录所有权限:
[root@gis ~]# chown -Rf postgres:postgres /home/application/gis/pgsql-10.5
3.7 切换用户,并设置环境变量:
[root@gis ~]# su - postgres

vim ~/.bash_profile
...............
# User specific environment and startup programs
export PGHOME=/home/application/gis/pgsql-10.5
export PGDATA=/home/application/gis/pgsql-10.5/data
PATH=$PGHOME/bin:$PATH

...............
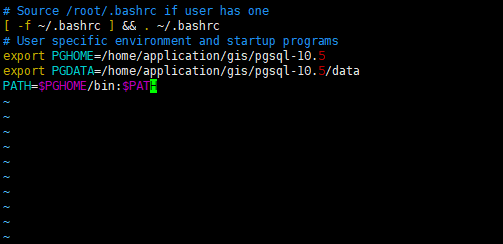
- 使环境变量生效:
[postgres@gis ~]$ source ~/.bash_profile
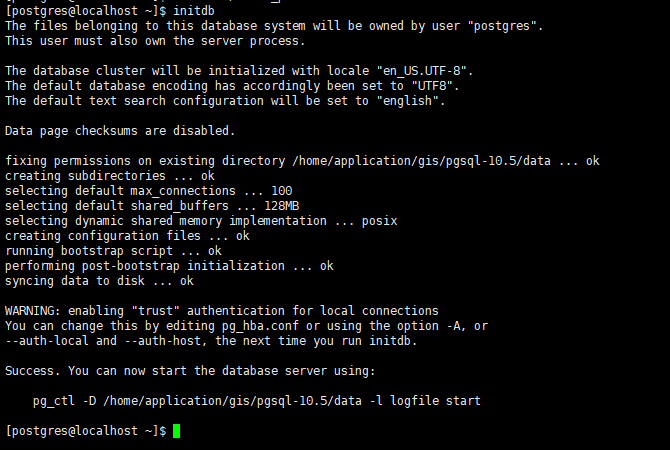
3.8 初始化postgres:
[postgres@gis ~]$ initdb
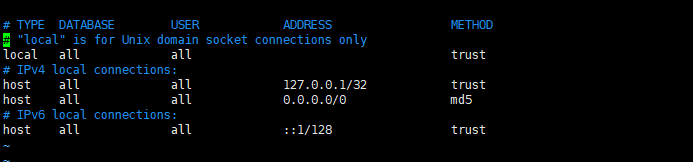
3.9 修改pg_hba.conf 配置文件
[postgres@gis ~]$ cd /home/application/gis/pgsql-10.5/data
[postgres@gis ~]$ cp pg_hba.conf pg_hba.conf-bak
[postgres@gis ~]$ vim /home/application/gis/pgsql-10.5/data/pg_hba.conf
#修改成如下示例
# TYPE  DATABASE        USER            ADDRESS                 METHOD
# "local" is for Unix domain socket connections only
local   all             all                                     trust
# IPv4 local connections:
host    all             all             127.0.0.1/32            trust
host    all             all             0.0.0.0/0               md5
# IPv6 local connections:
host    all             all             ::1/128                 trust
3.10 修改postgresql.conf配置文件
[postgres@mysql-master data]$ cp /home/application/gis/pgsql-10.5/data/postgresql.conf /home/application/gis/pgsql-10.5/data/postgresql.conf-bak
[postgres@mysql-master data]$ vim postgresql.conf
#修改成如下示例
listen_addresses = '*'

3.11 设置开机自启动并使用systemd管理
退出到root用户下:
[postgres@localhost ~]$ exit
切换到postgresql-10.5安装包路径下:
[root@gis ~]# cd postgresql-10.5
[root@gis postgresql-10.5]#  cp ./contrib/start-scripts/linux   /etc/init.d/postgresql
[root@gis postgresql-10.5]#  chmod +x /etc/init.d/postgresql
修改参数,设置安装路径,data路径:
[root@gis postgresql-10.5]# vim /etc/init.d/postgresql
#prefix设置为postgresql的安装路径: 注意不要加 /
prefix=/home/application/gis/pgsql-10.5

#PGDATA设置为postgresql的数据目录路径:
PGDATA="/home/application/gis/pgsql-10.5/data"

设置postgresql服务开机自启动:
[root@gis postgresql-10.5]# systemctl daemon-reload

[root@gis postgresql-10.5]# chkconfig --add postgresql
3.12 启动postgresql
[root@localhost postgresql-10.5]# systemctl start postgresql.service
[root@localhost postgresql-10.5]# netstat -ntlup
Active Internet connections (only servers)
Proto Recv-Q Send-Q Local Address           Foreign Address         State       PID/Program name
tcp        0      0 0.0.0.0:5432            0.0.0.0:*               LISTEN      96928/postmaster
tcp        0      0 0.0.0.0:6379            0.0.0.0:*               LISTEN      92986/redis-server
tcp        0      0 0.0.0.0:111             0.0.0.0:*               LISTEN      1085/rpcbind
tcp        0      0 0.0.0.0:22              0.0.0.0:*               LISTEN      1164/sshd: /usr/sbi
tcp6       0      0 :::5432                 :::*                    LISTEN      96928/postmaster

3.13 给postgres用户设置密码:
切换到postgres用户下
[root@localhost postgresql-10.5]# su - postgres
pgsql 登录控制台,修改pg密码
postgres@localhost ~]$ psql
postgres=#
alter user postgres with password 'openeuler@2023';
\q 退出
重启数据库
[root@localhost postgresql-10.5]# systemctl restart postgresql.service
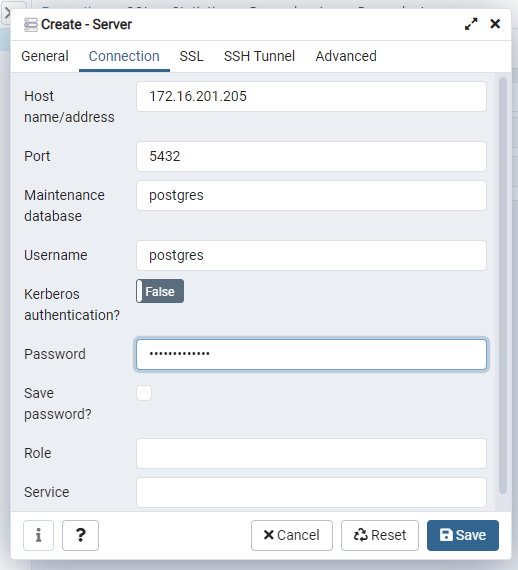
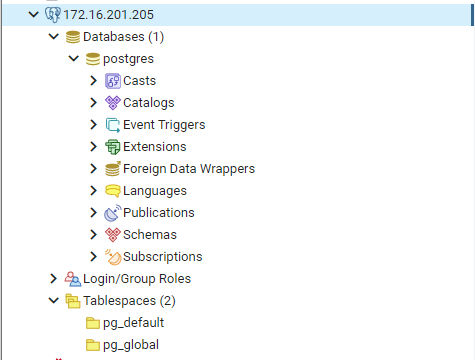
3.14 使用PGadmin 客户端连接测试
四、安装PostGIS组件
4.1 安装二维依赖包
- geos库+gdal库+proj库+json-c库
4.1.1 安装geos
编译时间较长,耐心等待
[root@localhost gis-soft]# tar -xf geos-3.8.0.tar.bz2
[root@localhost gis-soft]# cd geos-3.8.0/
[root@localhost geos-3.8.0]# ./configure --prefix=/home/application/gis/geos-3.8
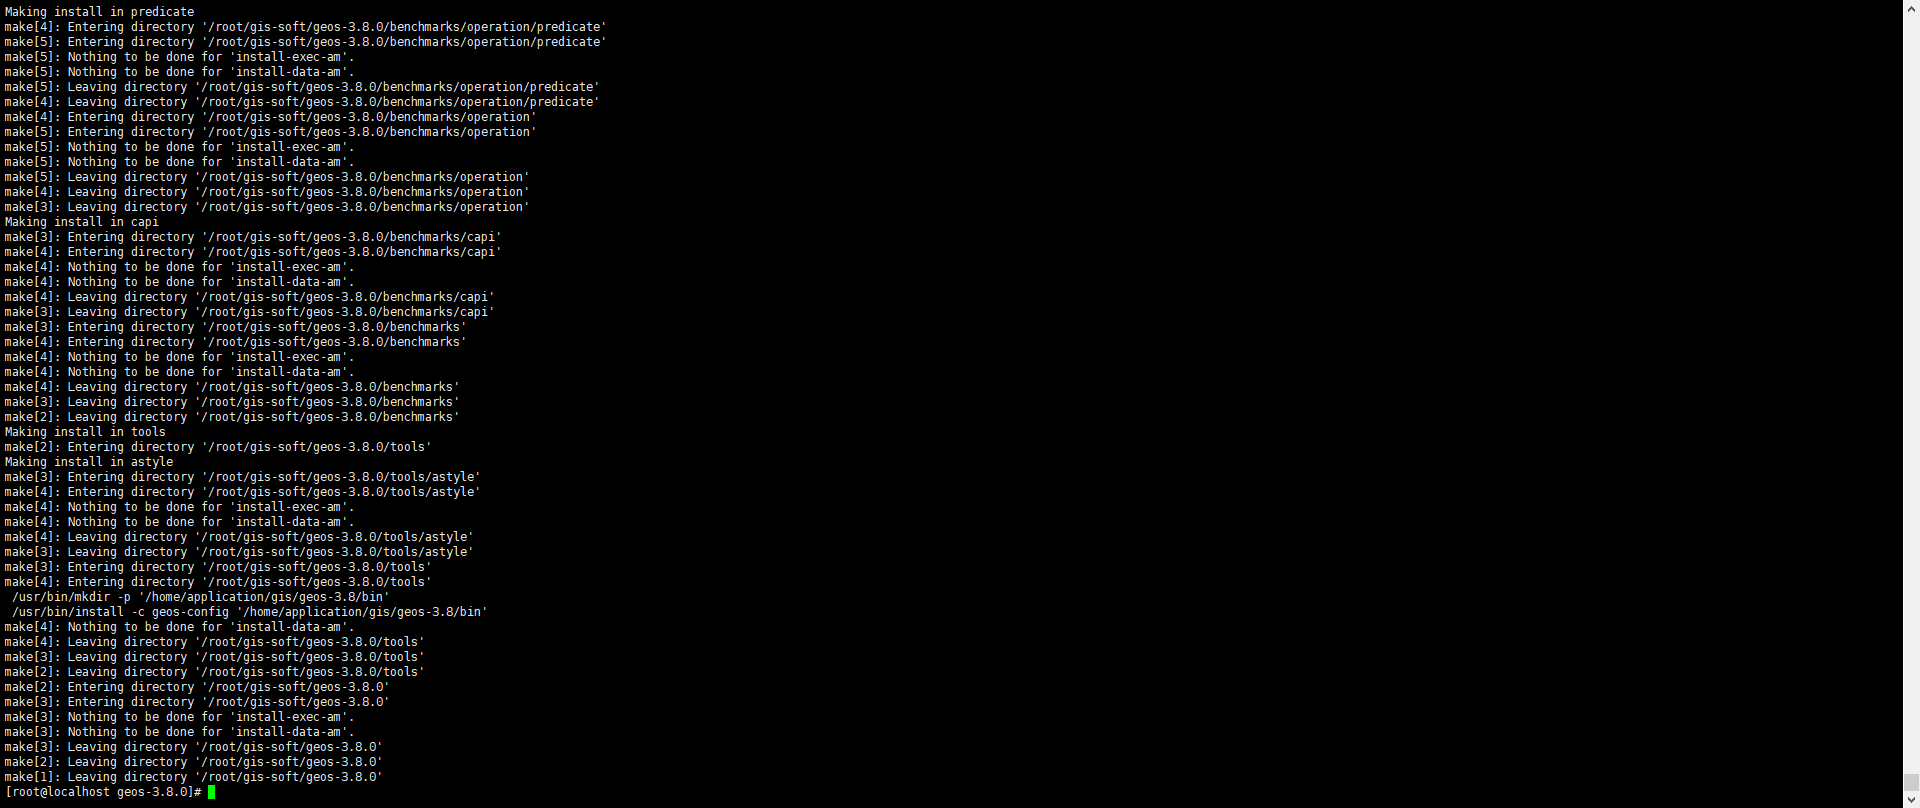
[root@localhost geos-3.8.0]# make
[root@localhost geos-3.8.0]# make install

4.1.2安装gdal
[root@localhost gis-soft]# tar -xf gdal-2.1.3.tar.gz
[root@localhost gis-soft]# cd gdal-2.1.3/
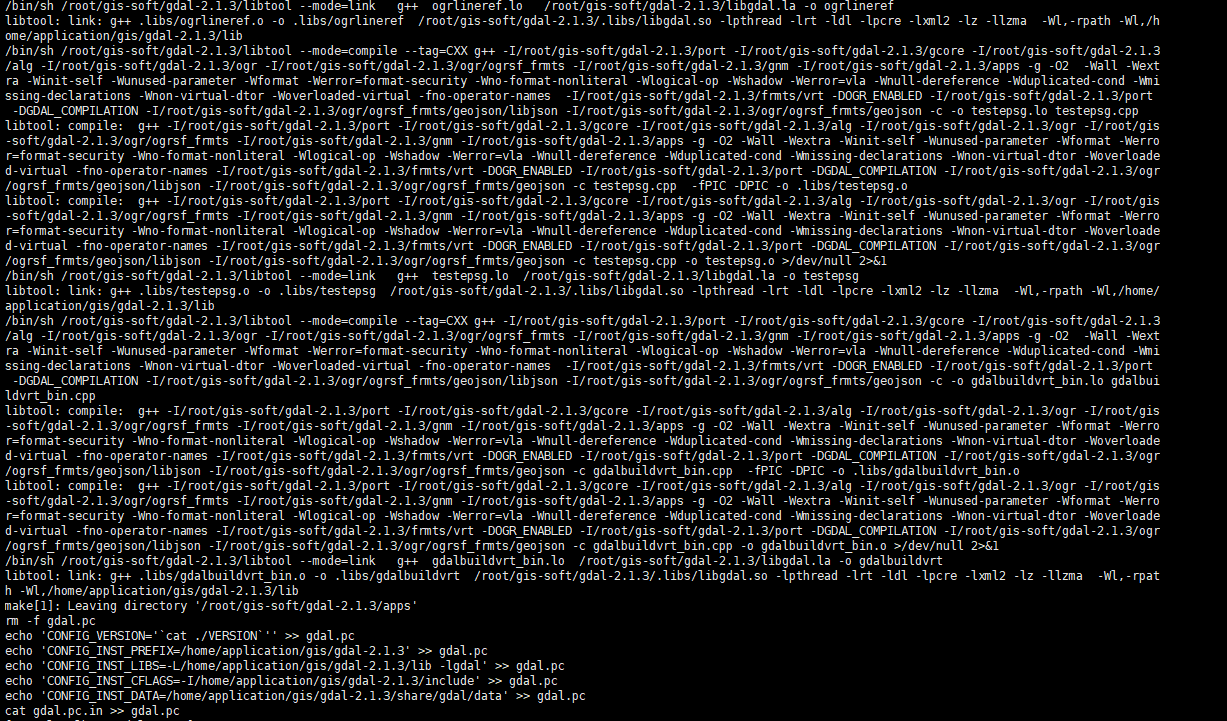
[root@localhost gdal-2.1.3]# ./configure --prefix=/home/application/gis/gdal-2.1.3
[root@localhost gdal-2.1.3]# make
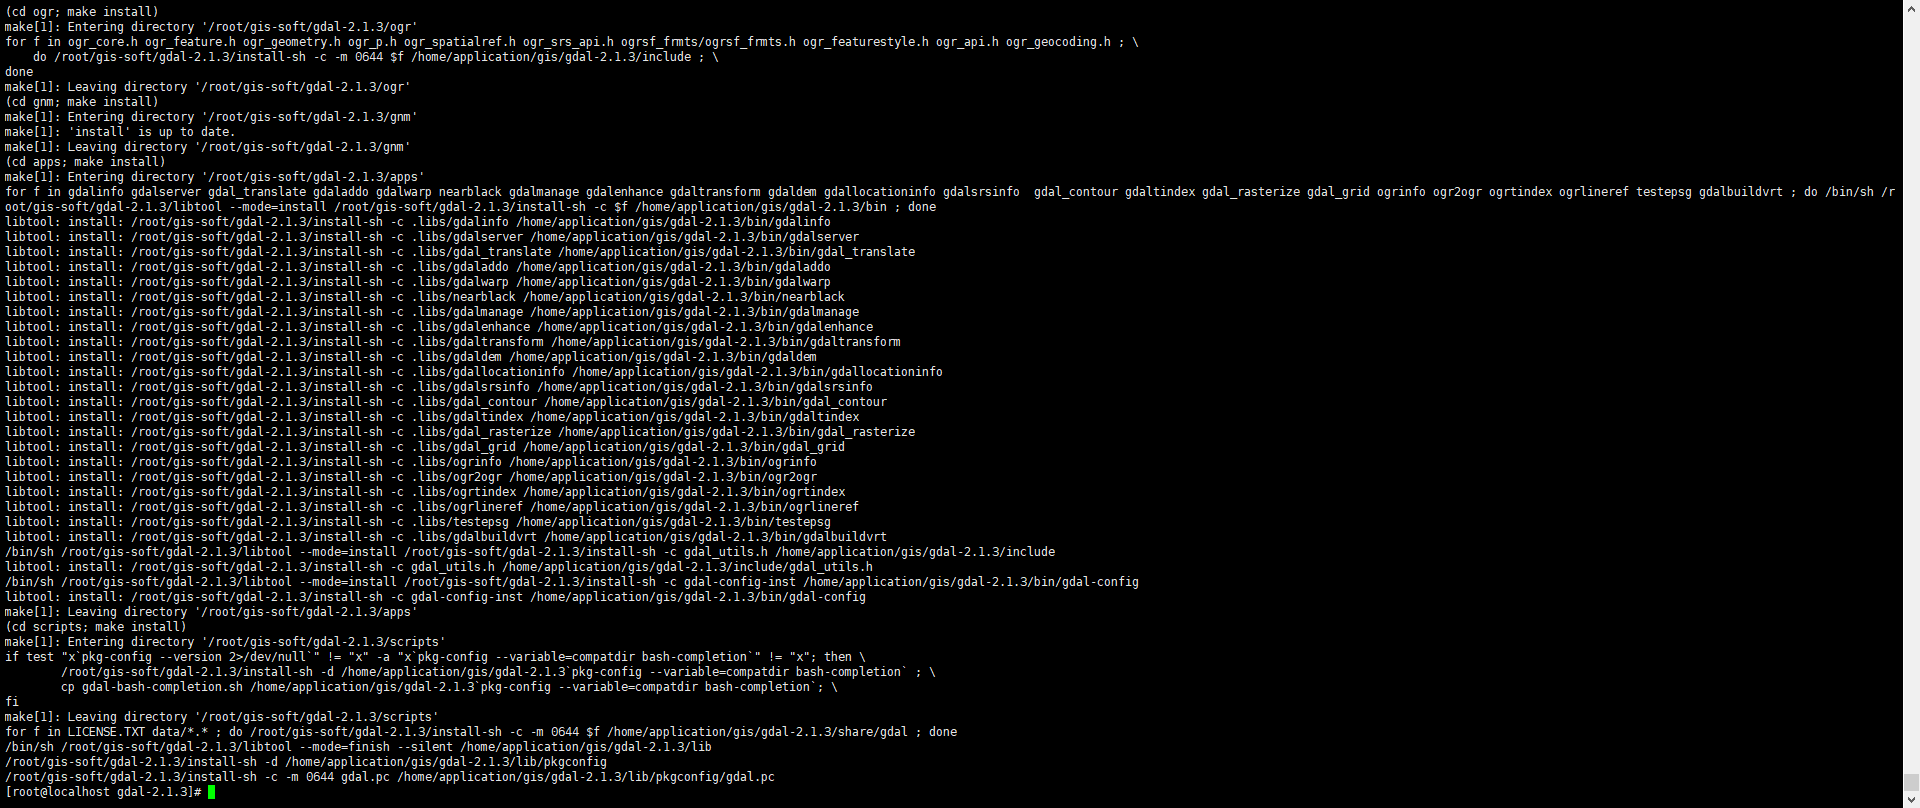
[root@localhost gdal-2.1.3]# make install

4.1.3 安装proj
[root@localhost gis-soft]# tar -xf proj-4.9.3.tar.gz
[root@localhost gis-soft]# cd proj-4.9.3/
[root@localhost proj-4.9.3]#  ./configure --prefix=/home/application/gis/proj-4.9.3
[root@localhost proj-4.9.3]# make
[root@localhost proj-4.9.3]# make install
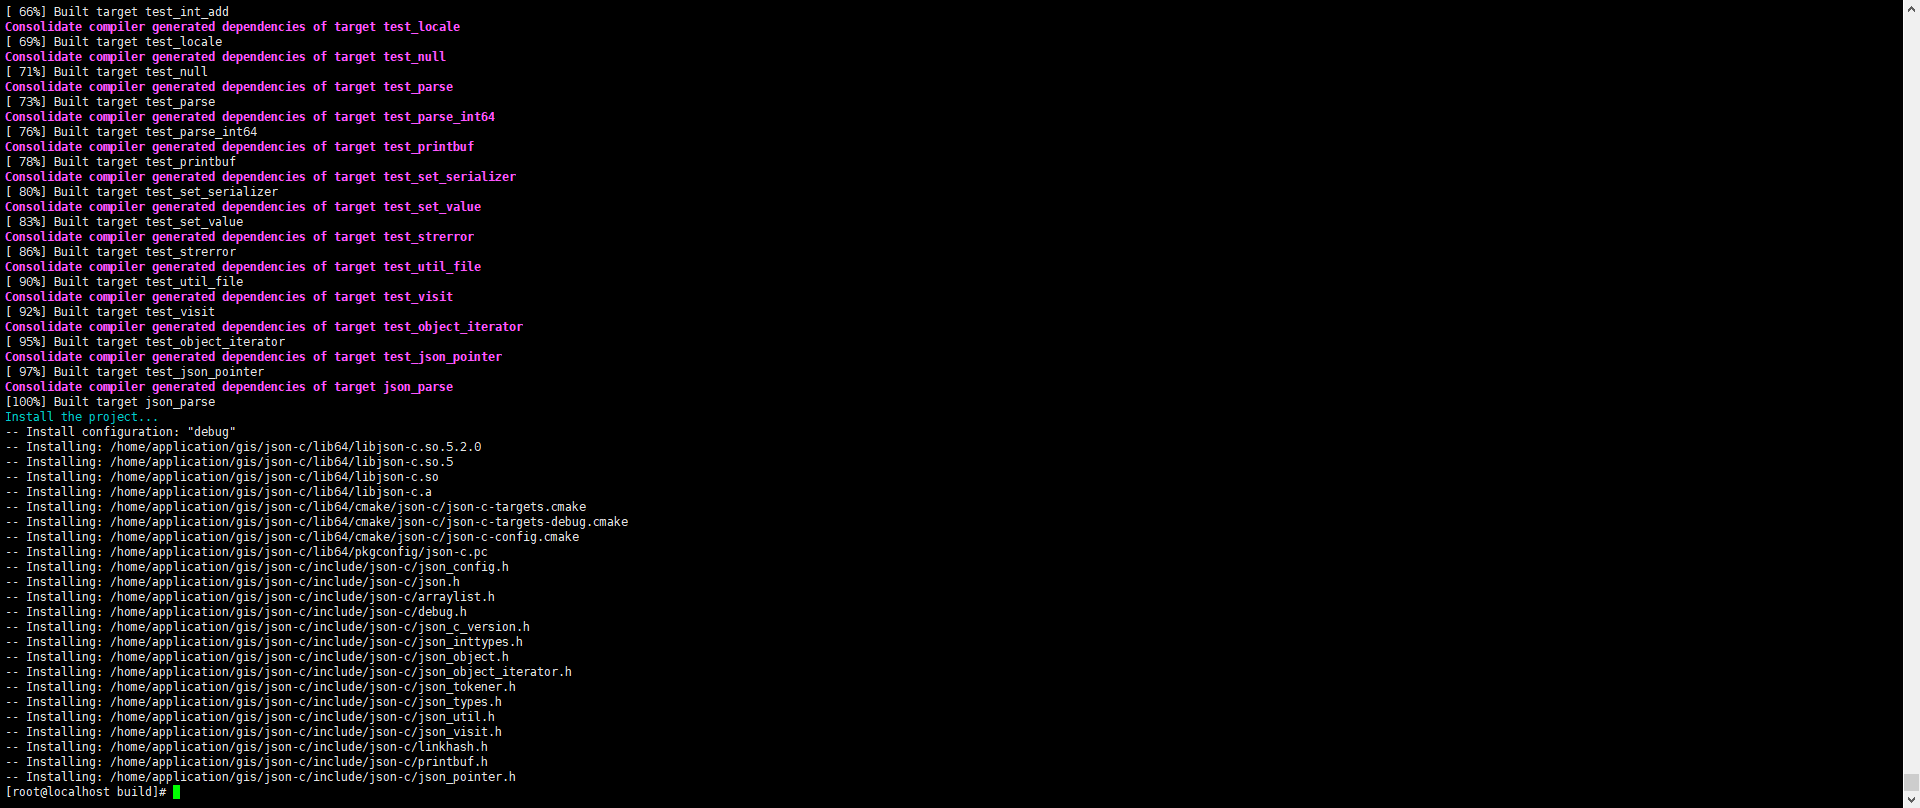
4.1.4安装json-c
[root@localhost gis-soft]# tar -xf json-c-json-c-0.16-20220414.tar.gz
[root@localhost gis-soft]# cd json-c-json-c-0.16-20220414/
[root@localhost json-c-json-c-0.16-20220414]# mkdir build
[root@localhost json-c-json-c-0.16-20220414]# cd build/
[root@localhost build]# cmake -DCMAKE_INSTALL_PREFIX=/home/application/gis/json-c ..
[root@localhost build]# make
[root@localhost build]# make install
五、安装PostGIS3.1
5.1 安装postgis3.1,并指定组件路径
[root@localhost gis-soft]# tar -xf postgis-3.1.0.tar.gz
[root@localhost gis-soft]# cd postgis-3.1.0/
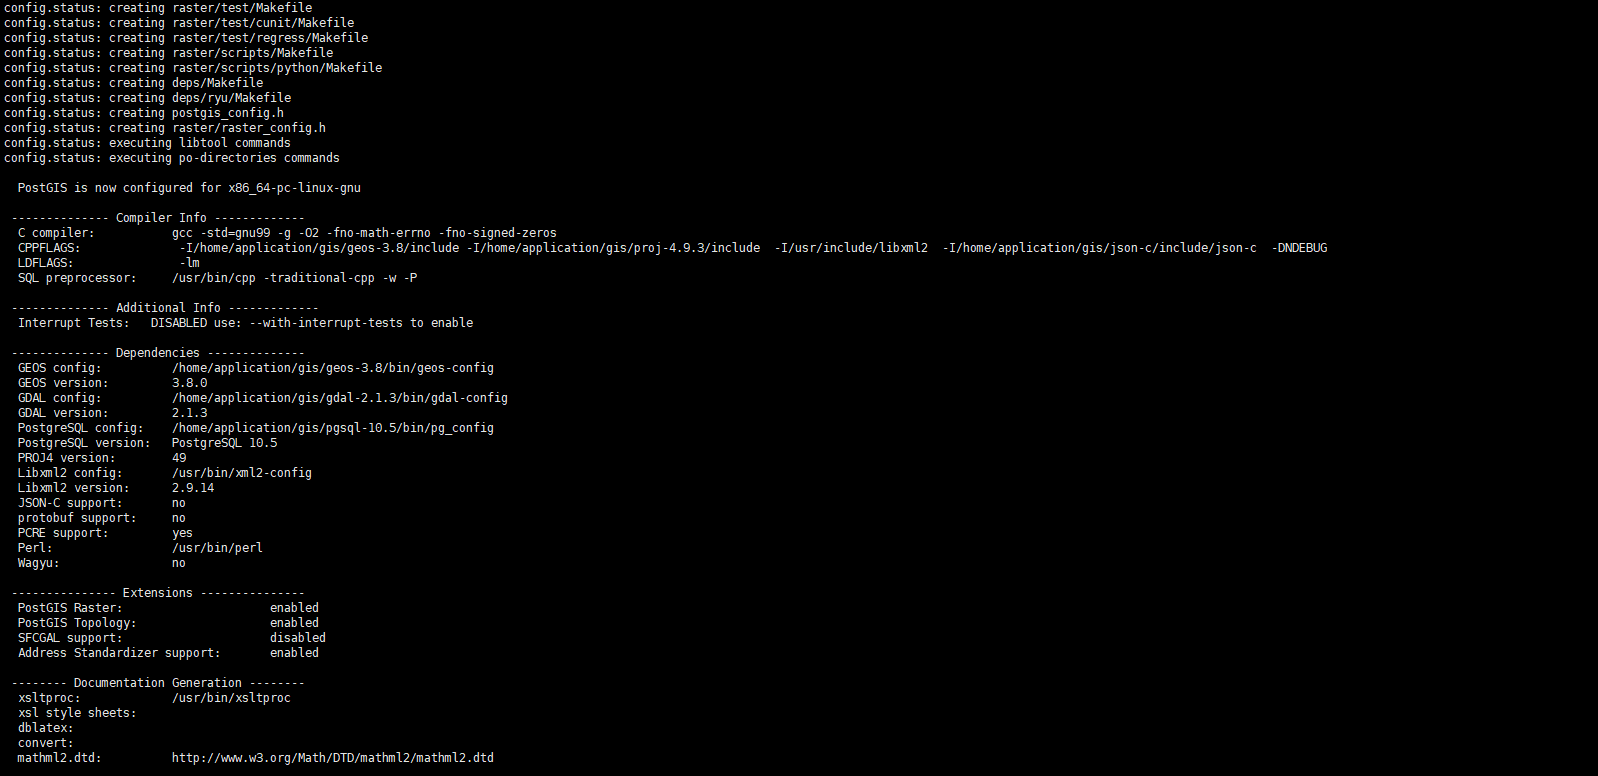
[root@localhost postgis-3.1.0]# ./configure --with-pgconfig=/home/application/gis/pgsql-10.5/bin/pg_config --with-gdalconfig=/home/application/gis/gdal-2.1.3/bin/gdal-config --with-geosconfig=/home/application/gis/geos-3.8/bin/geos-config --with-jsondir=/home/application/gis/json-c --with-projdir=/home/application/gis/proj-4.9.3 --without-protobuf
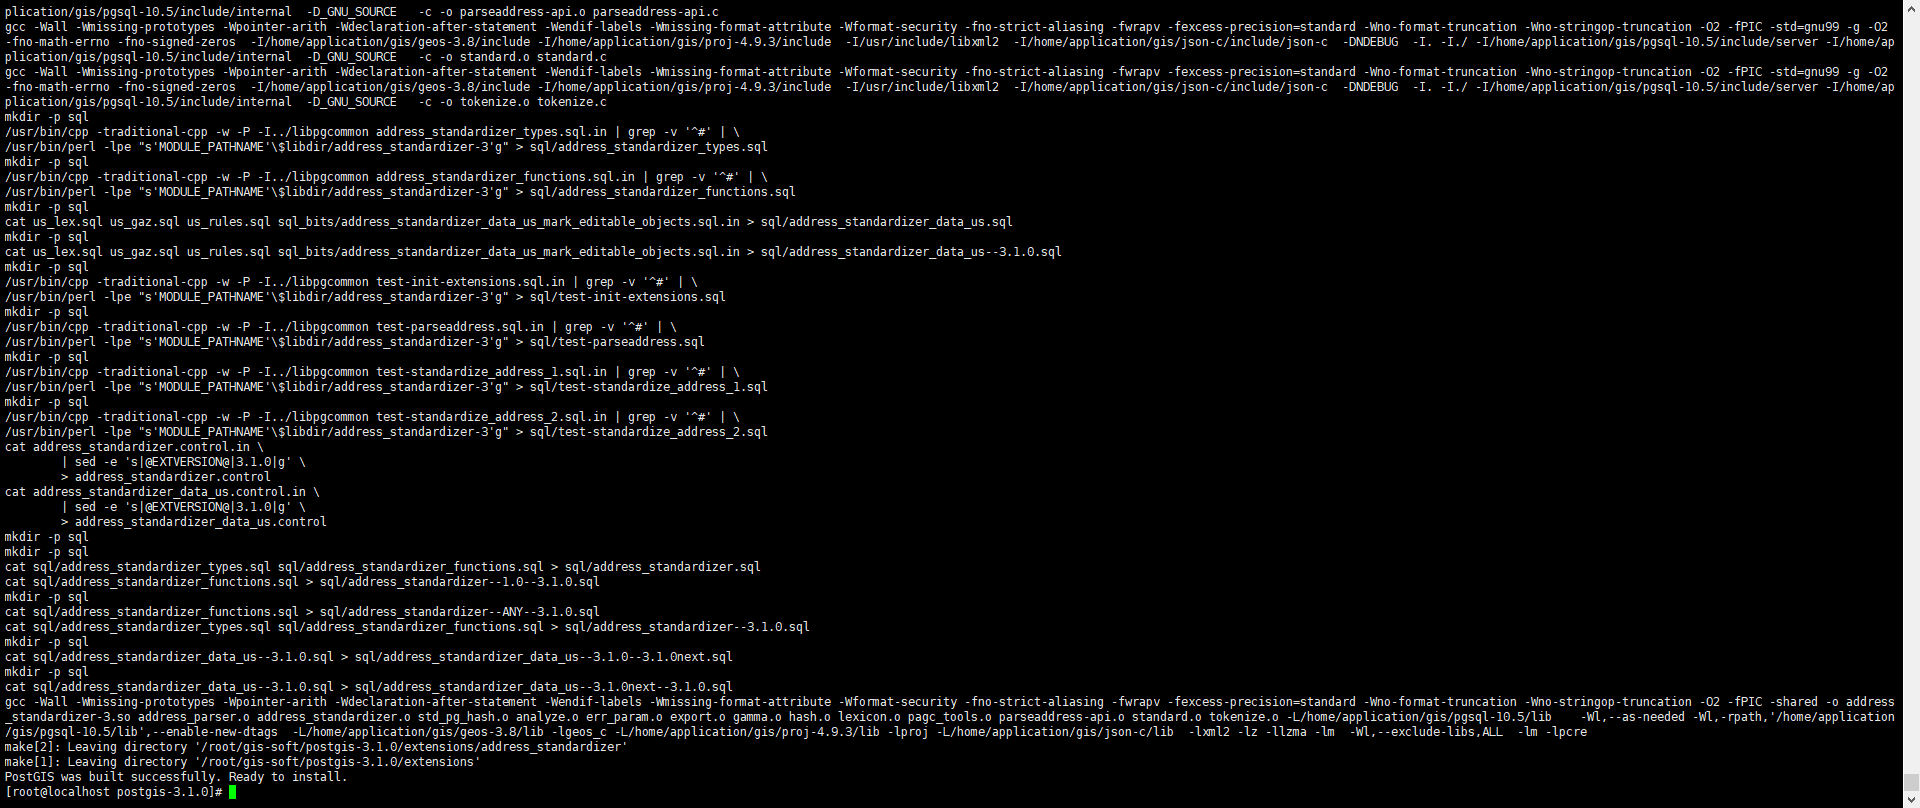
[root@localhost postgis-3.1.0]# make
[root@localhost postgis-3.1.0]# make install
5.2 配置postgis环境变量
[root@qy006 postgis3.1.0]# su - postgres

[postgres@localhost ~]$ vim ~/.bash_profile
...............
#POSTGIS
LD_LIBRARY_PATH=/home/application/gis/proj-4.9.3/lib:/home/application/gis/geos-3.8/lib:/home/application/gis/json-c/lib64:/home/application/gis/gdal-2.1.3/lib
export LD_LIBRARY_PATH
export PATH
...............

[postgres@localhost ~]$  source ~/.bash_profile
5.3 重启postgresql数据库
#切换到root用户下
[postgres@localhost ~]$ exit
logout

[root@localhost ~]# systemctl restart postgresql
5.4 验证插件是否安装成功
出现该提示,表示扩展成功
[root@localhost ~]# su - postgres
[postgres@localhost ~]$ psql
psql (10.5)
Type "help" for help.

postgres=# create extension postgis;
postgres=# select * from pg_available_extensions where name like 'postgis%';

来源于fxkjnj.com
© 版权声明
文章版权归作者所有,未经允许请勿转载。


 1415
1415


 被折叠的 条评论
为什么被折叠?
被折叠的 条评论
为什么被折叠?
 到【灌水乐园】发言


