


实战:Terraform本地源配置-2024.5.30(测试成功)

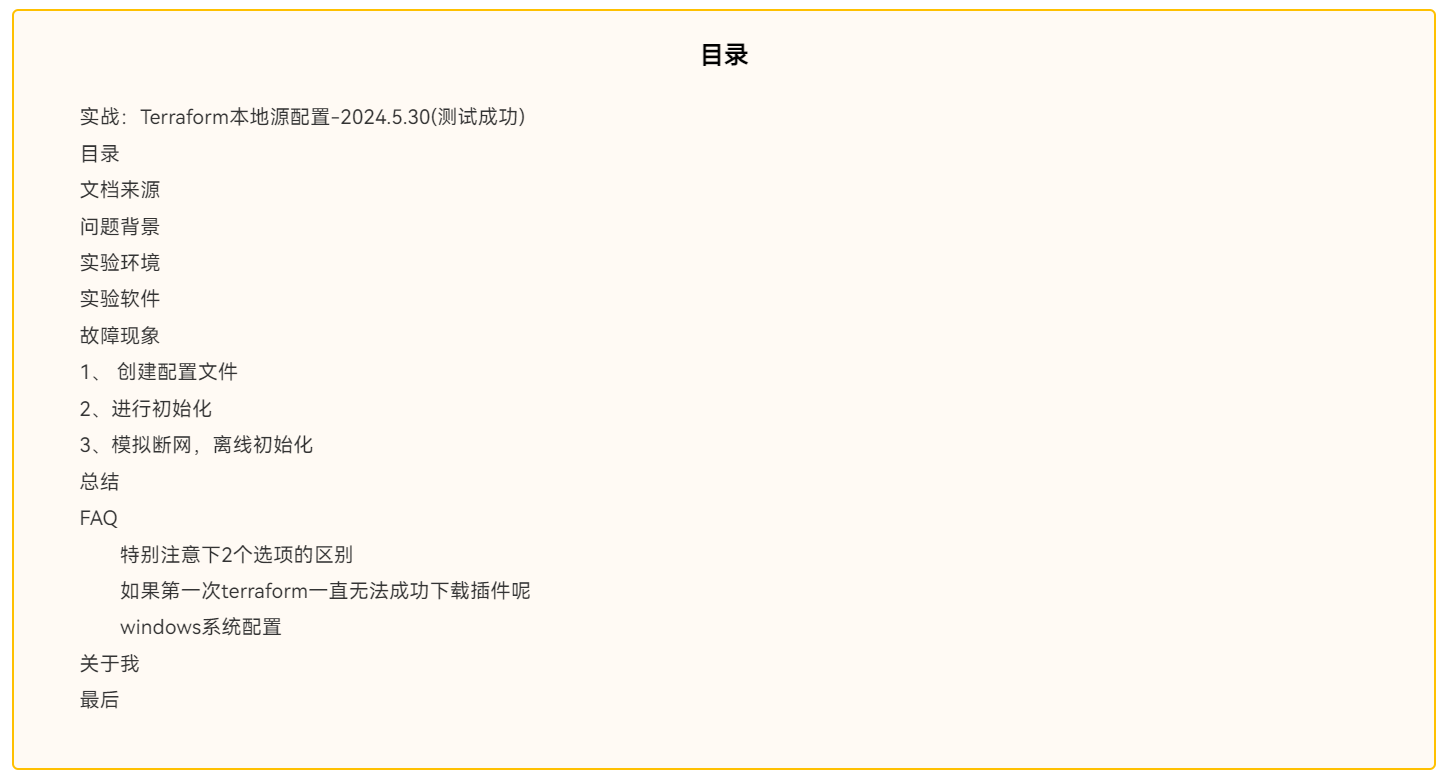
目录
文档来源
感谢泽阳大佬。❤️
补充: Terraform配置本地缓存源文档:https://www.yuque.com/devopsgroup/tf/ext#b0c3c0c6
问题背景
解决思路:
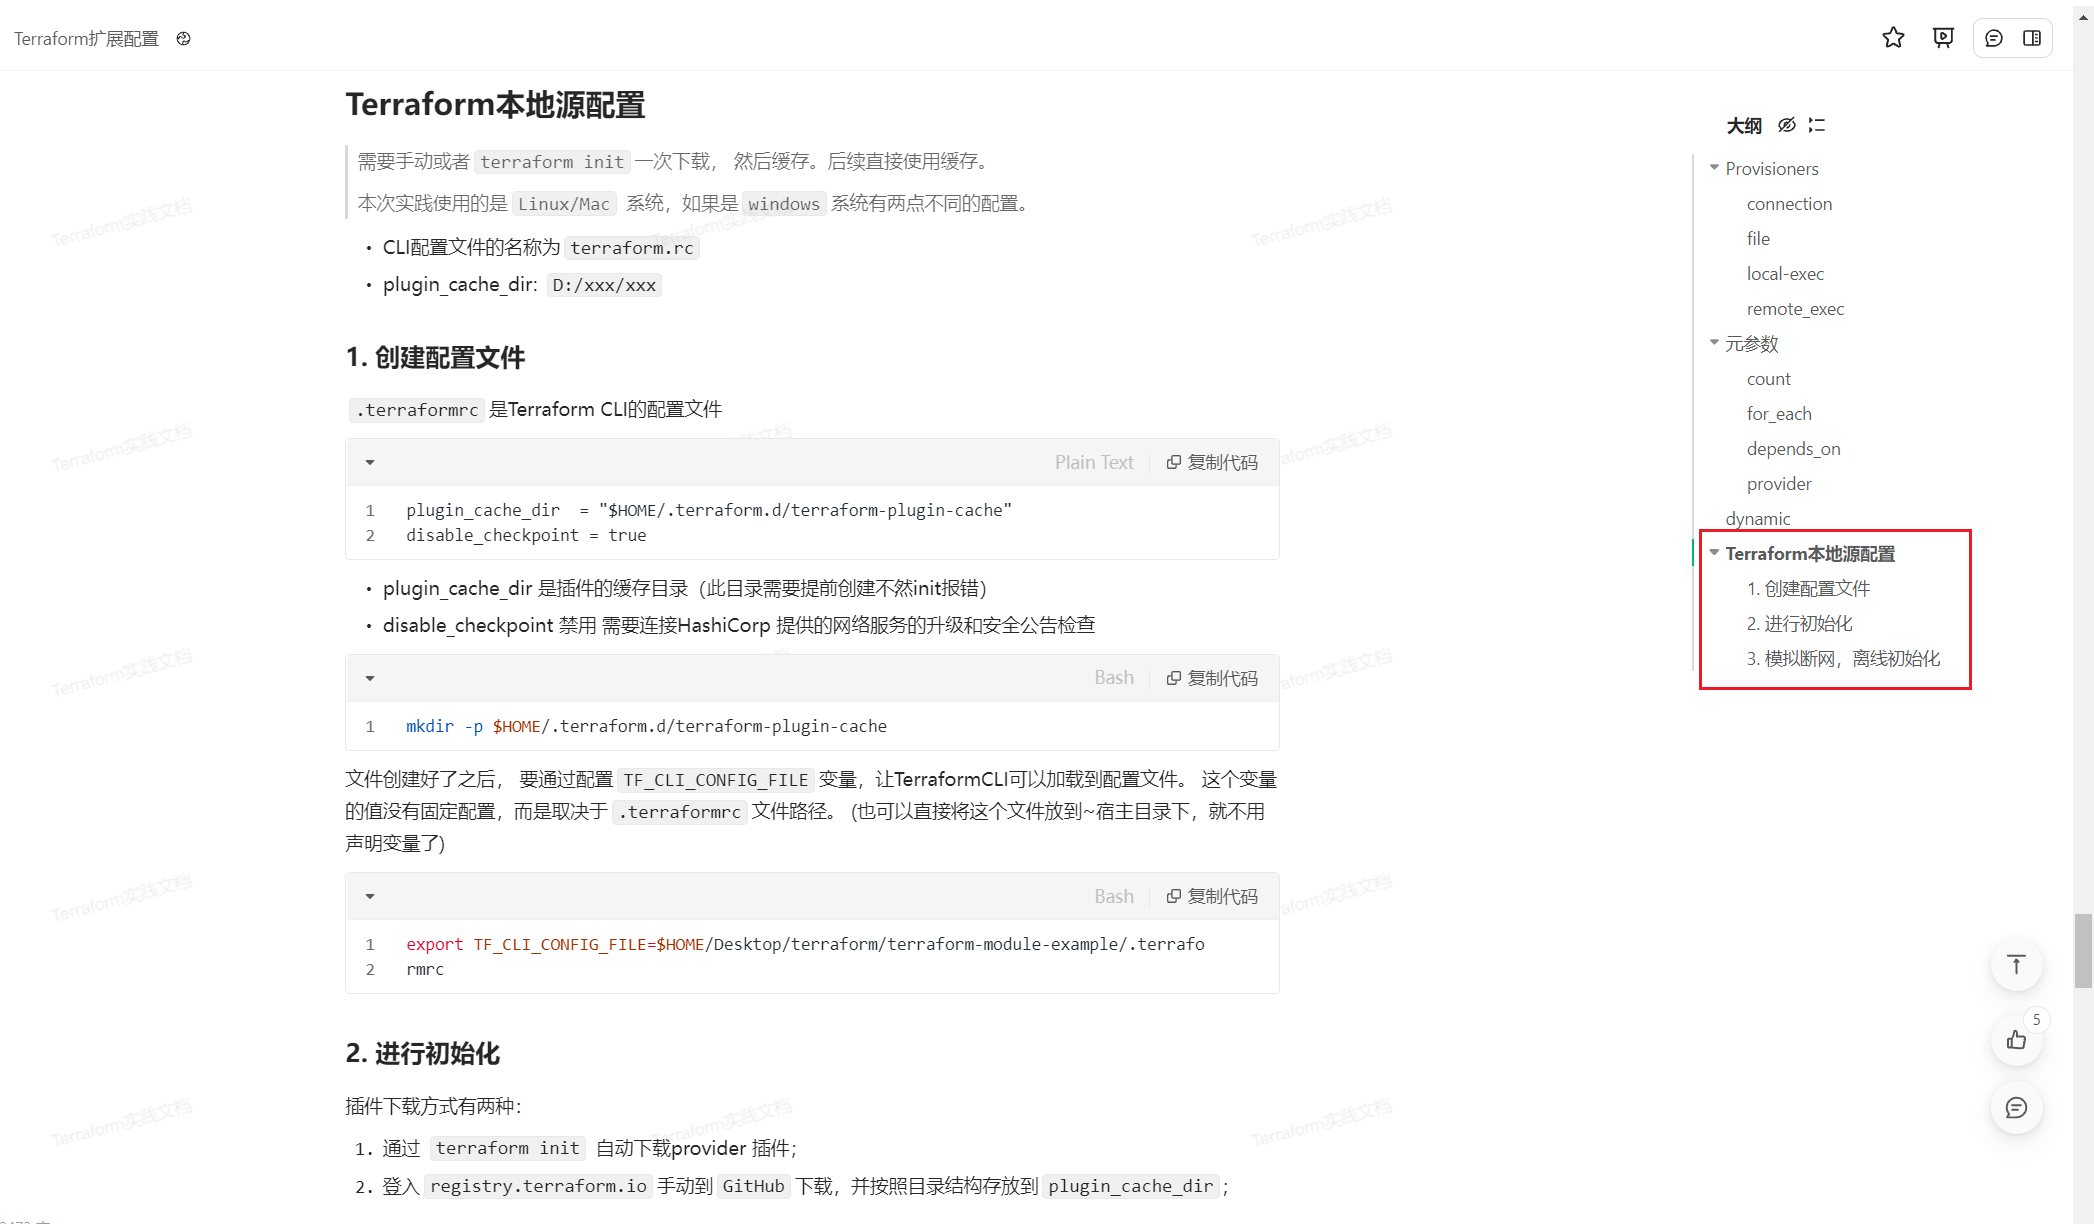
需要手动或者
terraform init一次下载, 然后缓存,后续直接使用缓存。
实验环境
本次利用如下配置文件来模拟测试:
前提条件:
已经提前安装好terraform;
然后本次利用次kind.tf文件(见附件)进行模拟测试。
Terraform v1.1.8 on linux_amd64
实验软件
故障现象
- 安装terraform软件
unzip terraform_1.1.8_linux_amd64.zip
mv terraform /usr/local/bin
terraform version
- 准备测试环境:
[root@devops8 ~]#mkdir k8s

#上传测试文件到k8s目录
[root@devops8 k8s]#ll -a
total 28
drwxr-xr-x   2 root root    58 May 30 21:15 .
dr-xr-x---. 11 root root  4096 May 30 21:15 ..
-rw-r--r--   1 root root 15343 May 30 17:37 ingress.yaml
-rw-r--r--   1 root root  2778 May 30 17:37 kind.tf
-rw-r--r--   1 root root  1010 May 30 17:37 README.md
- terraform init初始化,观察下载插件情况
[root@devops8 k8s]#terraform init
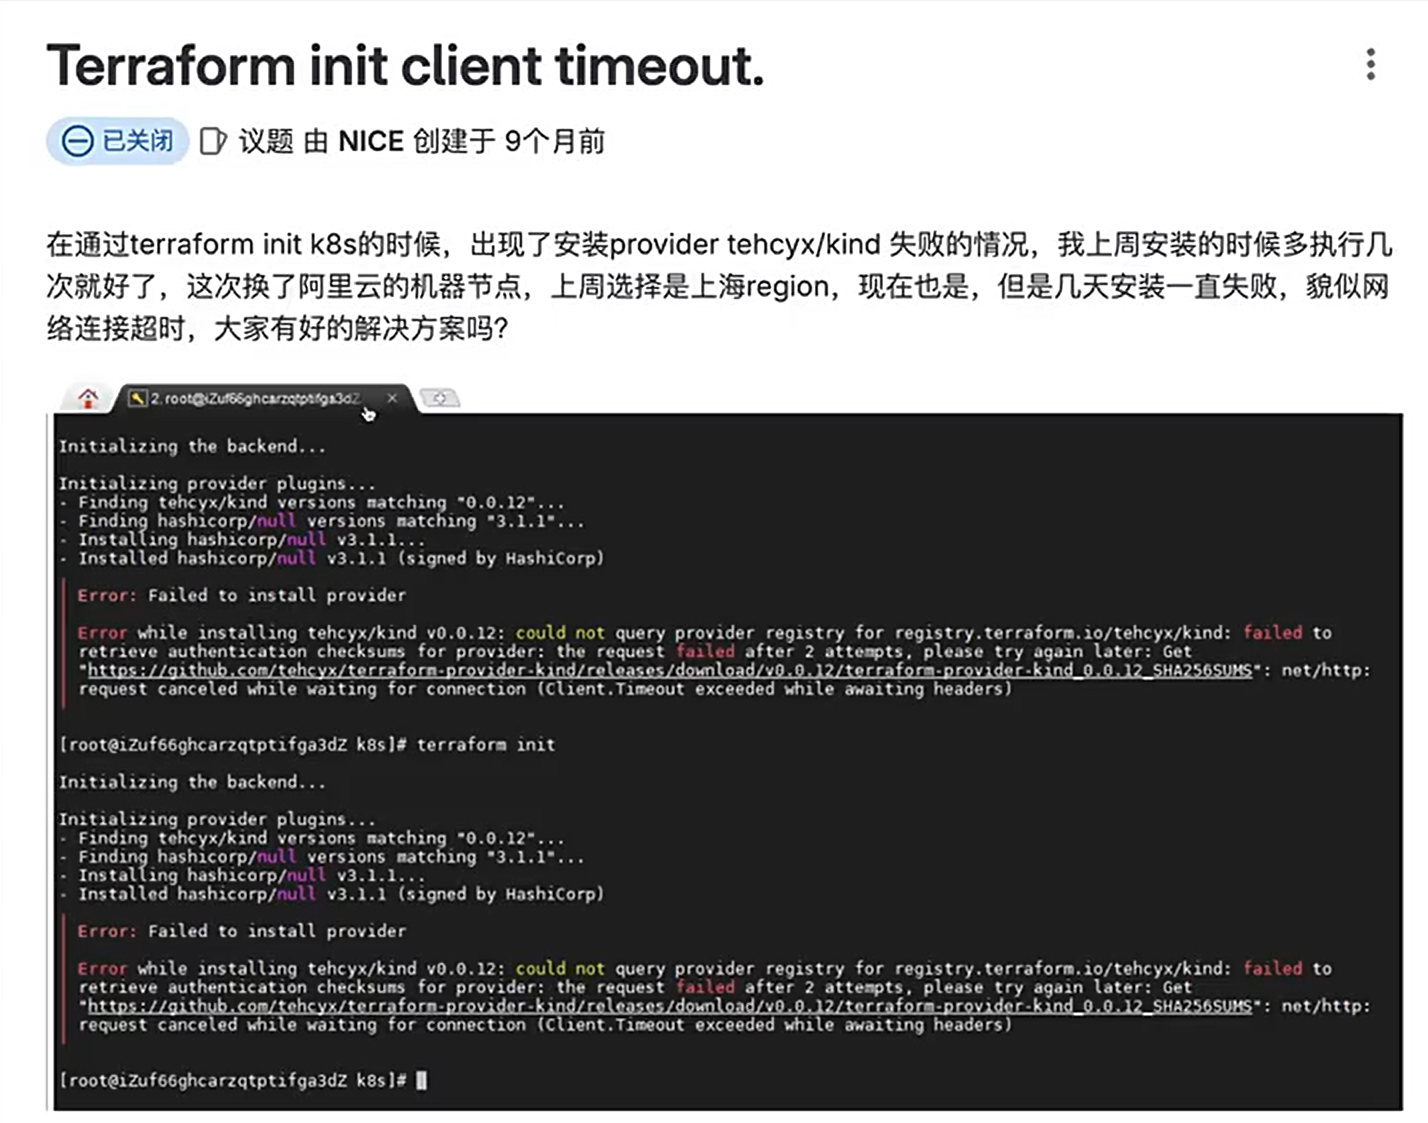
- 此时会发现报错了:
[root@devops8 k8s]#terraform init

Initializing the backend...

Initializing provider plugins...
- Finding tehcyx/kind versions matching "0.0.12"...
- Finding hashicorp/null versions matching "3.1.1"...
- Installing tehcyx/kind v0.0.12...
- Installing hashicorp/null v3.1.1...
╷
│ Error: Failed to install provider
│
│ Error while installing tehcyx/kind v0.0.12: Get
│ "https://github.com/tehcyx/terraform-provider-kind/releases/download/v0.0.12/terraform-provider-kind_0.0.12_linux_amd64.zip"
最低0.47元/天 解锁文章


 被折叠的 条评论
为什么被折叠?
被折叠的 条评论
为什么被折叠?
 到【灌水乐园】发言


