


 超级会员免费看
我是一个有强迫症的人。优化了下。
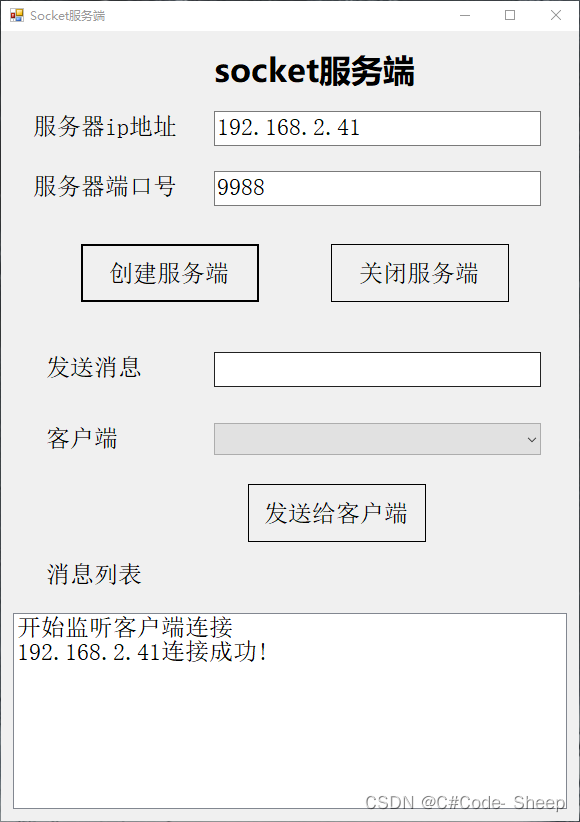
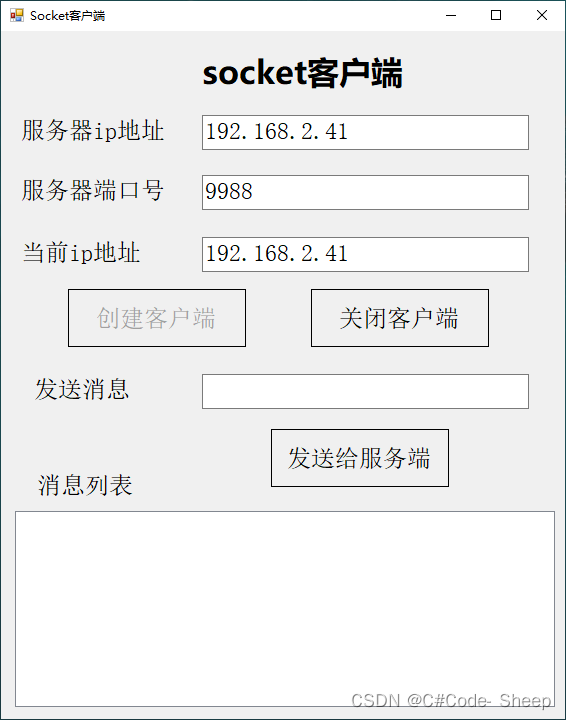
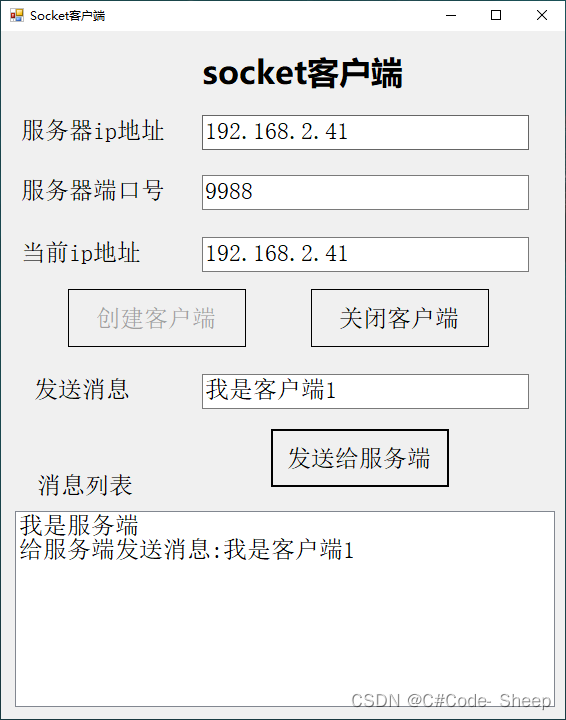
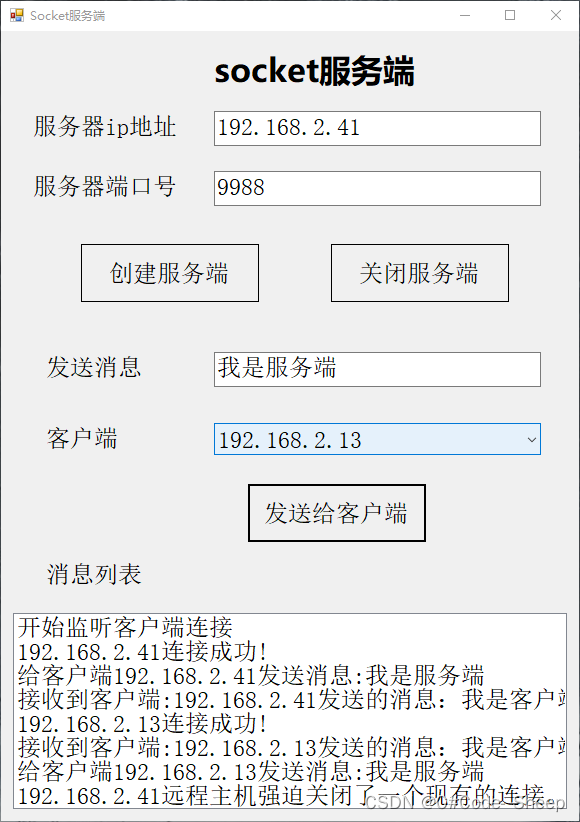
效果图
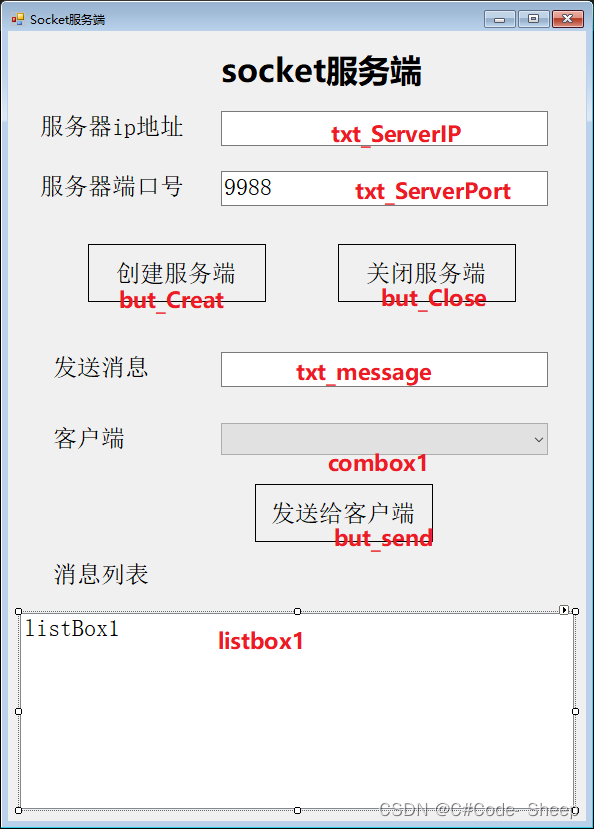
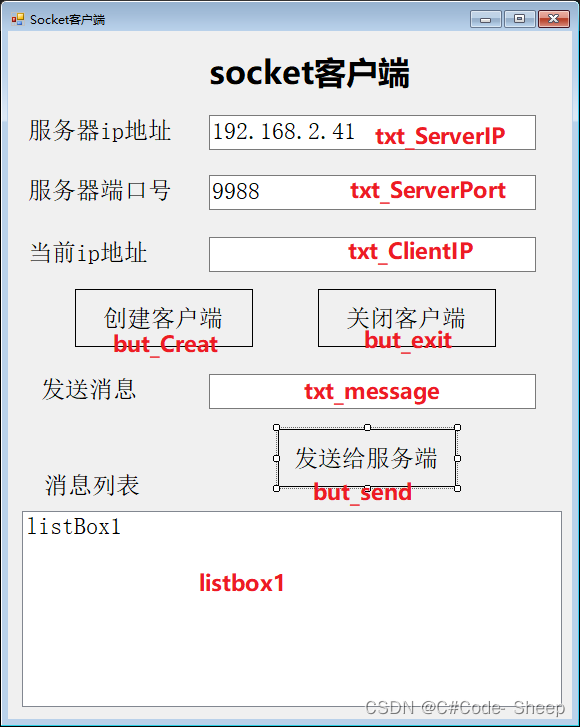
先来看界面控件名
上码
服务端:
public partial class Form5 : 我是一个有强迫症的人。优化了下。
效果图
先来看界面控件名
上码
服务端:
public partial class Form5 : 


 被折叠的 条评论
为什么被折叠?
被折叠的 条评论
为什么被折叠?
 到【灌水乐园】发言


 订阅专栏 解锁全文


 1366
1366


