


 摘要:
摘要:
LNMP介绍LNMP是指一组通常一起使用来运行动态网站或者服务器的自由软件名称首字母缩写。L指Linux,N指Nginx,M一般指MySQL,也可以指MariaDB,P一般指PHP...
LNMP介绍
LNMP是指一组通常一起使用来运行动态网站或者服务器的自由软件名称首字母缩写。L指Linux,N指Nginx,M一般指MySQL,也可以指MariaDB,P一般指PHP,也可以指Perl或Python。
安装nginx
Centos7系统库中默认是没有nginx的rpm包的,所以我们需要先更新下rpm依赖库
# wget http://nginx.org/packages/centos/7/noarch/RPMS/nginx-release-centos-7-0.el7.ngx.noarch.rpm
# rpm -ivh nginx-release-centos-7-0.el7.ngx.noarch.rpm
安装nginx
# yum -y install nginx
执行以下命令,启动Nginx并设置开机启动。
# systemctl start nginx
# systemctl enable nginx
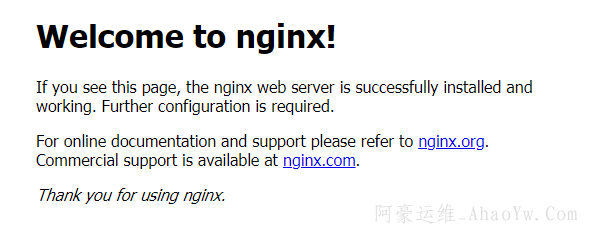
使用浏览器访问 “http://服务器IP地址”,显示如下页面,说明Nginx安装成功
Nginx安装的一些目录
Nginx站点配置文件存放地址:/etc/nginx/conf.d/
Nginx主配置文件存放地址:/etc/nginx/nginx.conf
Nginx默认存储目录:/usr/share/nginx/html;
安装MySQL
# rpm -Uvh http://dev.mysql.com/get/mysql57-community-release-el7-8.noarch.rpm
# yum -y install mysql-community-server
依次执行以下命令,启动MySQL服务并设置开机自启动。
# systemctl start mysqld
# systemctl enable mysqld
执行以下命令,获取安装MySQL时自动设置的root用户密码。
# grep 'temporary password' /var/log/mysqld.log
执行以下命令,并按照回显提示信息进行操作,初始化加固MySQL。
# mysql_secure_installationSecuring the MySQL server deployment.
Enter password for user root: #输入上一步骤中获取的安装MySQL时自动设置的root用户密码
The existing password for the user account root has expired. Please set a new password.
New password: #设置新的root用户密码
Re-enter new password: #再次输入密码
The 'validate_password' plugin is installed on the server.
The subsequent steps will run with the existing configuration of the plugin.
Using existing password for root.
Estimated strength of the password: 100
Change the password for root ? ((Press y|Y for Yes, any other key for No) : N #是否更改root用户密码,输入N
... skipping.
By default, a MySQL installation has an anonymous user,
allowing anyone to log into MySQL without having to have
a user account created for them. This is intended only for
testing, and to make the installation go a bit smoother.
You should remove them before moving into a production
environment.
Remove anonymous users? (Press y|Y for Yes, any other key for No) : Y #是否删除匿名用户,输入Y
Success.
Normally, root should only be allowed to connect from 'localhost'. This ensures that someone cannot guess at the root password from the network.
Disallow root login remotely? (Press y|Y for Yes, any other key for No) : Y #禁止root远程登录,输入Y
Success.
By default, MySQL comes with a database named 'test' that anyone can access. This is also intended only for testing, and should be removed before moving into a production environment.
Remove test database and access to it? (Press y|Y for Yes, any other key for No) : Y #是否删除test库和对它的访问权限,输入Y
- Dropping test database...
Success.
- Removing privileges on test database...
Success.
Reloading the privilege tables will ensure that all changes
made so far will take effect immediately.
Reload privilege tables now? (Press y|Y for Yes, any other key for No) : Y #是否重新加载授权表,输入Y
Success.
All done!
安装php-fpm
依次执行以下命令,安装PHP 7和一些所需的PHP扩展。
# rpm -Uvh https://mirror.webtatic.com/yum/el7/epel-release.rpm
# rpm -Uvh https://mirror.webtatic.com/yum/el7/webtatic-release.rpm
# yum -y install php70w-tidy php70w-common php70w-devel php70w-pdo php70w-mysql php70w-gd php70w-ldap php70w-mbstring php70w-mcrypt php70w-fpm
验证PHP的安装版本。
# php -v

执行以下命令,启动PHP服务并设置开机自启动。
# systemctl start php-fpm
# systemctl enable php-fpm
修改Nginx配置文件以支持PHP。
执行以下命令打开配置文件“default.conf”。
# vi /etc/nginx/conf.d/default.conf
按i键进入编辑模式。
修改打开的“default.conf”文件。
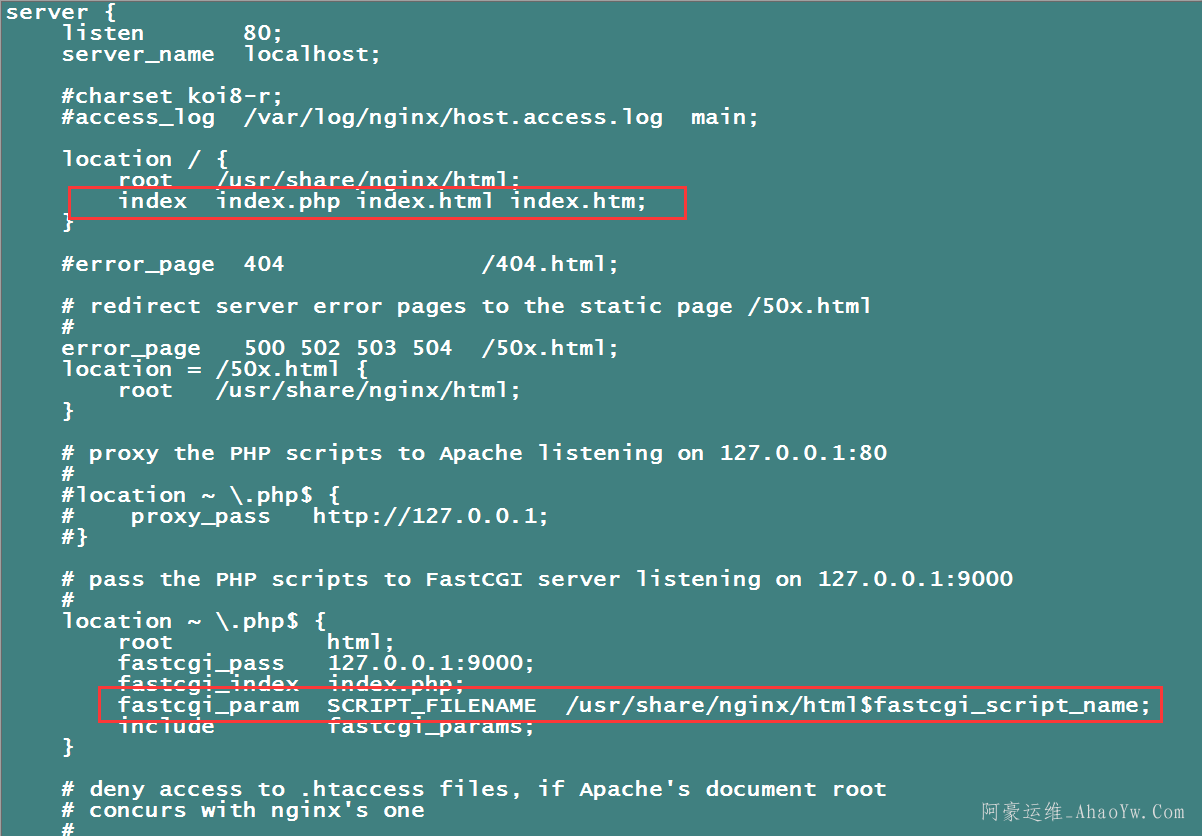
在所支持的主页面格式中添加php格式的主页,如下所示:location / {
root /usr/share/nginx/html;
index index.php index.html index.htm;
}
取消如下内容的注释,并设置Nginx的默认路径,如下图所示:location ~ \.php$ {
root html;
fastcgi_pass 127.0.0.1:9000;
fastcgi_index index.php;
#/usr/share/nginx/html 为Nginx的默认路径
fastcgi_param SCRIPT_FILENAME /usr/share/nginx/html$fastcgi_script_name;
include fastcgi_params;
}
设置完如下截图
按Esc键退出编辑模式,并输入:wq保存后退出。
执行以下命令,重新载入nginx的配置文件。
# systemctl reload nginx.service
浏览器访问测试。
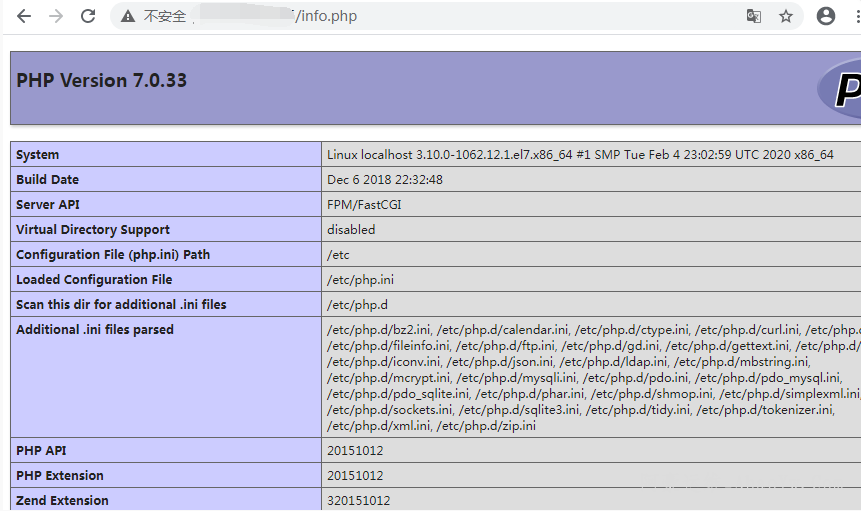
在/usr/share/nginx/html目录下创建“info.php”的测试页面。
# echo "<?php phpinfo();?>" >>/usr/share/nginx/html/info.php
使用浏览器访问“http://服务器IP地址/info.php”,显示如下页面,说明环境搭建成功


 2636
2636


 被折叠的 条评论
为什么被折叠?
被折叠的 条评论
为什么被折叠?
 到【灌水乐园】发言


