


❝「如果觉得文章好看,欢迎点赞。」「同时欢迎关注微信公众号:氷泠之路。」
❞

这是一个前后端分离的简单用户登录Demo。
技术栈
VueBootstrapVueKotlinSpring BootMyBatis Plus
前端
创建工程
使用vue-cli创建,没安装的可以先安装:
sudo cnpm install -g vue @vue/cli
查看版本:
vue -V
出现版本就安装成功了。
创建初始工程:
vue create bvdemo
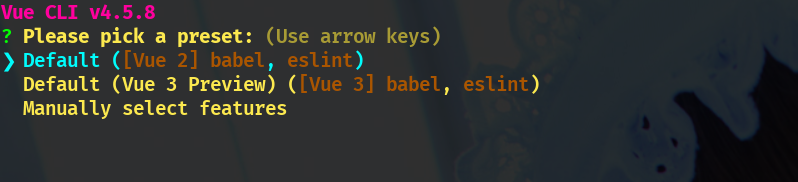
由于目前Vue3还没有发布正式版本,推荐使用Vue2:
等待一段时间构建好了之后会提示进行文件夹并直接运行:
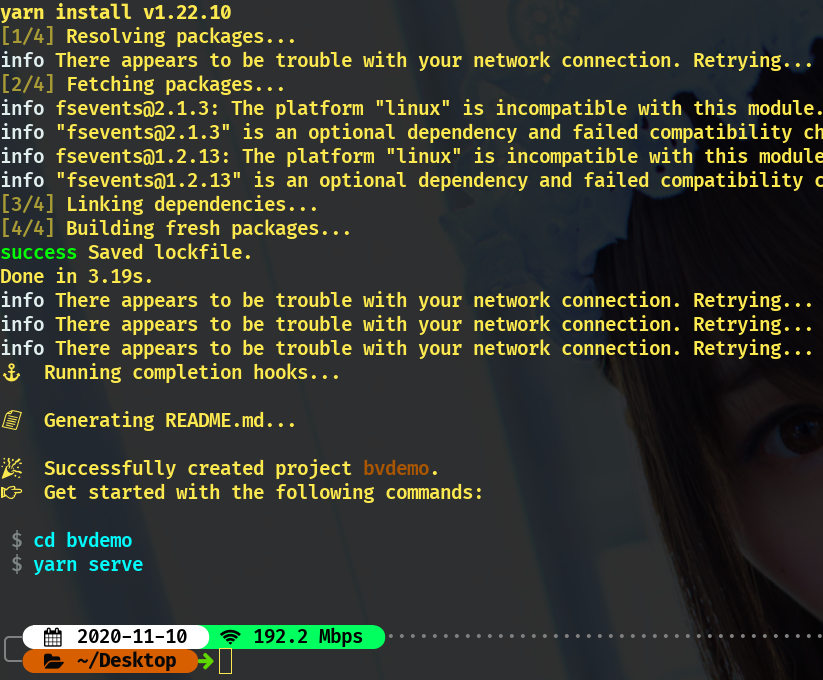
cd bvdemo
yarn serve
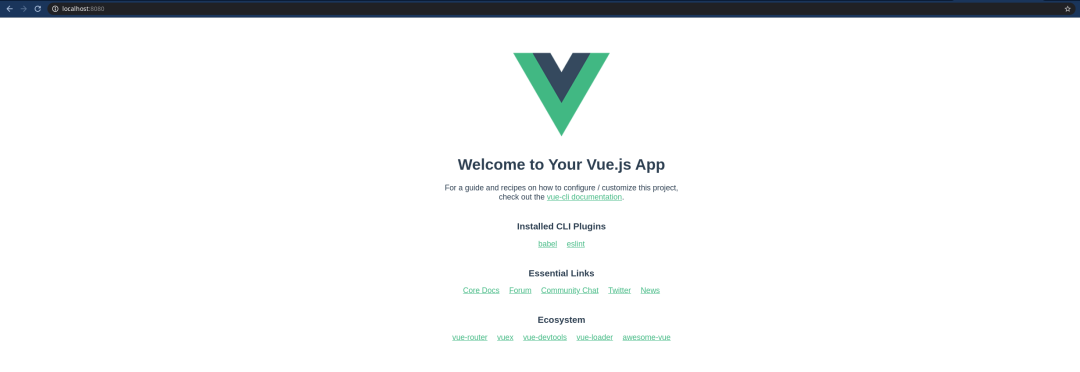
直接通过本地的8080端口即可访问:

依赖
进入项目文件夹:
cd bvdemo
安装依赖:
cnpm install bootstrap-vue axios jquery vue-router
应该会出现popper.js过期的警告,这是bootstrap-vue的原因,可以忽略:

依赖说明如下:
bootstrap-vue:一个结合了Vue与Bootstrap的前端UI框架axios是一个简洁易用高效的http库,本项目使用其发送登录请求jquery:一个强大的JS库vue-router:Vue的官方路由管理器
开启补全
在正式编写代码之前开启对bootstrap-vue的补全支持,打开设置:
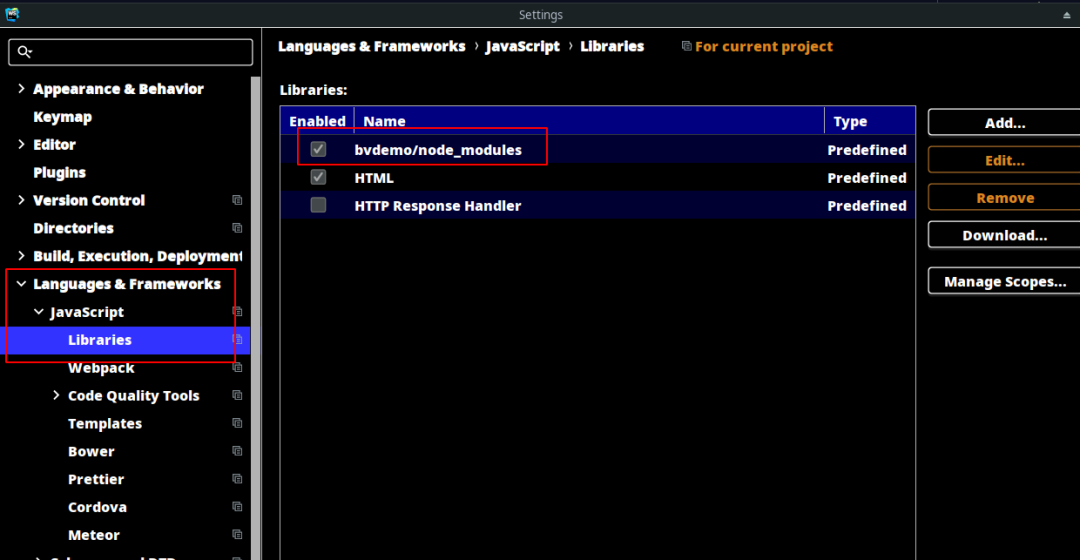
将项目路径下的node_modules添加到库中,把前面的勾给勾上,接着更新缓存并重启。
App.vue
去掉默认的HelloWorld组件,并修改App.vue如下:
<template>
    <div id="app">
        <router-view>router-view>
    div>
template>

<script>export default {name: 'App',
}script>

<style>#app {font-family: Avenir, Helvetica, Arial, sans-serif;-webkit-font-smoothing: antialiased;-moz-osx-font-smoothing: grayscale;text-align: center;color: #2c3e50;margin-top: 60px;
}style>
是一个functional组件,渲染路径匹配到的视图组件,这里使用根据访问路径(路由)的不同显示(渲染)相应的组件。
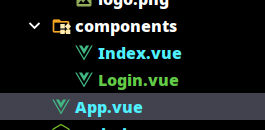
新建vue组件
删除默认的HelloWorld.vue,新建Index.vue以及Login.vue:
添加路由
在main.js同级目录下新建router.js,内容如下:
import Vue from "vue"
import VueRouter from "vue-router"
import Login from "@/components/Login"
import Index from "@/components/Index"

Vue.use(VueRouter)

const routes = [
    {
        path: '/',
        component: Login,
        props: true
    },
    {
        path:'/index/:val',
        name:'index',
        component: Index,
        props: true
    }
]

const router = new VueRouter({
    mode:'history',
    routes:routes
})

export default router
routes表示路由,其中包含了两个路由,一个是Login组件的路由/,一个是Index组件的路由/index/:val,后者中的:val是占位符,用于传递参数。router表示路由器,mode可以选择hash或history:
hash会使用URL的hash来模拟一个完整的URL,当URL改变时页面不会重新加载history就是普通的正常URL
router中的routes参数声明了对应的路由,最后要记得把router添加到main.js中。
vue.config.js
在package.json同级目录下创建vue.config.js,内容如下:
module.exports = {
    chainWebpack: config => {
        config.module
            .rule('vue')
            .use('vue-loader')
            .loader('vue-loader')
            .tap(options => {
                options.transformAssetUrls = {
                    img: 'src',
                    image: 'xlink:href',
                    'b-img': 'src',
                    'b-img-lazy': ['src', 'blank-src'],
                    'b-card': 'img-src',
                    'b-card-img': 'src',
                    'b-card-img-lazy': ['src', 'blank-src'],
                    'b-carousel-slide': 'img-src',
                    'b-embed': 'src'
                }
                return options
            })
    }
}
使用该配置文件主要是因为的src属性不能正常读取图片,添加了该配置文件后即可按路径正常读取。
main.js
添加依赖以及路由:
import Vue from 'vue'
import App from './App.vue'

import {BootstrapVue, BootstrapVueIcons} from 'bootstrap-vue'
import router from "@/router";
import 'bootstrap/dist/css/bootstrap.css'
import 'bootstrap-vue/dist/bootstrap-vue.css'

Vue.use(BootstrapVue)
Vue.use(BootstrapVueIcons)
Vue.config.productionTip = false

new Vue({
    render: h => h(App),
    router
}).$mount('#app')
引入BootstrapVue,并把路由注册到Vue实例中(就是倒数第2行,作为创建Vue实例的参数,注意这个很重要,不然路由功能不能正常使用)。
登录组件
也就是Login.vue,内容如下:
<template>
    <div>
        <b-img src="../assets/logo.png">b-img>
        <br>
        <b-container>
            <b-row>
                <b-col offset="3" cols="6">
                    <b-input-group size="lg">
                        <b-input-group-text>用户名b-input-group-text>
                        <b-form-input type="text" v-model="username">b-form-input>
                    b-input-group>
                b-col>
            b-row>
            <br>
            <b-row>
                <b-col offset="3" cols="6">
                    <b-input-group size="lg">
                        <b-input-group-text>密码b-input-group-text>
                        <b-form-input type="password" v-model="password">b-form-input>
                    b-input-group>
                b-col>
            b-row>
            <br>
            <b-row>
                <b-col offset="3" cols="6">
                    <b-button variant="success" @click="login">
                        一键注册/登录
                    b-button>
                b-col>
            b-row>
        b-container>
    div>
template>

<script>import axios from 'axios'import router from "@/router"export default {name: "Login.vue",data:function (){return{username:'',password:''
        }
    },methods:{login:function(){
            axios.post("http://localhost:8080/login",{username:this.username,password:this.password
            }).then(function (res){
                router.push({name:"index",params:{val:res.data.code === 1
                    }
                })
            })
        }
    }
}script>

<style scoped>

style>
采用了网格系统布局+,其他组件就不说了,大部分组件官网都有说明,发送请求采用了axios,参数包装在请求体中,注意需要与后端(@RequestBody,写在请求头请使用@RequestParm)对应。
另外还需要注意的是跨域问题,这里的跨域问题交给后端处理:
@CrossOrigin("http://localhost:8081")
(本地测试中后端运行在8080端口,而前端运行在8081端口)
发送请求后使用路由进行跳转,携带的是res.data.code参数 ,其中res.data是响应中的数据,后面的code是后端自定义的数据,返回1表示注册成功,返回2表示登录成功。
首页组件
首页简单地显示了登录或注册成功:
<template>
    <div>
        <b-img src="../assets/logo.png">b-img>
        <b-container>
            <b-row align-h="center">
                <b-col>
                    <b-jumbotron header="注册成功" lead="欢迎" v-if="val">b-jumbotron>
                    <b-jumbotron header="登录成功" lead="欢迎" v-else>b-jumbotron>
                b-col>
            b-row>
        b-container>
    div>
template>

<script>export default {name: "Index.vue",props:['val']
}script>

<style scoped>

style>
props表示val是来自其他组件的参数,并将其作为在v-if中进行条件渲染的参数。
这样前端就做好了。下面开始介绍后端。
后端
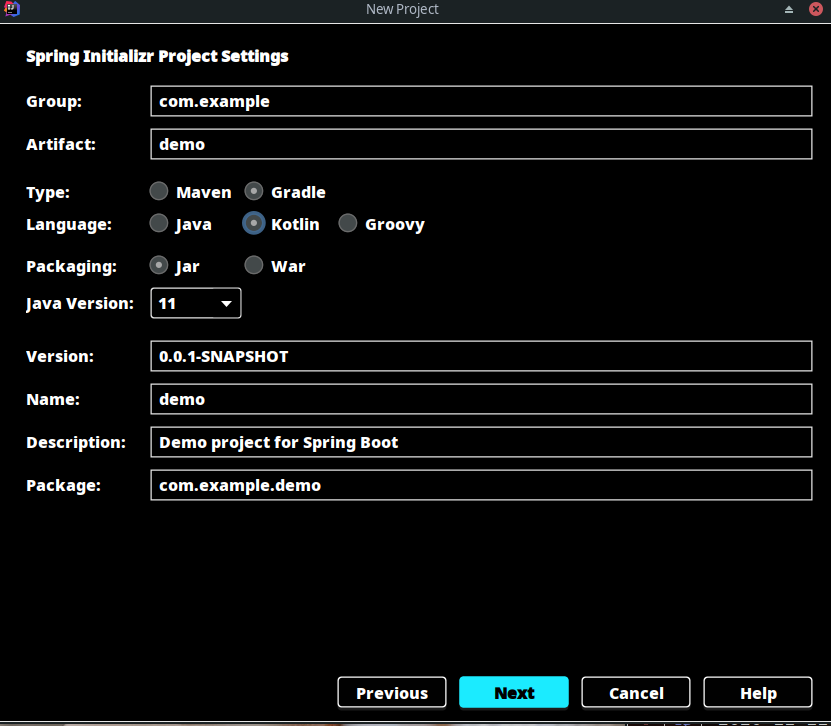
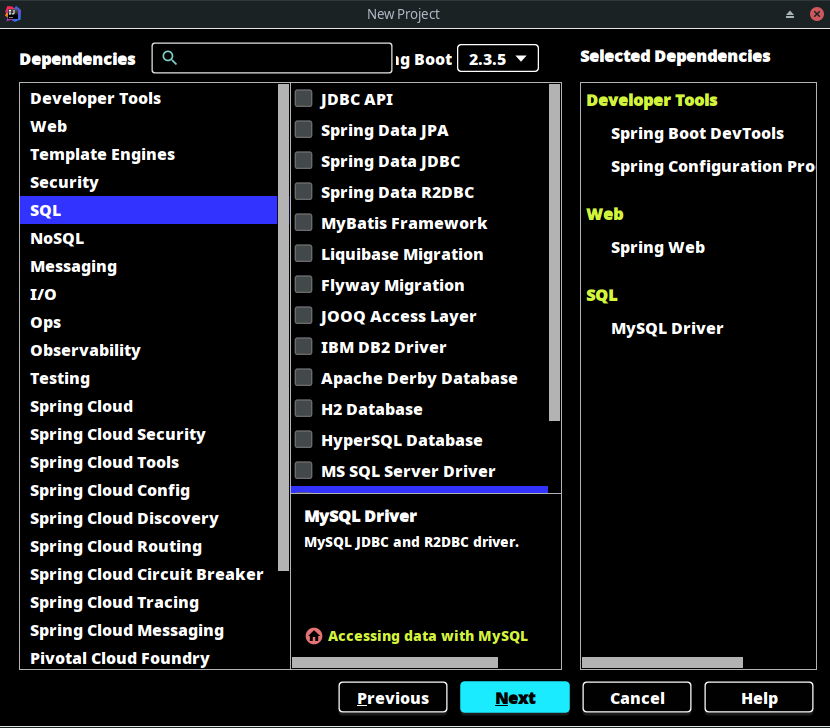
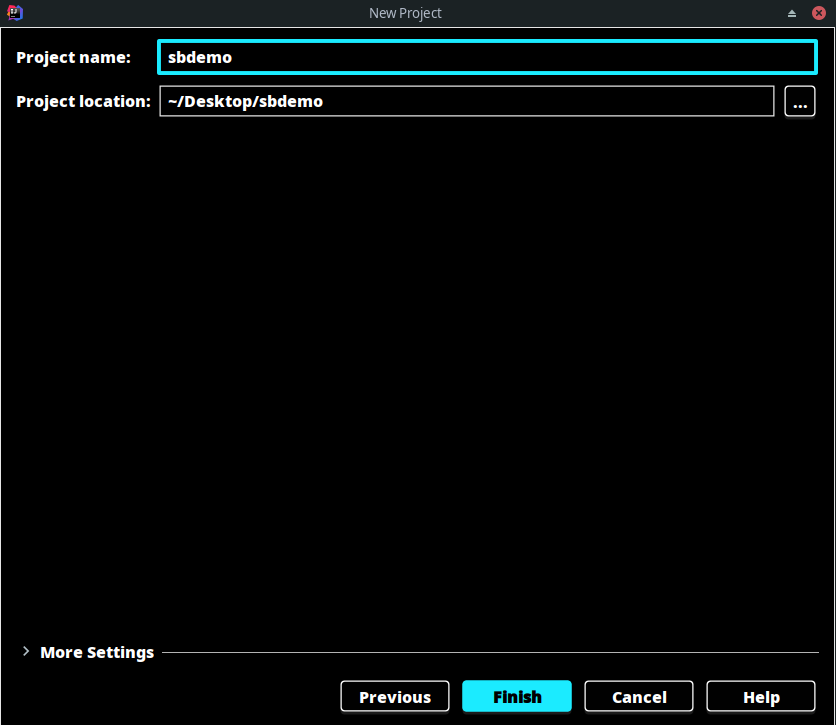
创建工程
采用Kotlin+Gradle+MyBatisPlus构建,新建工程如下:
依赖
引入MyBatis Plus依赖即可:
implementation("com.baomidou:mybatis-plus-boot-starter:3.4.0")
数据表
create database if not exists test;
use test;
drop table if exists user;
create table user(
    id int auto_increment primary key ,
    username varchar(30) default '',
    password varchar(30) default ''
)
配置文件
数据库用户名+密码+url:
spring:
  datasource:
    url: jdbc:mysql://localhost:3306/test
    username: root
    password: 123456
新建包
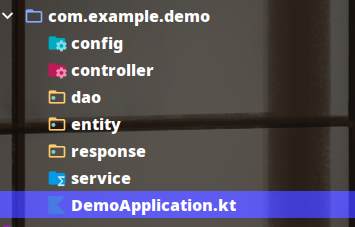
新建如下六个包,分别表示配置类、控制层、持久层、实体类、响应类、业务层。
实体类
package com.example.demo.entity

class User(var username:String,var password:String)
持久层
package com.example.demo.dao

import com.baomidou.mybatisplus.core.mapper.BaseMapper
import com.example.demo.entity.User
import org.apache.ibatis.annotations.Mapper
import org.apache.ibatis.annotations.Select

@Mapper
interface DemoMapper :BaseMapper<User>{
    @Select("select * from user where username=#{username} and password = #{password}")
    fun selectByUsernameAndPassword(username:String,password:String):List
}@Mapper表示给Mapper接口生成一个实现类,并且不需要编写xml配置文件。@Select表示进行查询的sql语句。
响应体
package com.example.demo.response

class DemoResponse
{
    var data = Any()
    var code = 0
    var message = ""
}
package com.example.demo.response

class DemoResponseBuilder {
    private var response = DemoResponse()

    fun data(t:Any): DemoResponseBuilder
    {
        response.data = t
        return this
    }
    fun code(t:Int): DemoResponseBuilder
    {
        response.code = t
        return this
    }
    fun message(t:String): DemoResponseBuilder
    {
        response.message = t
        return this
    }
    fun build() = response
}
这里响应体分为:
- 响应码
- 响应体数据
- 其他信息
与前端约定即可。生成响应体通过一个Builder类生成。
业务层
package com.example.demo.service

import com.demo.response.DemoResponse
import com.demo.response.DemoResponseBuilder
import com.example.demo.dao.DemoMapper
import com.example.demo.entity.User
import org.springframework.beans.factory.annotation.Autowired
import org.springframework.stereotype.Service
import org.springframework.transaction.annotation.Transactional

@Service
@Transactional
class DemoService
{
    @Autowired
    lateinit var mapper: DemoMapper

    fun login(username:String, password:String): DemoResponse
    {
        val result = mapper.selectByUsernameAndPassword(username,password).size
        if(result == 0)
            mapper.insert(User(username,password))
        return DemoResponseBuilder().code(if(result == 0) 1 else 2).message("").data(true).build()
    }
}
@Service标记为业务层,@Transactional表示添加了事务管理,持久层操作失败会进行回滚。@Autowired表示自动注入,在Java中可以使用直接使用@Autowired,而在Kotlin中需要使用lateinit var。
控制层
package com.example.demo.controller

import com.demo.response.DemoResponse
import com.example.demo.entity.User
import com.example.demo.service.DemoService
import org.springframework.beans.factory.annotation.Autowired
import org.springframework.web.bind.annotation.*

@RestController
@RequestMapping("/")
@CrossOrigin("http://localhost:8081")
class DemoController {
    @Autowired
    lateinit var service: DemoService

    @PostMapping("login")
    fun login(@RequestBody user: User):DemoResponse
    {
        return service.login(user.username, user.password)
    }
}
主要就是添加了一个跨域处理@CrossOrigin,开发时请对应上前端的端口。
配置类
package com.example.demo.config

import org.mybatis.spring.annotation.MapperScan
import org.springframework.context.annotation.Configuration

@Configuration
@MapperScan("com.example.demo.dao")
class MyBatisConfig
@MapperScan表示扫描对应包下的@Mapper。
测试
package com.example.demo

import com.example.demo.service.DemoService
import org.junit.jupiter.api.Test
import org.springframework.beans.factory.annotation.Autowired
import org.springframework.boot.test.context.SpringBootTest

@SpringBootTest
class DemoApplicationTests {

    @Autowired
    lateinit var service: DemoService

    @Test
    fun contextLoads() {
        println(service.login("123", "456"))
    }

}
测试通过后后端就算完成了。
总测试
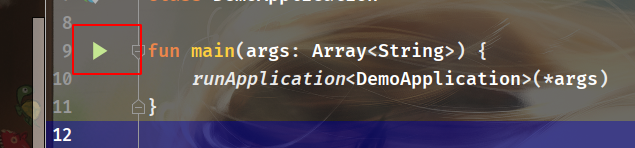
先运行后端,Kotlin不像Java,生成工程时能自动配置了启动配置,需要手动运行启动类中的main:
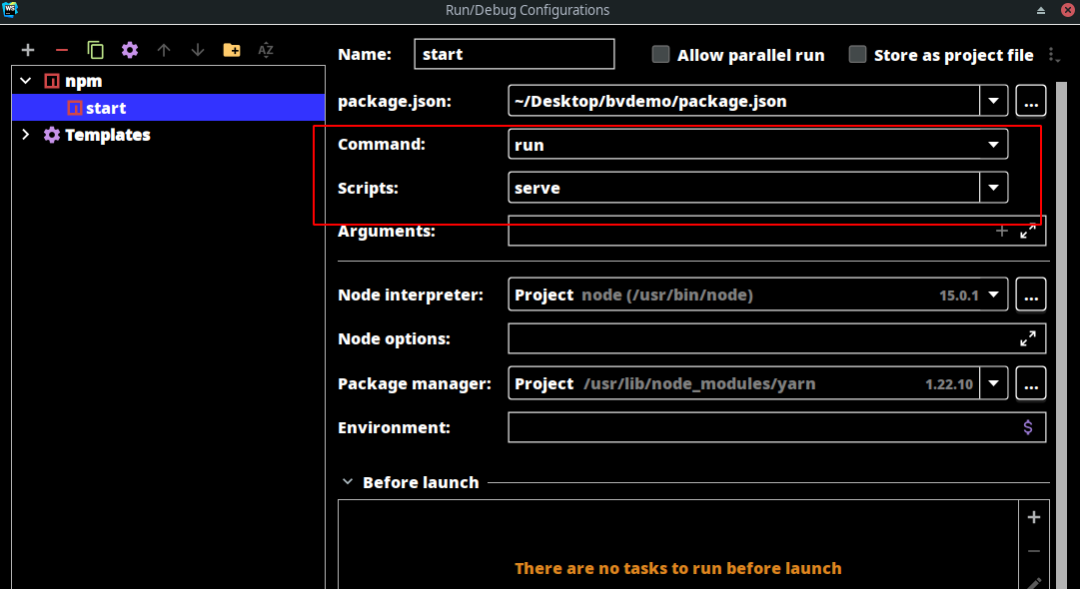
再运行前端:
npm run serve
不想用命令行的话可以使用图形界面配置一下:
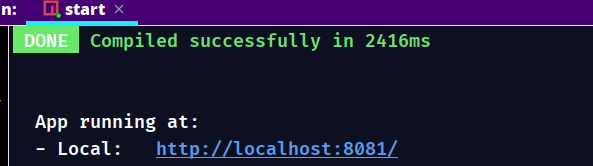
根据控制台输出打开localhost:8081:
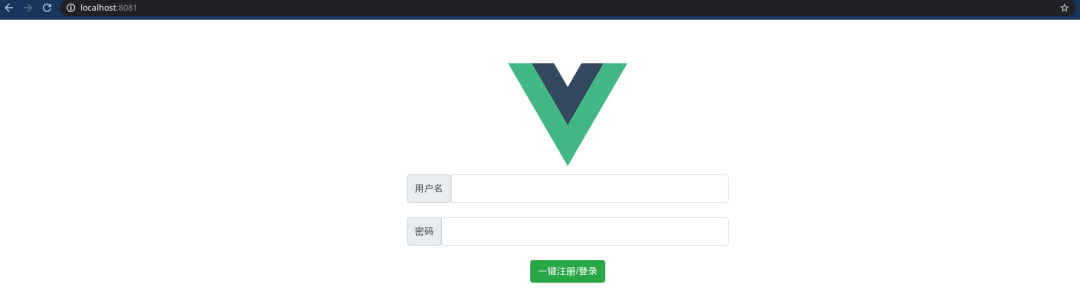
随便输入用户名与密码,不存在则创建,存在则登录:
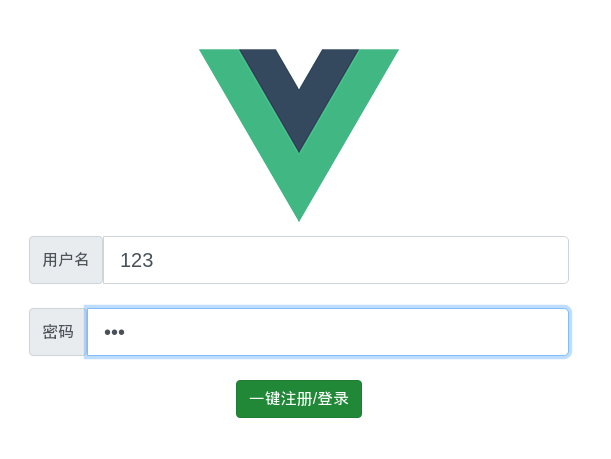

注册的同时后端数据库会生成一条记录:

再次输入相同的用户名和密码会显示登录成功:

这样就正式完成了一个简单的前后端分离登录Demo。
源码见原文链接。


 932
932


 被折叠的 条评论
为什么被折叠?
被折叠的 条评论
为什么被折叠?
 到【灌水乐园】发言


