


Tomcat、MySQL、JDK打包为exe,一键安装,使用InnoSetup
摘要
需求:在纯净Windows系统上实现web应用的一键安装部署
分析:javaweb程序运行需要Tomcat、MySQL,以及JDK环境。还包括程序源码及数据库文件。所以需要自动化的去完成环境的安装以及程序部署。
实现:InnoSetup可以根据.iss脚本文件打包Tomcat、MySQL、JDK的安装文件,并执行定义好的Windows批处理脚本(.bat文件),完成安装过程。
一、准备及注意事项
Inno Setup 下载地址 http://www.jrsoftware.org/isdl.php
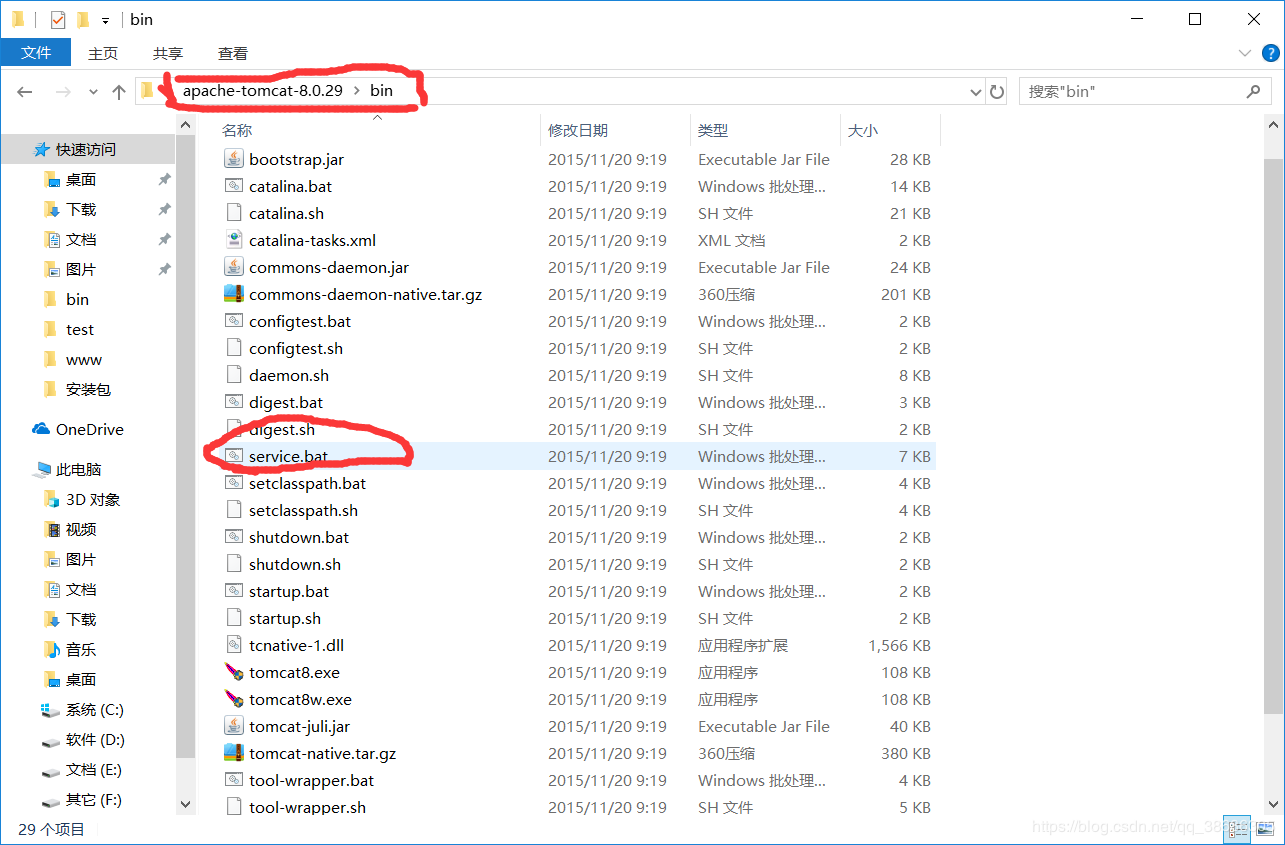
Tomcat、MySQL、JDK都需要使用免安装版,直接解压的那种,JDK免安装版直接把你安装好的JDK复制一份就可以。Tomcat的免安装版需要下载包含有service.bat文件的,有些小版本是没有service.bat文件的。
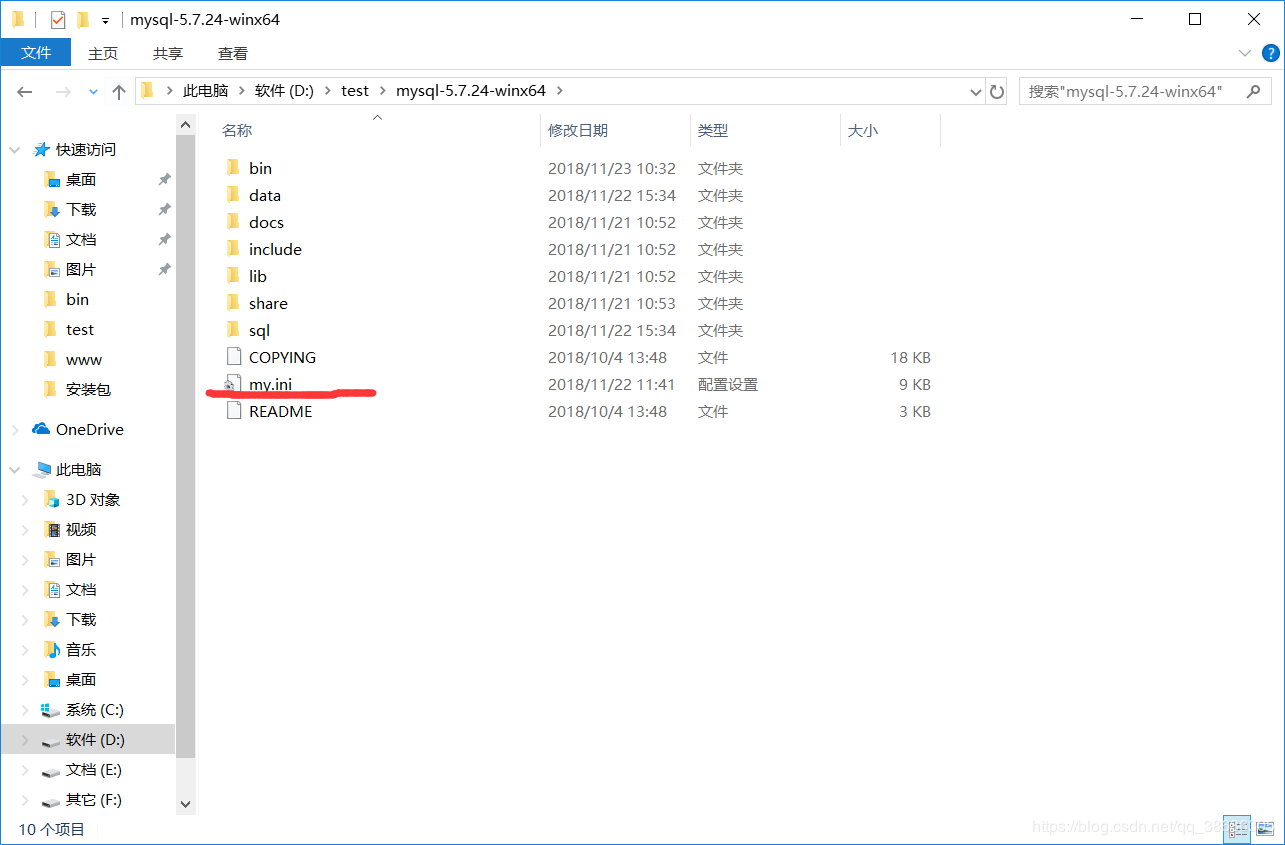
mysql根目录下可能没有.ini文件,自己去网上找一份就可或者使用我在后面给出的代码。.ini文件会在初始化mysql中用到
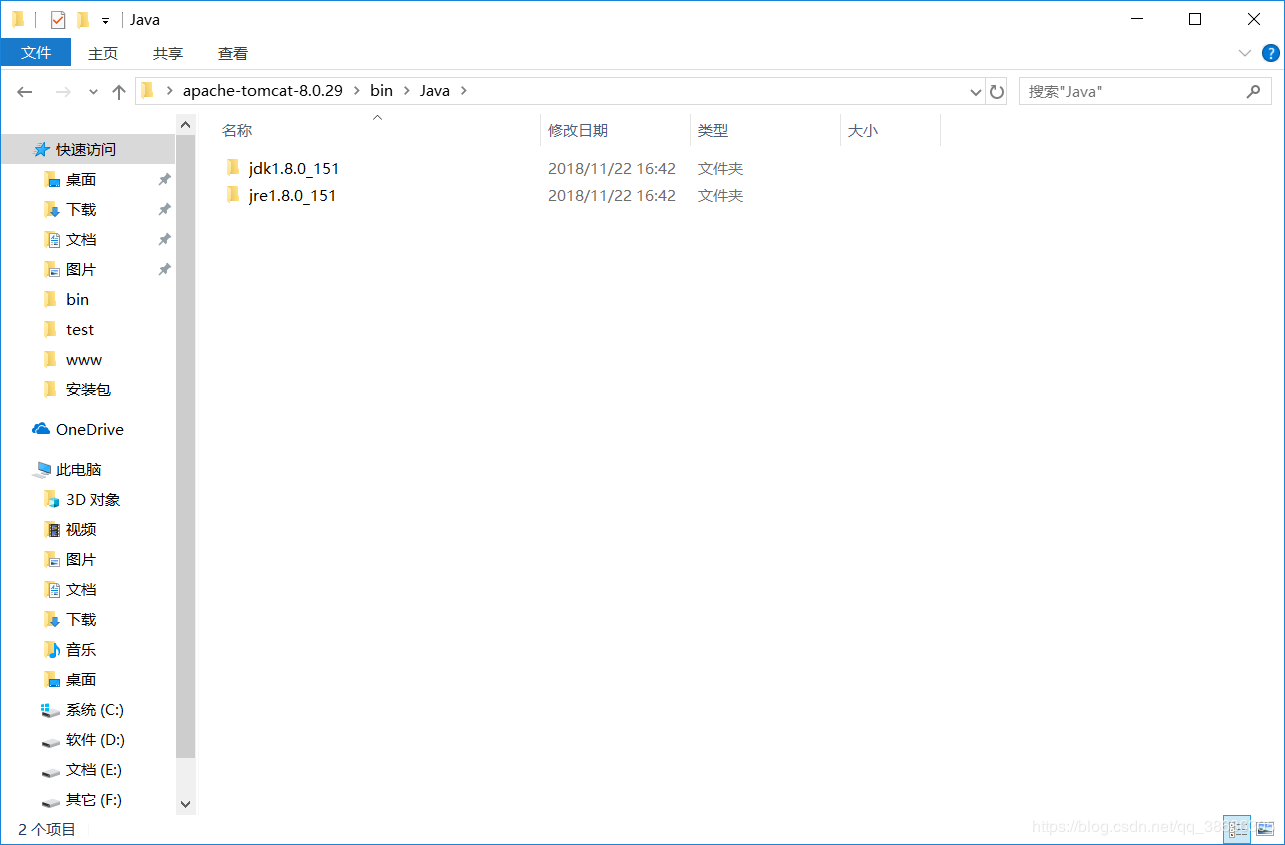
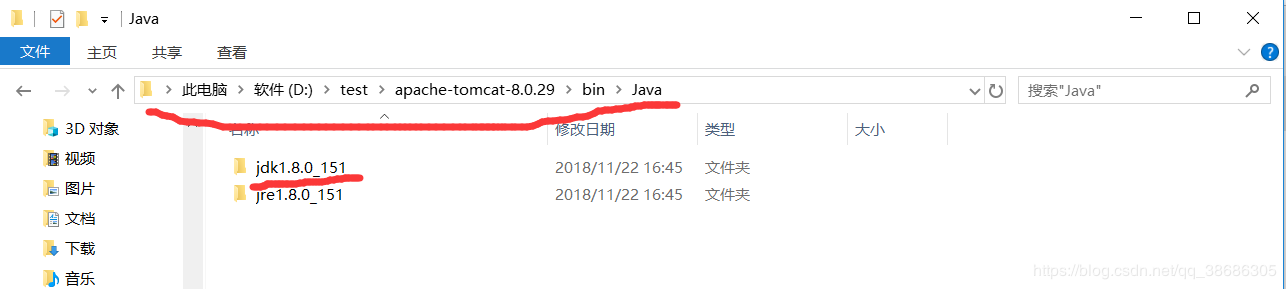
JDK,将安装完成的java文件夹复制一份即可
.bat文件应该用ASCII编码方式,在记事本中用ANSI编码方式保存,否者会出现乱码。下列bat文件中 rem 关键词表示注释,请在实际操作时将我写的rem中文注释删除掉,不然也可能会出现乱码。
二、应用目录结构
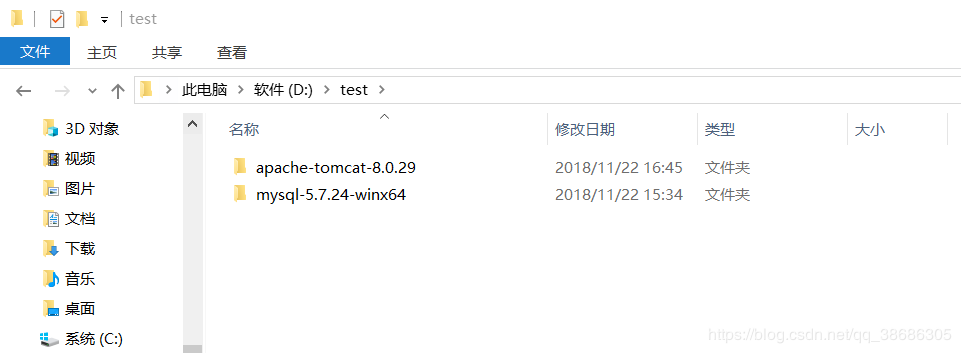
新建一个文件夹,将jdk,tomcat,mysql文件夹放进来,在这里,我在D盘下新建了一个test文件夹用来存放项目
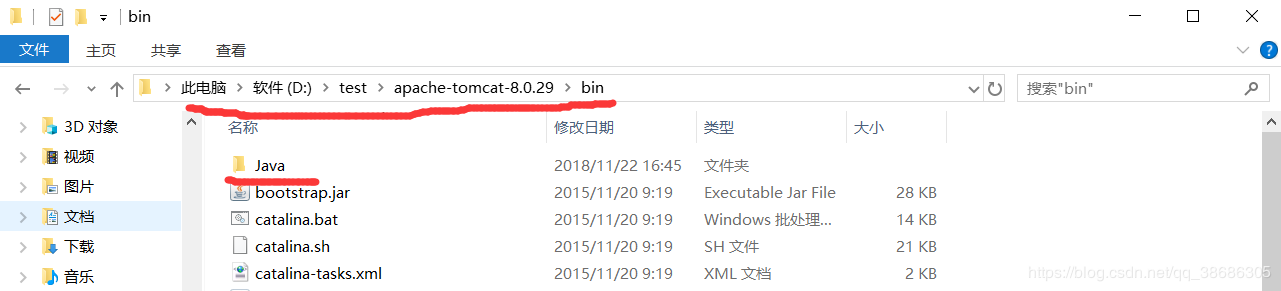
1、将tomcat、mysql文件夹放在test目录下
2、将jdk文件夹放在tomcat的bin目录下
三、批处理脚本
1、autoInstallJDK.bat
第一步,autoInstallJDK.bat脚本是用来配置JDK环境的,使用脚本自动化设置 JAVA_HONE,CLASSPATH变量,以及在系统环境变量中path中添加地址。代替我们手工配置java环境变量。autoInstallJDK.bat文件放在java/jdk/bin目录下
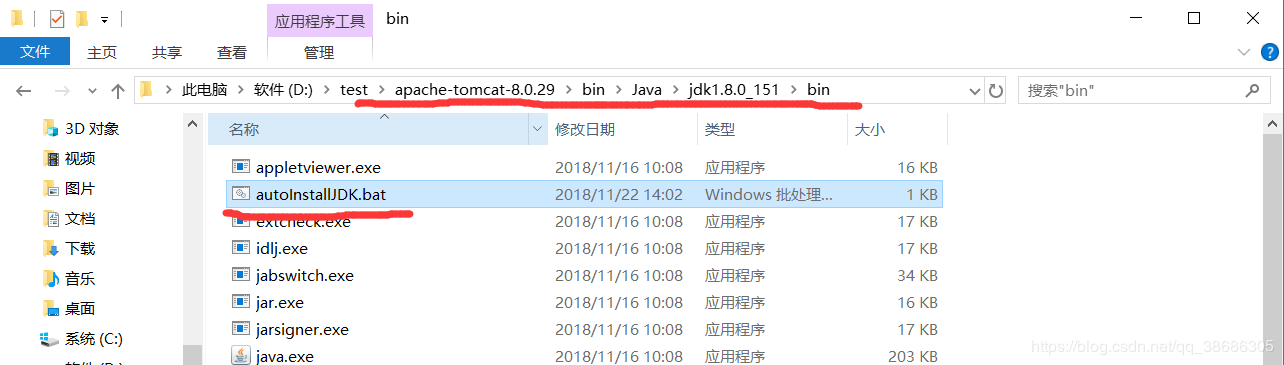
autoInstallJDK.bat
@echo off
echo ------begin----
rem 返回上一级目录,即jdk根目录
cd ..
echo "%~dp0"
echo "%cd%"
set jdkpath=%cd%
echo %jdkpath%
rem 设置JAVA_HOME环境变量
setx JAVA_HOME "%jdkpath%" -m
rem 设置CLASSPATH环境变量
setx CLASSPATH ".;%%JAVA_HOME%%\lib\tools.jar;%%JAVA_HOME%%\lib\dt.jar" -m
echo %Path%
echo %Path%|find /i "%java_home%" && set IsNull=true || set IsNull=false
echo %IsNull%
if not %IsNull%==true (
reg add "HKEY_LOCAL_MACHINE\SYSTEM\CurrentControlSet\Control\Session Manager\Environment" /v Path /t REG_SZ /d "%Path%;%%JAVA_HOME%%\bin;%%JAVA_HOME%%\jre\bin" /f
rem 追加path变量
setx Path "%%JAVA_HOME%%\bin;%Path%"
)
exit
2、mysql_init.bat
jdk配置好了就该收拾mysql了,要对mysql进行那些操作请参考博客https://blog.csdn.net/liuhaomatou/article/details/52576162#t2
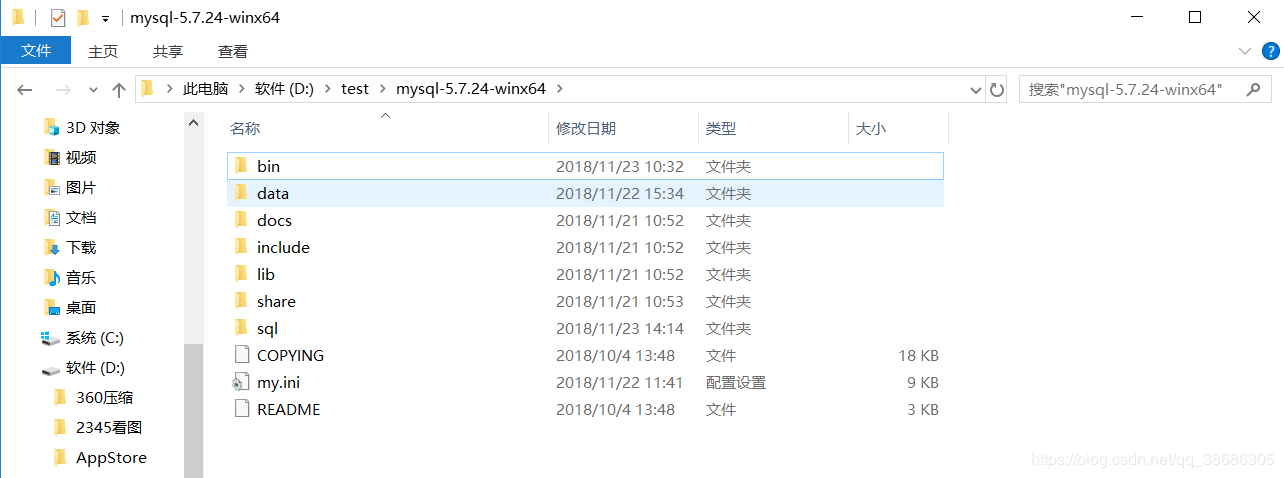
在mysql目录下新建data文件夹,执行mysql_init.bat中第一步操作时会在data目录下自动生成一系列文件,所以要求这个data文件夹必须是空白的,否者报错。然后在mysql目录下新建sql文件夹,用来存放你的数据库sql文件(里面要有建库的sql内容)。然后在搞一份my.ini文件放在mysql目录下,这份文件里有初始化mysql的信息。
再来看下现在的mysql目录

之后就是mysql_init.bat文件,mysql_init.bat文件放在mysql/bin目录下
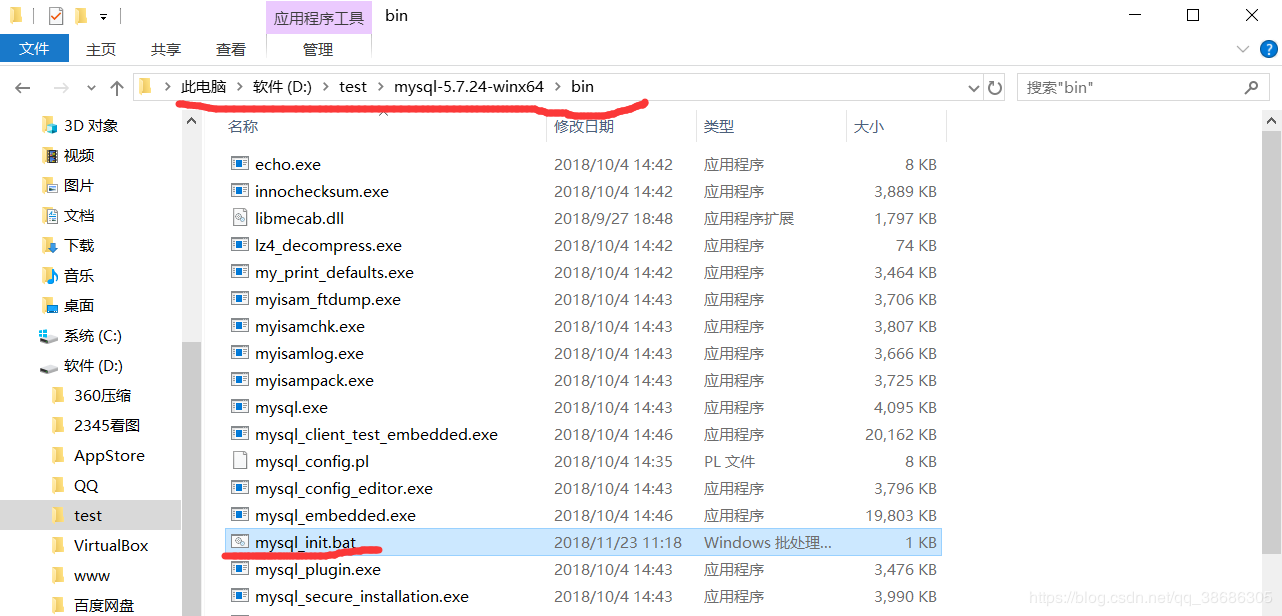
我在下面贴出代码。具体执行了那些内容还请阅读上面的博客内容。
mysql_init.bat
cd /d %~dp0
"%cd%\mysqld.exe" --initialize-insecure --user=mysql --console
echo -----mysql init succee-----
cd ..
set "MYSQL_HOME=%cd%"
cd bin
mysqld install mysql --defaults-file="%MYSQL_HOME%\my.ini"
echo -----mysql service install succee-----
net start mysql
sc config mysql start= auto
net stop mysql
net start mysql
cd ..
"%cd%\bin\mysqladmin" -u root password root
"%cd%\bin\mysql.exe" -uroot -proot < "%cd%\sql\pswservice.sql"
echo -----mysql service command succee-----
我使用的是全新纯净的windows7(专业版)虚拟机系统,在第一次安装mysql时遇到如下错误提示
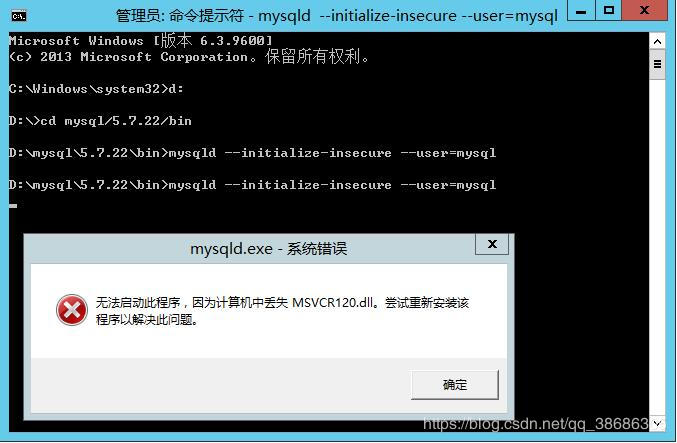
解决方法:安装vcredist_x64.exe程序
下载地址:https://www.microsoft.com/en-us/download/details.aspx?id=40784
是不是所有win7系统安装mysql免安装版都会遇到这种错误我还不确定,还需要以后在进行测试。
my.ini 文件中大部分都是注释,有用的参数就一丢丢。。。
# MySQL Server Instance Configuration File
# ----------------------------------------------------------------------
# Generated by the MySQL Server Instance Configuration Wizard
# Installation Instructions
# ----------------------------------------------------------------------
# On Linux you can copy this file to /etc/my.cnf to set global options,
# mysql-data-dir/my.cnf to set server-specific options
# (@localstatedir@ for this installation) or to
# ~/.my.cnf to set user-specific options.
# On Windows you should keep this file in the installation directory
# of your server (e.g. C:\Program Files\MySQL\MySQL Server X.Y). To
# make sure the server reads the config file use the startup option
# "--defaults-file".
#
# To run run the server from the command line, execute this in a
# command line shell, e.g.
# mysqld --defaults-file="D:\test\mysql-5.7.24-winx64\my.ini"
#
# To install the server as a Windows service manually, execute this in a
# command line shell, e.g.
# mysqld --install MySQLXY --defaults-file="D:\test\mysql-5.7.24-winx64\my.ini"
#
# And then execute this in a command line shell to start the server, e.g.
# net start MySQLXY
#
# Guildlines for editing this file
# ----------------------------------------------------------------------
#
# In this file, you can use all long options that the program supports.
# If you want to know the options a program supports, start the program
# with the "--help" option.
#
# More detailed information about the individual options can also be
# found in the manual.
#
# CLIENT SECTION
# ----------------------------------------------------------------------
#
# The following options will be read by MySQL client applications.
# Note that only client applications shipped by MySQL are guaranteed
# to read this section. If you want your own MySQL client program to
# honor these values, you need to specify it as an option during the
# MySQL client library initialization.
#
[client]
port=3306
[mysql]
default-character-set=utf8
# SERVER SECTION
# ----------------------------------------------------------------------
#
# The following options will be read by the MySQL Server. Make sure that
# you have installed the server correctly (see above) so it reads this
# file.
[mysqld]
# The TCP/IP Port the MySQL Server will listen on
port=3306
#Path to installation directory. All paths are usually resolved relative to this.
basedir="D:/test/mysql-5.7.24-winx64"
#Path to the database root
datadir="D:/test/mysql-5.7.24-winx64/data/"
# The default character set that will be used when a new schema or table is
# created and no character set is defined
character-set-server=utf8
# The default storage engine that will be used when create new tables when
default-storage-engine=INNODB
# Set the SQL mode to strict
sql-mode="STRICT_TRANS_TABLES,NO_AUTO_CREATE_USER,NO_ENGINE_SUBSTITUTION"
# The maximum amount of concurrent sessions the MySQL server will
# allow. One of these connections will be reserved for a user with
# SUPER privileges to allow the administrator to login even if the
# connection limit has been reached.
max_connections=100
# Query cache is used to cache SELECT results and later return them
# without actual executing the same query once again. Having the query
# cache enabled may result in significant speed improvements, if your
# have a lot of identical queries and rarely changing tables. See the
# "Qcache_lowmem_prunes" status variable to check if the current value
# is high enough for your load.
# Note: In case your tables change very often or if your queries are
# textually different every time, the query cache may result in a
# slowdown instead of a performance improvement.
query_cache_size=32M
# The number of open tables for all threads. Increasing this value
# increases the number of file descriptors that mysqld requires.
# Therefore you have to make sure to set the amount of open files
# allowed to at least 4096 in the variable "open-files-limit" in
# section [mysqld_safe]
table_open_cache=256
# Maximum size for internal (in-memory) temporary tables. If a table
# grows larger than this value, it is automatically converted to disk
# based table This limitation is for a single table. There can be many
# of them.
tmp_table_size=35M
# How many threads we should keep in a cache for reuse. When a client
# disconnects, the client's threads are put in the cache if there aren't
# more than thread_cache_size threads from before. This greatly reduces
# the amount of thread creations needed if you have a lot of new
# connections. (Normally this doesn't give a notable performance
# improvement if you have a good thread implementation.)
thread_cache_size=8
#*** MyISAM Specific options
# The maximum size of the temporary file MySQL is allowed to use while
# recreating the index (during REPAIR, ALTER TABLE or LOAD DATA INFILE.
# If the file-size would be bigger than this, the index will be created
# through the key cache (which is slower).
myisam_max_sort_file_size=100G
# If the temporary file used for fast index creation would be bigger
# than using the key cache by the amount specified here, then prefer the
# key cache method. This is mainly used to force long character keys in
# large tables to use the slower key cache method to create the index.
myisam_sort_buffer_size=69M
# Size of the Key Buffer, used to cache index blocks for MyISAM tables.
# Do not set it larger than 30% of your available memory, as some memory
# is also required by the OS to cache rows. Even if you're not using
# MyISAM tables, you should still set it to 8-64M as it will also be
# used for internal temporary disk tables.
key_buffer_size=50M
# Size of the buffer used for doing full table scans of MyISAM tables.
# Allocated per thread, if a full scan is needed.
read_buffer_size=64K
read_rnd_buffer_size=256K
# This buffer is allocated when MySQL needs to rebuild the index in
# REPAIR, OPTIMZE, ALTER table statements as well as in LOAD DATA INFILE
# into an empty table. It is allocated per thread so be careful with
# large settings.
sort_buffer_size=256K
#*** INNODB Specific options ***
# Use this option if you have a MySQL server with InnoDB support enabled
# but you do not plan to use it. This will save memory and disk space
# and speed up some things.
#skip-innodb
# Additional memory pool that is used by InnoDB to store metadata
# information. If InnoDB requires more memory for this purpose it will
# start to allocate it from the OS. As this is fast enough on most
# recent operating systems, you normally do not need to change this
# value. SHOW INNODB STATUS will display the current amount used.
#innodb_additional_mem_pool_size=14M
# If set to 1, InnoDB will flush (fsync) the transaction logs to the
# disk at each commit, which offers full ACID behavior. If you are
# willing to compromise this safety, and you are running small
# transactions, you may set this to 0 or 2 to reduce disk I/O to the
# logs. Value 0 means that the log is only written to the log file and
# the log file flushed to disk approximately once per second. Value 2
# means the log is written to the log file at each commit, but the log
# file is only flushed to disk approximately once per second.
innodb_flush_log_at_trx_commit=1
# The size of the buffer InnoDB uses for buffering log data. As soon as
# it is full, InnoDB will have to flush it to disk. As it is flushed
# once per second anyway, it does not make sense to have it very large
# (even with long transactions).
innodb_log_buffer_size=1M
# InnoDB, unlike MyISAM, uses a buffer pool to cache both indexes and
# row data. The bigger you set this the less disk I/O is needed to
# access data in tables. On a dedicated database server you may set this
# parameter up to 80% of the machine physical memory size. Do not set it
# too large, though, because competition of the physical memory may
# cause paging in the operating system. Note that on 32bit systems you
# might be limited to 2-3.5G of user level memory per process, so do not
# set it too high.
innodb_buffer_pool_size=96M
# Size of each log file in a log group. You should set the combined size
# of log files to about 25%-100% of your buffer pool size to avoid
# unneeded buffer pool flush activity on log file overwrite. However,
# note that a larger logfile size will increase the time needed for the
# recovery process.
innodb_log_file_size=20M
# Number of threads allowed inside the InnoDB kernel. The optimal value
# depends highly on the application, hardware as well as the OS
# scheduler properties. A too high value may lead to thread thrashing.
innodb_thread_concurrency=18
3、启动脚本.bat
这一步困扰了我很久,这个脚本中内容很少,先是执行service.bat脚本,然后设置tomacat服务开机自动启动,但我尝试了很久都没有成功。因为我第一次执行启动脚本就没有成功,然后去百度,看到几篇博客都在说需要修改service.bat里的内容。尝试着修改了几次,还是失败。然后废了挺大力气去一行行读里面的内容。读懂之后发现根本不需要修改service.bat中的内容,找到的几篇博客里给的service.bat代码都只是修改了一些无伤大雅的内容,总的执行顺序和内容与tomcat中官方的service.bat执行内容一样。经过再次查阅资料发现,第一次执行失败后,服务中已经注册了tomacat服务,名称为Apache Tomcat tomcat8。然后删除该服务,重启。再次执行启动脚本.bat,tomcat就成功启动了。并不需要修改service.bat。
echo -------tomcat begin--------
rem 去执行service.bat脚本
call "%~dp0"%service.bat install tomcat8
echo -------tomcat install end------------------
sc config tomcat8 start= auto
sc start tomcat8
wmic service where name="tomcat8" changestartmode "automatic"
wmic service where name="tomcat8" startservice
exit
四、Inno Setup 打包exe
上面我们已经分别写好了autoInstallJDK.bat(配置java环境变量)、mysql_init.bat(配置mysql)、启动脚本.bat(配置tomcat)。
然后把你的javaweb源码导出为war文件,放在tommcat的webapps文件夹下,把你导出的sql文件(要有建库语句,如果mysql可以使用,但是建库建表失败,请去修改你的sql文件内容)放在mysql目录下的sql文件夹下。
打开inno setup,将下面代码复制过去,保存,运行,等待编译完成就可以在test目录下生成的output文件夹中找到exe安装文件。
下面是new.iss文件,它首先去将文件解压到安装目录,然后去执行我们定义好的三个bat脚本。这样jdk、tomcat、mysql就配置好了,直接在网页中输入网址或者点击安装后生成的快捷方式就可以访问web应用了。
; 脚本由 Inno Setup 脚本向导 生成!
[Setup]
; 注: AppId的值为单独标识该应用程序。
; 不要为其他安装程序使用相同的AppId值。
; (生成新的GUID,点击 工具|在IDE中生成GUID。)
AppId={{43DF831A-511A-499E-8FFF-C6B92B36D0CD}
;名称
AppName=Test
;版本
AppVersion=V0.01
AppVerName=TestServer V0.01
AppPublisher=TestTechnology
AppPublisherURL=http://www.baidu.com/
AppSupportURL=http://www.baidu.com/
AppUpdatesURL=http://www.baidu.com/
DefaultDirName={pf}\Test
DefaultGroupName=TestSoftWare
AllowNoIcons=yes
OutputBaseFilename=Test
Compression=lzma
SolidCompression=yes
[Files]
;拷贝tomcat
Source:"D:\test\apache-tomcat-8.0.29\*";DestDir:"{app}\apache-tomcat-8.0.29";Flags:igNoreversion recursesubdirs createallsubdirs
;拷贝mysql
Source:"D:\test\mysql-5.7.24-winx64\*";DestDir:"{app}\mysql-5.7.24-winx64";Flags:igNoreversion recursesubdirs createallsubdirs
[Languages]
Name: "english"; MessagesFile: "compiler:Default.isl"
[Icons]
Name: "{group}\{cm:UninstallProgram,密码机系统}"; Filename: "{uninstallexe}"
Name: "{commondesktop}\密码机系统"; Filename: http://localhost:8080/pswservice/login.do
[INI]
;修改数据库配置文件
Filename:"{app}\mysql-5.7.24-winx64\my.ini";Section:"mysqld";Key:"basedir"; String:"{app}\mysql-5.7.24-winx64"
Filename:"{app}\mysql-5.7.24-winx64\my.ini";Section:"mysqld";Key:"datadir"; String:"{app}\mysql-5.7.24-winx64\data"
Filename:"{app}\mysql-5.7.24-winx64\my.ini";Section:"mysqld";Key:"port"; String:"3306"
Filename:"{app}\mysql-5.7.24-winx64\my.ini";Section:"client";Key:"port"; String:"3306"
[Run]
;分别执行我们写好的三个bat文件
Filename: "{app}\apache-tomcat-8.0.29\bin\Java\jdk1.8.0_151\bin\autoInstallJDK.bat";
Filename: "{app}\mysql-5.7.24-winx64\bin\mysql_init.bat";
Filename: "{app}\apache-tomcat-8.0.29\bin\启动服务.bat";
[UninstallDelete]
;卸载时删除文件
Type:filesandordirs;Name:"{app}\apache-tomcat-8.0.29"
Type:filesandordirs;Name:"{app}\mysql-5.7.24-winx64"
[UninstallRun]
;卸载时删除服务的脚本
Filename: "{app}\apache-tomcat-8.0.29\bin\卸载服务.bat";Flags: RunHidden;
最后,写了一个卸载时删除服务的脚本 卸载服务.bat
echo -------uninstall tomcat8--------
sc delete tomcat8
echo -------uninstall mysql--------
sc delete mysql
exit
用来在卸载程序是将服务中的tomcat和mysql删除


 5208
5208


 被折叠的 条评论
为什么被折叠?
被折叠的 条评论
为什么被折叠?
 到【灌水乐园】发言


