vue-print设置页眉和页脚_QML中的页眉与页脚和网格视图的使用

e8ae05eb445460e70b8903c5fd1959e4.png

前言

今天我们来看看如何向视图中插入一个页眉(header)和一个页脚(footer)元素。对于一个水平链表视图,不会存在页眉或页脚,但是也有开始和结尾处,这取决于layoutDirection的设置。

页眉和页脚

下面这个例子展示了如何使用一个页眉和页脚来突出链表的开始与结尾。这些特殊的链表元素也有其它的作用,例如,它们能够保持链表中的按键加载更多的内容。

import QtQuick 2.3import QtQuick.Window 2.2Window {    id: root    visible: true    width: 640    height: 480    color: "white"    ListView {        anchors.fill: parent        anchors.margins: 20        clip: true        model: 4        delegate: numberDelegate        spacing: 5        header: headerComponent        footer: footerComponent    }    Component {        id: headerComponent        Rectangle {            width: 100            height: 40            color: "yellow"        }    }    Component {        id: footerComponent        Rectangle {            width: 100            height: 40            color: "red"        }    }    Component {        id: numberDelegate        Rectangle {            width: 100            height: 100            color: "lightGreen"            Text {                anchors.centerIn: parent                font.pixelSize: 10                text: index            }        }    }}

运行效果如下:

7c795586d46798d5e98cdd2559c65dc2.png

注意,页眉与页脚代理元素不遵循链表视图的spacing属性,它们被直接放在相邻的链表元素之上或之下。这意味着页眉与页脚的间隔必须通过页眉与页脚元素自己设置。

GridView(网格视图)

使用GridView与ListView的方式非常类似。真正不同的地方是GridView使用了一个二维数组来存放元素,而ListView是使用线性链表来存放元素。

与ListView比较,GridView不依赖与元素间隔和大小来配置元素。它使用cellWidth与cellHeight属性来控制数组内的二维元素的内容。每个元素从左上角开始依次放入单元格。

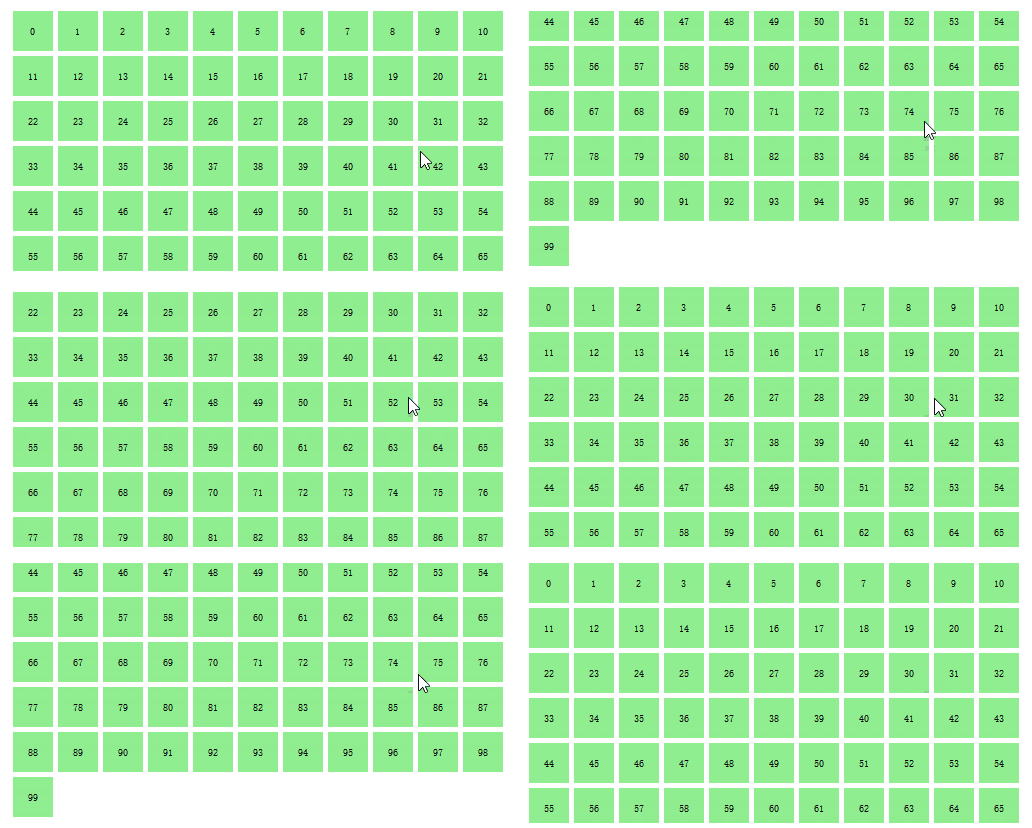
import QtQuick 2.3import QtQuick.Window 2.2Window {    id: root    visible: true    width: 240    height: 300    color: "white"    GridView {        anchors.fill: parent        anchors.margins: 20        clip: true        model: 100        cellWidth: 45        cellHeight: 45        delegate: numberDelegate    }    Component {        id: numberDelegate        Rectangle {            width: 40            height: 40            color: "lightGreen"            Text {                anchors.centerIn: parent                font.pixelSize: 10                text: index            }        }    }}

运行效果如下:

713b8b05ad65461a37796fba65c6ee90.gif

一个GridView也包含了页脚与页眉,也可以使用高亮代理并且支持捕捉模式的多种反弹行为。也可以使用不同的方向与定向来定位。

定向使用flow属性来控制。它可以被设置为GridView.LeftToRight或者GridView.TopToBottom。模型的值从左往右向网格中填充,行添加是从上往下。视图使用一个垂直方向的滚动条。后面添加的元素也是由上到下,由左到右。

此外还有flow属性和layoutDirection属性,能够适配网格从左到右或者从右到左。

  • 0
    点赞
  • 0
    收藏
    觉得还不错? 一键收藏
  • 0
    评论
使用vue-print-nb添加页眉页脚的步骤如下: 1. 首先,确保你已经安装了vue-print-nb插件。可以通过npm或yarn进行安装: ``` npm install vue-print-nb 或 yarn add vue-print-nb ``` 2. 在你的Vue组件引入vue-print-nb插件: ```javascript import Print from 'vue-print-nb' ``` 3. 在Vue组件的`components`属性注册Print组件: ```javascript components: { Print } ``` 4. 在需要打印的页面使用Print组件包裹需要打印的内容,并设置相应的属性: ```html <template> <div> <Print :printable="printable" :beforePrint="beforePrint" :afterPrint="afterPrint"> <!-- 需要打印的内容 --> </Print> </div> </template> ``` 5. 在Vue组件的`data`属性定义`printable`、`beforePrint`和`afterPrint`属性: ```javascript data() { return { printable: true, // 是否可打印,默认为true beforePrint: () => { // 打印前的回调函数,可以在这里设置页眉页脚 // 例如:document.getElementById('header').style.display = 'block'; }, afterPrint: () => { // 打印后的回调函数,可以在这里恢复原来的页眉页脚 // 例如:document.getElementById('header').style.display = 'none'; } } } ``` 6. 在需要打印的内容添加页眉页脚的HTML代码: ```html <template> <div> <Print :printable="printable" :beforePrint="beforePrint" :afterPrint="afterPrint"> <div id="header">这是页眉</div> <!-- 需要打印的内容 --> <div id="footer">这是页脚</div> </Print> </div> </template> ``` 以上就是使用vue-print-nb添加页眉页脚的基本步骤。你可以根据实际需求自定义页眉页脚的样式和内容。
评论
添加红包

请填写红包祝福语或标题

红包个数最小为10个

红包金额最低5元

当前余额3.43前往充值 >
需支付:10.00
成就一亿技术人!
领取后你会自动成为博主和红包主的粉丝 规则
hope_wisdom
发出的红包
实付
使用余额支付
点击重新获取
扫码支付
钱包余额 0

抵扣说明:

1.余额是钱包充值的虚拟货币,按照1:1的比例进行支付金额的抵扣。
2.余额无法直接购买下载,可以购买VIP、付费专栏及课程。

余额充值