


SpringBoot2.x系列教程88--SpringBoot整合SpringSecurity实现认证拦截
作者:一一哥
一. SpringSecurity简介
1. SpringSecurity概述
Spring Security 是 Spring 社区的一个顶级项目,也是 Spring Boot 官方推荐使用的安全框架。
除了常规的认证(Authentication)和授权(Authorization)之外,Spring Security还提供了诸如ACLs,LDAP,JAAS,CAS等高级特性以满足复杂场景下的安全需求。
另外,就目前而言,Spring Security和Shiro也是当前广大应用使用比较广泛的两个安全框架。
Spring Security 应用级别的安全主要包含两个主要部分,即登录认证(Authentication)和访问授权(Authorization),首先用户登录的时候传入登录信息,登录验证器完成登录认证并将登录认证好的信息存储到请求上下文,然后再进行其他操作,如在进行接口访问、方法调用时,权限认证器从上下文中获取登录认证信息,然后根据认证信息获取权限信息,通过权限信息和特定的授权策略决定是否授权。
2. SpringSecurity的特征
- 对身份验证和授权的全面和可扩展的支持;
- 防止会话固定,点击劫持,跨站点请求伪造等攻击;
- Servlet API集成;
- 可选与Spring Web MVC集成。
二. SpringBoot整合SpringSecurity实现步骤
1. 需求分析
当用户来访问接口时,根据用户携带的Authorization去查询此用户的角色,再根据设置好的角色所具有的权限进行判断,如果访问的接口是该角色下的接口,则进行接口放行。
2. 创建web项目
我们按照之前的经验,创建一个web程序,并将之改造成Spring Boot项目,具体过程略。
3.先测试不添加SpringSecurity的情况
我们可以先测试一下项目中不添加Spring Security依赖包的情况,在这种情况下,我直接创建一个Controller接口,然后启动项目进行测试。
package com.yyg.boot.web;

import org.springframework.web.bind.annotation.GetMapping;
import org.springframework.web.bind.annotation.RestController;

/**
 * @Author 一一哥Sun
 * @Date Created in 2020/5/18
 * @Description Description
 */
@RestController
public class IndexController {

    @GetMapping("/hello")
    public String hello() {
        return "Hello SpringSecurity!";
    }

}
4. 创建入口类
package com.yyg.boot;

import org.springframework.boot.SpringApplication;
import org.springframework.boot.autoconfigure.SpringBootApplication;

/**
 * @Author 一一哥Sun
 * @Date Created in 2020/5/18
 * @Description Description
 */
@SpringBootApplication
public class SecurityApplication {

    public static void main(String[] args){
        SpringApplication.run(SecurityApplication.class,args);
    }

}
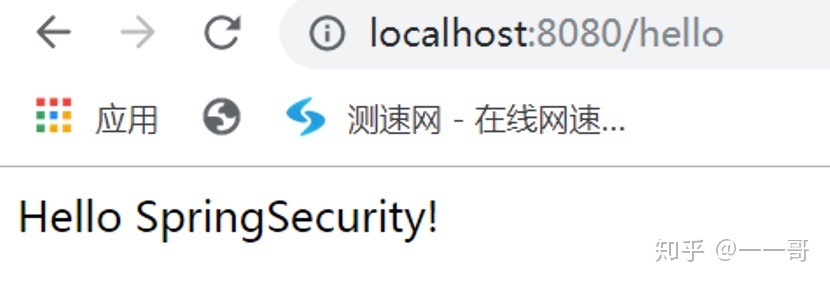
5.访问接口
此时我们可以看到,在浏览器中可以直接访问这个接口方法。
6. 添加Spring Security依赖包
<dependency>
    <groupId>org.springframework.boot</groupId>
    <artifactId>spring-boot-starter-security</artifactId>
</dependency>
7. 重启项目测试
当添加了spring-boot-starter-security依赖包之后,我们此时再重新启动项目进行测试。
此时会发现控制台中有一行日志信息:也就是Spring Boot会自动产生一个随机的密码。

然后我们再访问刚才的接口,会发现接口会自动重定向到login登录页面。
然后在这个登录页面中,我们可以输入用户名和密码:
- 用户名:user
- 密码:控制台的随机密码
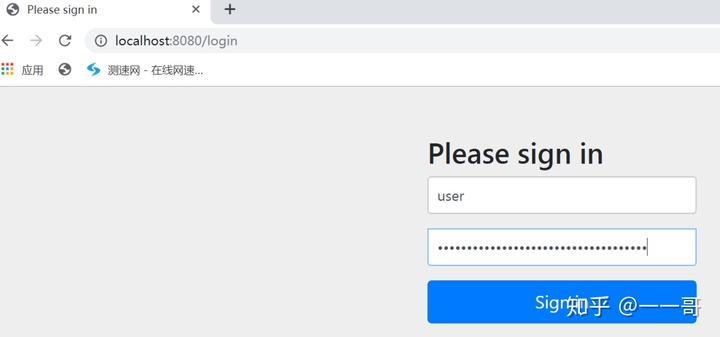
然后此时才可以看到刚才的接口内容。
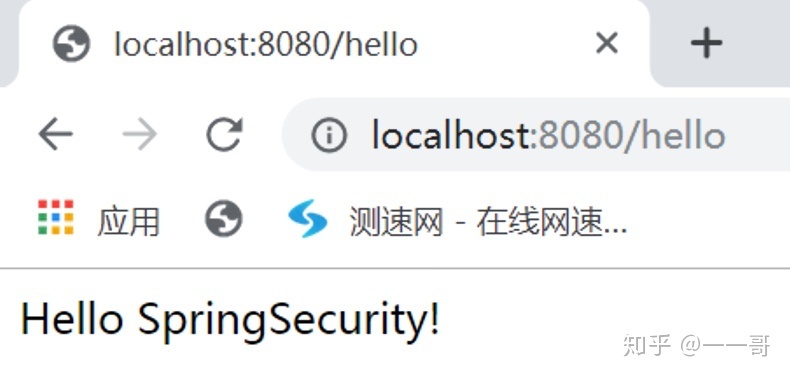
这是因为当Spring项目中引入了Spring Security依赖的时候,项目会默认开启如下配置:
security.basic.enabled=true这个配置开启了一个表单认证,所有服务的访问都必须先过这个认证,默认的用户名为user,密码由Sping Security自动生成,回到IDE的控制台,可以找到密码信息:
Using generated security password: 078db2a5-ae07-4a10-a85c-cf0162a7e9668. 修改登录表单的用户名和密码
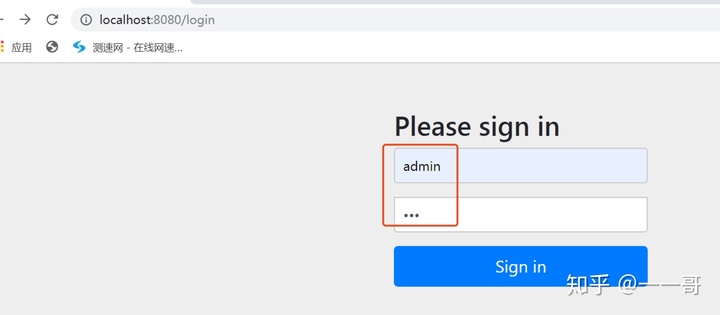
我们可以在application.yml文件中,通过spring.security属性进行用户名和密码的配置。
server:
  port: 8080
spring:
  security:
    user:
      name: admin
      password: 123
此时可以看到,新的登录名和密码变成了我们设置好的。
三. 基于HttpBasic认证
1. HttpBasic认证实现
配置SpringSecurity认证方式。
创建一个配置类SpringSecurityConfig继承org.springframework.security.config.annotation.web.configuration.WebSecurityConfigurerAdapter这个抽象类并重写configure(HttpSecurity http)方法。
WebSecurityConfigurerAdapter是由Spring Security提供的Web应用安全配置的适配器:
@Configuration
public class SpringSecurityConfig extends WebSecurityConfigurerAdapter {

    @Override
    protected void configure(HttpSecurity http) throws Exception {
        http.httpBasic()                // HttpBasic
//        http.formLogin()              // 表单方式
                .and()
                .authorizeRequests()  // 授权配置
                .anyRequest()         // 所有请求
                .authenticated();     // 都需要认证
    }
}
HttpBasic登录效果:
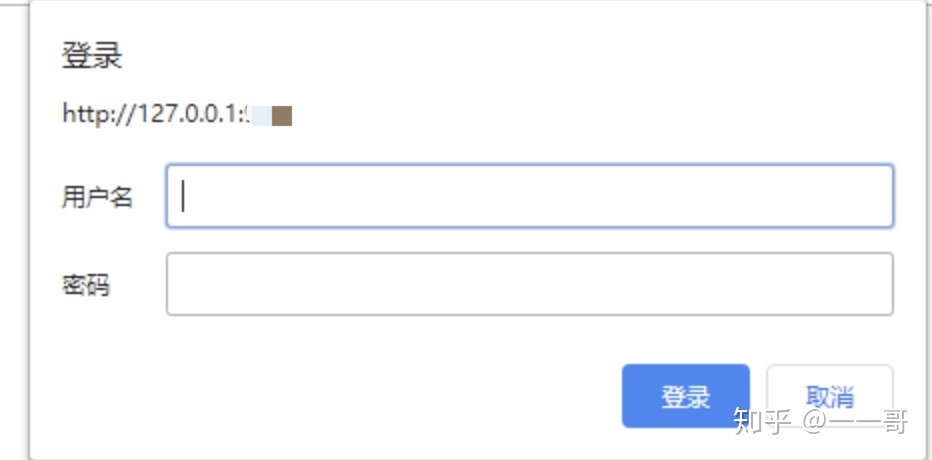
2. HttpBasic基本原理
上面我们开启了一个最简单的Spring Security安全配置,下面我们来了解下Spring Security的基本原理。通过上面的的配置,代码的执行过程可以简化为下图表示:
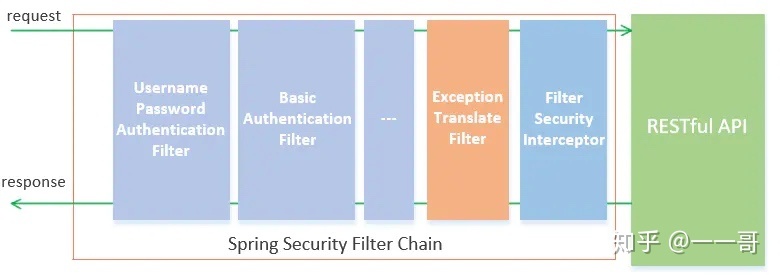
如上图所示,Spring Security包含了众多的过滤器,这些过滤器形成了一条链,所有请求都必须通过这些过滤器后才能成功访问到资源。
其中UsernamePasswordAuthenticationFilter过滤器用于处理基于表单方式的登录认证,而BasicAuthenticationFilter用于处理基于HTTP Basic方式的登录验证,后面还可能包含一系列别的过滤器(可以通过相应配置开启)。
在过滤器链的末尾是一个名为FilterSecurityInterceptor的拦截器,用于判断当前请求身份认证是否成功,是否有相应的权限,当身份认证失败或者权限不足的时候便会抛出相应的异常。ExceptionTranslateFilter捕获并处理,所以我们在ExceptionTranslateFilter过滤器用于处理了FilterSecurityInterceptor抛出的异常并进行处理,比如需要身份认证时将请求重定向到相应的认证页面,当认证失败或者权限不足时返回相应的提示信息。
四. SpringBoot集成SpringSecurity实现权限管理
我们在上面案例的基础上,进行本案例的开发讲解。
1. 创建实体类
1.1 创建Admin实体类:
package com.yyg.boot.domain;

import lombok.Data;

import java.io.Serializable;

/**
 * @Author 一一哥Sun
 * @Date Created in 2020/5/18
 * @Description Description
 */
@Data
public class Admin implements Serializable {

    private String username;

    private String password;

}
1.2 创建Member实体类:
package com.yyg.boot.domain;

import lombok.Data;

import java.io.Serializable;

/**
 * @Author 一一哥Sun
 * @Date Created in 2020/5/18
 * @Description Description
 */
@Data
public class Member implements Serializable {

    private String id;

    private String username;

    private String password;

}
2. 继承WebSecurityConfigurerAdapter配置角色权限
package com.yyg.boot.config;

import org.springframework.beans.factory.annotation.Autowired;
import org.springframework.context.annotation.Bean;
import org.springframework.context.annotation.Configuration;
import org.springframework.security.config.annotation.authentication.builders.AuthenticationManagerBuilder;
import org.springframework.security.config.annotation.web.builders.HttpSecurity;
import org.springframework.security.config.annotation.web.builders.WebSecurity;
import org.springframework.security.config.annotation.web.configuration.WebSecurityConfigurerAdapter;
import org.springframework.security.core.userdetails.UserDetailsService;
import org.springframework.security.crypto.bcrypt.BCryptPasswordEncoder;
import org.springframework.security.crypto.password.PasswordEncoder;

/**
 * @Author 一一哥Sun
 * @Date Created in 2020/5/18
 * @Description Description
 */
@Configuration
public class SpringSecurityConfig extends WebSecurityConfigurerAdapter {

    //@Override
    //protected void configure(HttpSecurity http) throws Exception {
        //http.httpBasic()                // 简单的HttpBasic登录方式
        //http.formLogin()              // 提供一个登录的表单
                //.and()
                //.authorizeRequests()  // 授权配置
                //.anyRequest()         // 所有请求
                //.authenticated();     // 都需要认证
    //}

    @Autowired
    private UserDetailsService userDetailsService;

    @Bean
    public PasswordEncoder passwordEncoder() {
        return new BCryptPasswordEncoder();
    }

    @Override
    public void configure(WebSecurity web) throws Exception {
        super.configure(web);
    }

    //内存方式创建用户
//    @Override
//    public void configure(AuthenticationManagerBuilder auth) throws Exception {
//        auth.inMemoryAuthentication()
//                .withUser("admin").password("123456").roles("ADMIN")
//                .and()
//                .withUser("member").password("123456").roles("MEMBER");
//    }

    @Override
    public void configure(AuthenticationManagerBuilder auth) throws Exception {
        auth.userDetailsService(userDetailsService)
                //passwordEncoder是对密码的加密处理,如果user中密码没有加密,则可以不加此方法。注意加密请使用security自带的加密方式。
                .passwordEncoder(passwordEncoder());
    }

    @Override
    protected void configure(HttpSecurity http) throws Exception {
        http.csrf()
                //禁用了 csrf 功能
                .disable()
                //限定签名成功的请求
                .authorizeRequests()
                .antMatchers("/employee/*")
                //对employee 下的接口,需要 MEMBER 或者 ADMIN 权限
                .hasAnyRole("MEMBER","ADMIN")
                //对employee/login接口直接放行,不限制
                .antMatchers("/employee/login")
                .permitAll()
                //对admin下的接口 需要ADMIN权限
                .antMatchers("/admin/**")
                .hasRole("ADMIN")
                //不拦截 oauth 开放的资源
                .antMatchers("/oauth/**")
                .permitAll()
                //其他没有限定的请求,允许访问
                .anyRequest()
                .permitAll()
                .and()
                //对于没有配置权限的其他请求允许匿名访问
                .anonymous()
                .and()
                //使用 spring security 默认登录页面
                .formLogin()
                .and()
                //启用http 基础验证
                .httpBasic();
    }

}
3.创建UserDetailsService
package com.yyg.boot.service;

import com.yyg.boot.domain.Admin;
import com.yyg.boot.domain.Member;
import org.springframework.security.core.GrantedAuthority;
import org.springframework.security.core.authority.SimpleGrantedAuthority;
import org.springframework.security.core.userdetails.User;
import org.springframework.security.core.userdetails.UserDetails;
import org.springframework.security.core.userdetails.UserDetailsService;
import org.springframework.security.core.userdetails.UsernameNotFoundException;
import org.springframework.security.crypto.bcrypt.BCryptPasswordEncoder;
import org.springframework.stereotype.Service;

import java.util.ArrayList;
import java.util.List;

/**
 * @Author 一一哥Sun
 * @Date Created in 2020/5/18
 * @Description Description
 */
@Service
public class UserDetailServiceImpl implements UserDetailsService {

    @Override
    public UserDetails loadUserByUsername(String username) throws UsernameNotFoundException {
        List<GrantedAuthority> grantedAuthorities = new ArrayList<>();

        //生成环境是查询数据库获取username的角色用于后续权限判断(如:张三 admin)
        //这里不做数据库操作,给定假数据,进行简单模拟.
        if ("member".equals(username)) {
            Member member = new Member();
            member.setUsername("member");
            member.setPassword("123456");
            GrantedAuthority grantedAuthority = new SimpleGrantedAuthority("ROLE_MEMBER");
            grantedAuthorities.add(grantedAuthority);
            //创建一个用户,用于判断权限,请注意此用户名和方法参数中的username一致;BCryptPasswordEncoder是用来演示加密使用。
            return new User(member.getUsername(), new BCryptPasswordEncoder().encode(member.getPassword()), grantedAuthorities);
        }

        if ("admin".equals(username)) {
            Admin admin = new Admin();
            admin.setUsername("admin");
            admin.setPassword("123456");
            GrantedAuthority grantedAuthority = new SimpleGrantedAuthority("ROLE_ADMIN");
            grantedAuthorities.add(grantedAuthority);
            return new User(admin.getUsername(), new BCryptPasswordEncoder().encode(admin.getPassword()), grantedAuthorities);
        } else {
            return null;
        }

    }

}
4. 创建controller层代码
4.1 创建AdminController
package com.yyg.boot.web;

import org.springframework.web.bind.annotation.GetMapping;
import org.springframework.web.bind.annotation.RequestMapping;
import org.springframework.web.bind.annotation.RestController;

/**
 * @Author 一一哥Sun
 * @Date Created in 2020/5/18
 * @Description Description
 */
@RestController
@RequestMapping("/admin")
public class AdminController {

    @GetMapping("/greeting")
    public String greeting() {
        return "Hello,Admin!";
    }

    @GetMapping("/login")
    public String login() {

        return "login success!";
    }

}
4.2 创建MemberController
package com.yyg.boot.web;
import org.springframework.web.bind.annotation.GetMapping;
import org.springframework.web.bind.annotation.RequestMapping;
import org.springframework.web.bind.annotation.RestController;
/**
* @Author 一一哥Sun
* @Date Created in 2020/5/18
* @Description Description
*/
@RestController
@RequestMapping("/member")
public class MemberController {
@GetMapping("/greeting")
public String greeting() {
return "Hello,Member!";
}
@GetMapping("/login")
public String login() {
return "login success!";
}
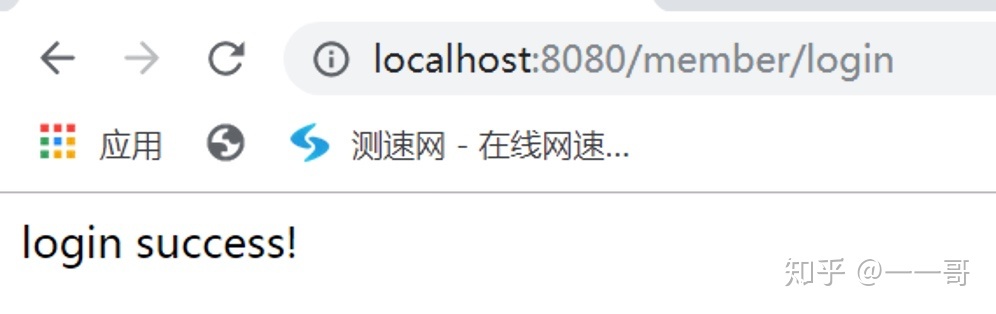
}5. 进行测试
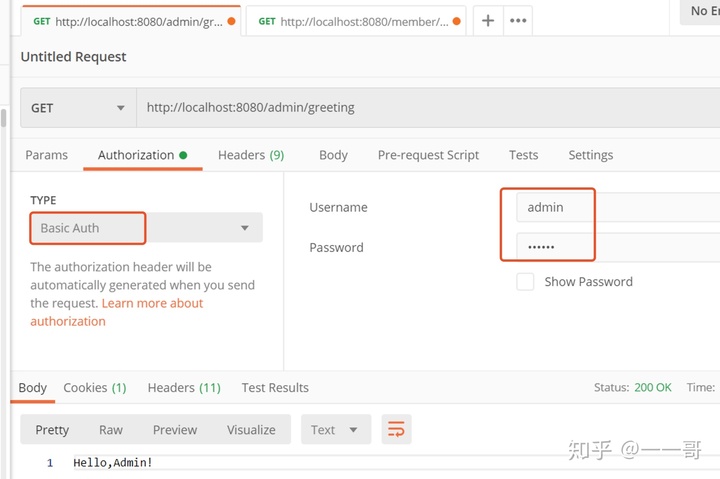
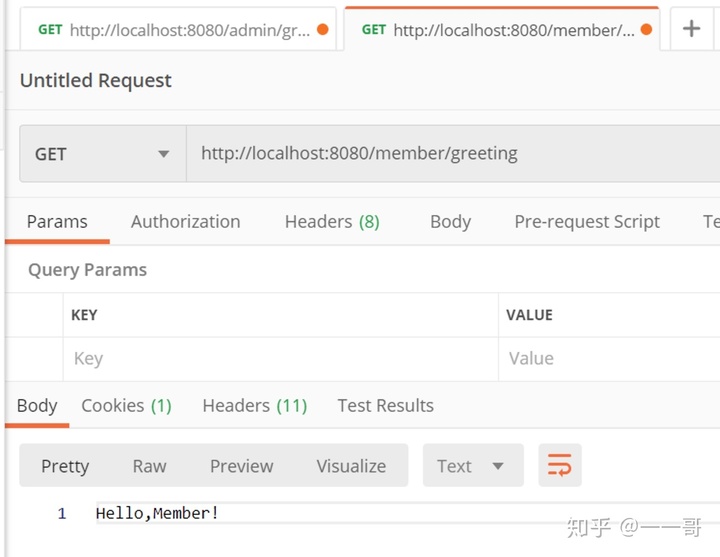
此时我们可以利用postman,通过Basic认证方式,携带用户名和密码进行相关接口的访问。
member身份的权限,只能访问member相关的接口:
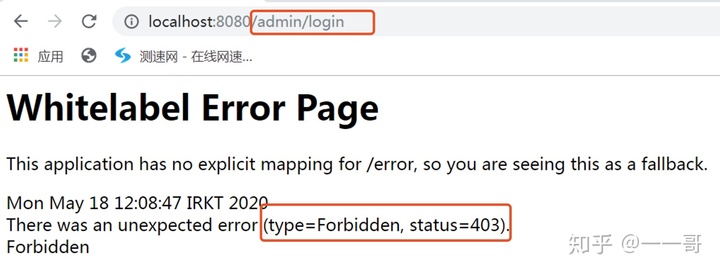
admin身份的权限,可以访问admin与member相关的接口:
后续我们可以关联数据库,从数据库中查询用户的身份和角色信息,从而进一步给用户分配权限信息。


 559
559


 被折叠的 条评论
为什么被折叠?
被折叠的 条评论
为什么被折叠?
 到【灌水乐园】发言


