


PYTHON 学习笔记
1、 软件下载和安装
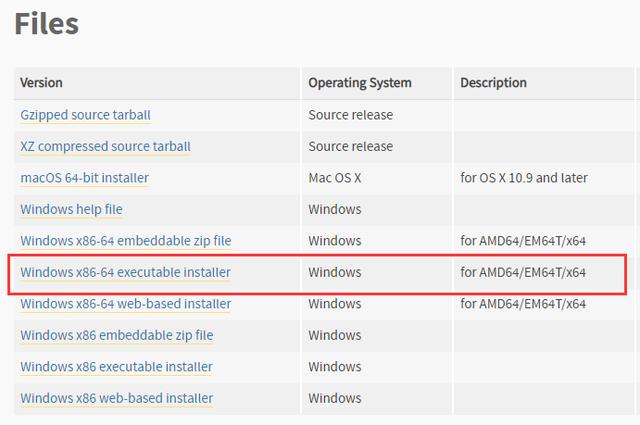
1.软件下载
根据自己的电脑和配置下载相应的版本。
我的选择:
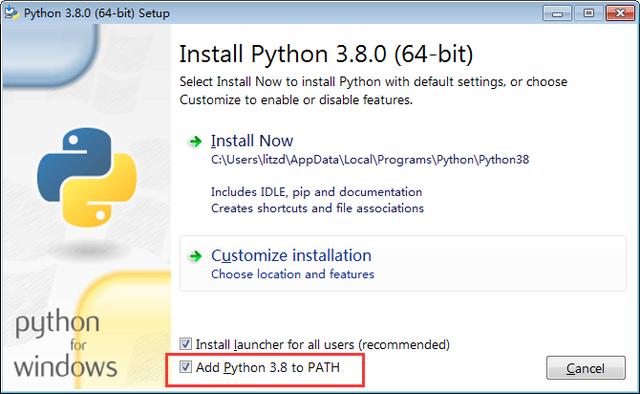
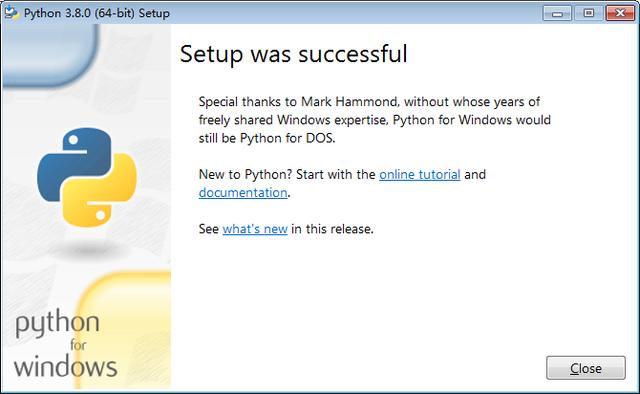
2.软件安装
记得勾选 Add Python 3.8 to PATH。其他步骤按照软件指示安装即可。
Python 教程:The Python Tutorial:
Python文档:Python 3.8.0 documentation:
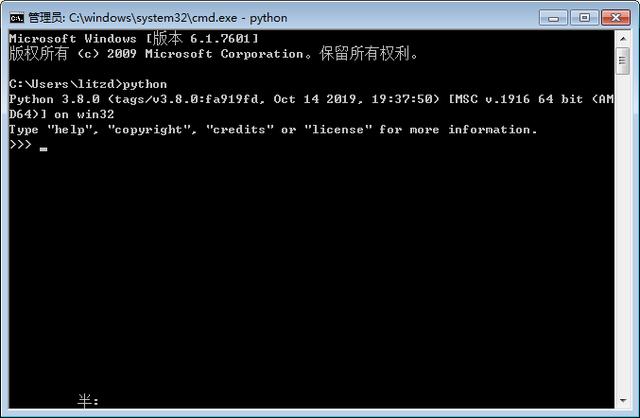
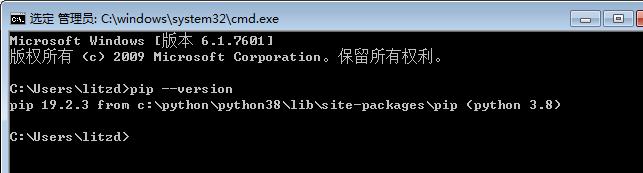
3.安装验证、打开Python:
按 Win+R 键,输入 cmd 调出命令提示符,输入 python:
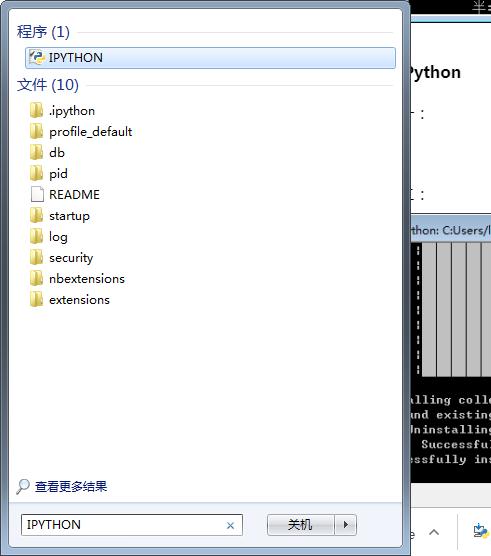
也可以在开始菜单中搜索 IDLE:

4.环境变量配置
程序和可执行文件可以在许多目录,而这些路径很可能不在操作系统提供可执行文件的搜索路径中。
path(路径)存储在环境变量中,这是由操作系统维护的一个命名的字符串。这些变量包含可用的命令行解释器和其他程序的信息。
Unix或Windows中路径变量为PATH(UNIX区分大小写,Windows不区分大小写)。
在Mac OS中,安装程序过程中改变了python的安装路径。如果你需要在其他目录引用Python,你必须在path中添加Python目录。
在 Windows 设置环境变量
path=%path%;C:Python
注意: C:Python 是Python的安装目录
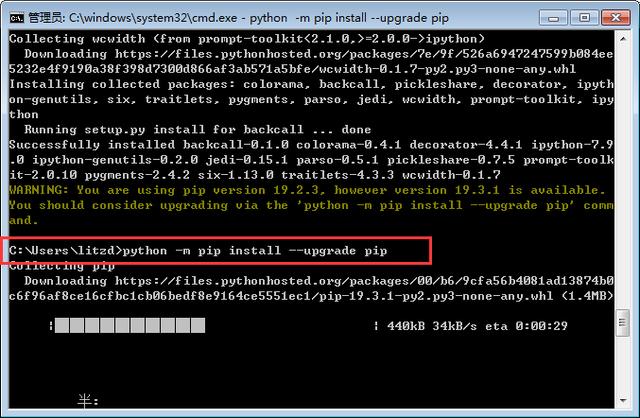
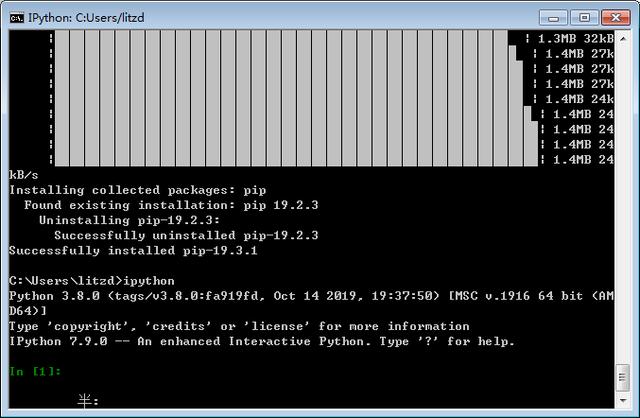
5.pip
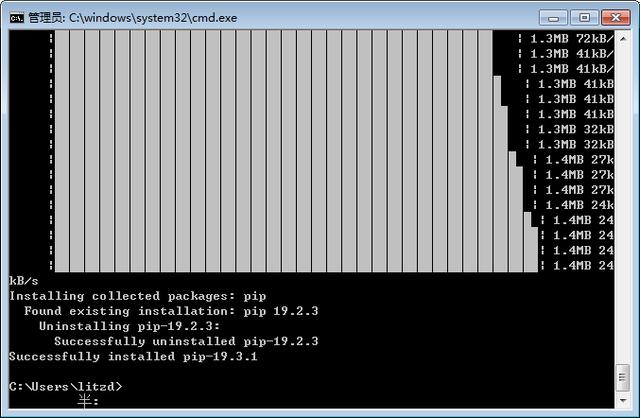
5.1 pip升级
WARNING: You are using pip version 19.2.3, however version 19.3.1 is available.
You should consider upgrading via the 'python -m pip install --upgrade pip' command.
6.IPython
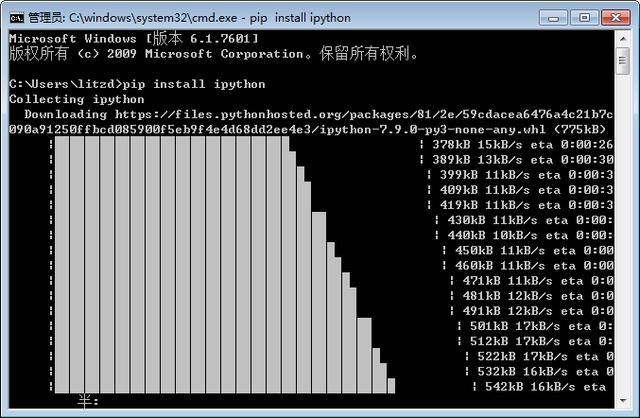
(1)安装IPython
cmd命令中,运行pip install ipython。
(2)打开IPython
方法一:搜索程序
方法二:cmd命令
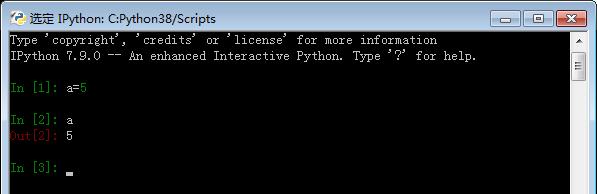
(3)运行IPython.
IPython中的提示符为In [1]: /Out[2]
与IDLE中的>>>提示符不同。
你可以通过输入代码并按Return( 或Enter) , 运行任意Python语句。 当你只输入
一个变量, 它会显示代表的对象:
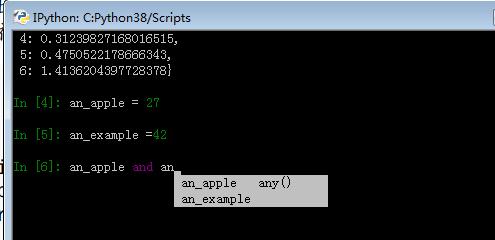
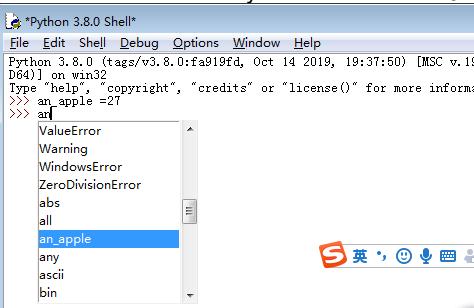
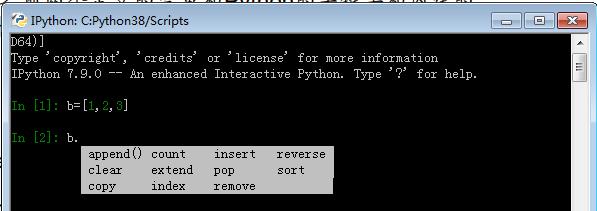
(4)TAB键自动补齐
从外观上, IPython shell和标准的Python解释器只是看起来不同。 IPython shell的
进步之一是具备其它IDE和交互计算分析环境都有的tab补全功能。 在shell中输入表
达式, 按下Tab, 会搜索已输入变量( 对象、 函数等等) 的命名空间:
自动弹出下图中白色区域部分。
自带的IDLE也可以Tab补齐。。
也可以Tab补全任何对象的方法和属性:
7.Jupyter notebook
(1)安装Jupyter notebook
是《利用Python进行数据分析 第二版》中推荐的。该书中安装了Anaconda。Anaconda自带Jupyter notebook。
(1)直接打开Jupyter notebook.
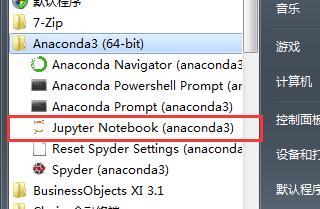
(2)先在win程序中打开Anaconda Prompt (anaconda3)。
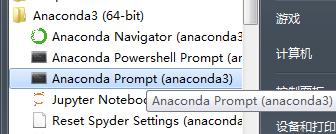
然后直接输入jupyter notebook即可。
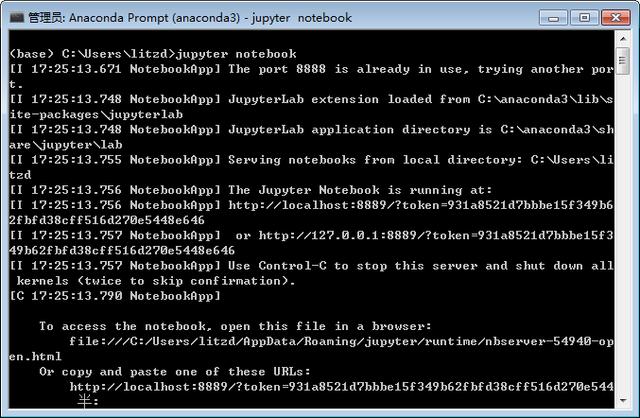
在多数平台上, Jupyter会自动打开默认的浏览器( 除非指定了 --no-browser ) 。 或者, 可以在启动notebook之后, 手动打开网页 http://localhost:8888/
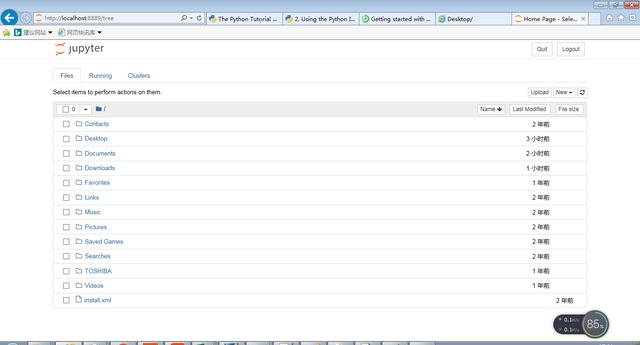
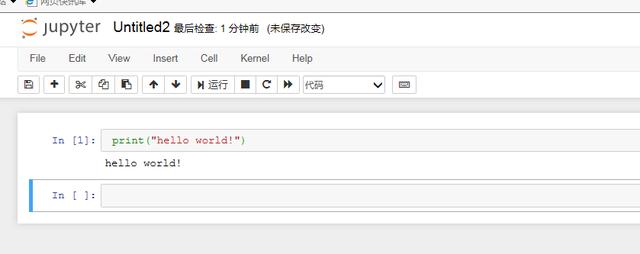
(2)在jupyter notbook中编辑。
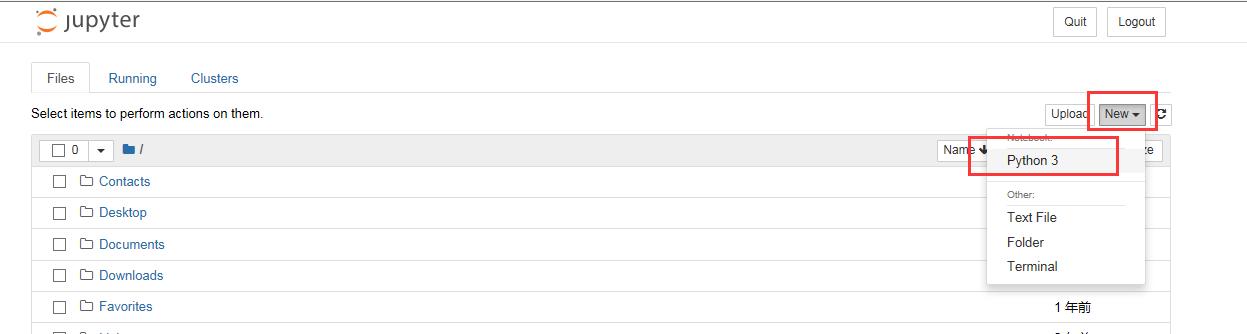
要新建一个notebook, 点击按钮New, 选择"Python3"或"conda[默认项]"。 如果是第一次, 点击空格, 输入一行Python代码。 然后按Shift-Enter执行。
会弹出404的界面,没关系,稍等一会就好了。
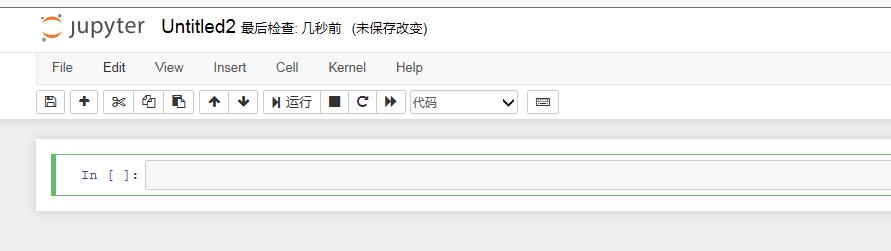
当保存notebook时( File目录下的Save and Checkpoint) , 会创建一个后缀名为 .ipynb 的文件。 这是一个自包含文件格式, 包含当前笔记本中的所有内容( 包括所有已评估的代码输出) 。 可以被其它Jupyter用户加载和编辑。 要加载存在的notebook, 把它放到启动notebook进程的相同目录内。 你可以用本书的示例代码练习, 见图2-3。
虽然Jupyter notebook和IPython shell使用起来不同, 本章中几乎所有的命令和工具
都可以通用。
二、运行第一个Python程序
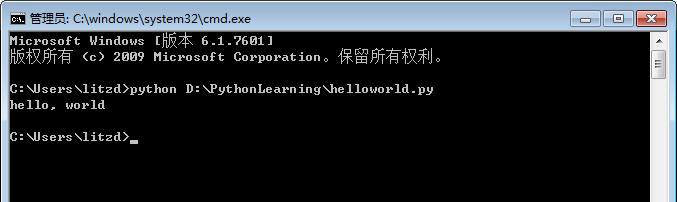
1. 用文本编辑器保存Python代码,文件名后缀为.py。如将以下代码保存为helloworld.py
print('hello, world')
2. 文件路径为:D:PythonLearninghelloworld.py
(1)在cmd中运行
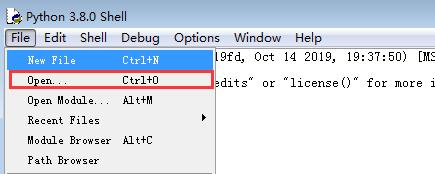
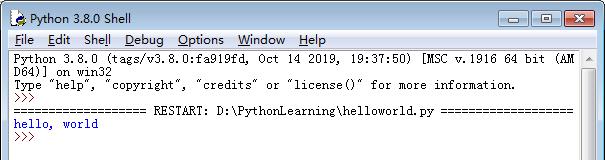
(2)在python自带的IDLE环境中运行

显示结果:
(3)IPython中运行
In [1]: %run D:PythonLearninghelloworld.py

三、安装库 numpy
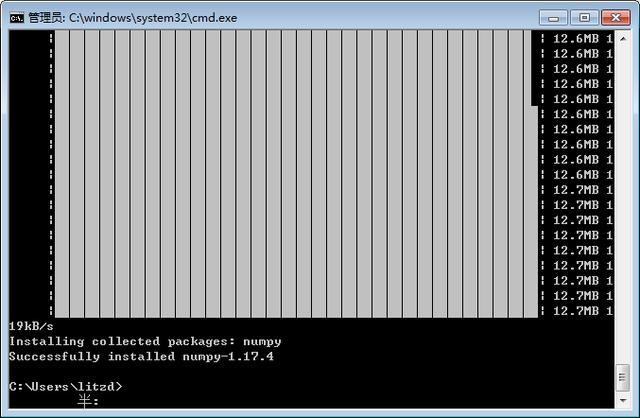
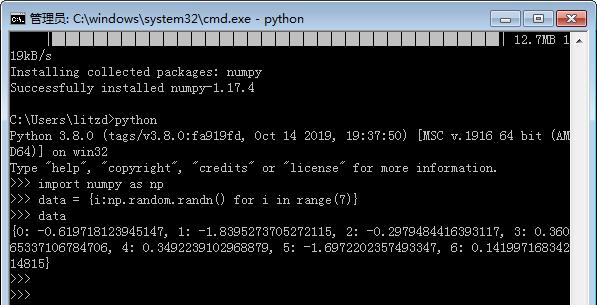
CMD命令按钮中运行C:甥敳獲litzd>pip install numpy
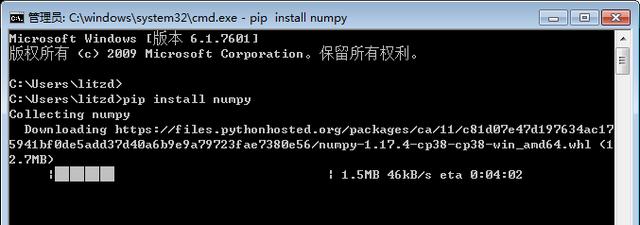
安装结束,如下提示;
四、引用库
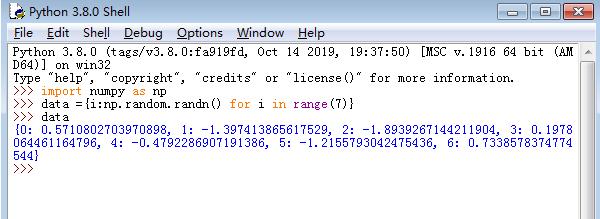
In [1]: import numpy as np
In [2]: data = {i : np.random.randn() for i in range(7)}
In [3]: data
前两行是Python代码语句; 第二条语句创建一个名为 data 的变量, 它引用一个新
创建的Python字典。 最后一行打印 data 的值 。
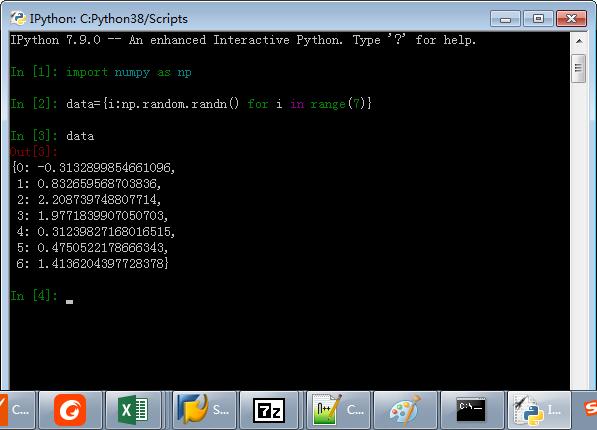
许多Python对象被格式化为更易读的形式, 或称作 pretty-printed , 它与普通
的 print 不同。 如果在标准Python解释器中打印上述 data 变量, 则可读性要降
低。如直接在cmd中运行。
在自带的IDLE中
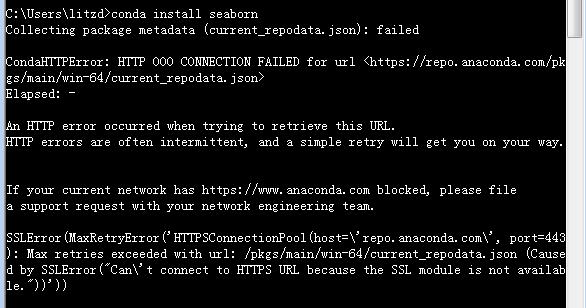
五、安装库 seaborn(本地安装)
seaborn必须在numpy、matplotlib、pandas、scipy。四个安装以后才能装seaborn.
用pip install seaborn 安装失败。conda install seaborn安装失败。好像是提示网络错误?实际能连接到。
找到官网seaborn的包:
下载包:
seborn:https://github.com/mwaskom/seaborn.git
下载到安装包后
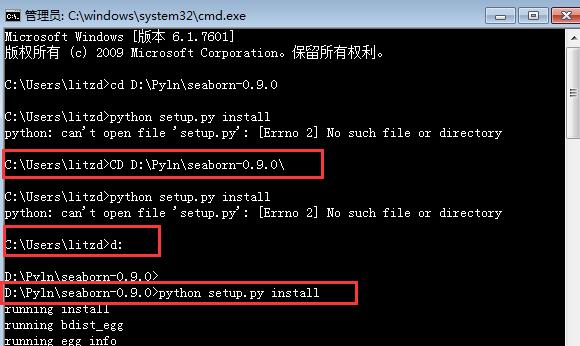
pip install *.whl 直接在pip install命令后添加whl包的全路径名就能本地安装成功了
下载需要的包,一般为zip、tar.gz等的压缩包,解压后,打开命令行,进入解压目录,使用python setup.py install命令安装。


 1390
1390


 被折叠的 条评论
为什么被折叠?
被折叠的 条评论
为什么被折叠?
 到【灌水乐园】发言


