
网速是可变的,尤其是当你使用移动设备时。作为开发人员,我们经常忘记,许多用户正在功能较差的设备上以很慢的网速运行我们的应用程序。到山里去,试着访问你的应用程序,看看它表现如何。
应用程序中最耗费的东西之一就是要加载远程图像。 它们需要时间来加载,尤其是大图片。
今天我们将构建一个组件,它允许我们: - 传递要显示的全尺寸图像(就像普通图像组件一样) - 在加载完整大小的图像时,传递一个缩略图以显示 - 自动在即将下载的图像的位置显示一个占位符,以指示将有内容存在 - 每个状态之间的动画
开始
要开始创建一个新的 React Native 应用程序(通过 React-Native init、 create-React-Native-app 或 expo cli) ,并将以下内容添加到 App.js。
import React from 'react';
import { StyleSheet, View, Dimensions, Image } from 'react-native';

const w = Dimensions.get('window');

const styles = StyleSheet.create({
  container: {
    flex: 1,
    alignItems: 'center',
    justifyContent: 'center',
  },
});

export default class App extends React.Component {
  render() {
    return (
      <View style={styles.container}>
        <Image
          source={{ uri: `https://images.pexels.com/photos/671557/pexels-photo-671557.jpeg?w=${w.width * 2}&buster=${Math.random()}` }}
          style={{ width: w.width, height: w.width }}
          resizeMode="cover"
        />
      </View>
    );
  }
}
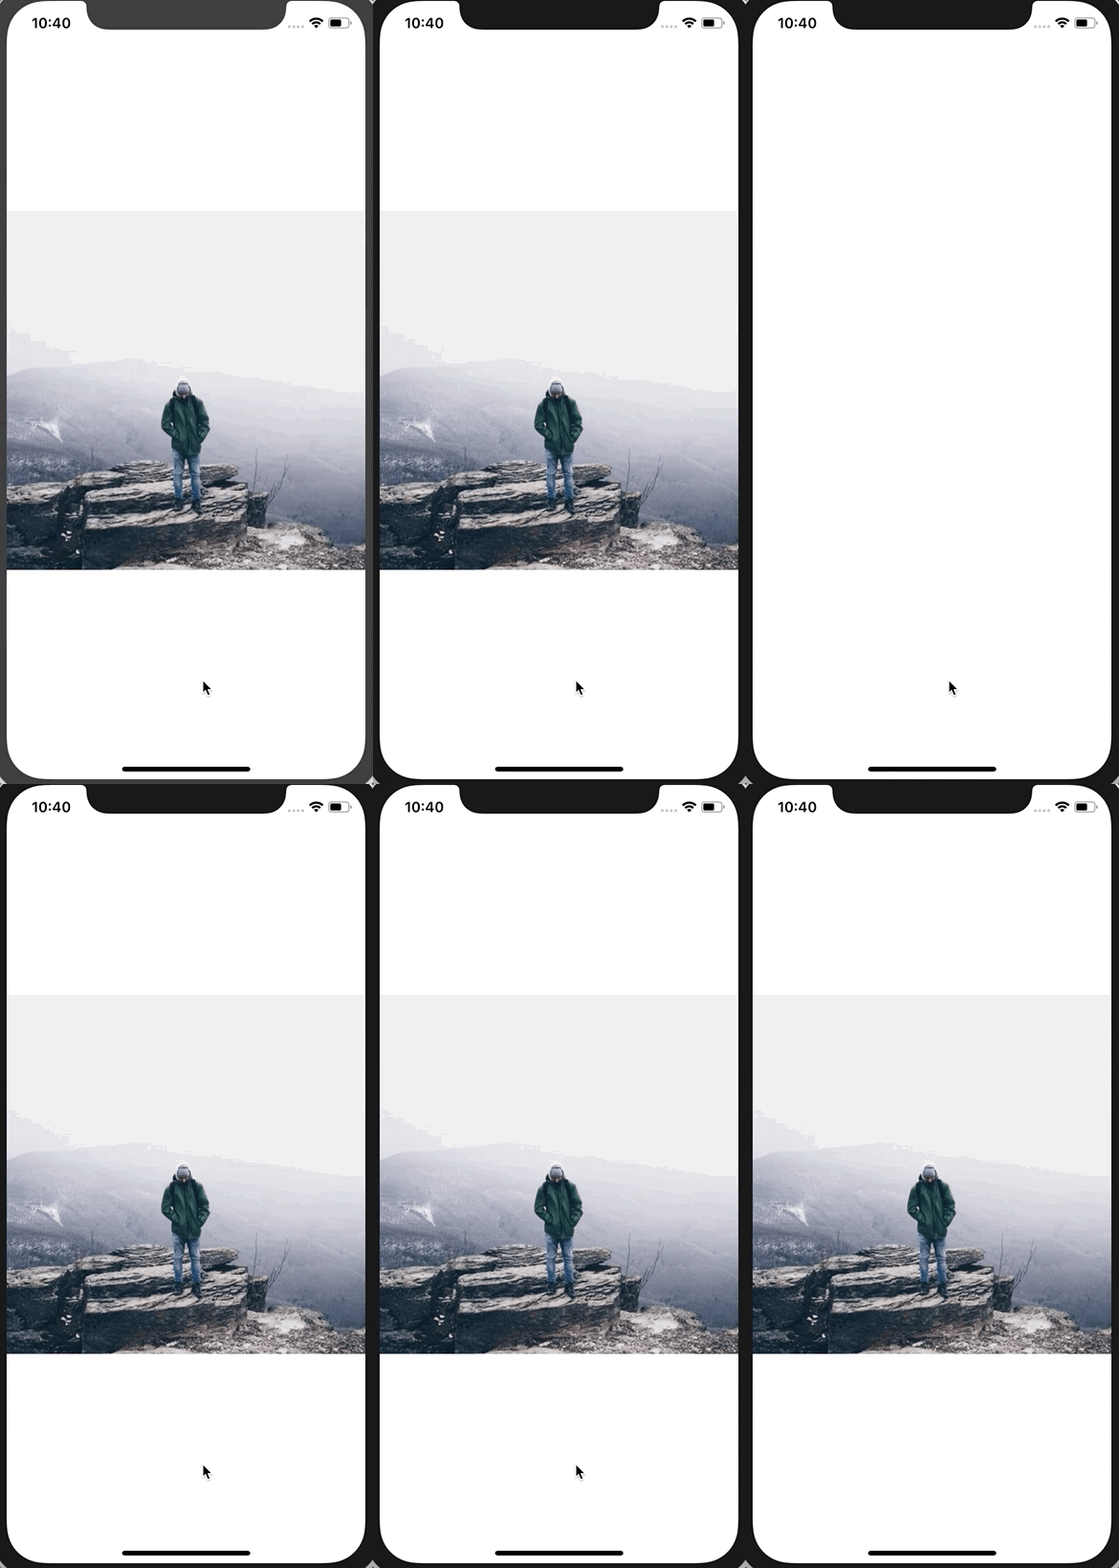
该代码块只显示一个图像。 它从 Pexels 请求2倍屏幕大小的图像(我们想要大的图像,因此图片加载缓慢) ,buster 查询参数将帮助我们不缓存图像,以便我们能够充分看到发生了什么。 你不会想在你的实际应用程序中这么做的。
感受痛苦
正如我之前所说,作为一名开发人员,你可能拥有相当不错的网速。
让我们改变这一点。
如果你是 Mac 电脑,你可以安装一个叫做 Network Link Conditioner 的工具(这里是如何安装它)。 我确信Windows 和 Linux 上也有类似的东西(如果你有建议的工具,请在下面附上)。
它将允许您模拟几乎任何您需要的网络条件。 记得在打开流媒体视频之前把它关掉。
启用它并将其设置为"3G"。
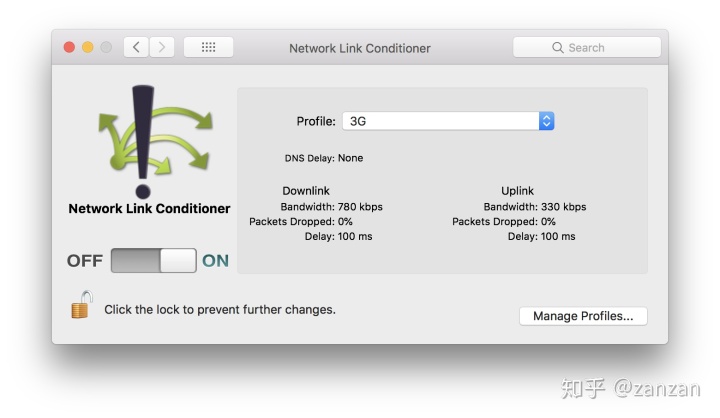
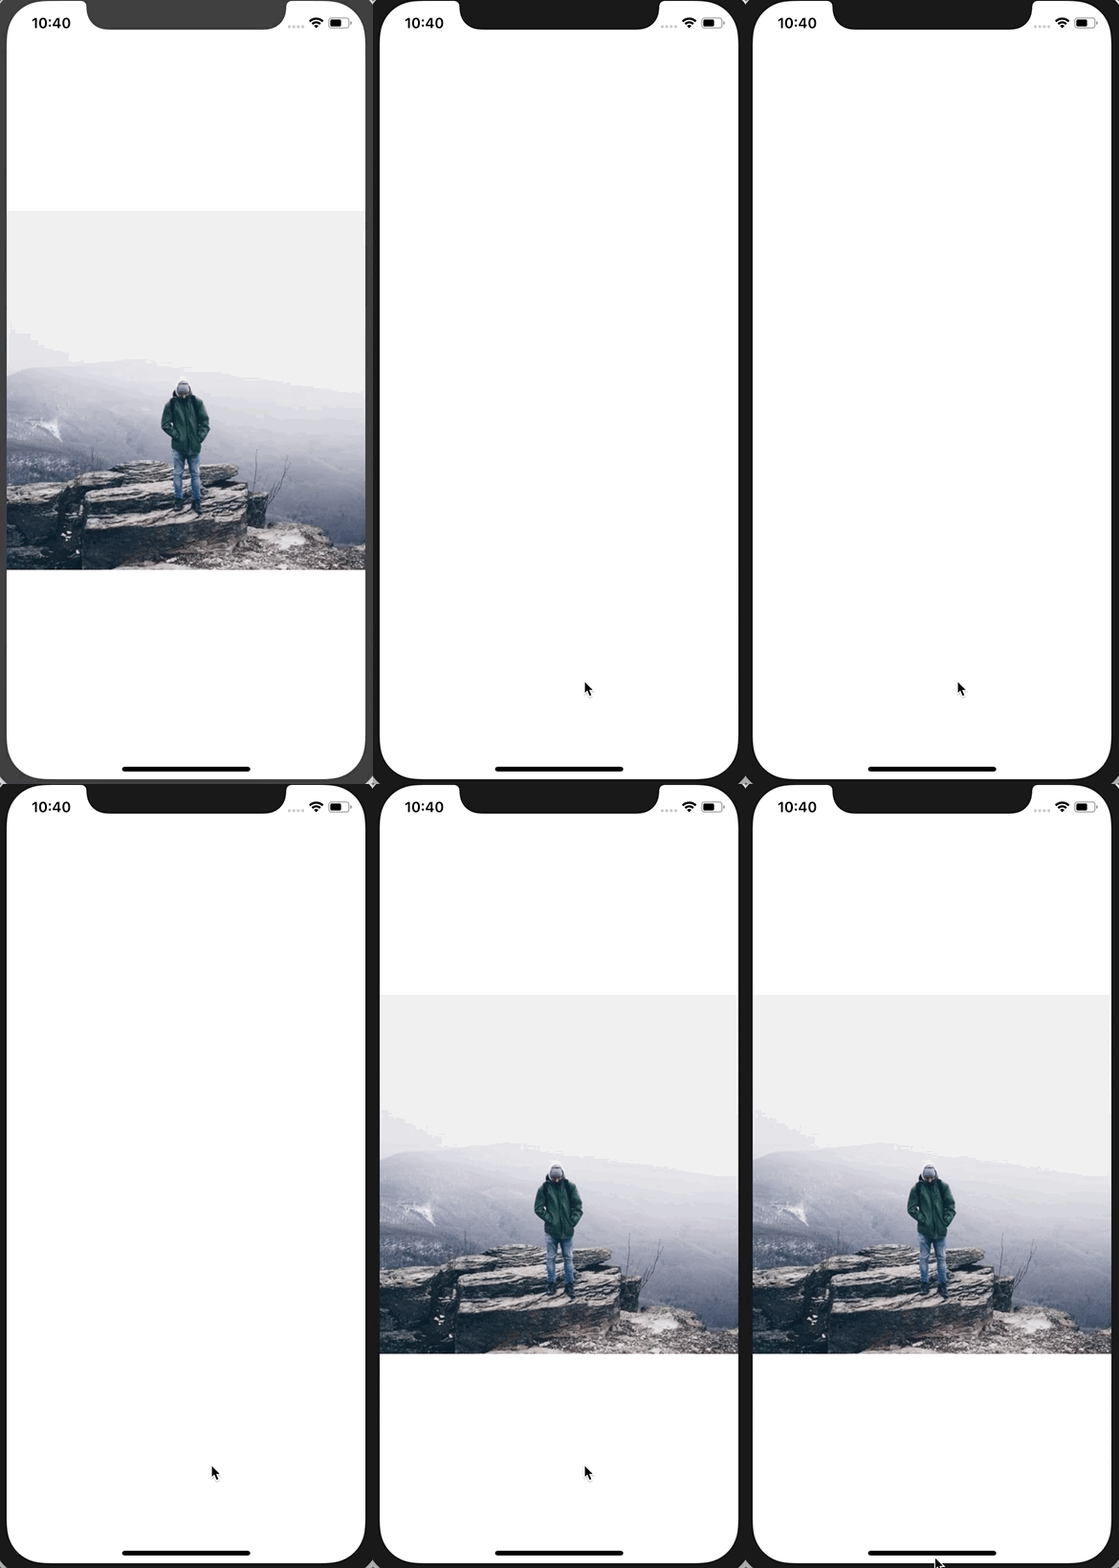
这里对比了 Network Link Conditioner 关闭和打开3g时的状态。
ProgressiveImage 组件
为了替换 Image 组件,我们将创建一个名为 ProgressiveImage 的新组件。 这个组件的目标是让它能够像正常的 Image 组件一样工作,只是增加了一些额外的特性: - 在图像所在的位置填充彩色背景 - 传递缩略图的能力
首先,让我们打好基础:
// ProgressiveImage.js
import React from 'react';
import { View, StyleSheet, Image } from 'react-native';
const styles = StyleSheet.create({
});
class ProgressiveImage extends React.Component {
  render() {
    return <Image {...this.props} />
  }
}
export default ProgressiveImage;
我们使用扩展运算符来传递所有 this.props 到 Image 组件,这样一切都能按照预期工作,而不需要我们手动定义每个 prop。
然后用新的 ProgressiveImage 组件替换 App.js 中的 Image。
// App.js
import React from 'react';
import { StyleSheet, View, Dimensions } from 'react-native';
import ProgressiveImage from './ProgressiveImage';
// ...
export default class App extends React.Component {
  render() {
    return (
      <View style={styles.container}>
        <ProgressiveImage
          source={{ uri: `https://images.pexels.com/photos/671557/pexels-photo-671557.jpeg?w=${w.width * 2}&buster=${Math.random()}` }}
          style={{ width: w.width, height: w.width }}
          resizeMode="cover"
        />
      </View>
    );
  }
}
一切都应该和以前一模一样。
设置背景色
加载远程图像时,需要指定要呈现的图像的宽度和高度。 我们将利用这个要求来方便的设置一个默认的背景颜色。
import React from 'react';
import { View, StyleSheet, Image } from 'react-native';
const styles = StyleSheet.create({
  imageOverlay: {
    position: 'absolute',
    left: 0,
    right: 0,
    bottom: 0,
    top: 0,
  },
  container: {
    backgroundColor: '#e1e4e8',
  },
});
class ProgressiveImage extends React.Component {
  render() {
    return (
      <View style={styles.container}>
        <Image {...this.props} />
      </View>
    );
  }
}
export default ProgressiveImage;
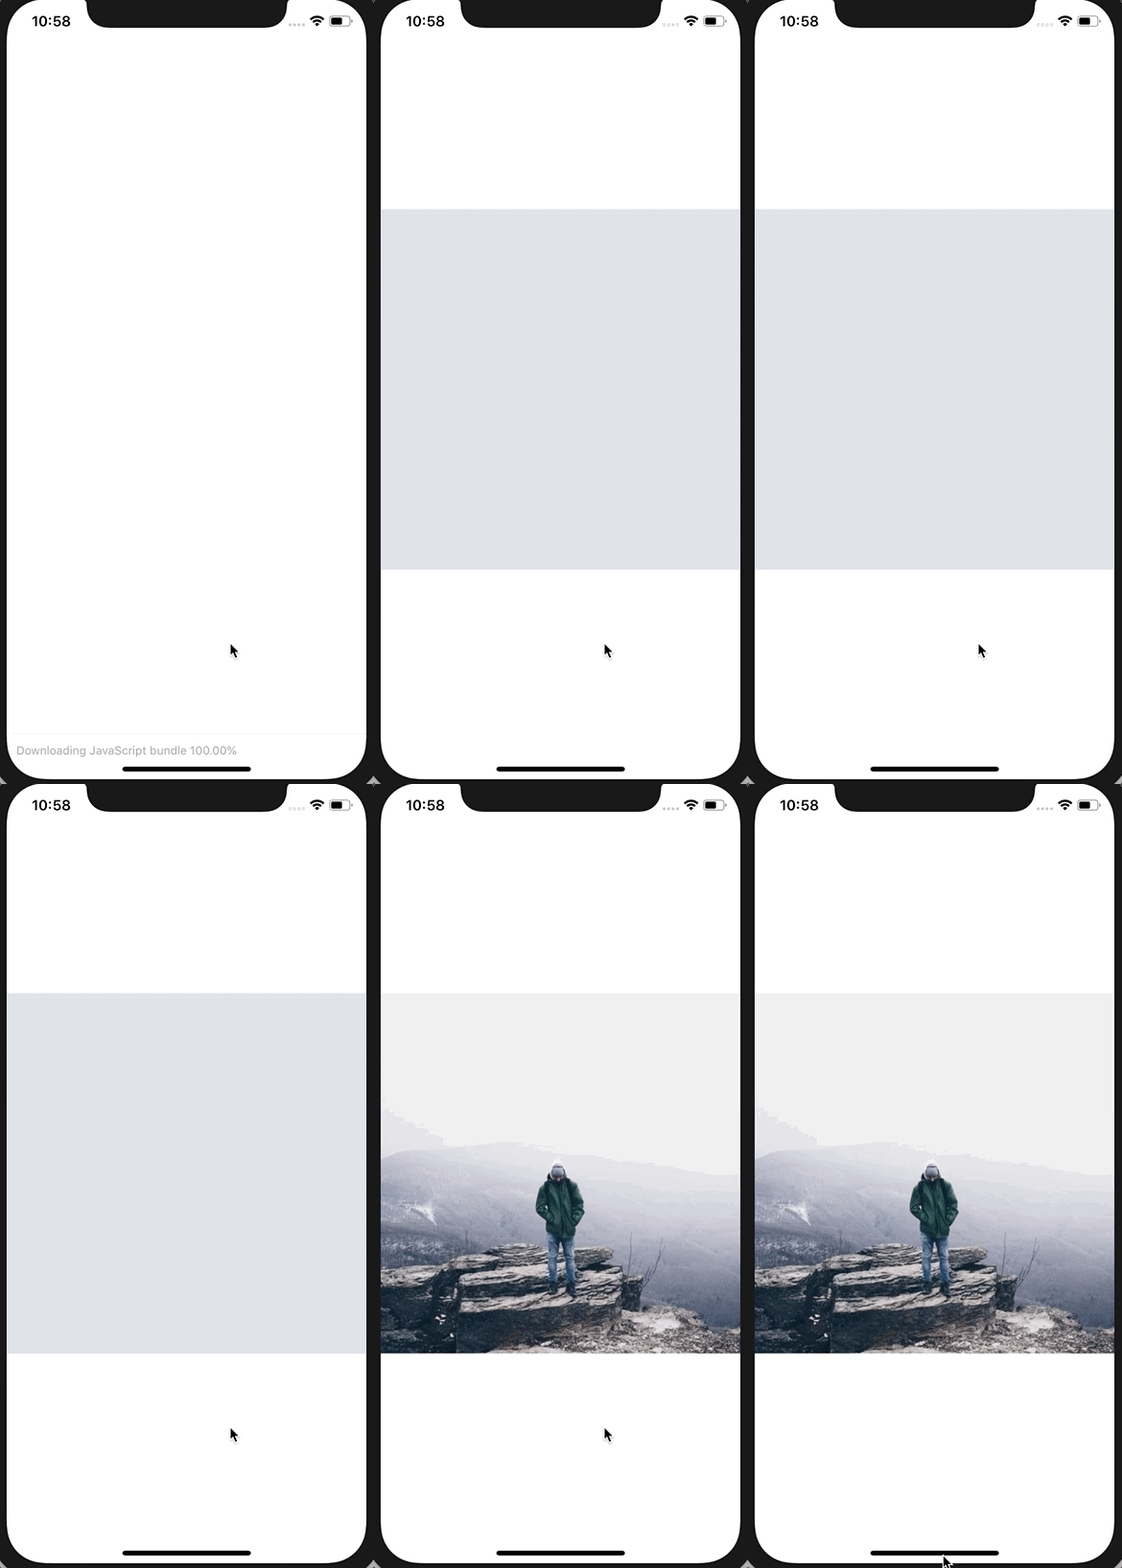
首先,我们为背景颜色创建一个名为 container 样式,然后将 Image 组件包装到视图中(使用分配给它的新样式)。
这是渐进式图像加载的第一阶段。
显示缩略图
接下来,我们将着手显示图像的缩略版。 生成此图像超出了本教程的范围,因此我们假设您已经获得了全尺寸图像和缩略图版本。
首先,对于 ProgressiveImage 实例,我们将添加一个 thumbnailSource prop,它将获取与典型 Image 源prop完全相同的信息。在其中,我们将传递一个较小版本的图像(本例中w为50,使用任何您想要的)和用来清除缓存的变量 buster (仅用于演示目的)。
// App.js
// ...
export default class App extends React.Component {
  render() {
    return (
      <View style={styles.container}>
        <ProgressiveImage
          thumbnailSource={{ uri: `https://images.pexels.com/photos/671557/pexels-photo-671557.jpeg?w=50&buster=${Math.random()}` }}
          source={{ uri: `https://images.pexels.com/photos/671557/pexels-photo-671557.jpeg?w=${w.width * 2}&buster=${Math.random()}` }}
          style={{ width: w.width, height: w.width }}
          resizeMode="cover"
        />
      </View>
    );
  }
}
然后我们将修改 ProgressiveImage 组件。 首先在样式对象中添加 imageOverlay 样式。
// ProgressiveImage.js
// ...
const styles = StyleSheet.create({
  imageOverlay: {
    position: 'absolute',
    left: 0,
    right: 0,
    bottom: 0,
    top: 0,
  },
  container: {
    backgroundColor: '#e1e4e8',
  },
});
// ...
然后我们将渲染两个 Image 组件。 在此之前,我们将使用对象解构来从 this.props 中取出一些prop ,因为我们将覆盖 / 组合它们。
// ProgressiveImage.js
// ...
class ProgressiveImage extends React.Component {
  render() {
    const {
      thumbnailSource,
      source,
      style,
      ...props
    } = this.props;
    return (
      <View style={styles.container}>
        <Image
          {...props}
          source={thumbnailSource}
          style={style}
        />
        <Image
          {...props}
          source={source}
          style={[styles.imageOverlay, style]}
        />
      </View>
    );
  }
}
export default ProgressiveImage;
你可以看到我们得到了 thumbnailSource,source 和 style的 prop。 然后我们使用 "rest" 语法来捕捉其余的 props。 这使得我们可以将所有通用 prop 转发到两个图像中,而只将所需的 prop 转发到正确的组件中(比如合适的源)。
你会注意到我们在全尺寸图像中结合了传入的样式和 styles.imageOverlay 样式。 这样,通过绝对定位,图像会掩盖缩略版。
结果如下:
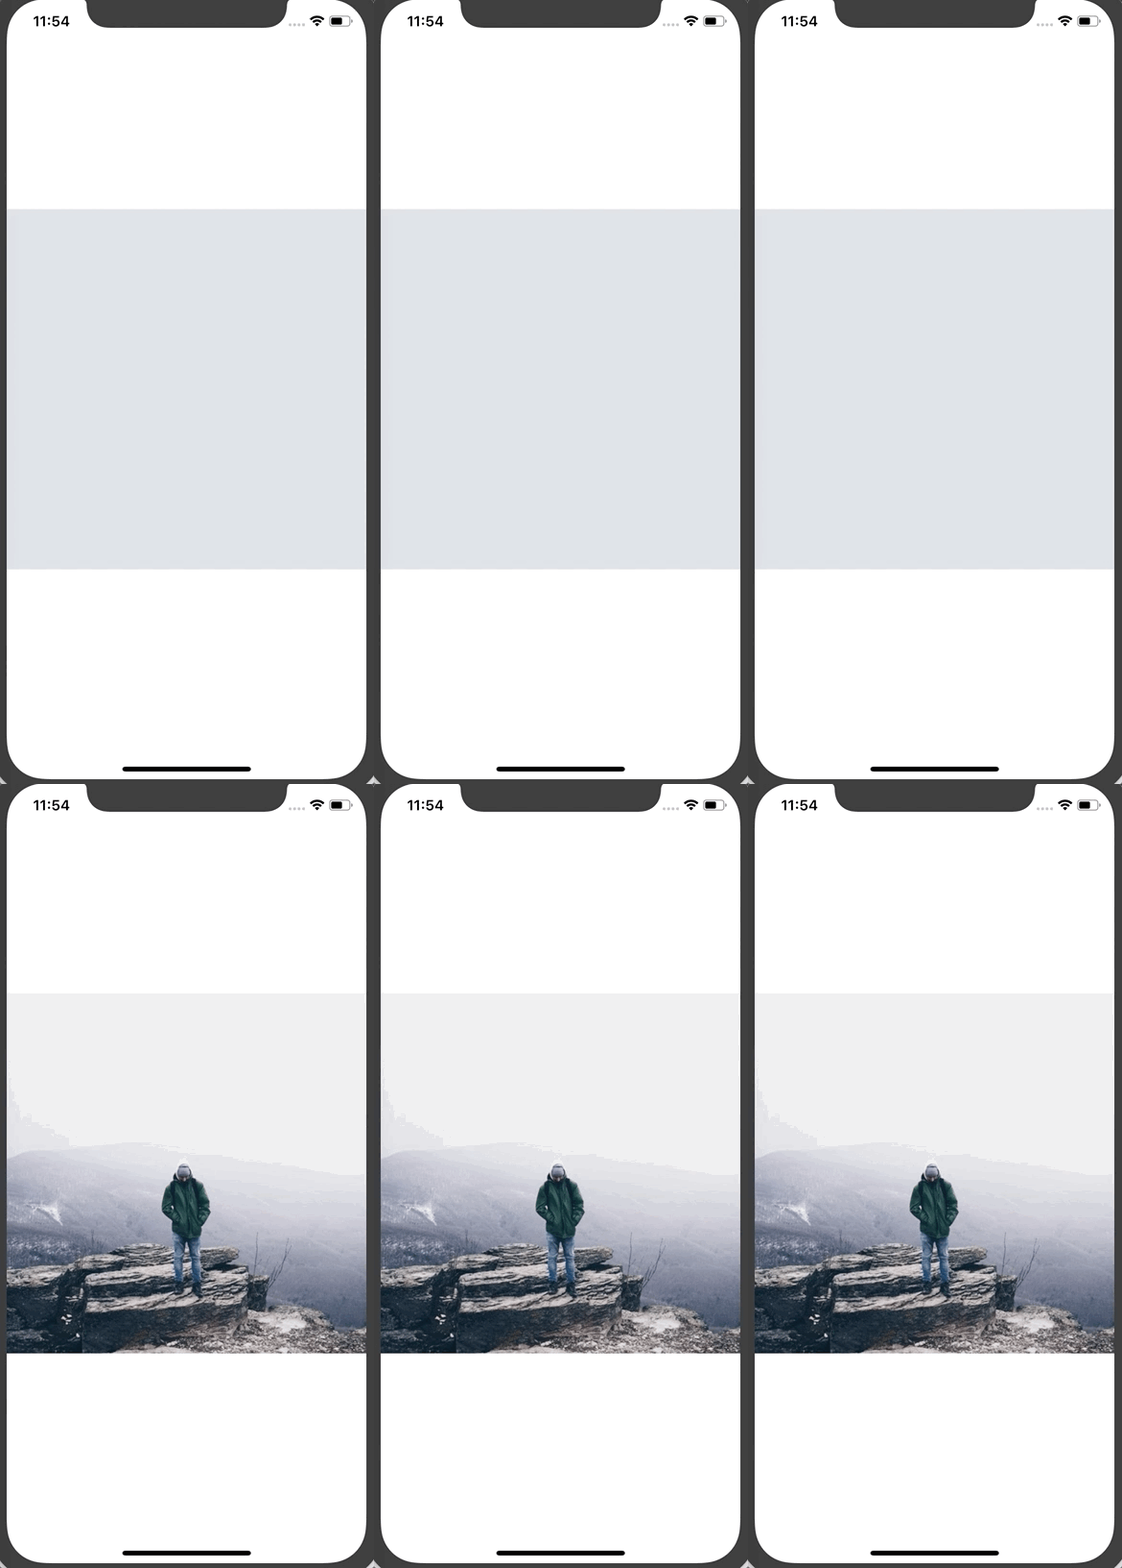
注意: 你会注意到缩略图是相当像素化。 你可以把 blurRadius 属性传递给缩略图来模糊它。我做了一个屏幕截图,这样你就可以看到区别了(例如,我使用的是 blurRadius 为2的模型)。


你还会注意到,如果我们不将 thumbnailSource 传递给 ProgressiveImage 组件,则一切正常,这意味着即使没有缩略图,我们也可以对所有远程图像使用此组件。
动画过渡
最后我们要做的是平滑过渡到背景颜色,缩略图和全尺寸图像。 要做到这一点,我们将使用 React Native 中的 Animated 依赖。
一旦你导入了 Animated,你就需要用 Animated.image 替换 ProgressiveImage 中的 Image 组件。
您还需要在组件上创建两个新的动画变量,将它们默认设置为0。
// ProgressiveImage.js
import React from 'react';
import { View, StyleSheet, Animated } from 'react-native';
// ...
class ProgressiveImage extends React.Component {
  thumbnailAnimated = new Animated.Value(0);
  imageAnimated = new Animated.Value(0);
  render() {
    const {
      thumbnailSource,
      source,
      style,
      ...props
    } = this.props;
    return (
      <View style={styles.container}>
        <Animated.Image
          {...props}
          source={thumbnailSource}
          style={style}
          blurRadius={2}
        />
        <Animated.Image
          {...props}
          source={source}
          style={[styles.imageOverlay, style]}
        />
      </View>
    );
  }
}
这些 Animated.Value 将用于驱动图像的不透明度。 当缩略图加载时,我们将设置 thumbnailAnimated 为1。 当加载完整大小的图像时,我们将 imageAnimated 设置为1。
// ProgressiveImage.js
// ...
class ProgressiveImage extends React.Component {
  thumbnailAnimated = new Animated.Value(0);
  imageAnimated = new Animated.Value(0);
  handleThumbnailLoad = () => {
    Animated.timing(this.thumbnailAnimated, {
      toValue: 1,
    }).start();
  }
  onImageLoad = () => {
    Animated.timing(this.imageAnimated, {
      toValue: 1,
    }).start();
  }
  // ...
}
这些函数将通过 Animated.Image 组件的 onLoad prop调用。
// ProgressiveImage.js
// ...
class ProgressiveImage extends React.Component {
  // ...
  render() {
    const {
      thumbnailSource,
      source,
      style,
      ...props
    } = this.props;
    return (
      <View style={styles.container}>
        <Animated.Image
          {...props}
          source={thumbnailSource}
          style={[style, { opacity: this.thumbnailAnimated }]}
          onLoad={this.handleThumbnailLoad}
          blurRadius={1}
        />
        <Animated.Image
          {...props}
          source={source}
          style={[styles.imageOverlay, { opacity: this.imageAnimated }, style]}
          onLoad={this.onImageLoad}
        />
      </View>
    );
  }
}
export default ProgressiveImage;
最终的渐进式图像加载的结果。
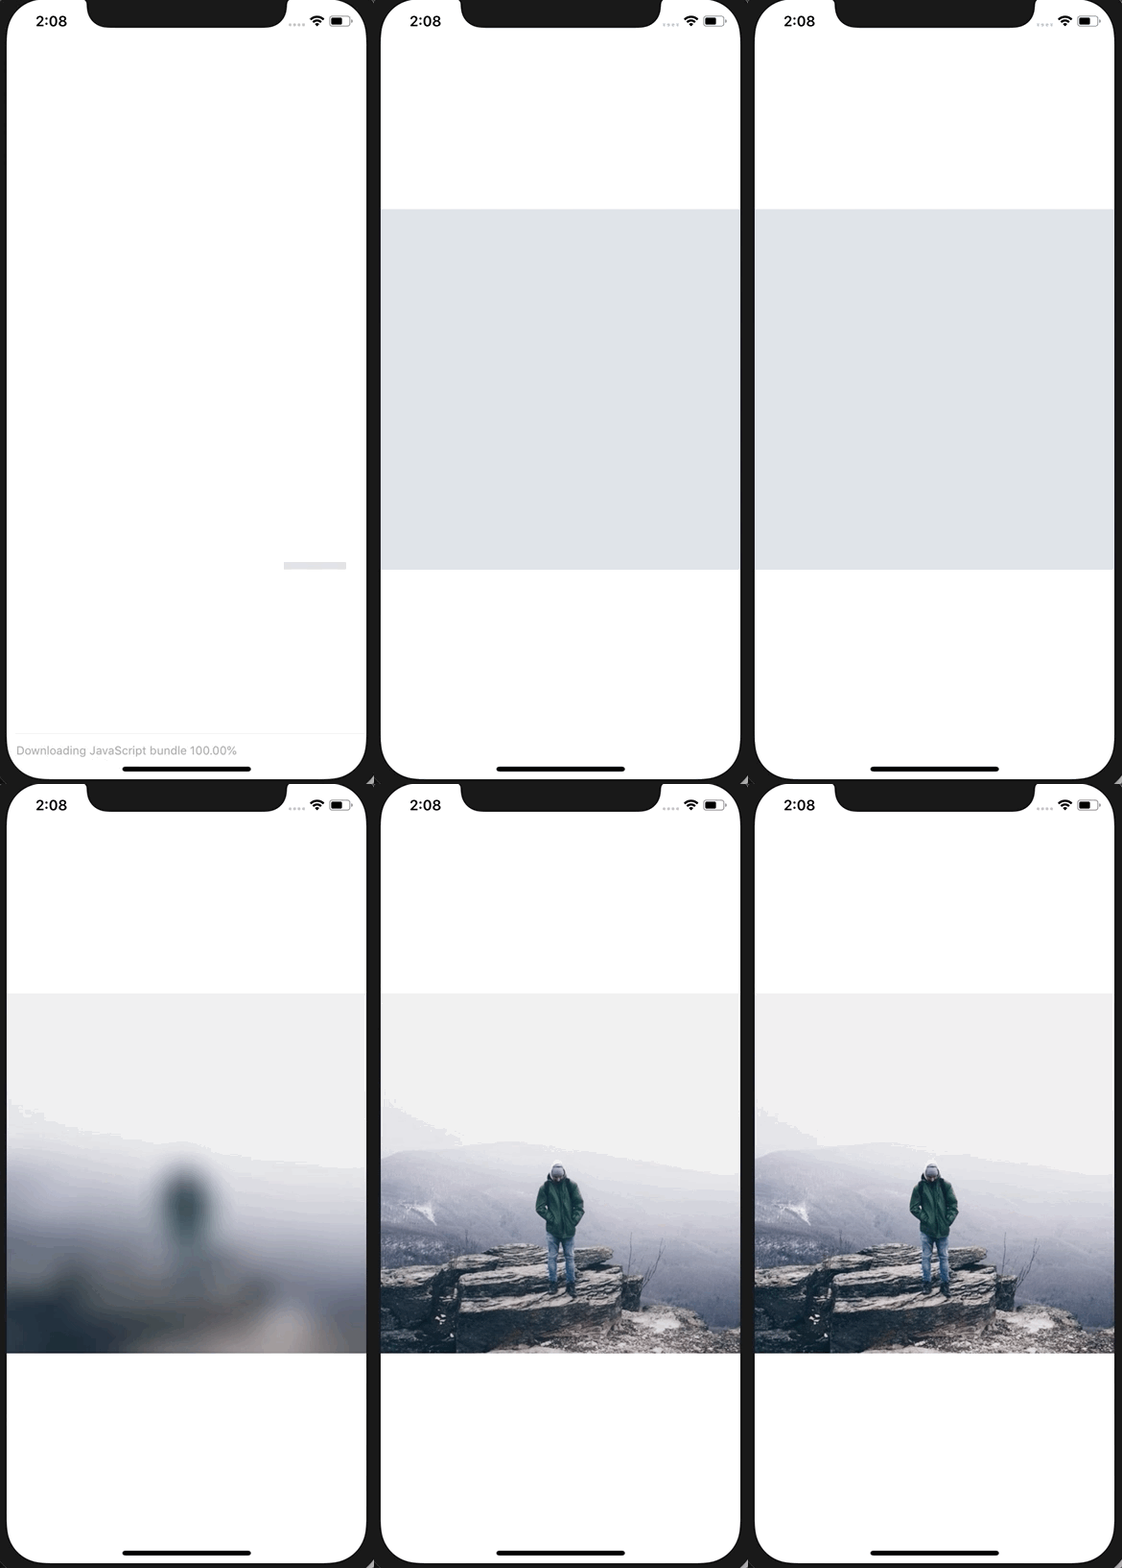
代码可以在 Github 上找到。


 4123
4123


 被折叠的 条评论
为什么被折叠?


