


这段时间,一直在学习些源码,想了解下大佬的思路,看完后,只能说卧槽,还有这种操作。
element-ui一个Vue常用的组件库,包含很多的知识点可以学习,其很多组件只是样式的变化。难度比较大的,轮播算一个。今天就给大家简单实现下它的一系列操作。
首先它分为两个组件,一个是父组件(容器),另一个是子组件(幻灯片),首先容器是固定一个窗口,让对应的幻灯片显示。
我们先来写好它的模版。
父组件
<div class="n-slide">
    <div class="n-slide-container" :style="{height: height}">
      <slot></slot>
    </div>
</div>
.n-slide-container {
    position: relative;
    overflow: hidden;
  }
子组件
<template>
  <div v-show="ready" :class="['n-slide-item',{animating}]" :style="translateStyle">
    <slot></slot>
  </div>
</template>
.n-slide-item {
    position: absolute;
    top: 0;
    left: 0;
    width: 100%;
    height: 100%;
    overflow: hidden;
    z-index: 0;

    &.animating {
      transition: transform 0.4s ease-in-out;
    }
  }
容器样式参数,只接受一个高度,宽度是自适应的。
这是文档上记录的可传递的参数。
下面我们按照,这些传递的参数简单实现下它的功能。
<script>
  export default {
    name: 'Slide',
    props: {
      loop: {
        type: Boolean,
        default: true
      },
      autoplay: {
        type: Boolean,
        default: true
      },
      height: String,
      interval: {
        type: Number,
        default: 3000
      },
      initialIndex: {
        type: Number,
        default: 0
      }
    },
  }
暂时,我们就只需要这些。实现一下自动滚动的功能。
首先我们需要加载幻灯片,看看有多少个:
父组件
data() {
  return {
    items: [],
    }
},
methods: {
  upDataItems() {
        this.items = this.$children.filter(child => child.$options.name === 'NSlideItem')
    }
 }
子组件
created() {
      this.$parent && this.$parent.upDataItems()
 }
这里加载幻灯片是通过,子组件的created函数调用父组件的upDataItems函数实现的。
这里如果不懂的同学,可以好好了解下Vue的生命周期,当父组件和子组件在一起时,生命周期是怎样的运作过程。就不详细阐述了。
加载完后,我们需要让轮播滚动起来。
父组件
mounted() {
        // 为了确保幻灯片加载完
    this.upDataItems()
    // $nextTick是把执行逻辑放入Vue的异步队列中,等Vue的事件初始化完成后才会执行,为了正确的给activeIndex赋值,否则初始化轮播为最后一张
    this.$nextTick(() => {
        if (this.initialIndex < this.items.length && this.initialIndex >= 0) {
          this.activeIndex = this.initialIndex;
        }
        // 打开定时器
        this.startTimer();
      });
    },
data: {
  items: [],
  timer: null,
  initIndex: 0, // 初始的index
  activeIndex: -1 // 滚动的index
},
methods: {
    startTimer() {
        this.timer = setInterval(this.playSlides, this.interval)
    },
    playSlides() {
        const items = this.items
        // 轮播滚动到最后一个就循环
        if (items.length && this.activeIndex < items.length - 1) {
          this.activeIndex++
        } else if (this.loop) {
          this.activeIndex = 0
        }
    },
},
这样在一加载完组件后,activeIndex开始递增,到了最后一个就重复,下面需要一个监听器,监听activeIndex的变化,然后去执行页面视图的变化。
watch: {
    autoplay(val) {
        if (val) {
          this.startTimer()
        }
    },
    activeIndex(activeIndex, oldIndex) {
    // 重新更新幻灯片的位置(主要函数)
     this.resetPositionItems(activeIndex, oldIndex)
    }
 },
 methods: {
     resetPositionItems(activeIndex, oldIndex) {
        this.items.forEach((item, index) => {
          item.initTranslate(index, activeIndex, oldIndex)
       })
    },
 }
子组件
name: 'NSlideItem',
data() {
  return {
    translate: 0,
    ready: false,
    animating: false
  }
},
methods: {
// 处理循环轮播
  processIndex(index, activeIndex, length) {
    // 如果是最后一张都第一张
    if (activeIndex === 0 && index === length - 1) {
      return -1;
      // 如果是第一张到对后一张
    } else if (activeIndex === length - 1 && index === 0) {
      return length;
    } else if (index < activeIndex - 1 && activeIndex - index >= length / 2) {
      return length + 1;
    } else if (index > activeIndex + 1 && index - activeIndex >= length / 2) {
      return -2;
    }
    return index;
  },
  initTranslate(index, activeIndex, oldIndex) {
        const length = this.$parent.items.length;

        if (index !== activeIndex && length > 2 && this.$parent.loop) {
          index = this.processIndex(index, activeIndex, length);
        }
        this.animating = activeIndex === index
        this.translate = this.calcTranslate(index, activeIndex)
        // 组件初始化完
        this.ready = true
      },
  // 计算位移的距离,重点就是这个函数
  calcTranslate(index, activeIndex) {
    // 获取父组件的宽度
    const distance = this.$parent.$el.offsetWidth
    // 可以仔细思考下这个计算
    return distance * (index - activeIndex)
      }
   }
},
computed: {
  translateStyle() {
  // this.translate变化时,返回对应的style
    return {
      transform: `translateX(${this.translate}px)`
    }
  }
},
created() {
  this.$parent && this.$parent.upDataItems()
}
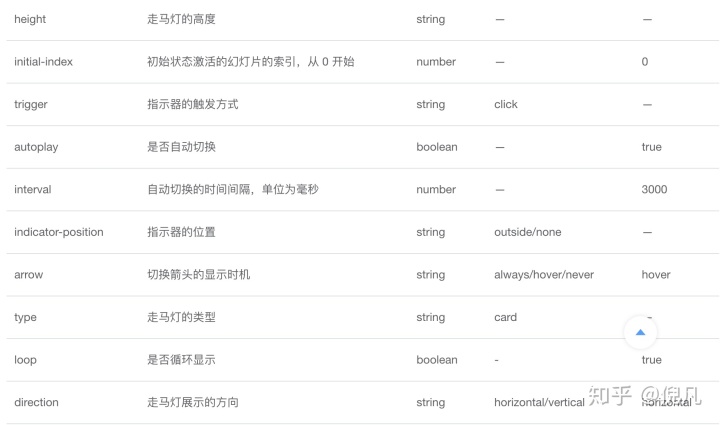
这样轮播就实现了。测试一下
<template>
  <div style="width: 500px">
    <n-slide height="400px">
      <n-slide-item v-for="(item,index) of ['red','grey','black','orange']">
        <div class="item" :style="{height: '100%',background: item,color: '#ffffff',fontSize: '30px'}">
          {{index+1}}
        </div>
      </n-slide-item>
    </n-slide>
  </div>
</template>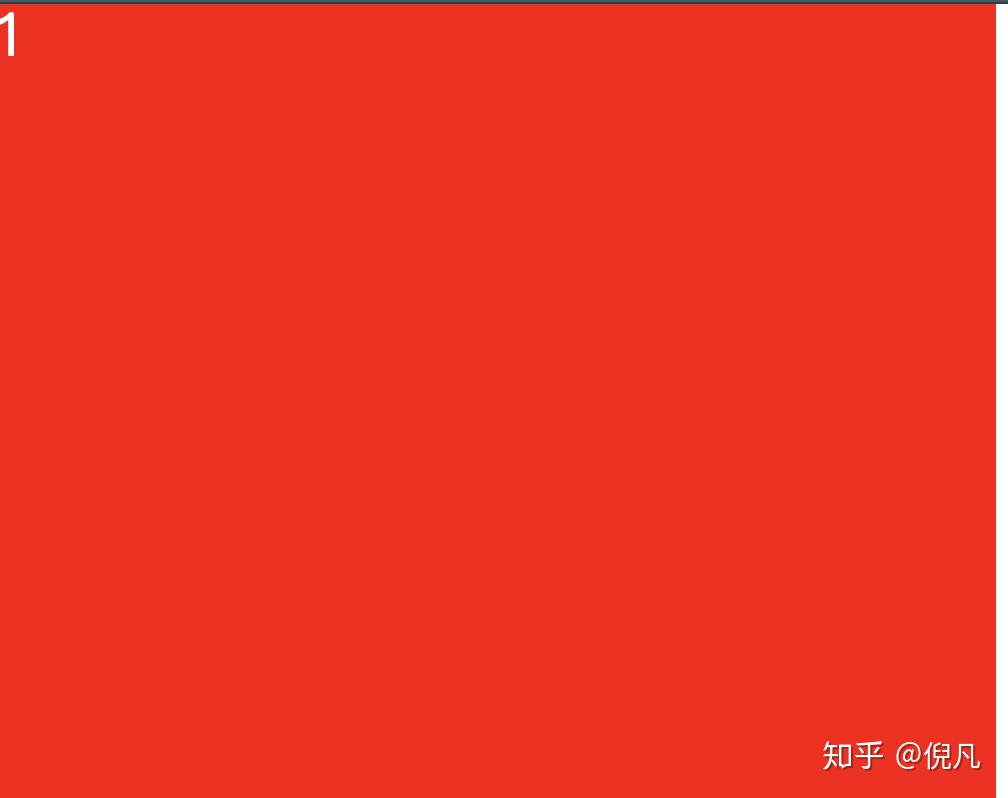


 1917
1917


 被折叠的 条评论
为什么被折叠?
被折叠的 条评论
为什么被折叠?
 到【灌水乐园】发言


