


写在前面:
首先感谢 Ray-Ray的博客
原文地址 http://www.cnblogs.com/rayray/p/3157601.html
学习过程中从中收获良多,感谢!
1、arduino连接蓝牙模块
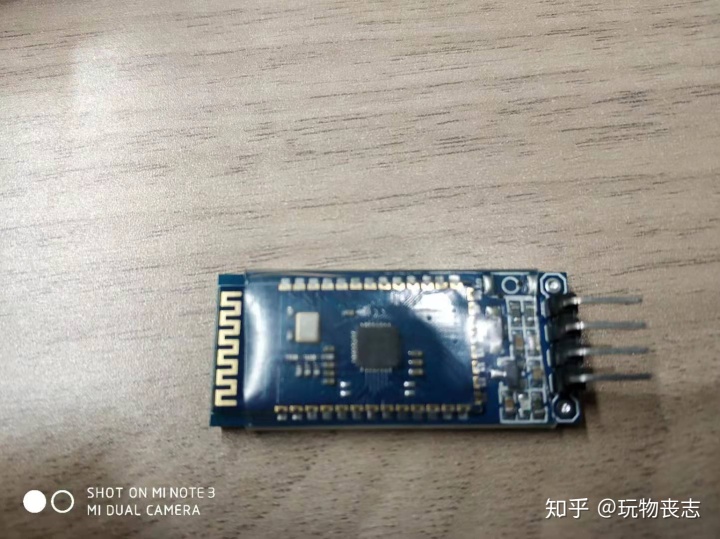
蓝牙模块我们使用HC-06从模块,这个一般的开发套件都会配,或者直接网上买,也就十几块钱。
就是下面这个东西:
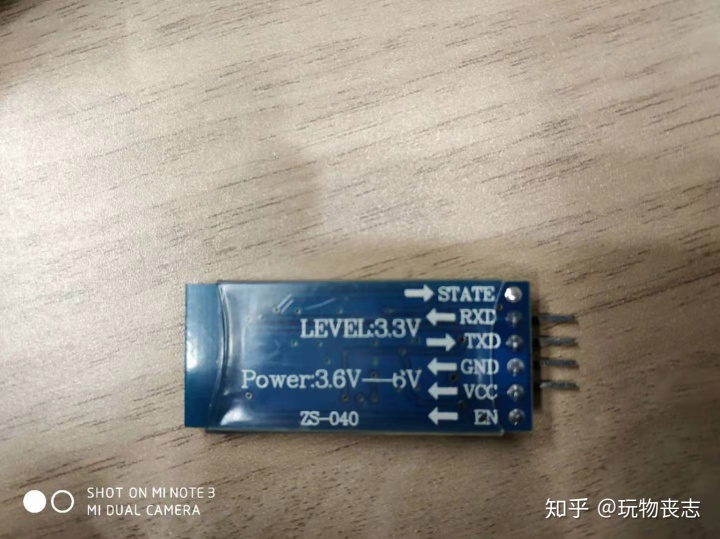
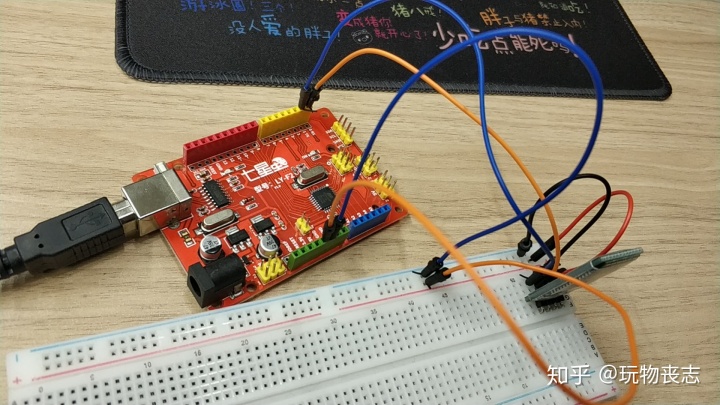
连接方法如下:
VCC:接arduino的5V。
GND:接arduino的GND。
TXD:接arduino的RX。
RXD:接arduino的TX。
2、手机下载蓝牙串口app。
首先推荐的是,arduino专用的蓝牙管理软件Amarino。
但是由于某种原因Amarino在我的小米手机上不起作用。
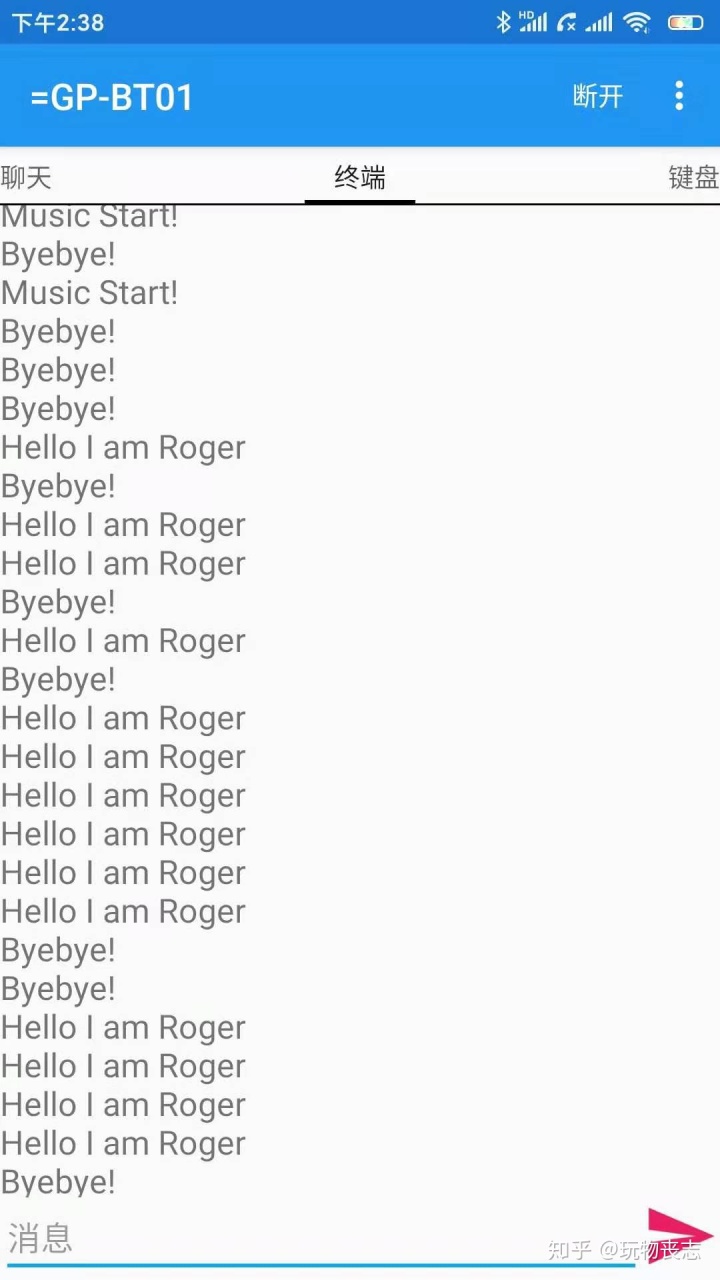
所以我在小米的应用商店里下载了一个叫“蓝牙串口”的app,也能正常使用,界面如下:

3、arduino代码如下所示:(相当于串口)
void setup() {
// 设置串口
Serial.begin(9600);
}
void loop() {
//
while(Serial.available())
{
char c=Serial.read();
if(c=='A')
{
Serial.println("Hello I am Roger");
}
if(c=='B')
{
Serial.println("Byebye!");
}
}
}
效果如下:


 2万+
2万+


 被折叠的 条评论
为什么被折叠?
被折叠的 条评论
为什么被折叠?
 到【灌水乐园】发言


