


掐指一算,决定今天写点干货吧。这边文章主要介绍如何用web.py加docker来部署一个简单的keras模型。
今天主要讲第一部分,web.py来deploy keras model。
##一、web.py 的简单介绍
web.py是纯python的一个简单的web framework,可将前端的html,css和javascript与后端的python程序连接起来。主要优点是体量轻,简单易学。缺点是对python的支持不完善,缺少中间件,对复杂的网络服务支持能力差。
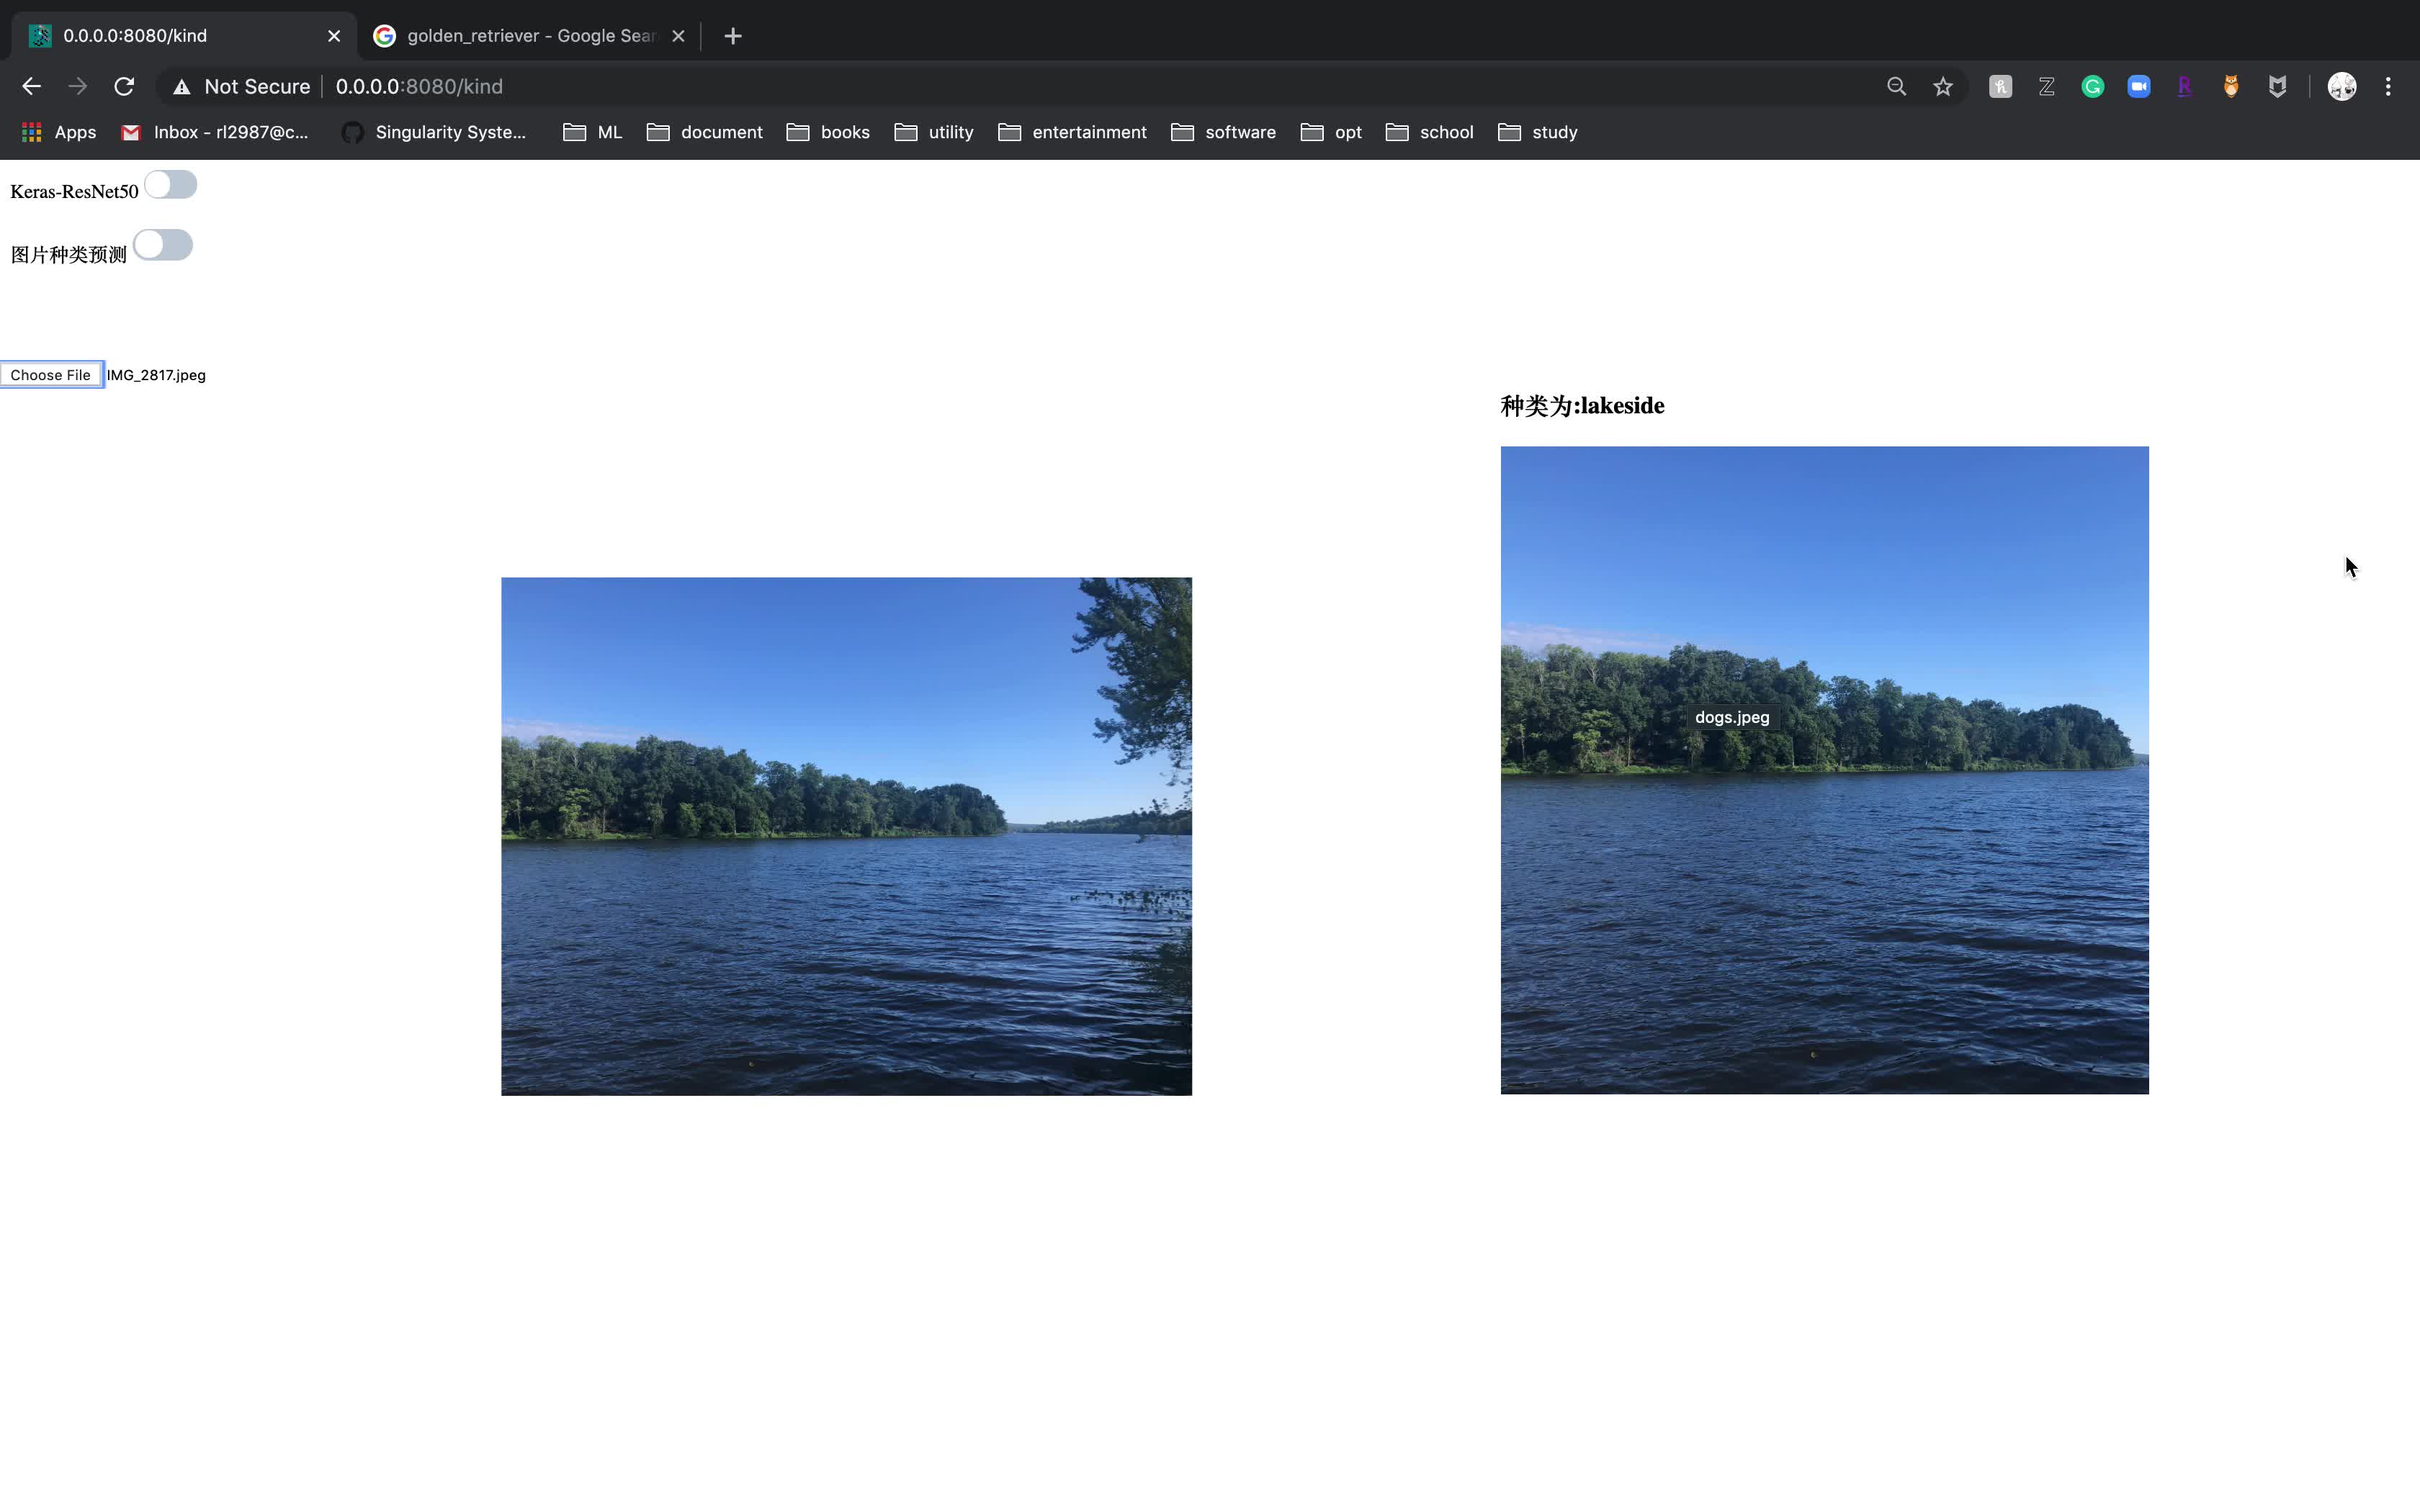
##二、最后成品演示
##三、 实现步骤
###1、keras模型
为了简单方便易学,我们直接用keras里自带的resnet50的模型
简单例子:
```
# 引入需要的package
from keras.applications.resnet50 import ResNet50
from keras.preprocessing import image
from keras.applications.resnet50 import preprocess_input,decode_predictions
import numpy as np
# 读入model, 若第一次运行需下载imagenet的weight文件
model = ResNet50(weights='imagenet')
# 读入图片
img_path = "test/dogs.jpeg"
img = image.load_img(img_path, target_size=(224,224))
x = image.img_to_array(img)
x = np.expand_dims(x, axis=0)
x = preprocess_input(x)
# 预测
preds = model.predict(x)
predictions = decode_predictions(preds, top=1)[0] #选出最高概率的预测
print('Predicted:', predictions)
```
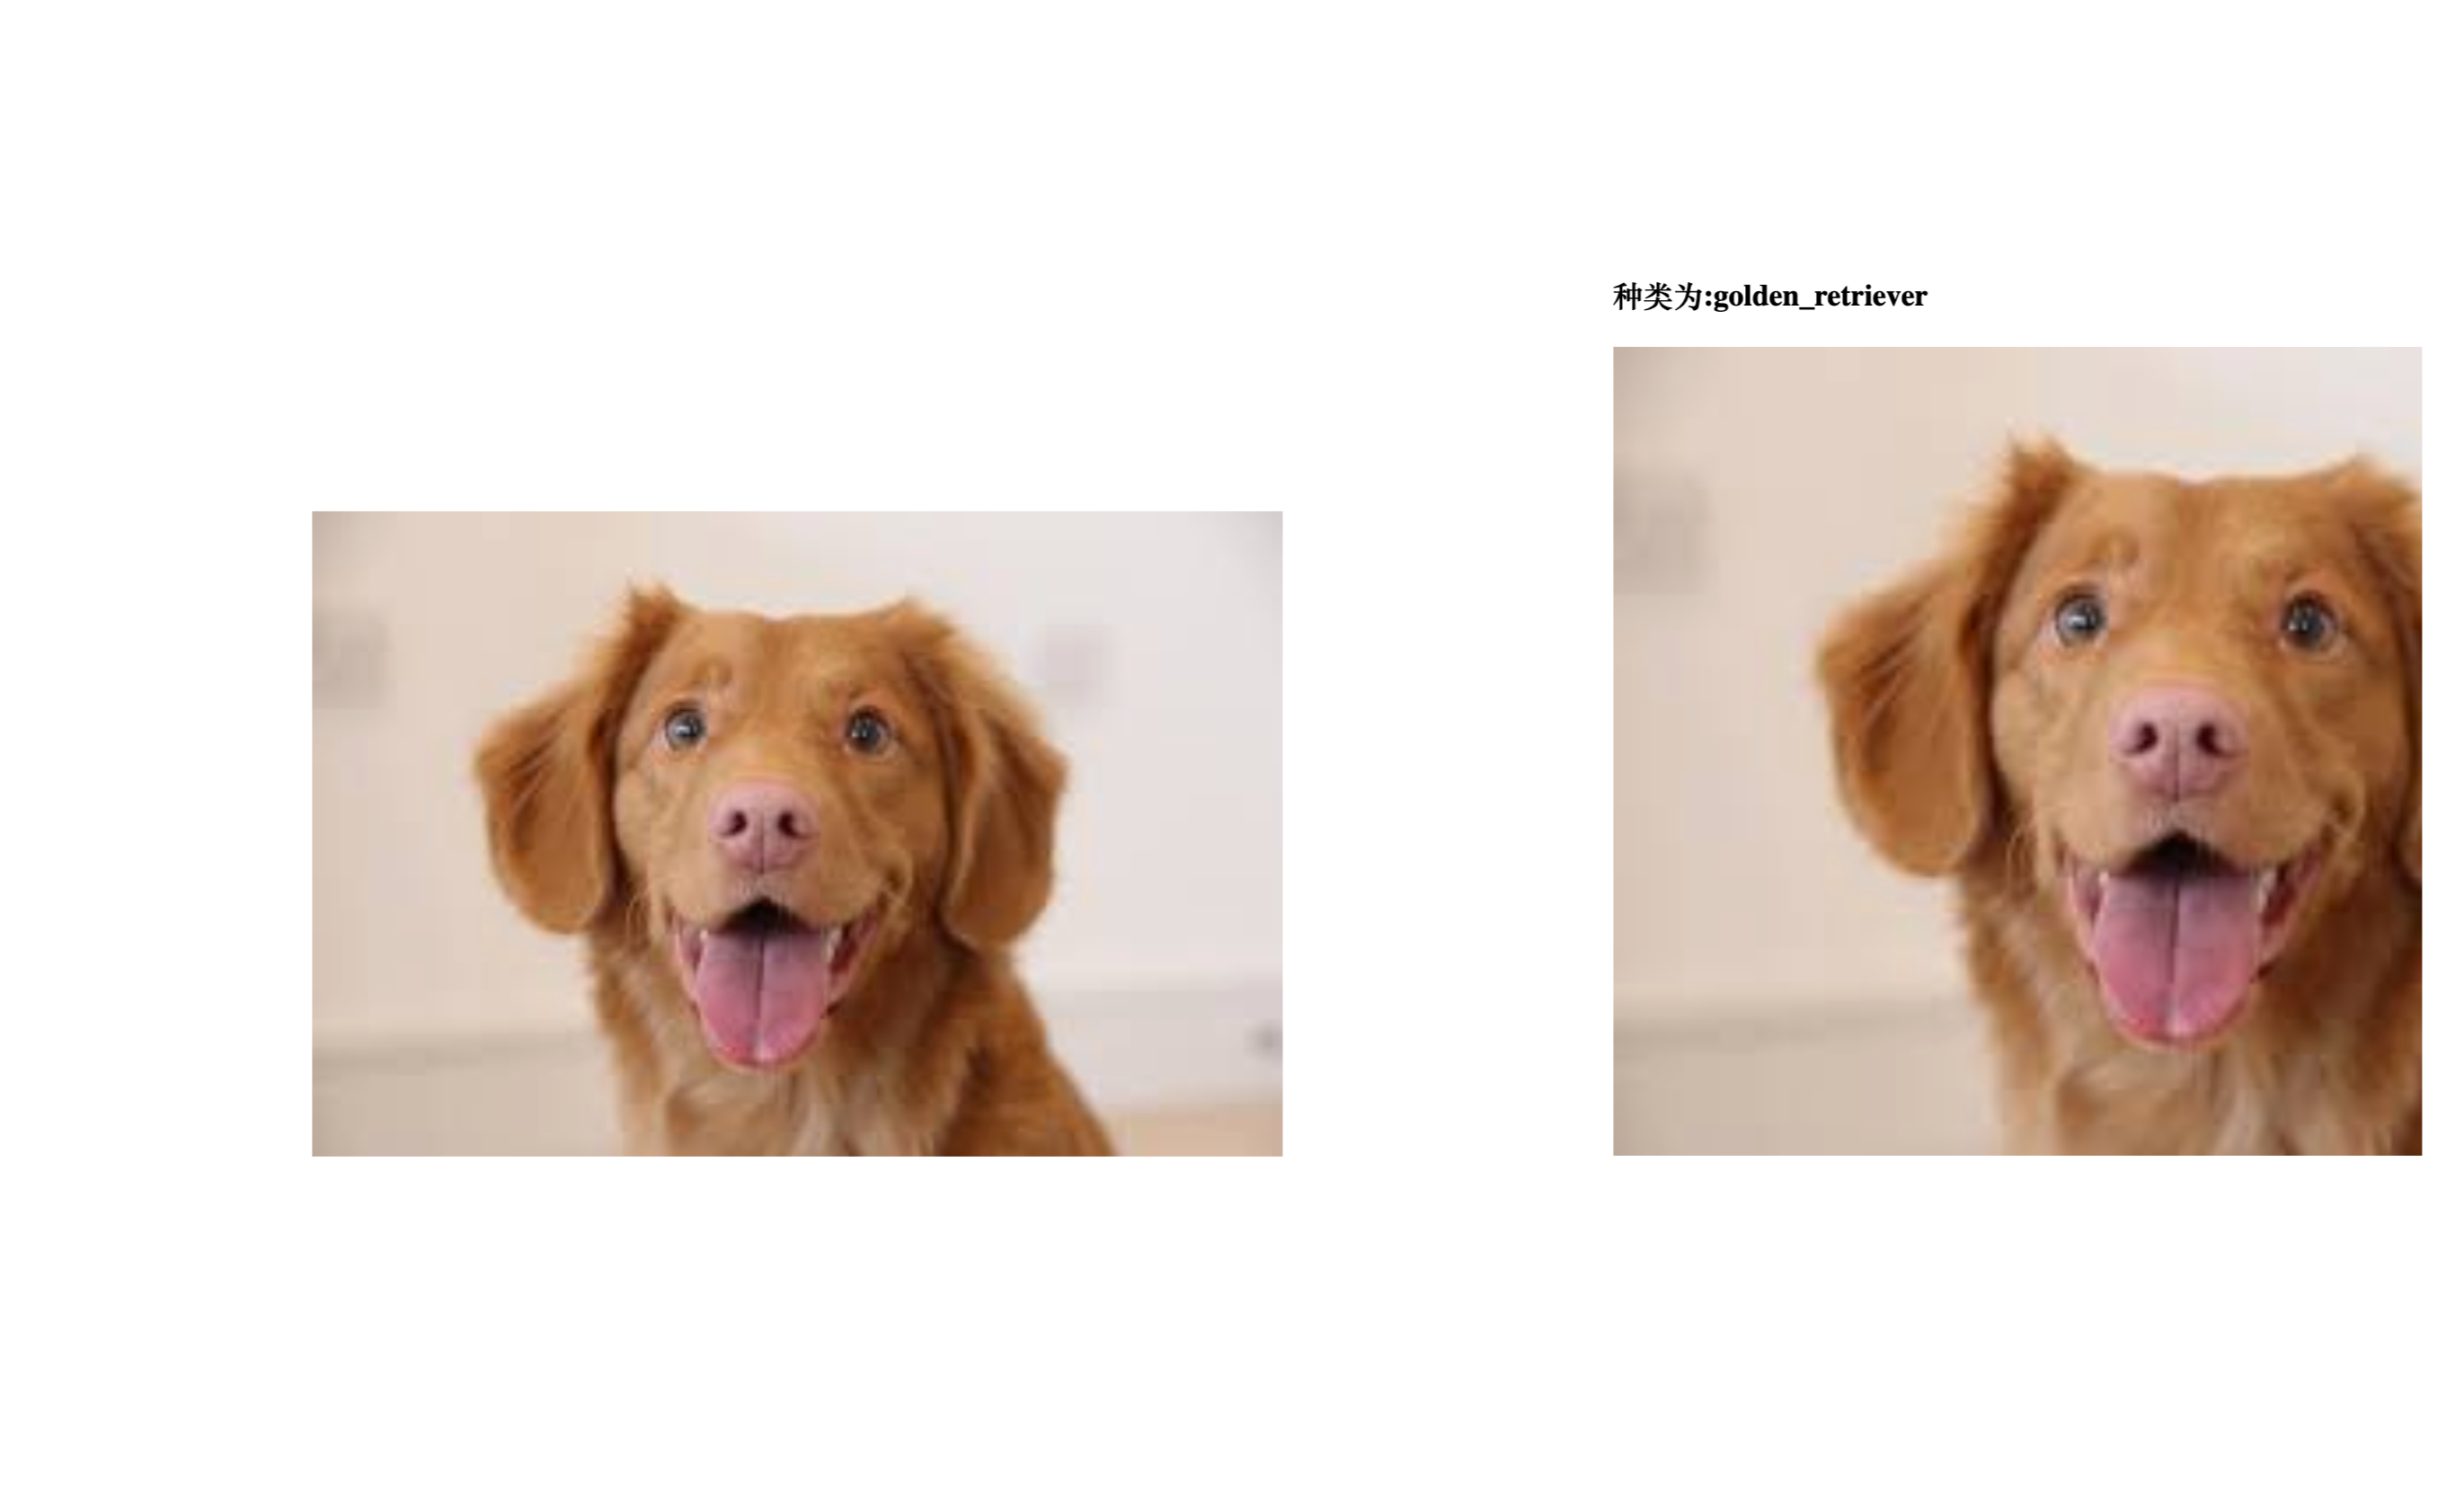
输入一张金毛狗的照片,输出分类为金毛狗狗,模型预测的概率为0.499
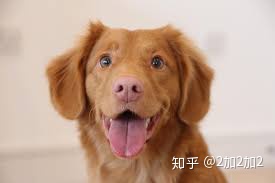
```
[('n02099601', 'golden_retriever', 0.49900812)]
```
###2、将模型嵌入web.py的framework
前端的html, css和javascript的模版到处都可以下载,这里就不详细讲解了
主要提示一点,web.py对python3的支持不太全,目前用下来比较稳定的一个版本是 web.py==0.40.dev1
将之前的模型预测过程写成function
```
from keras.applications.resnet50 import ResNet50
from keras.preprocessing import image
from keras.applications.resnet50 import preprocess_input,decode_predictions
import numpy as np
import tensorflow as tf
g1 = tf.Graph()
sess1 = tf.Session(graph=g1)
with sess1.as_default():
with g1.as_default():
tf.global_variables_initializer().run()
model = ResNet50(weights='imagenet')
def predict(img_path):
img = image.load_img(img_path, target_size=(224,224))
x = image.img_to_array(img)
x = np.expand_dims(x, axis=0)
x = preprocess_input(x)
with sess1.as_default():
with sess1.graph.as_default():
preds = model.predict(x)
predictions = decode_predictions(preds, top=1)[0]
return(predictions)
```
这里需要提前给我们的model定好session和graph,一是为了模型运行速度更快,二是为了web.py更稳定不报错
新建一个新的script,将function嵌入
```
import os
import cv2
import json
import time
import uuid
import base64
import web
from PIL import Image
web.config.debug = True
render = web.template.render('templates', base='base')
from model import *
billList = ['图片种类预测']
class KIND:
def GET(self):
post = {}
post['postName'] = 'kind' ##请求地址
post['height'] = 1000
post['H'] = 1000
post['width'] = 600
post['W'] = 600
post['uuid'] = uuid.uuid1().__str__()
post['billList'] = billList
return render.kind(post)
def POST(self):
data = web.data()
data = json.loads(data.decode('utf-8'))
imgString = data['imgString'].encode().split(b';base64,')[-1]
imgString = base64.b64decode(imgString)
jobid = uuid.uuid1().__str__()
path = 'output/{}.jpg'.format(jobid)
with open(path, 'wb') as f:
f.write(imgString)
# 签名个数
result = predict(path)
result = str(result[0][1])
with open(path, "rb") as imageFile:
image_read = imageFile.read()
imgString = base64.b64encode(image_read)
imageFile.close()
os.remove(path)
print("[INFO] Successfully deleted", path)
return json.dumps({'imgString': imgString.decode('ascii'),
'kind': result})
urls = ('/kind', 'KIND')
if __name__ == "__main__":
app = web.application(urls, globals())
app.run - 这个网站可出售。 - 最佳的app 来源和相关信息。()
```
注意这里render的网址和class有关,里面post和get的内容和你前端的html,js等有关
到这里我们看一下运行的情况吧
##3. Dockerize Application
……未完待续
关注我的微信公众号 2加2加2,里面有更多精彩内容, 谢谢!


 137
137


 被折叠的 条评论
为什么被折叠?
被折叠的 条评论
为什么被折叠?
 到【灌水乐园】发言


