


一、Centos8新版简介
Redhat公司在2019年5月推出了rhel8,年底推出了centos8,紧接着也会把相关的技术认证完全转换为新平台。
阿里云、华为云目前也已推出centos8的公共镜像,所以有必要熟悉一下新平台的特性也使用。
二、redhat新版系统特性
- 更新了内核版本,7版为3.10,而8版为4.18
- 软件安装和管理工具默认采用dnf而不是yum
- 系统安装的默认组件包含gui,而不是最小化
- 包含多个版本的数据库、编译器,如httpd,nginx,mysql,redis,python等,系统镜像也达到了7G
- 支持更新的虚拟化技术和容器技术
三、centos8系统安装
1、从阿里云下载到centos8系统镜像
http://mirrors.aliyun.com/centos/8.1.1911/isos/x86_64/CentOS-8.1.1911-x86_64-dvd1.iso
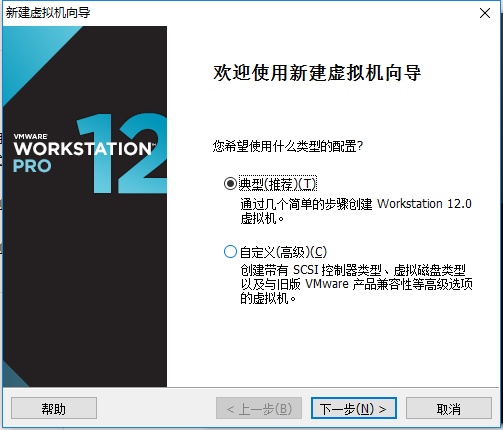
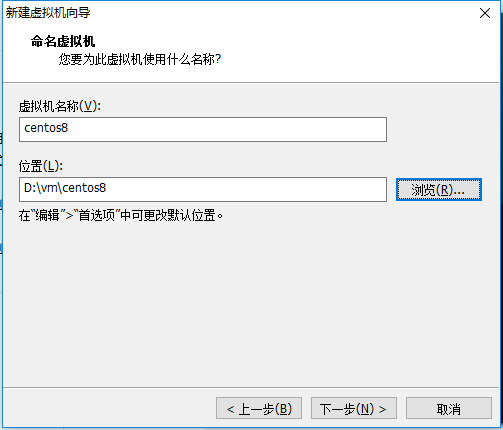
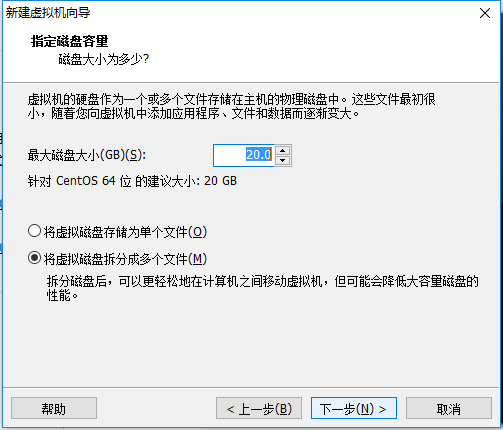
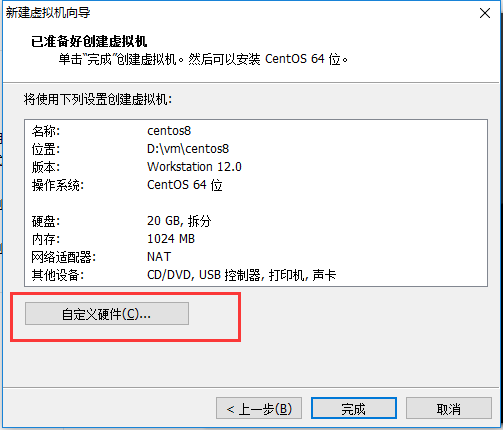
2、这里使用vmware 12来创建虚拟机
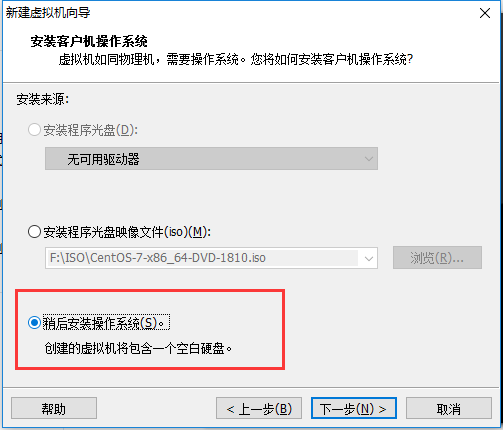
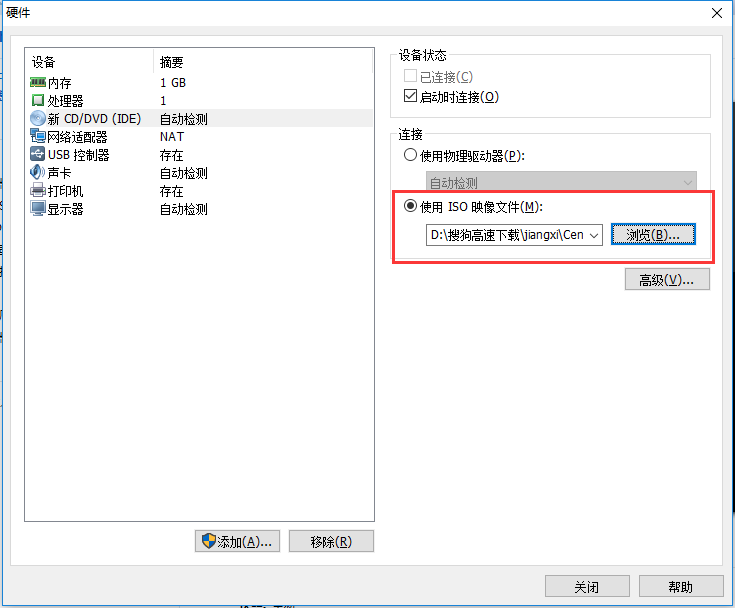
这里选择刚才下载的centos8镜像文件
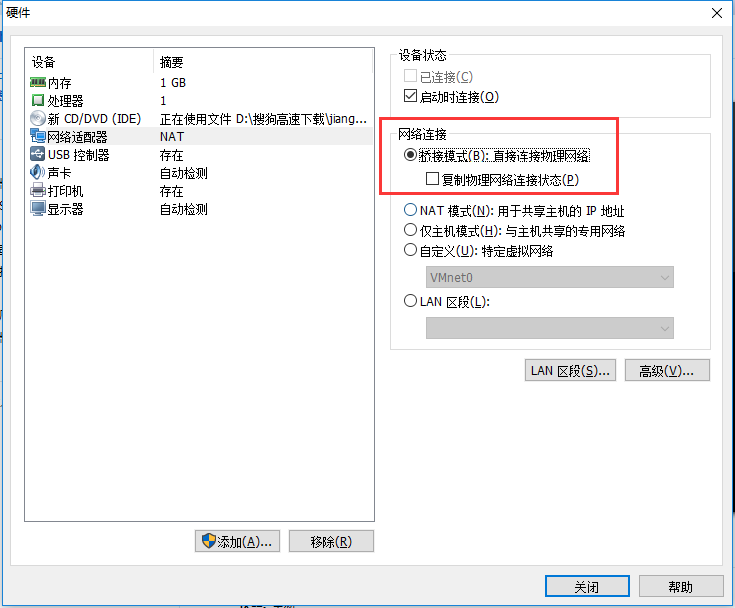
网络改成桥接,可以和物理机在相同网络,创建完成后开启虚拟机
3、系统安装
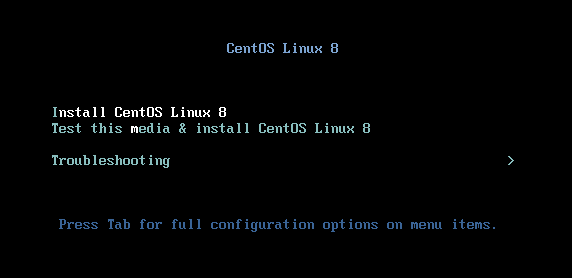
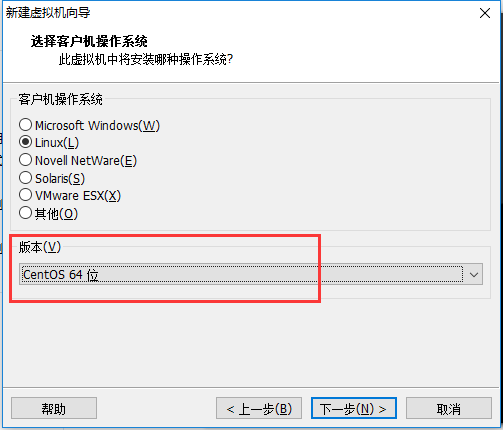
这里和7版系统类似,选择安装CentOS Linux8
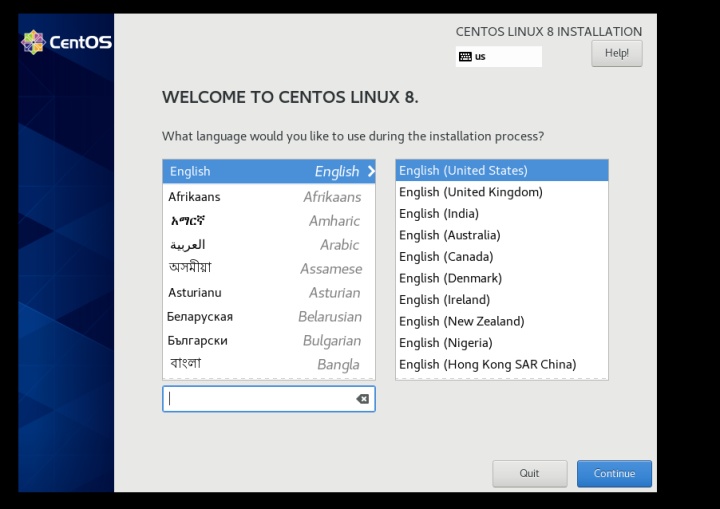
选择语言,我这里选择默认的英文
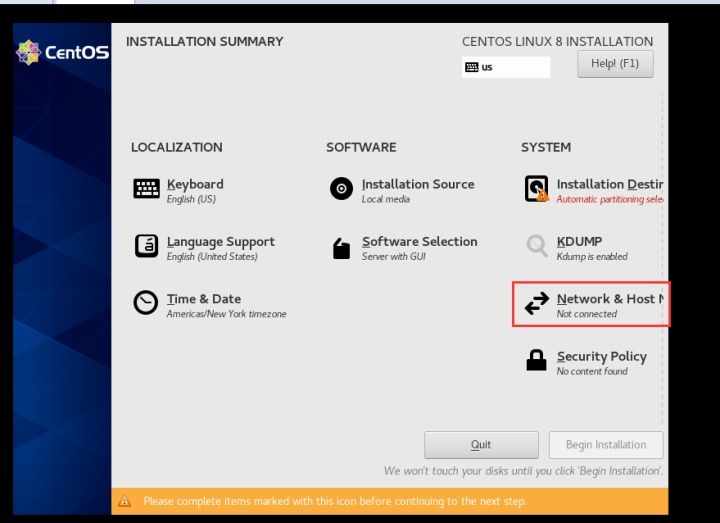
配置网络
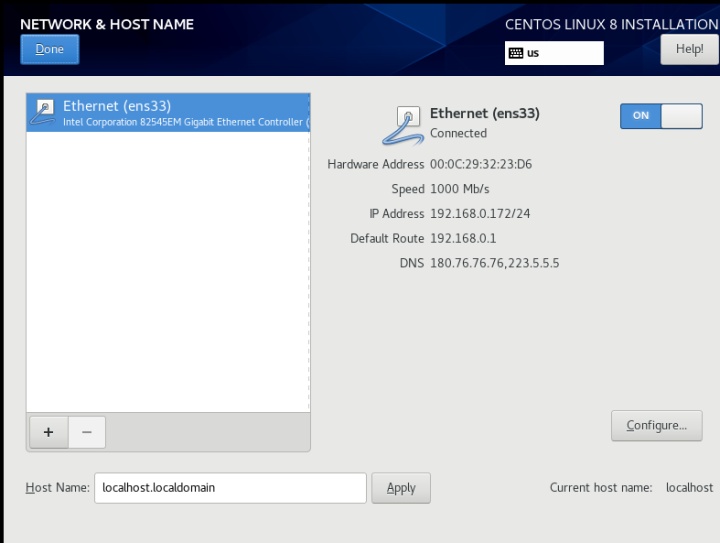
网卡的默认名称和7版一样,还是ens33,这里配置也和7一样,打开即可,或者也可以点configure手动配置ip地址
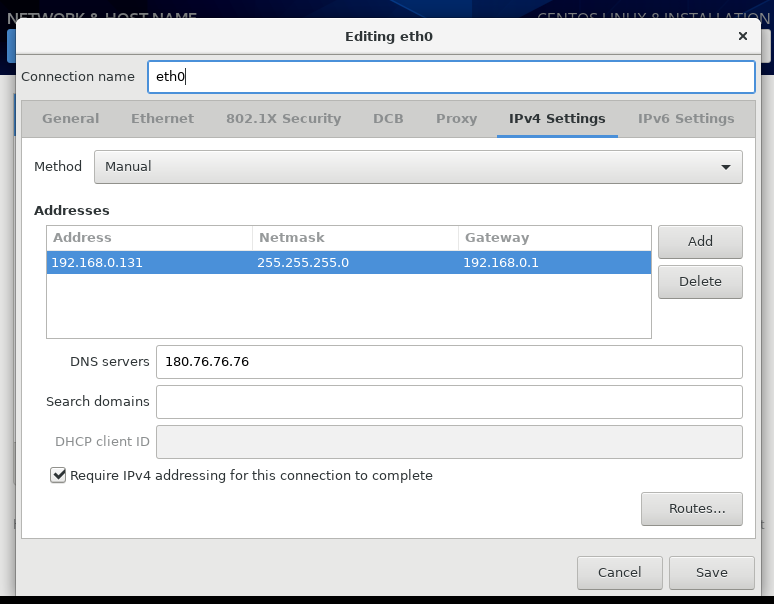
手动配置ip
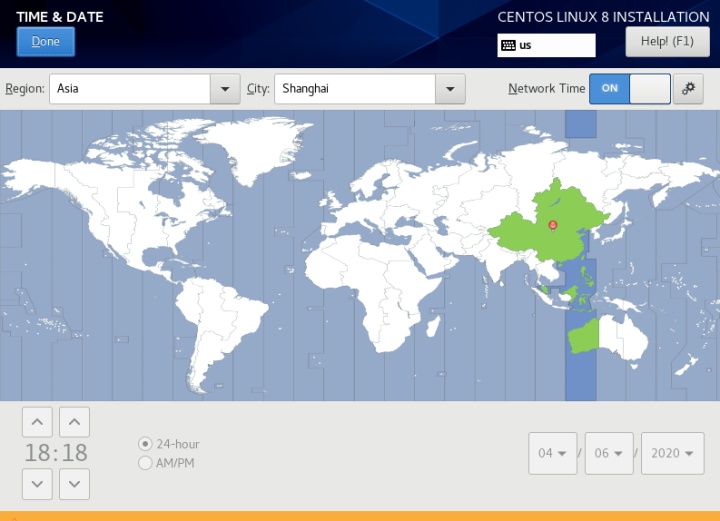
选择时区为中国
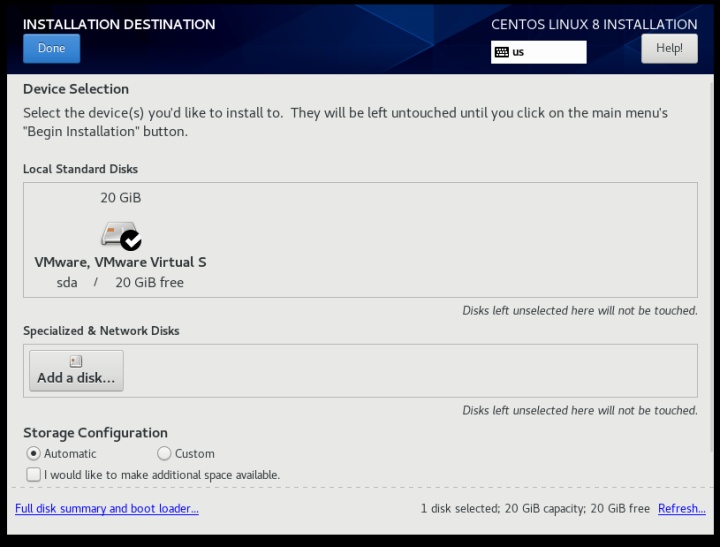
硬盘分区,现在使用自动分区
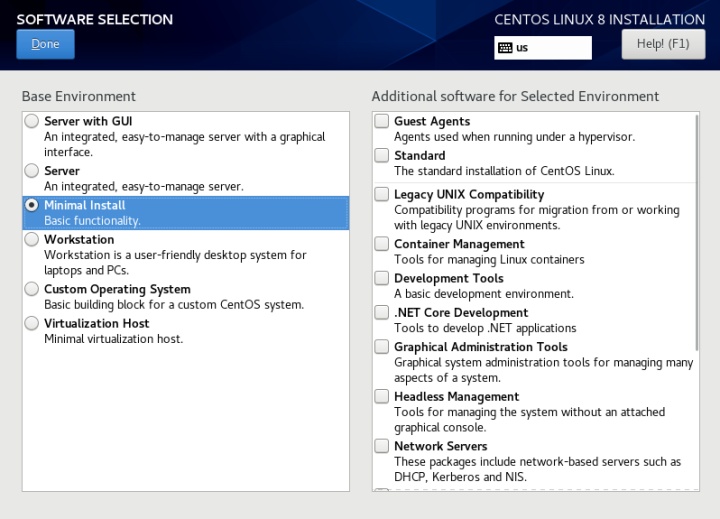
软件选择,默认是带图形界面的,这里修改成最小化。当然也可以保持默认,根据自己的需要,这里是希望最精简。

开始安装
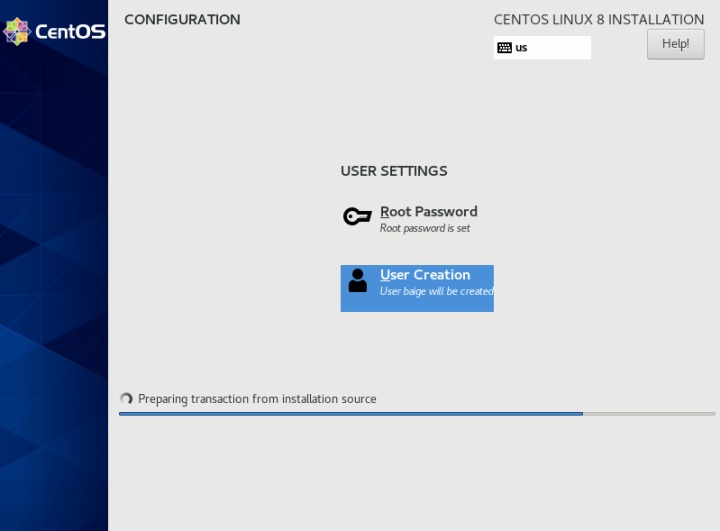
设置root用户密码和普通用户密码,等待片刻即可
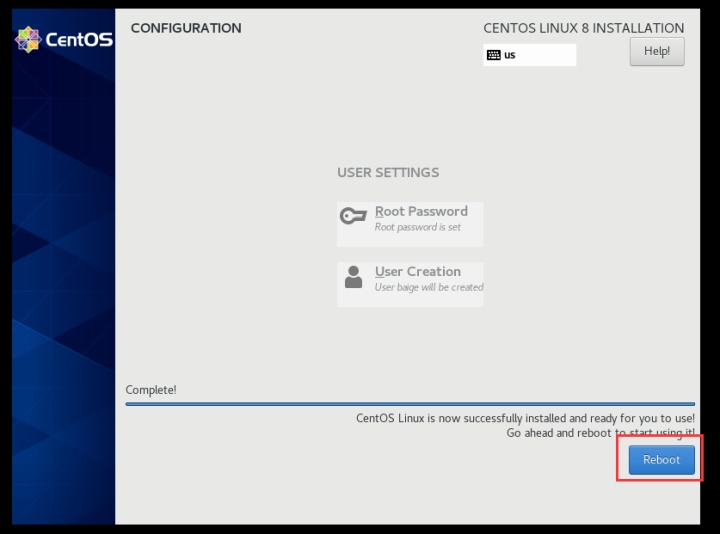
重启
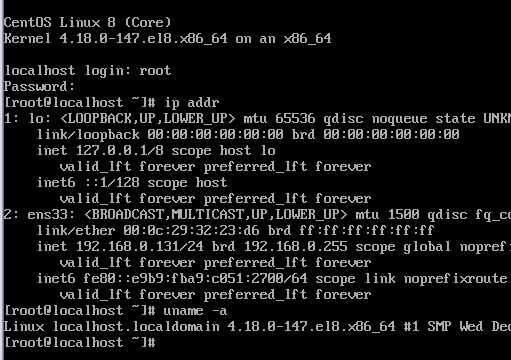
启动成功
四、必要的配置
1、使用dnf安装常用软件
[root@localhost ~]# dnf install vim net-tools wget –y2、修改主机名
root@localhost ~]# echo 'server-centos8' >/etc/hostname
[root@localhost ~]# hostname `cat /etc/hostname`
[root@localhost ~]# bash
[root@server-centos8 ~]#
和之前的版本操作一样
五、centos8修改dnf源
默认的dnf源一般不需要更改,但是如果默认源比较慢,也可以手动修改成其他源,yum配置文件的位置和7版相同,都在/etc/yum.repos.d。修改步骤如下
1、将dnf源里的centos地址换成阿里云
sed -i 's/http://mirror.centos.org/https://mirrors.aliyun.com/g' *2、修改配置文件,不使用镜像列表,而是固定使用阿里云
sed -i 's/mirrorlist=/#mirrorlist=/g' *
sed -i 's/#baseurl=/baseurl=/g' *
3、查看结果(省略部分)
[root@server-centos8 ~]# dnf repolist
Last metadata expiration check: 0:00:12 ago on Mon 06 Apr 2020 07:05:18 PM CST.
repo id                                repo name                                          status
AppStream                              CentOS-8 - AppStream                               5,124
AppStream-source                       CentOS-8 - AppStream Sources                       1,842
BaseOS                                 CentOS-8 - Base                                    2,126
点击了解更多技术资料和免费学习视频请加入讨论群:662736393
欢迎关注百哥IT技术专栏,联系QQ:3473067134
针对本技术点问题,欢迎加Q一起讨论学习


 130
130


 被折叠的 条评论
为什么被折叠?
被折叠的 条评论
为什么被折叠?
 到【灌水乐园】发言


