


1/8
以Win10版本为例,右键“此电脑”,点击“属性”

2/8
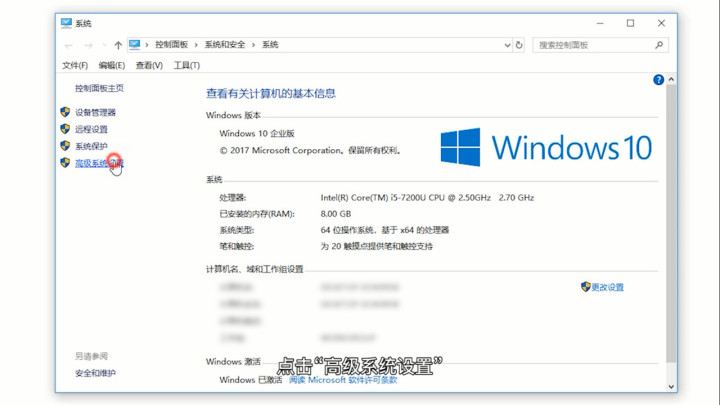
点击“高级系统设置”
3/8
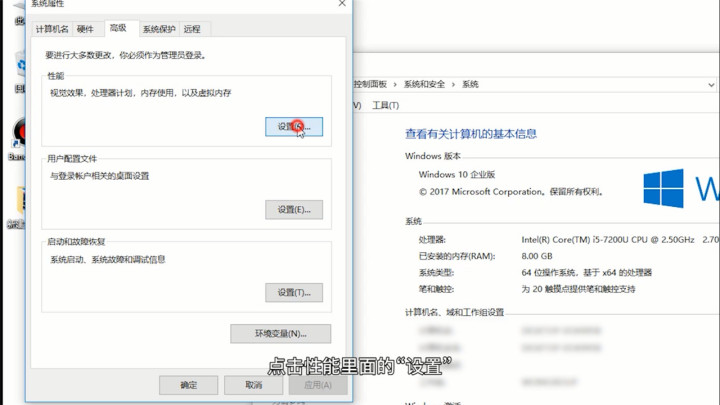
点击性能里面的“设置”
4/8
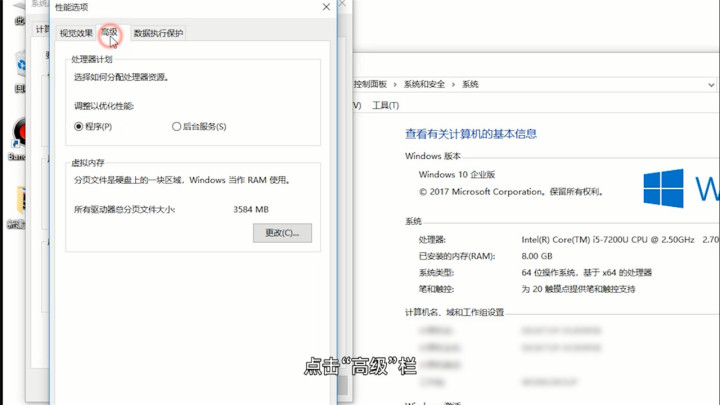
点击“高级”栏
5/8
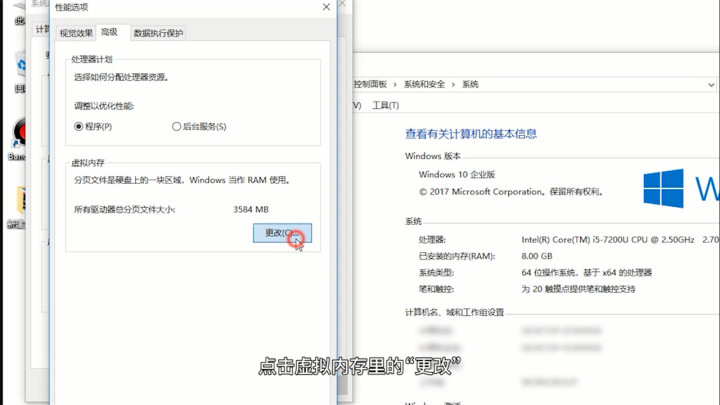
点击虚拟内存里的“更改”
6/8
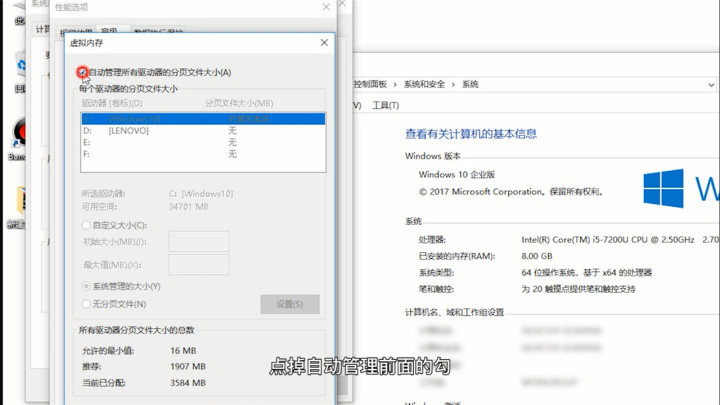
点掉自动管理前面的勾
7/8
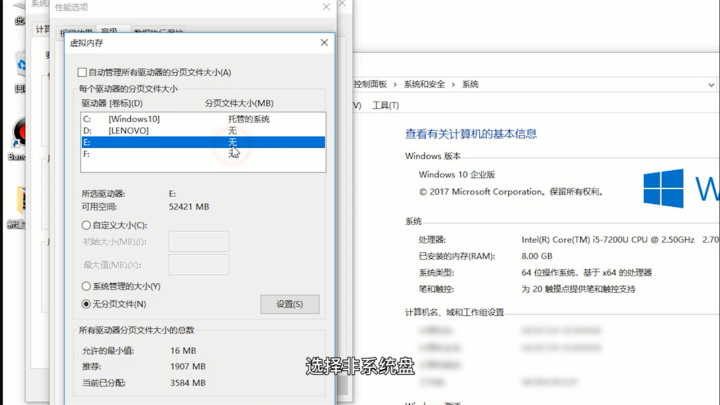
选择非系统盘
8/8
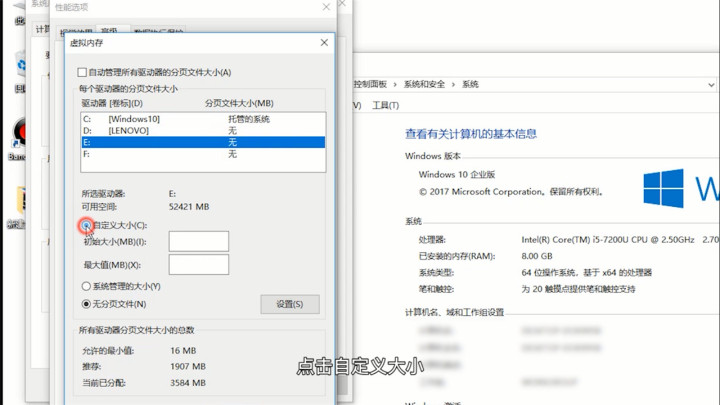
点击自定义大小即可设置虚拟内存的大小
1/8
以Win10版本为例,右键“此电脑”,点击“属性”
2/8
点击“高级系统设置”
3/8
点击性能里面的“设置”
4/8
点击“高级”栏
5/8
点击虚拟内存里的“更改”
6/8
点掉自动管理前面的勾
7/8
选择非系统盘
8/8
点击自定义大小即可设置虚拟内存的大小
 759
2864
759
2864


 被折叠的 条评论
为什么被折叠?
被折叠的 条评论
为什么被折叠?
 到【灌水乐园】发言


