


承接上文Vue实战——vue+router+vuex导航守卫进行身份验证,本文集成axios来获取新闻列表数据。本项目git地址:
https://gitee.com/vuejslearn/news-list.git首先,安装axios
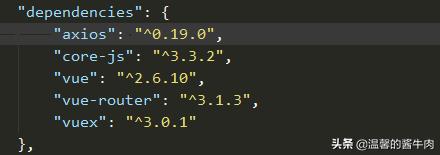
npm install axios --save然后我们在package.json里就会看到了axios的依赖了。
然后在main.js中引入、注入axios:
import axios from 'axios'Vue.prototype.$axios = axios然后我们就可以在全局通过this.$axios来进行http请求了。接下来,在views目录下,新建页面newsList.vue。然后添加created,method:
这是新闻列表页
{{newsArray}}
在getData函数中,添加axios的get请求:
let _this = this this.$axios.get('https://unidemo.dcloud.net.cn/api/news') .then(function (response) { console.log(response.data) _this.newsArray = response.data }) .catch(function (error) { console.log(error) })url使事先准备好的,借用Dcloud给的公共url,来获取新闻列表,并显示到页面上。至于,为什么要在axios外面写上let_this=this呢?那是因为this的作用域问题。如果直接在then方法里写this,是不能代表外层的对象的。
关于axios的一些写法:
上面所用的就是get请求:
// 为给定 ID 的 user 创建请求axios.get('/user?ID=12345') .then(function (response) { console.log(response); }) .catch(function (error) { console.log(error); });// 可选地,上面的请求可以这样做axios.get('/user', { params: { ID: 12345 } }) .then(function (response) { console.log(response); }) .catch(function (error) { console.log(error); });post写法:
axios.post('/user', { firstName: 'Fred', lastName: 'Flintstone' }) .then(function (response) { console.log(response); }) .catch(function (error) { console.log(error); });当然我们还可以用axiosAPI执行请求:
post请求:
// 发送 POST 请求axios({ method: 'post', url: '/user/12345', data: { firstName: 'Fred', lastName: 'Flintstone' }});get请求:
// 发送 GET 请求(默认的方法)axios('/user/12345');当我们的请求发送过去后,如果正常的话在then中我们会接收到服务端返回的信息response。其中包含:
{ // `data` 由服务器提供的响应 data: {}, // `status` 来自服务器响应的 HTTP 状态码 status: 200, // `statusText` 来自服务器响应的 HTTP 状态信息 statusText: 'OK', // `headers` 服务器响应的头 headers: {}, // `config` 是为请求提供的配置信息 config: {}}我们使用response.data获取我们想要的数据。并显示到页面上。
接着,我们优化我们的newsList页面,增加点css样式,让它漂亮点:
template模板:
{{news.title}}
{{news.summary}}
![]()
css:
运行我们的项目:
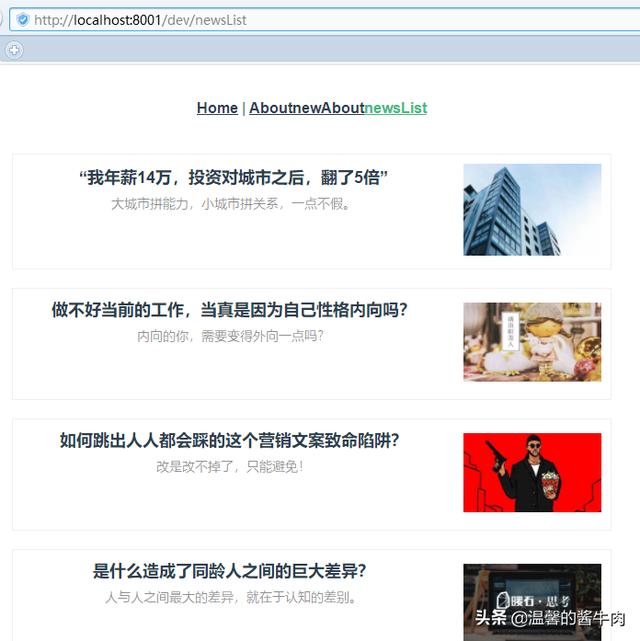
运行结果图
至此,axios就算集成进来了。下篇文章介绍如何抽离axios,以及优化列表页面然他更漂亮一点。
原创不容易,鉴于本人水平有限,文中如有错误之处欢迎大家指正。以后我会持续发布vue实战系列的文章,喜欢的朋友欢迎关注。


 7385
7385


 被折叠的 条评论
为什么被折叠?
被折叠的 条评论
为什么被折叠?
 到【灌水乐园】发言


