


1、如何安装GsonFormat插件
步骤:Setting-->Plugins,如果这里没有,就点击Browse repositories搜索
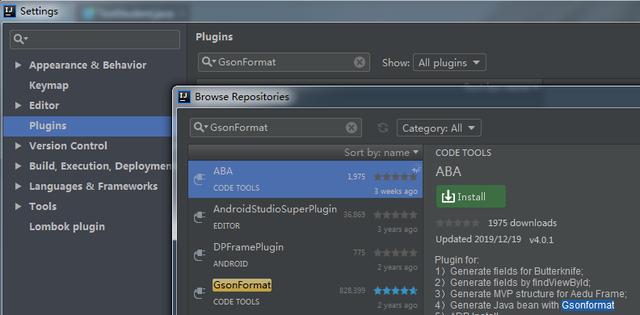
搜索GsonFormat
安装好以后,重启IDEA。
我原来将json转为实体bean,是通过个一个网站(http://www.bejson.com/json2javapojo/new/)。我在《如何封装第三方API(如今日头条)为后期维护和开发带来方便》这篇文章里面提到过,有兴趣的可以看下。我演示个简单的。
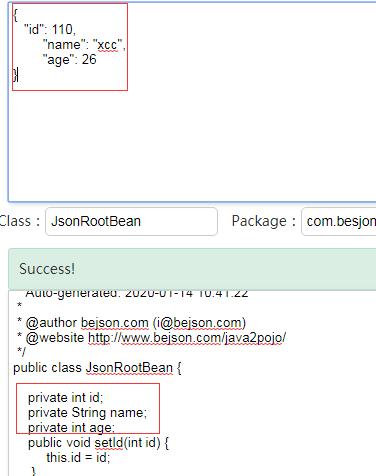
json转为bean
但是这种还是相对于GsonFormat还是有点麻烦,我说下IDEA中如何使用这个插件。创建一个实体,并命名为Student

创建Student实体
快捷键Alt+s,会弹出一个框出来,把json放到这个框里
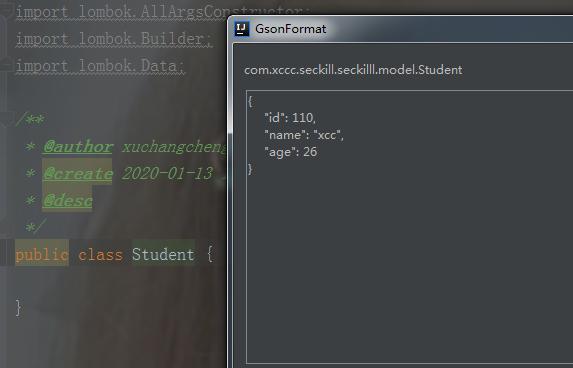
把json放到框里
这里不满意类型的定义,比如id不应该为int类型,而应该是long类型,还可以修改
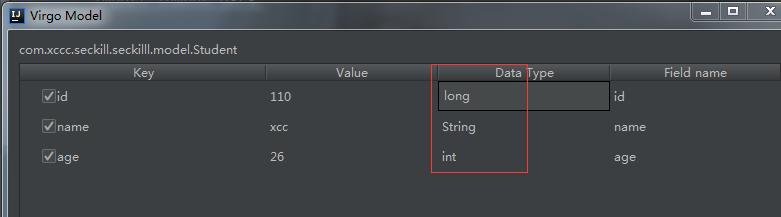
修改类型
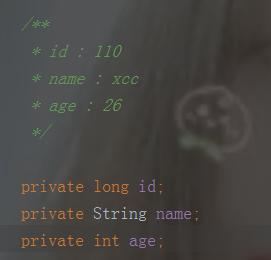
点击OK生成

出现SerializedName
如何将这个东西去掉,弹出框中有Setting,点击Setting,把use serializedNamed的勾去掉。

把use serializedNamed的勾去掉
再次生成就好了。
总结:个人认为这是个很好的插件,用起来很方便。


 4195
4195


 被折叠的 条评论
为什么被折叠?
被折叠的 条评论
为什么被折叠?
 到【灌水乐园】发言


