


西门子触摸屏
VB脚本的使用
触摸屏提供了很多内置功能函数,当这些函数无法满足我们的要求时,就需要自己动手,编写一个符合自己功能要求的函数或者功能。在西门子触摸屏的精智屏,提供脚本功能,精简屏没有。
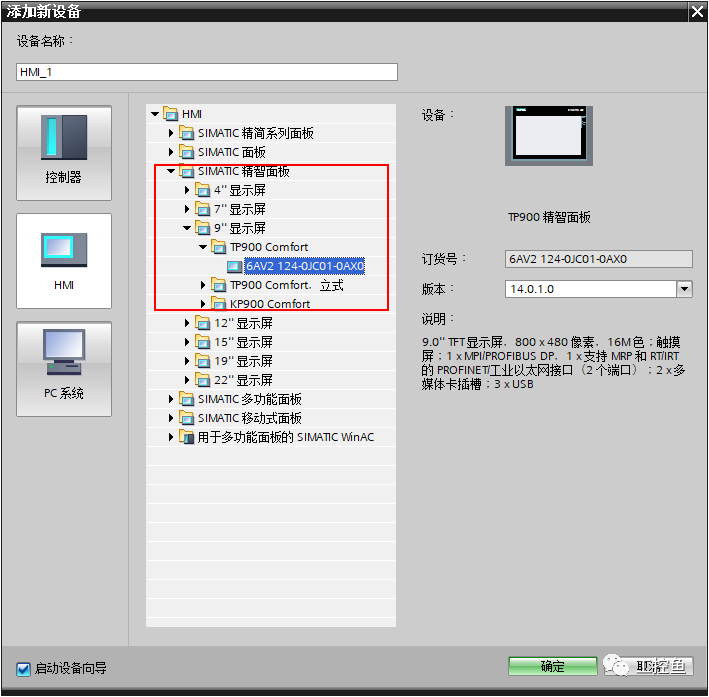
1.首先,在TIA中新建一个项目,添加新硬件,选择HMI,选择SIMATIC精智面板,这里我选了9寸屏。
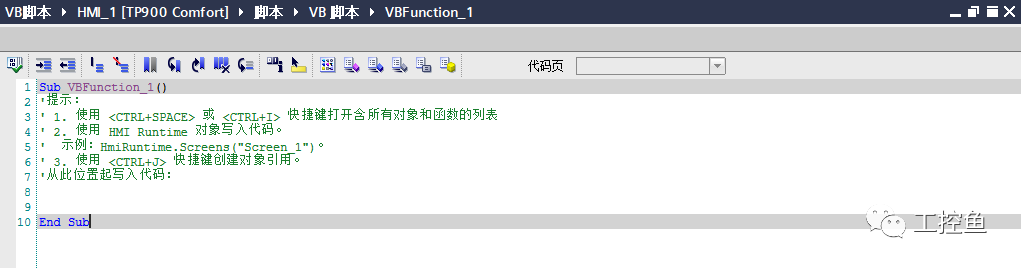
2.在项目树选择HMI_1,选中脚本,出现VB脚本,双击添加新VB函数,可看到函数初始框架已经建立,自动插入代码的开头和结尾部分。

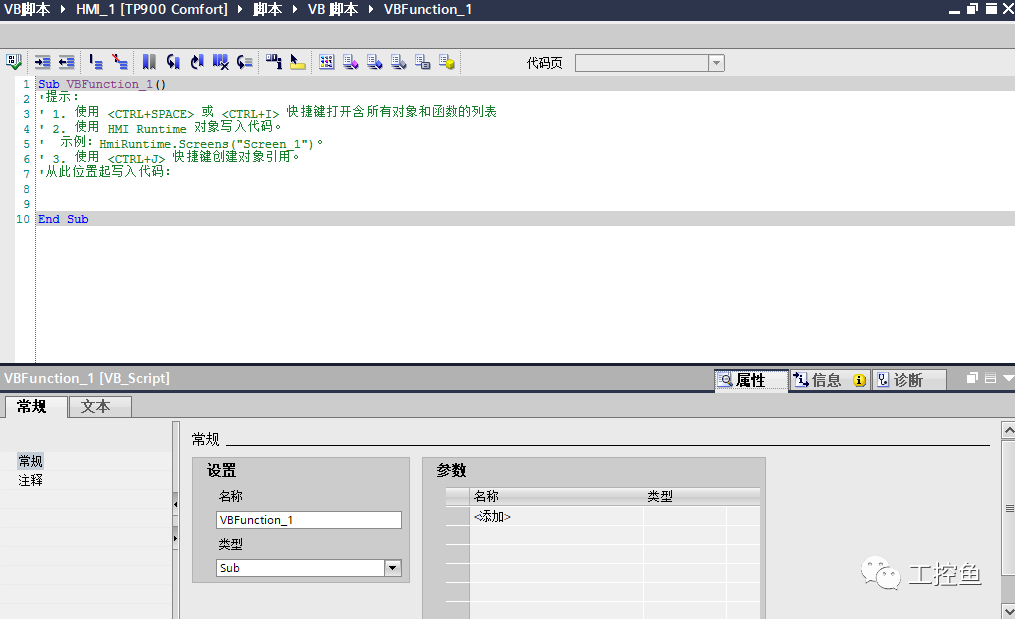
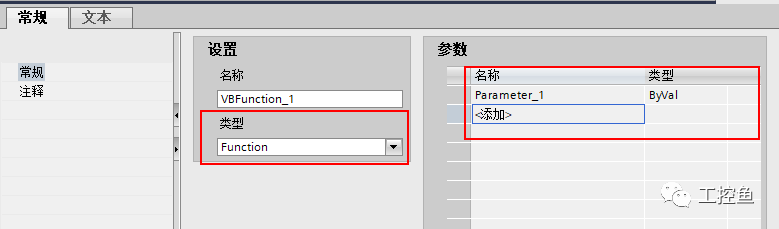
3.在巡视窗口中打开属性栏》常规,这里设置名称以及类型。类型可以选择子函数"Sub"或者功能"Function",二者的区别是:
“Function”具有返回值
“Sub”不具有返回值
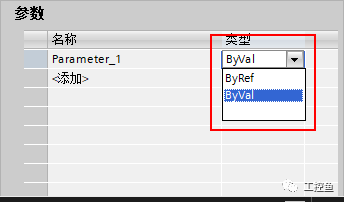
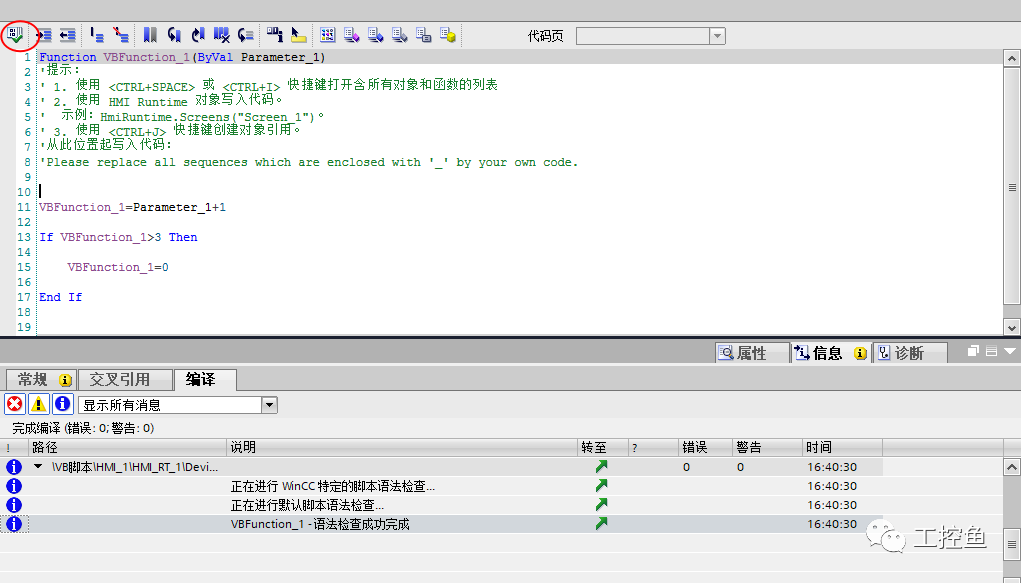
4.这里编写一个从0加1一直到3,后循环回零的功能函数,每调用一次数值加1,并返回当前值,当大于3时置0。选择类型为Function,添加一个参数,参数类型选择ByVal,值传递。
ByVal及ByRef的区别:
“ByVal”传送参数值
“ByRef”传送参数的地址
5.编写下图脚本,点击编译,编译成功,功能函数创建完成。接下来简单演示,功能函数的调用。
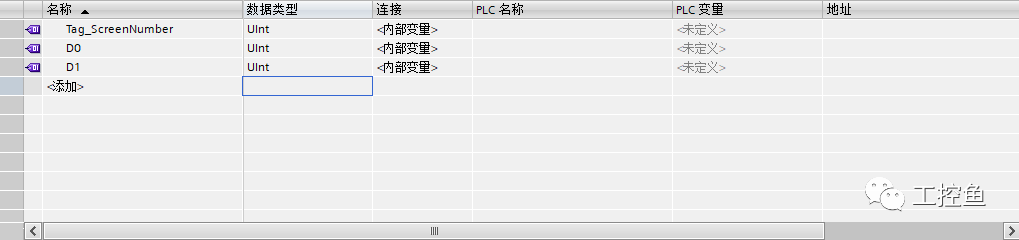
6.在触摸屏默认变量,建立两个Uint变量D0及D1。
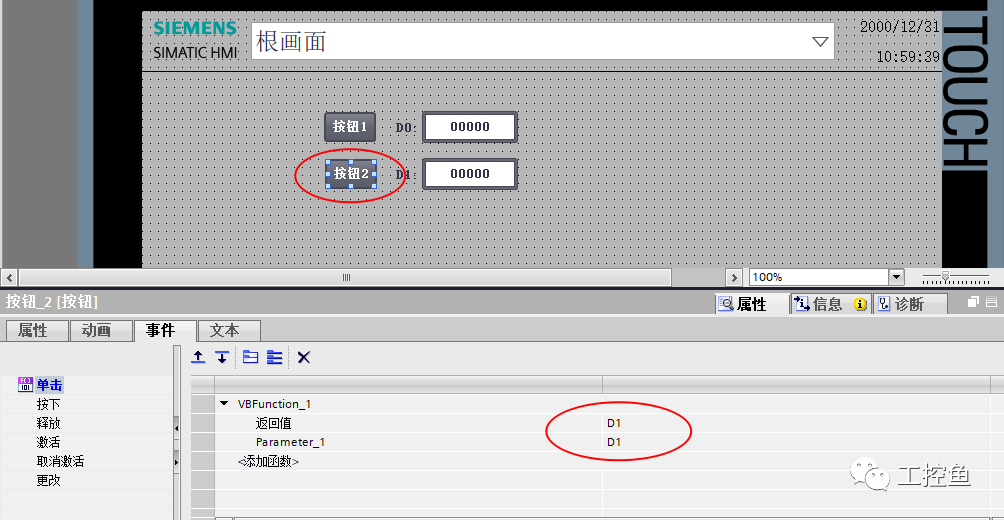
7.在触摸屏添加两个按钮及两个数值显示,
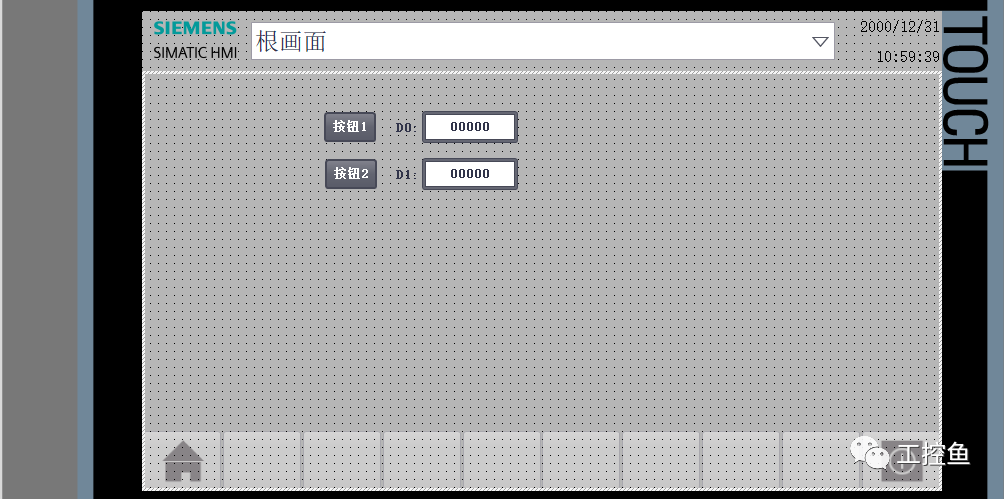
按钮1属性》事件》按下,选择VB函数》VBFunction_1

参数选择HMI_Tag,并选择D0
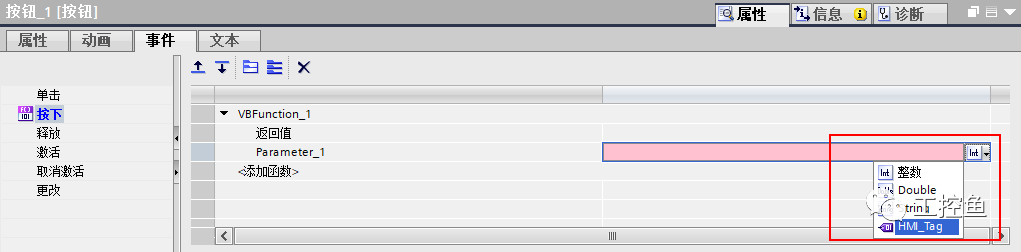
返回值也设置为D0
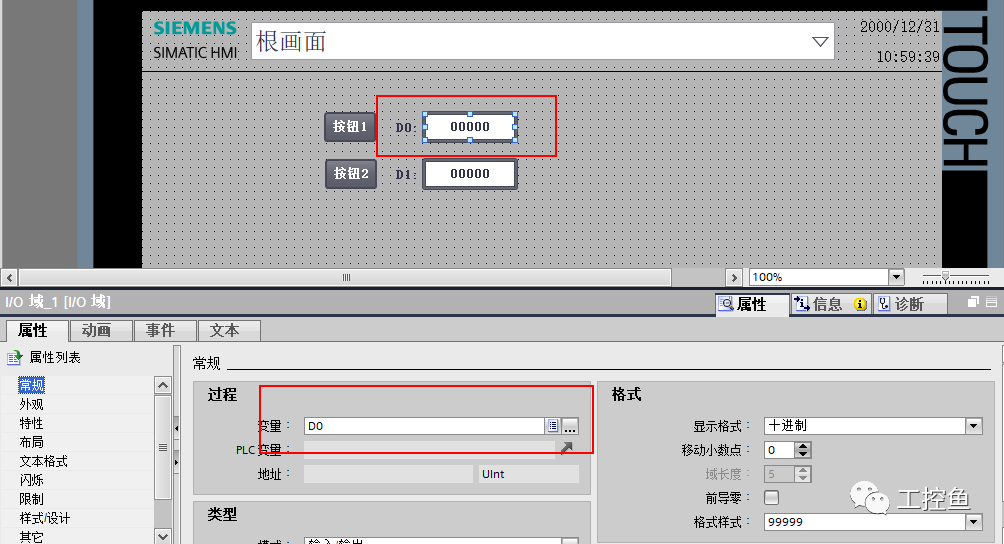
D0数值显示,属性》常规》过程变量设置为D0
8.按钮1及D1数值一样同D0一样设置
9.模拟运行,实现了我们所需要的功能,感兴趣的赶紧试一试吧。
不念过去
END
不畏将来


 1506
1506

 被折叠的 条评论
为什么被折叠?
被折叠的 条评论
为什么被折叠?
 到【灌水乐园】发言


