


本文实例讲述了jquery实现简单实用的弹出层效果。分享给大家供大家参考。具体如下:
目前来说,我还是喜欢这个自己改造的弹出层,在项目中用的也是这个。引入了新版的jquery插件,方框及文字都可以自己定义,非常方便,希望大家也喜欢这款弹出层,JavaScript在本例中也充分发挥了作用,对学习JS也是不错的参考。
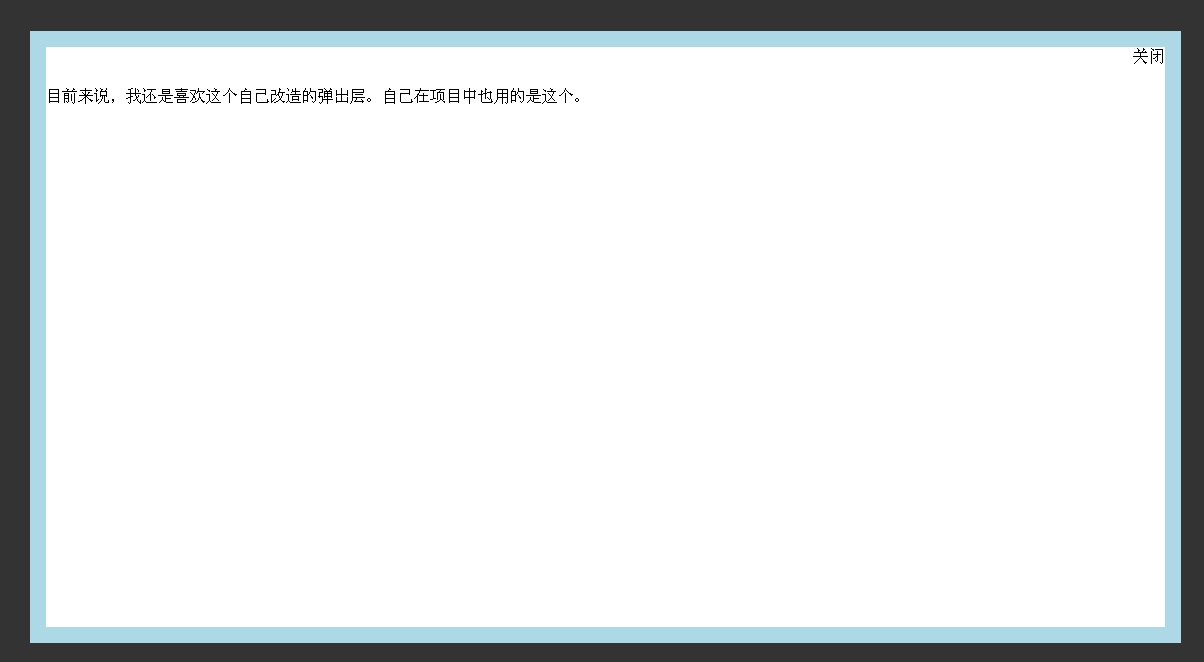
运行效果截图如下:
在线演示地址如下:
具体代码如下:
/p>
"http://www.w3.org/TR/xhtml1/DTD/xhtml1-transitional.dtd">
弹出层.black_overlay{
display: none;
position: absolute;
top: 0%;
left: 0%;
width: 100%;
height: 100%;
background-color: black;
z-index:1001;
-moz-opacity: 0.8;
opacity:.80;
filter: alpha(opacity=80);
}
.white_content {
display: none;
position: absolute;
top: 10%;
left: 10%;
width: 80%;
height: 80%;
border: 16px solid lightblue;
background-color: white;
z-index:1002;
overflow: auto;
}
.white_content_small {
display: none;
position: absolute;
top: 20%;
left: 30%;
width: 40%;
height: 50%;
border: 16px solid lightblue;
background-color: white;
z-index:1002;
overflow: auto;
}
//弹出隐藏层
function ShowDiv(show_div,bg_div){
document.getElementById(show_div).style.display='block';
document.getElementById(bg_div).style.display='block' ;
var bgdiv = document.getElementById(bg_div);
bgdiv.style.width = document.body.scrollWidth;
// bgdiv.style.height = $(document).height();
$("#"+bg_div).height($(document).height());
};
//关闭弹出层
function CloseDiv(show_div,bg_div)
{
document.getElementById(show_div).style.display='none';
document.getElementById(bg_div).style.display='none';
};
关闭
目前来说,我还是喜欢这个自己改造的弹出层。自己在项目中也用的是这个。
希望本文所述对大家的jquery程序设计有所帮助。


 115
115


 被折叠的 条评论
为什么被折叠?
被折叠的 条评论
为什么被折叠?
 到【灌水乐园】发言


