


1.注册一个github账号,下载安装git
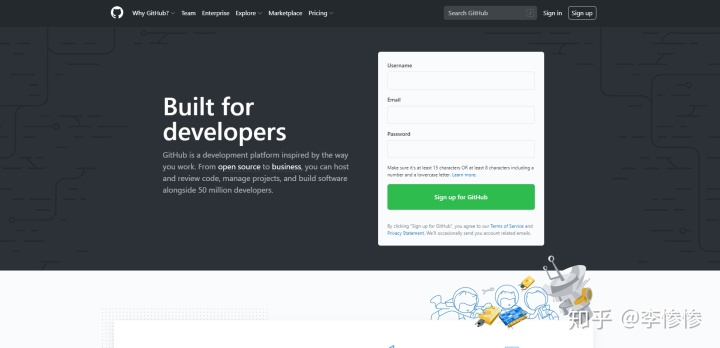
1.1github各种邮箱均可注册
按照注册步骤一步步往下进行即可
1.2下载安装git
直接在百度里搜索git,下载安装即可
或者直接在conda 里面执行 conda install git
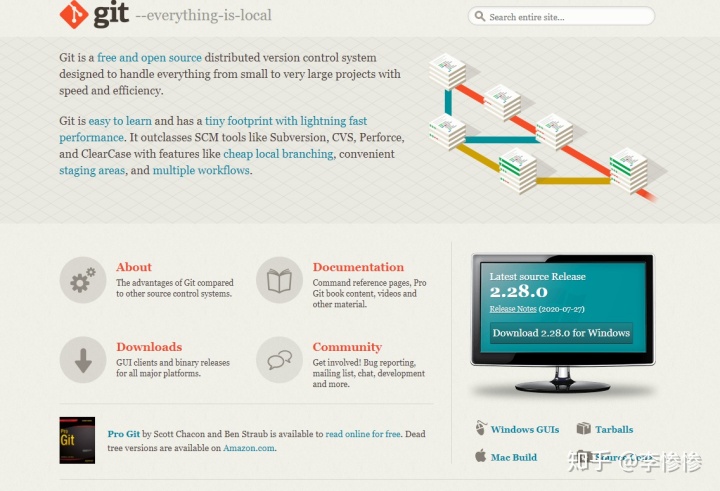
有关git的参考资料可以参照以下链接:
廖雪峰git教程
gitbook
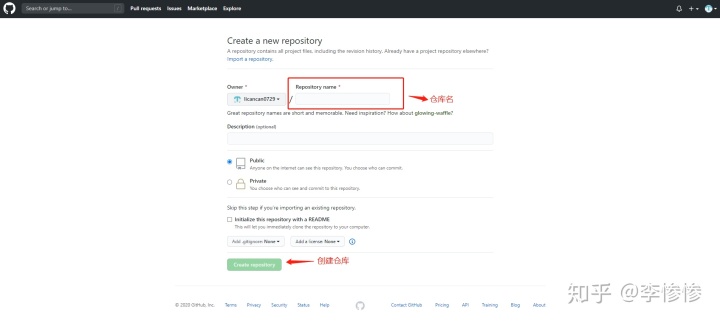
2.新建一个仓库
输入仓库名、创建仓库

3.通过git上传你的项目
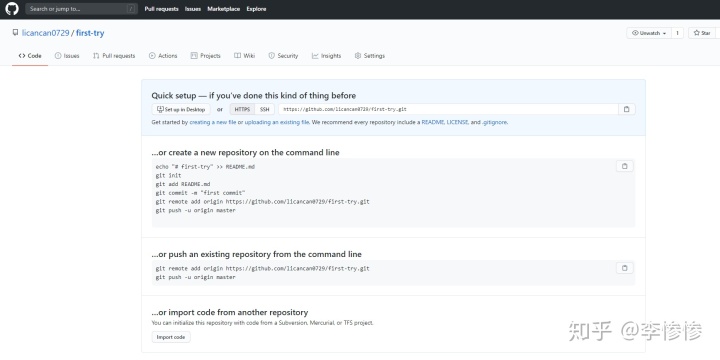
3.1通过github desktop上传,首先要下载并安装github desktop
3.1.1可以通过github desktop上传,直接点击上图中 set up desktop
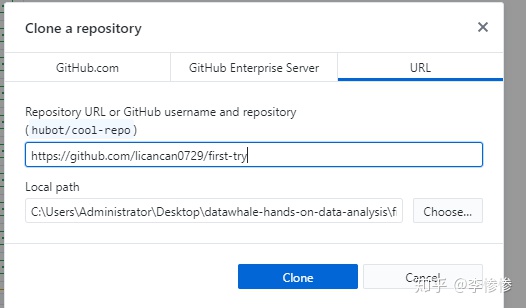
3.1.2之后再 local path 选择一个文件夹,它会在内新建一个以你项目为名的空文件夹
此例中就是 first-try,它会在目录上创建.git文件夹,里面就会储存你对此文件夹内所有内容的每一次改动,你可以在往内添加你想上传的仓库内容,并在自己电脑上修改

3.1.3 提交你的修改,并上传github
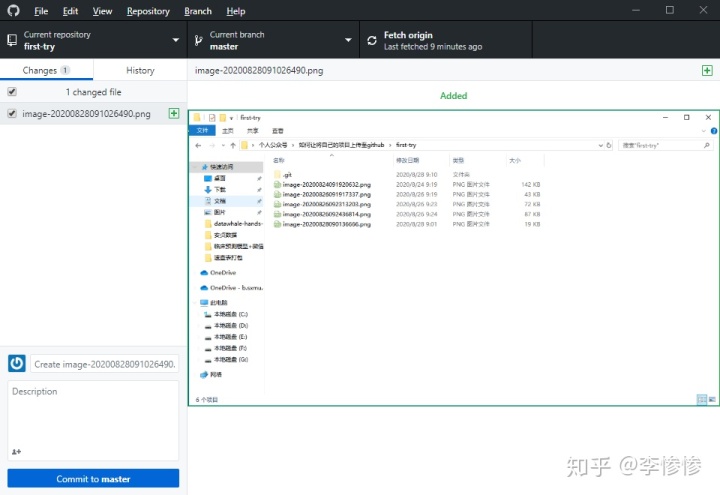
点击commit to master,然后会出现下图所示,push按钮,点击即可上传成功。

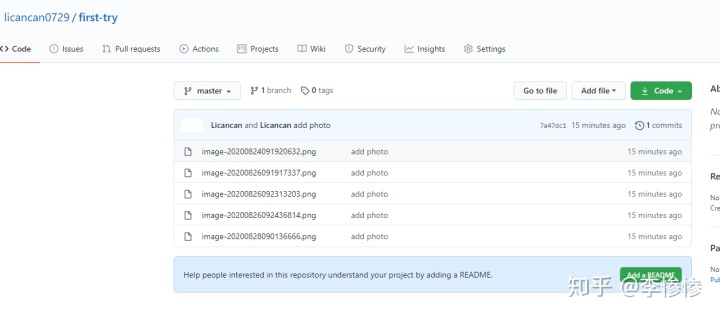
这是返回github自己的主页,就可看到项目已经上传成功。
3.2 直接通过git上传
3.2.1在你要上传的文件夹内打开cmd,回车即可
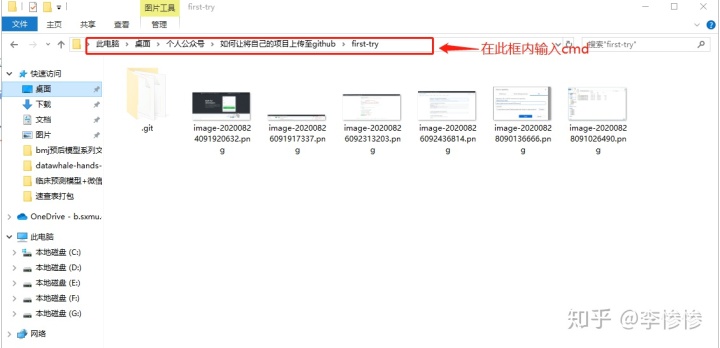
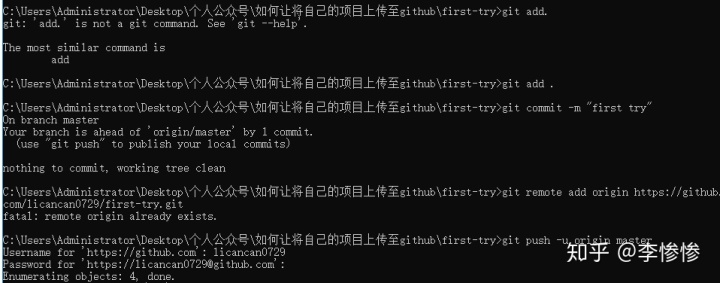
3.2.2 上传文件到github内
#第一步
git init  ###在当前目录里生成本地的git管理,会生成一个.git的文件夹
#第二步
git add . ###注意都有空格分开,上传文件夹内所有文件
#第三步
git commit -m "first commit" ###提交这次的注释
#第四步
git remote add origin https://自己的仓库url地址 ###仓库地址在你在github上创建新的仓库时他会显示
#本例中为https://github.com/licancan0729/first-try.git
#第五步
git push -u origin master ##把这些文件分支上传到github仓库中
#第六步 会让你输入你的github账号和密码,之后等待上传成功即可
4.往仓库中添加新的内容
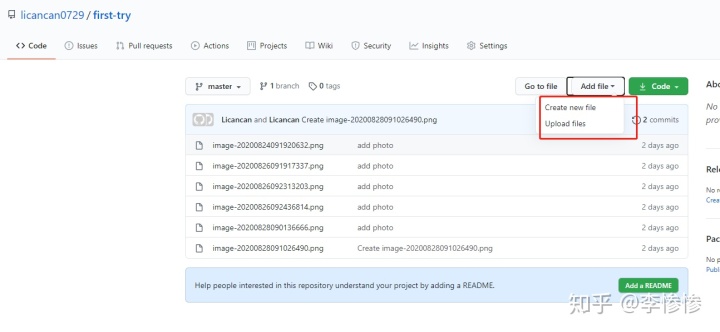
进入到你创建好的仓库中,点击红框的 add file选择upload files就可以直接通过选择文件夹的形式进行上传了,十分简便!

有兴趣的可以关注我的个人公众号,内有分享更多的机器学习、统计学类别知识。


 304
304


 被折叠的 条评论
为什么被折叠?
被折叠的 条评论
为什么被折叠?
 到【灌水乐园】发言


