


现在不管是家庭还是公司都需要使用到打印机,在安装新的打印机驱动程序的时候需要先启动printspooler服务,不然就会导致打印机驱动无法正常安装,那么win7电脑如何开启printspooler服务呢?今天为大家分享win7电脑开启printspooler服务的操作步骤。
开启printspooler服务操作方法:
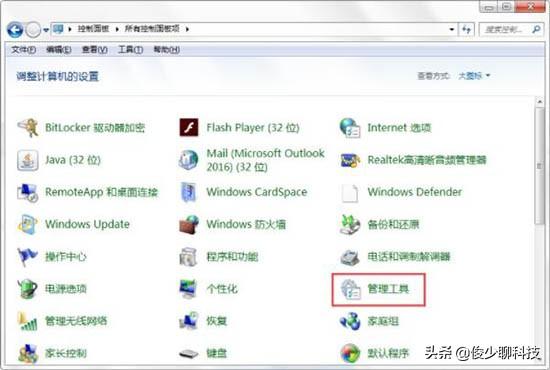
1、依次点击“开始——控制面板——管理工具”;如图所示:
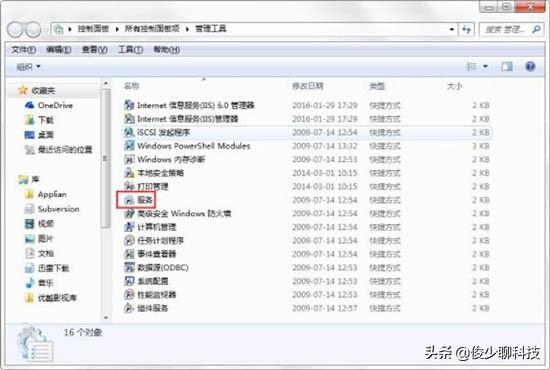
2、在“管理工具”窗口中双击“服务”图标;如图所示:
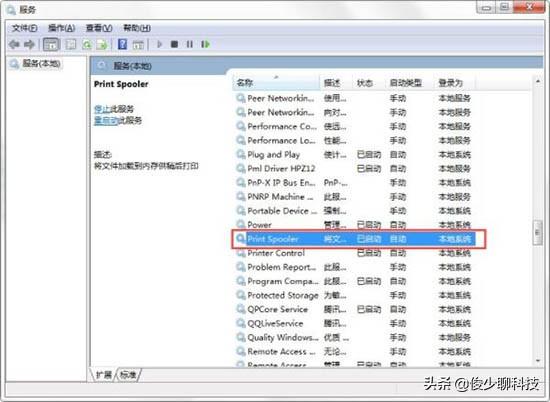
3、在弹出的“服务”窗口中,选中任意一个服务,然后按键盘上的“p”键,就会在列表中快速“PrintSpooler”服务了,双击打开“Printspooler”服务;如图所示:
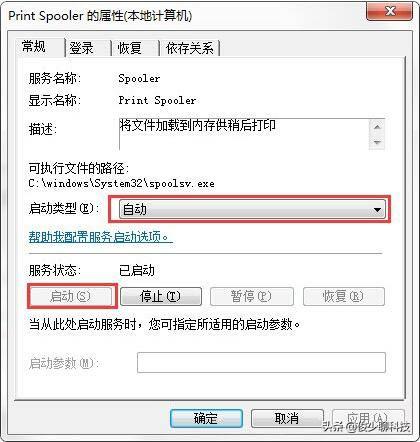
4、在打开的“PrintSpooler的属性(本地计算机)”窗口,将“启动类型”设置为“自动”,点击“启动”按钮,点击“确定”保存即可;如图所示:
关于win7电脑开启printspooler服务的操作步骤就为小伙伴们详细介绍到这边了,如果用户们使用电脑的时候不知道怎么开启printspooler服务,可以参考以上方法步骤进行操作哦,希望本篇教程对大家有所帮助
打开支付宝首页搜索"9255626”获取更多惊喜


 1万+
1万+


 被折叠的 条评论
为什么被折叠?
被折叠的 条评论
为什么被折叠?
 到【灌水乐园】发言


