


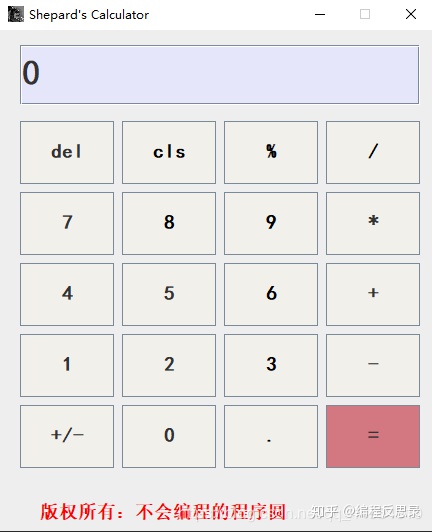
程序圆今天给大家带来的一款基于 awt 实现的图形化界面的计算器。界面模拟 window 自带的计算器(当然功能没人家的强大哈):
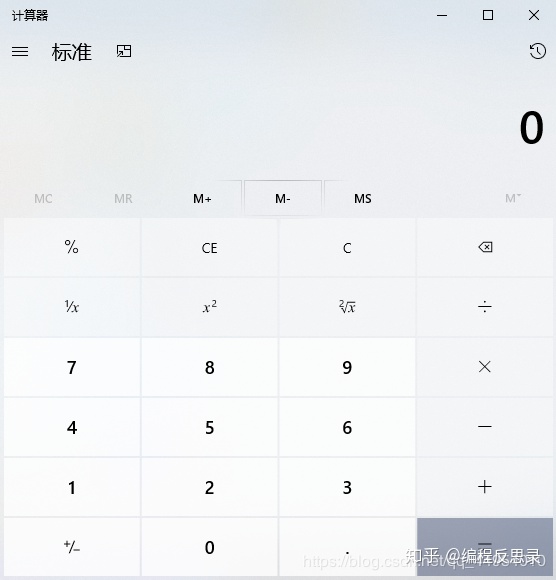
这是 win 10 自带的计算器:
这是我的计算器:
一 功能演示
下面给大家来演示一下功能:
计算器上面的功能都是可以使用的,我也是测试了很多次,大家可以放心使用。
视频讲解:https://b23.tv/ebsTrR
二 流程图

三 实现
属性
    private JFrame frame;

    private ImageIcon icon;

    private JTextField textField;

    private JButton[] button;

    private JPanel panel;

    private JLabel label;

    /**
     * data:当前输入的数据
     */
    private String data = "";

    /**
     * isLeftAvailable:判断数据应该向哪一个操作数中存储
     */
    private boolean isLeftAvailable;

    /**
     * left, right:左右操作数
     */
    private double left, right;

    private String prevOperaotor = "";
方法
GUI 界面的实现
 public void init()
    {
        setMyFrame();
        setMyIcon();
        setMyTextField();
        setMyButton();
        setMyLabel();
        display();
    }

    /**
     *  setMyFrame:
     *  @description: 设置窗体
     */
    private void setMyFrame()
    {
        frame = new JFrame();

        // 设置 frame 的坐标
        frame.setLocation(700, 150);
        // 设置 frame 的大小
        frame.setSize(450, 540);
        // 设置 frame 的标题
        frame.setTitle("Shepard's Calculator");
        // 禁用窗口大小调整
        frame.setResizable(false);
        //设置布局,自定义
        frame.setLayout(null);
        // 关闭窗体
    }

    /**
     *  setMyIcon:
     *  @description: 设置图标
     */
    private void setMyIcon()
    {
        icon = new ImageIcon("D:JavaJavaCodeJavaSECalculatorimg1.jpg");
        // 添加图片
        frame.setIconImage(icon.getImage());
    }

    /**
     *  setMyTextField:
     *  @description: 设置文本域
     */
    private void setMyTextField()
    {
        textField = new JTextField("0");

        // 设置文本狂大小位置
        textField.setBounds(20,15,400,60);
        // 设置文本框字体
        textField.setFont(new Font("黑体", Font.BOLD, 35));
        // 设置背景颜色
        textField.setBackground(new Color( 230, 230, 250));

        frame.add(textField);
    }

    /**
     *  setMyButton:
     *  @description: 设置按键事件
     */
    private void setMyButton()
    {
        // 按钮文本
        String[] arr =
                          { "del","cls","%","/",
                            "7","8","9","*",
                            "4","5","6","+",
                            "1","2","3","-",
                            "+/-","0",".","=", };
        // 按钮
        button = new JButton[arr.length];

        // 创建面板
        panel = new JPanel();

        // 设置面板的布局方式
        panel.setBounds(20, 90, 400, 350);

        // 网格布局
        panel.setLayout(new GridLayout(5, 4, 8, 8));

        for(int i = 0; i < button.length; i++)
        {
            // 创建按钮
            button[i] = new JButton(arr[i]);

            // 设置按钮字体
            button[i].setFont(new Font("黑体", Font.CENTER_BASELINE, 20));
            // 设置按钮背景颜色
            button[i].setBackground(new Color(242, 240, 235));

            // 设置 = 号的特殊颜色
            if(button.length - 1 == i)
            {
                button[i].setBackground(new Color(211, 120, 129));
            }

            // 添加事件
            int idx = i;
            // 设置鼠标监听
            button[i].addMouseListener(new MouseAdapter() {
                // 点击事件
                @Override
                public void mouseClicked(MouseEvent e) {
                    // 获取按钮上的内容
                    click(button[idx].getText());
                }

                // 鼠标进入组件事件
                @Override
                public void mouseEntered(MouseEvent e) {
                    button[idx].setFont(new Font("黑体", Font.CENTER_BASELINE, 35));
                    button[idx].setBackground(new Color(240, 255, 255));
                    button[idx].setForeground(new Color(255, 99, 71));
                }

                // 鼠标离开组件事件
                @Override
                public void mouseExited(MouseEvent e) {
                    button[idx].setFont(new Font("黑体", Font.CENTER_BASELINE, 20));
                    button[idx].setBackground(new Color(242, 240, 235));
                    button[idx].setForeground(new Color(0, 0, 0));
                }
            });

            // 按钮添加到面板
            panel.add(button[i]);
        }

        frame.add(panel);
    }

    /**
     *  setMyLabel:
     *  @description: 设置标签
     */
    private void setMyLabel()
    {
        // 标签
        label = new JLabel();
        label.setText("<html><span style='font-size:14px;color:red;font-family:宋体'>版权所有:不会编程的程序圆</span></html>");
        label.setBounds(40, 460, 300, 40);

        frame.add(label);
    }
因为后面的代码比较多,设置监听 和 计算功能的实现 我就不放在文章中了,获取源代码,注释和流程图 的方式请 看原文(文末):
阅读原文
以上就是本次 Java 计算器的分享,如果你对我的代码有什么问题欢迎和我讨论


 343
343


 被折叠的 条评论
为什么被折叠?
被折叠的 条评论
为什么被折叠?
 到【灌水乐园】发言


