


文章来源:Python之禅
作者:江湖十年
Web系列文章
1、第一章:整天写CRUD没劲,写了个Web服务器
2、Python 撸一个 Web 服务器-第2章:Hello World
3、用 Python 撸一个 Web 服务器-第3章:使用 MVC 构建程序
4、用 Python 撸一个 Web 服务器-第4章:动态渲染数据
5、用 Python 撸一个 Web 服务器-第5章:处理静态资源
这一章,我们来完成 todo 管理功能的剩余部分:新增、修改和删除功能。
新增 todo
首先实现 Todo List 程序的新增功能。新增 todo 的逻辑如下:
在首页顶部的输入框中输入 todo 内容。
然后点击新建按钮。
将输入框中的 todo 内容通过
POST请求传递到服务器端。服务器端解析请求中的 todo 内容并存储到文件。
重新返回到程序首页。
接下来对这些步骤进行具体实现。
首页 HTML 中添加新增 todo 的输入框和新建按钮:
<html><head><meta charset="UTF-8"><title>Todo Listtitle><link rel="stylesheet" href="/static/css/style.css">head><body><h1 >Todo Listh1><div ><ul><li><form  action="/new" method="post"><input type="text" name="content"><button >新建button>form>li><br>
        {% for todo in todo_list %}<li><div>{
    { todo.content }}div>li>
        {% endfor %}ul>div>body>html>
代码中增加了一个 form 标签,用来新增 todo。请求路径地址为 /new,请求方法为 post。
将首页的 CSS 代码追加到 style.css 文件中:
/* todo_list/todo/static/css/style.css */
.container ul li:first-child {
background-color: #ffffff;
padding: 0;
}
.container button {
width: 40px;
height: 28px;
padding: 4px;
cursor: pointer;
}
.new {
width: 100%;
max-width: 600px;
height: 40px;
display: flex;
justify-content: space-between;
align-items: center;
}
form input {
width: 90%;
height: 100%;
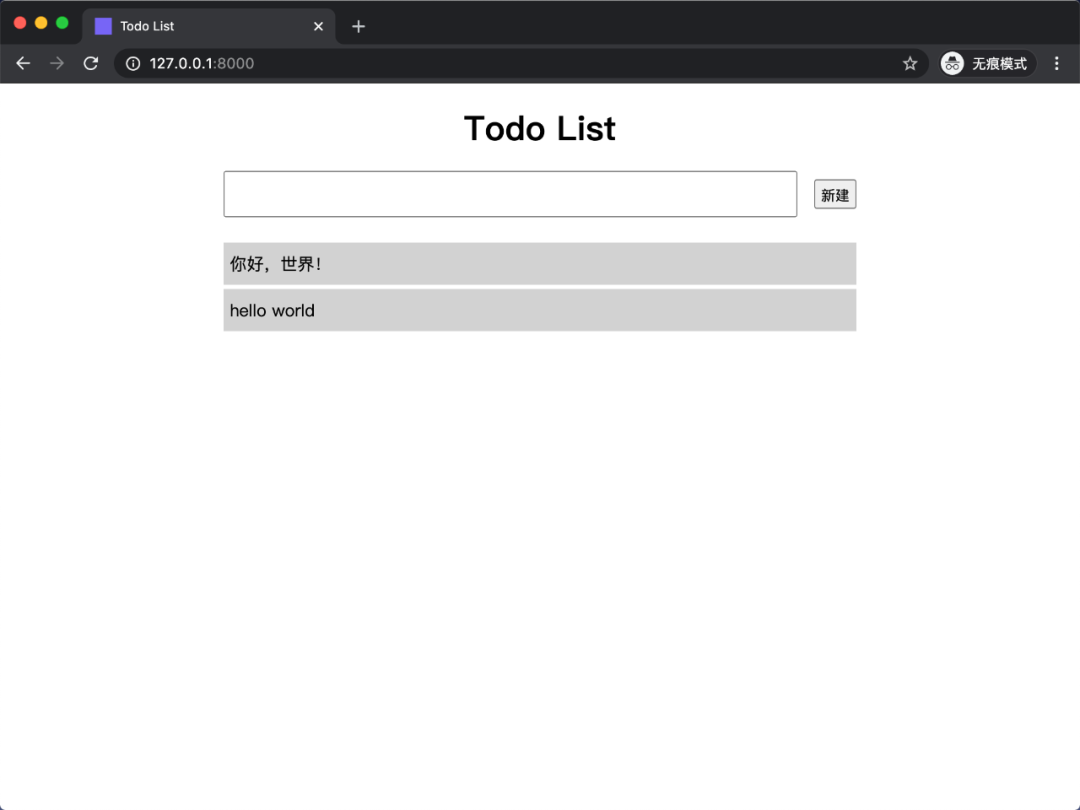
}此时首页效果如下:
修改 Request 类,使其能够解析 GET、POST 请求中携带的参数:
# todo_list/todo/utils.py

from urllib.parse import unquote_plus

...

class Request(object):
"""请求类"""

def __init__(self, request_message):
        method, path, headers, args, form = self.parse_data(request_message)
        self.method = method  # 请求方法 GET、POST
        self.path = path  # 请求路径 /index
        self.headers = headers  # 请求头 {'Host': '127.0.0.1:8000'}
        self.args = args  # 查询参数
        self.form = form  # 请求体

def parse_data(self, data):
"""解析请求数据"""
# 用请求报文中的第一个 '\r\n\r\n' 做分割,将得到请求头和请求体
        header, body = data.split('\r\n\r\n', 1)
        method, path, headers, args = self._parse_header(header)
        form = self._path_b
最低0.47元/天 解锁文章


 1051
1051


 被折叠的 条评论
为什么被折叠?
被折叠的 条评论
为什么被折叠?
 到【灌水乐园】发言


