


前言
这是我第一次写博客,第一次的笔记,不足之处多谅解。开门见山,这一篇博客主要讲一下在Android开发中,UI控件TextView的一些使用方式,主要介绍一些常用的属性,加上一些实例,希望大家看了后能够掌握其基本用法。
【基本属性】
【设置ID】
android:id="@+id/tv" //id:自定义 用于关联控件,然后对此控件的操作使用
【设置宽度和高度】
android:layout_width="wrap_content"
android:layout_height="wrap_content"

第一个 自适应:根据宽度/高度 自动匹配
第二个 充满:根据宽度/高度 充满全屏
【设置背景颜色】
android:background="#dddddd"
可以填充各种颜色,也可以插入图片
例如:

【插入图片方向】
android:drawableLeft="@drawable/ic_launcher_foreground"
android:drawableBottom=""
android:drawableRight=""
android:drawableStart=""
android:drawableEnd=""
android:drawableTop=""
这个不多说了 top就是在textview上面 bottom就是下面
【文字方向:居中、左右上下。。。】
android:gravity="center"

【设置字体、字体颜色、字体大小、字体加粗】

android:textStyle="bold"
android:text="这是Textview"
android:textColor="#ff00feee"
android:textSize="33sp"
text:设置文字; textColor:设置字体颜色,前两位透明度;textSize:设置字体大小 用sp为单位
textstyle:字体样式 bold:加粗 italic:斜体
android:id="@+id/tv"
android:layout_width="wrap_content"
android:layout_height="wrap_content"
android:background="#dddddd"
android:drawableLeft="@drawable/ic_launcher_foreground"
android:ellipsize="end"
android:gravity=""
android:textStyle="bold"
android:text="这是Textview"
android:textColor="#ff00feee"
android:textSize="33sp"/>
下面是效果图

下面简单的写下代码进行修改
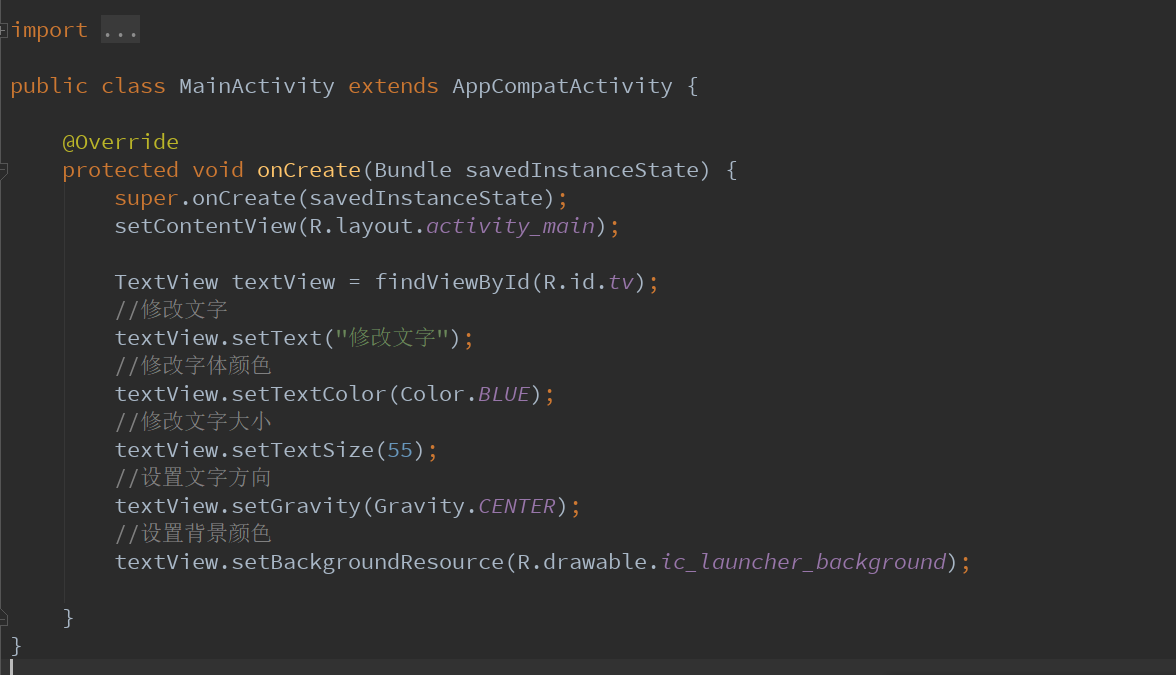
【效果图】

Android-Textview 控件简单实用就差不多这些了
原文:https://www.cnblogs.com/MrChen-/p/10295219.html


 196
196


 被折叠的 条评论
为什么被折叠?
被折叠的 条评论
为什么被折叠?
 到【灌水乐园】发言


