


环境说明:
| 主机名 | os version | ip | docker version | docker-compose version | ansible version | awx version | 备注 |
|---|---|---|---|---|---|---|---|
| ansible-awx | Centos 7.6.1810 | 172.27.34.50 | Docker 19.03.9 | 1.25.5 | 2.9.9 | 10.0.0 | 管理节点 |
| centos01 | Centos 7.6.1810 | 172.27.34.28 | × | × | × | × | 被管节点 |
| centos02 | Centos 7.6.1810 | 172.27.34.35 | × | × | × | × | 被管节点 |
| centos03 | Centos 7.3.1611 | 172.27.34.161 | × | × | × | × | 被管节点 |
一、简介
ansible简介
Ansible是一个非常简单的IT自动化平台,使程序和系统更易于部署。Ansible本质上是一个进行了封装的Shell,优点在于它是去中心化的工具,可以直接通过ssh管理远程主机,实现无Agent的部署。
AWX简介
AWX提供了一个基于web的用户界面、REST API和构建在Ansible之上的任务引擎。图形化的AWX 能够更方便的编排和部署 Ansible Playbook,并提供集中的日志记录、审计和系统跟踪。AWX是商业版Ansible Tower 的开源版本。
awx项目地址:https://github.com/ansible/awx/
二、ansible安装
1.安装EPEL源
[root@ansible-awx ~]# yum -y install epel-release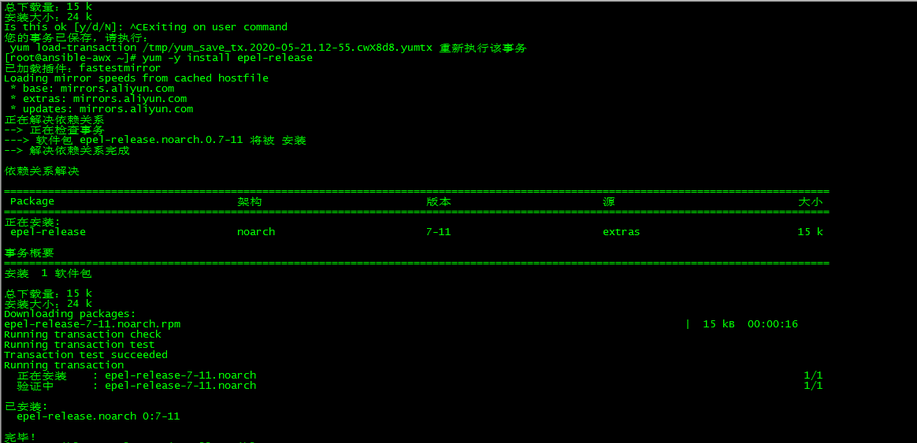
2.安装asnible
[root@ansible-awx ~]# yum -y install ansible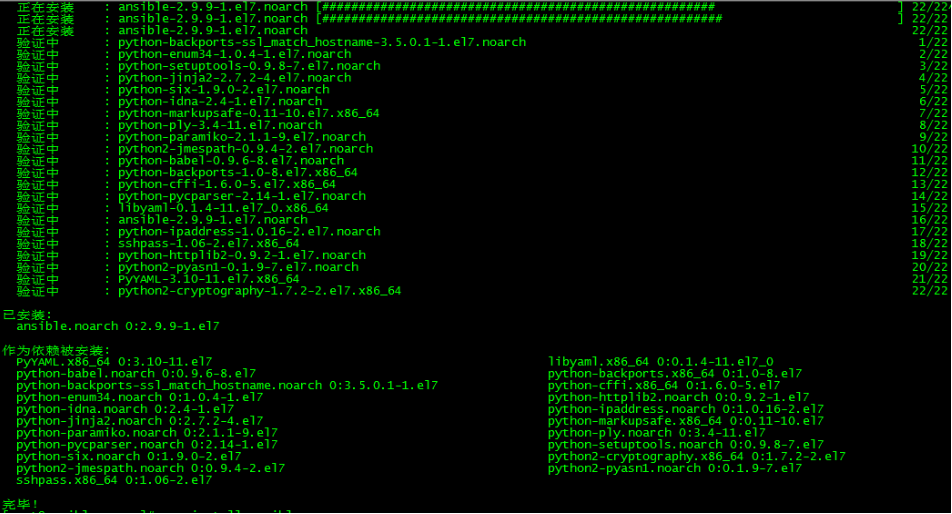
默认为最新版
[root@ansible-awx ~]# ansible --version
三、docker安装
1.安装依赖包
[root@ansible-awx ~]# yum install -y yum-utils device-mapper-persistent-data lvm2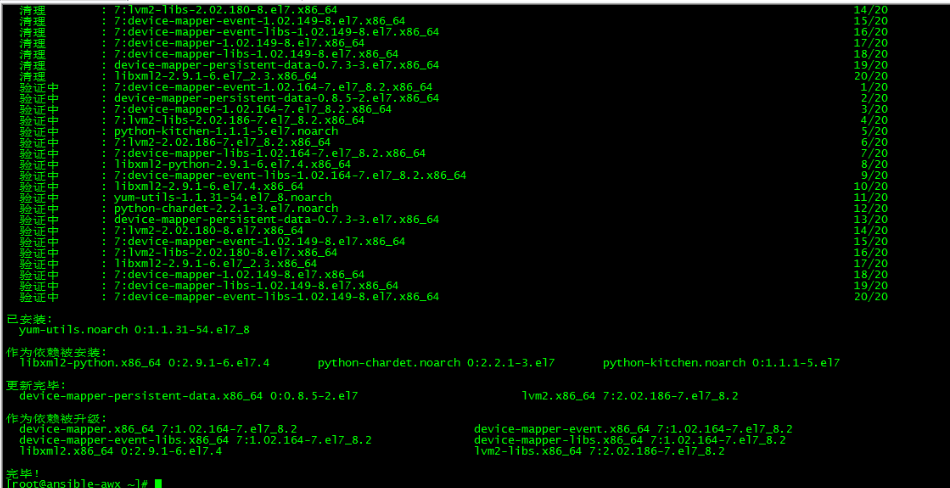
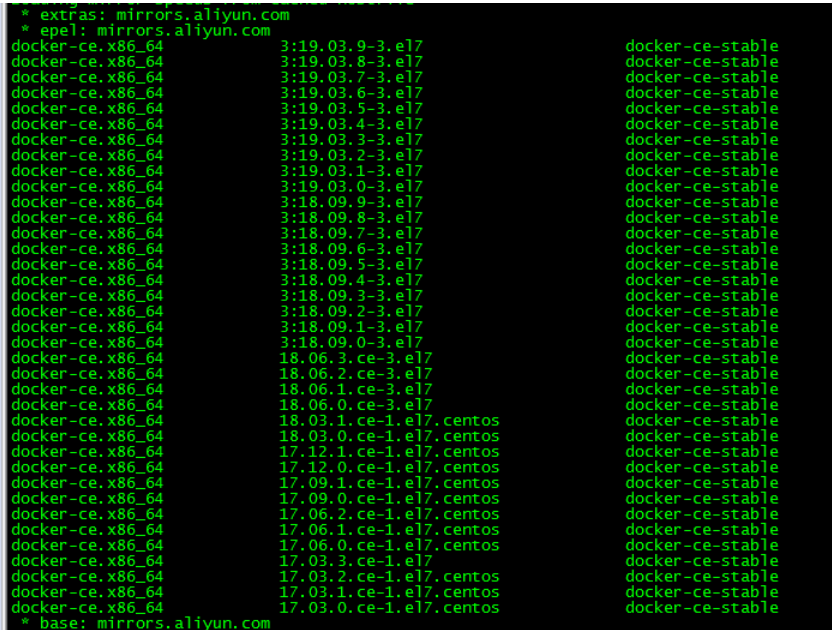
2.设置docker源
[root@ansible-awx ~]# yum-config-manager --add-repo https://download.docker.com/linux/centos/docker-ce.repo
docker安装版本查看
3.安装docker
[root@ansible-awx ~]# yum install -y docker-ce docker-ce-cli containerd.io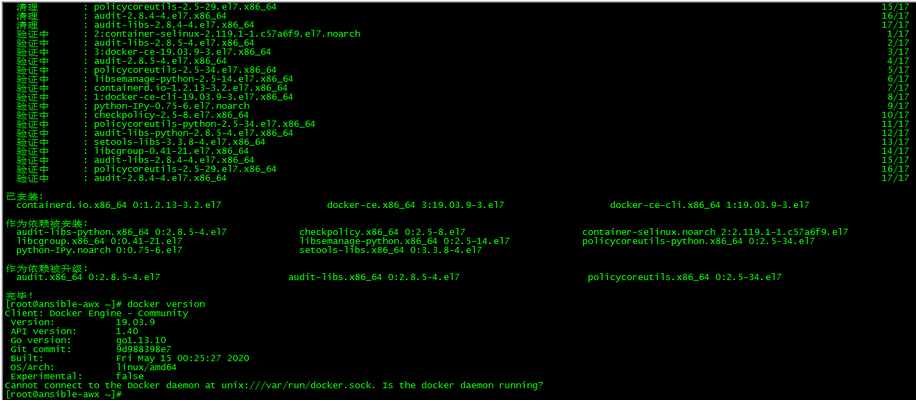
未指定版本,默认为最新版
4.启动docker
[root@ansible-awx ~]# systemctl start docker[root@ansible-awx ~]# systemctl enable docker
5. 命令补全
5.1 安装bash-completion
[root@ansible-awx ~]# yum -y install bash-completion5.2 加载bash-completion
[root@ansible-awx ~]# source /etc/profile.d/bash_completion.sh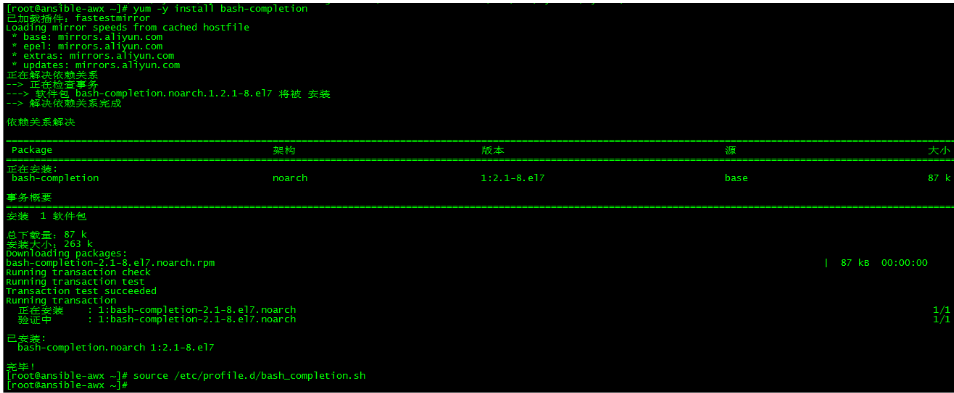
6. 镜像加速
由于Docker Hub的服务器在国外,下载镜像会比较慢,可以配置镜像加速器。主要的加速器有:Docker官方提供的中国registry mirror、阿里云加速器、DaoCloud 加速器,本文以阿里加速器配置为例。
6.1 登陆阿里云容器模块
登陆地址为:https://cr.console.aliyun.com ,未注册的可以先注册阿里云账户
6.2 配置镜像加速器
配置daemon.json文件
[root@centos7 ~]# mkdir -p /etc/docker[root@centos7 ~]# tee /etc/docker/daemon.json <{ "registry-mirrors": ["https://v16stybc.mirror.aliyuncs.com"]}EOF重启服务
[root@centos7 ~]# systemctl daemon-reload[root@centos7 ~]# systemctl restart docker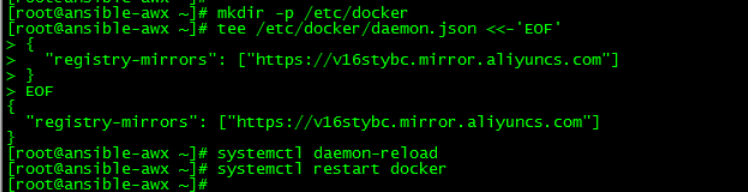
加速器配置完成
四、安装Python模块
1.安装pip3
[root@ansible-awx ~]# yum -y install python3-pip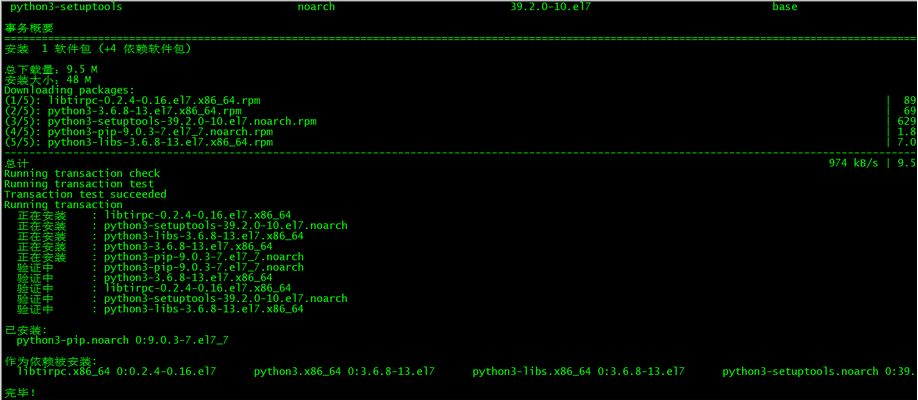
2.安装 docker-compose 的Python模块
[root@ansible-awx ~]# pip3 install docker-compose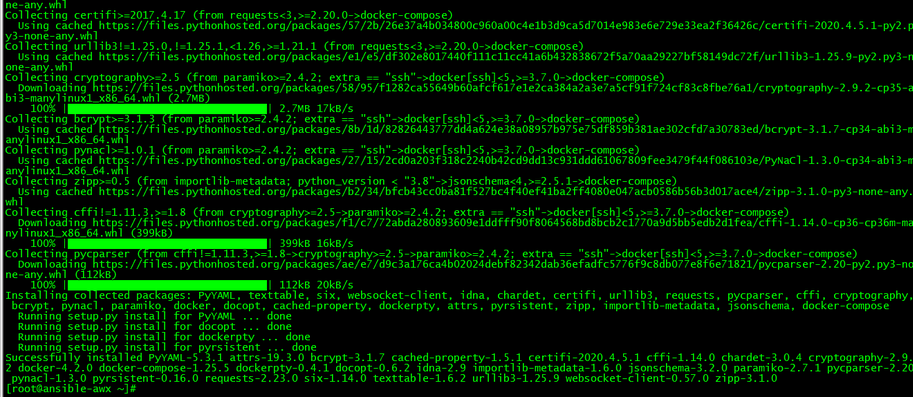
由于网络原因,安装过程中可能会失败,多试两次即可。
五、安装Docker Compose
1.下载二进制文件
各版本下载地址:https://github.com/docker/compose/releases
[root@ansible-awx ~]# curl -L "https://github.com/docker/compose/releases/download/1.25.5/docker-compose-$(uname -s)-$(uname -m)" -o /usr/local/bin/docker-compose
2.赋权
[root@ansible-awx ~]# chmod +x /usr/local/bin/docker-compose3.安装验证
[root@ansible-awx ~]# docker-compose --versiondocker-compose version 1.25.5, build 8a1c60f6六、awx安装
1.下载awx
awx下载地址:https://github.com/ansible/awx/releases ,本文选择版本为10.0.0
[root@ansible-awx ~]# wget https://github.com/ansible/awx/archive/10.0.0.tar.gz解压
[root@ansible-awx ~]# wget https://github.com/ansible/awx/archive/10.0.0.tar.gz[root@ansible-awx ~]# ll总用量 10736-rw-r--r-- 1 root root 10983696 5月 21 14:36 10.0.0.tar.gz-rw-------. 1 root root 1322 5月 21 11:43 anaconda-ks.cfgdrwxrwxr-x 11 root root 4096 3月 31 00:42 awx-10.0.02.修改配置
[root@ansible-awx ~]# cd awx-10.0.0/installer/[root@ansible-awx installer]# ll总用量 16-rw-rw-r-- 1 root root 167 3月 31 00:42 build.yml-rw-rw-r-- 1 root root 437 3月 31 00:42 install.yml-rw-rw-r-- 1 root root 6131 3月 31 00:42 inventorydrwxrwxr-x 7 root root 99 3月 31 00:42 roles[root@ansible-awx installer]# sed -i.bak 's/env python/env python3/g' inventory[root@ansible-awx installer]# ll总用量 24-rw-rw-r-- 1 root root 167 3月 31 00:42 build.yml-rw-rw-r-- 1 root root 437 3月 31 00:42 install.yml-rw-rw-r-- 1 root root 6132 5月 21 14:41 inventory-rw-rw-r-- 1 root root 6131 3月 31 00:42 inventory.bakdrwxrwxr-x 7 root root 99 3月 31 00:42 roles修改配置文件inventory,使用python3,其他保持默认配置。
3.下载镜像
3.1镜像下载
[root@ansible-awx ~]# docker pull registry.cn-hangzhou.aliyuncs.com/loong576/awx_web:10.0.0[root@ansible-awx ~]# docker pull registry.cn-hangzhou.aliyuncs.com/loong576/awx_task:10.0.0[root@ansible-awx ~]# docker pull registry.cn-hangzhou.aliyuncs.com/loong576/memcached:alpine[root@ansible-awx ~]# docker pull registry.cn-hangzhou.aliyuncs.com/loong576/postgres:10[root@ansible-awx ~]# docker pull registry.cn-hangzhou.aliyuncs.com/loong576/redisawx的组件通过容器方式安装,分别下载对应版本镜像,,镜像下载需要些时间,请保持网络环境稳定。
3.2打tag
[root@ansible-awx ~]# docker tag registry.cn-hangzhou.aliyuncs.com/loong576/awx_task:10.0.0 ansible/awx_task:10.0.0[root@ansible-awx ~]# docker tag registry.cn-hangzhou.aliyuncs.com/loong576/awx_web:10.0.0 ansible/awx_web:10.0.0[root@ansible-awx ~]# docker tag registry.cn-hangzhou.aliyuncs.com/loong576/redis redis[root@ansible-awx ~]# docker tag registry.cn-hangzhou.aliyuncs.com/loong576/postgres:10 postgres:10[root@ansible-awx ~]# docker tag registry.cn-hangzhou.aliyuncs.com/loong576/memcached:alpine memcached:alpine3.3删除多余镜像
[root@ansible-awx ~]# docker rmi registry.cn-hangzhou.aliyuncs.com/loong576/awx_web:10.0.0 registry.cn-hangzhou.aliyuncs.com/loong576/redis registry.cn-hangzhou.aliyuncs.com/loong576/postgres:10 registry.cn-hangzhou.aliyuncs.com/loong576/memcached:alpine3.4镜像查看
[root@ansible-awx ~]# docker imagesREPOSITORY TAG IMAGE ID CREATED SIZEredis latest 987b78fc9e38 2 days ago 104MBpostgres 10 d92854c53ed1 5 days ago 200MBmemcached alpine 35acd9837d07 7 days ago 9.28MBansible/awx_task 10.0.0 a968a1c4d9fd 7 weeks ago 2GBansible/awx_web 10.0.0 2cc33f01ffa7 7 weeks ago 1.96GB4.awx安装
[root@ansible-awx installer]# pwd/root/awx-10.0.0/installer[root@ansible-awx installer]# ansible-playbook -i inventory install.yml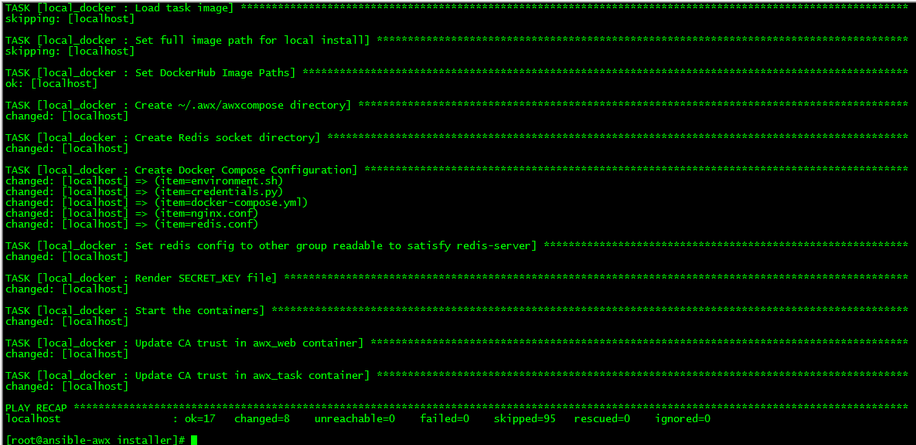
容器查看
[root@ansible-awx ~]# docker psCONTAINER ID IMAGE COMMAND CREATED STATUS PORTS NAMES6cbcc91766c2 ansible/awx_task:10.0.0 "/tini -- /bin/sh -c…" 2 hours ago Up About an hour 8052/tcp awx_taskd5b698ef603f ansible/awx_web:10.0.0 "/tini -- /bin/sh -c…" 2 hours ago Up About an hour 0.0.0.0:80->8052/tcp awx_web20f9e95f0c1c postgres:10 "docker-entrypoint.s…" 2 hours ago Up About an hour 5432/tcp awx_postgres35133c5b8b5f redis "docker-entrypoint.s…" 2 hours ago Up About an hour 6379/tcp awx_redis93d2bd24b6c5 memcached:alpine "docker-entrypoint.s…" 2 hours ago Up About an hour 11211/tcp awx_memcached七、登录awx
登陆地址:http://172.27.34.50
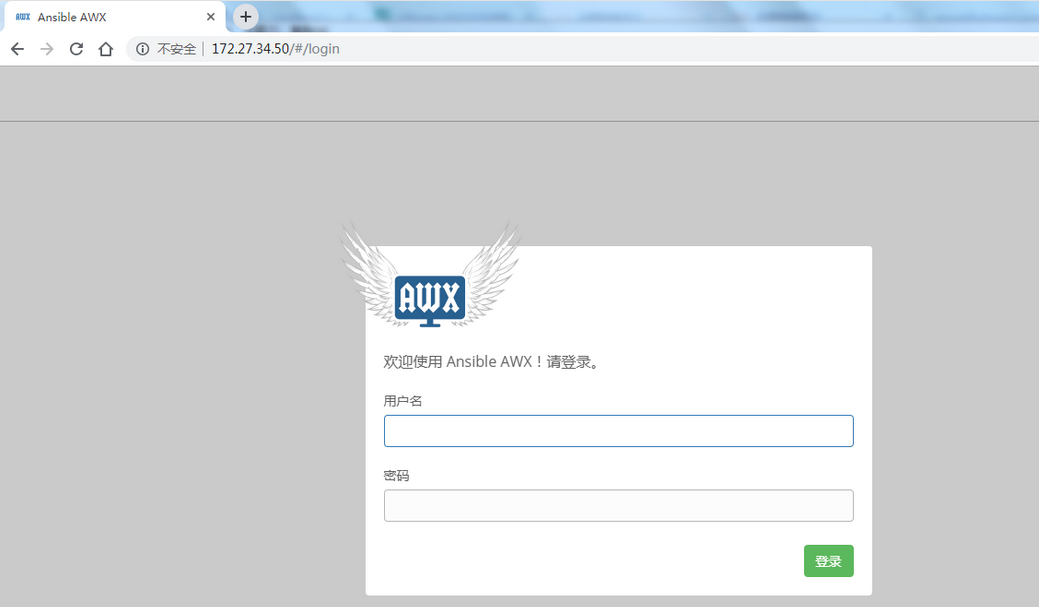
输入用户名admin,默认密码为password
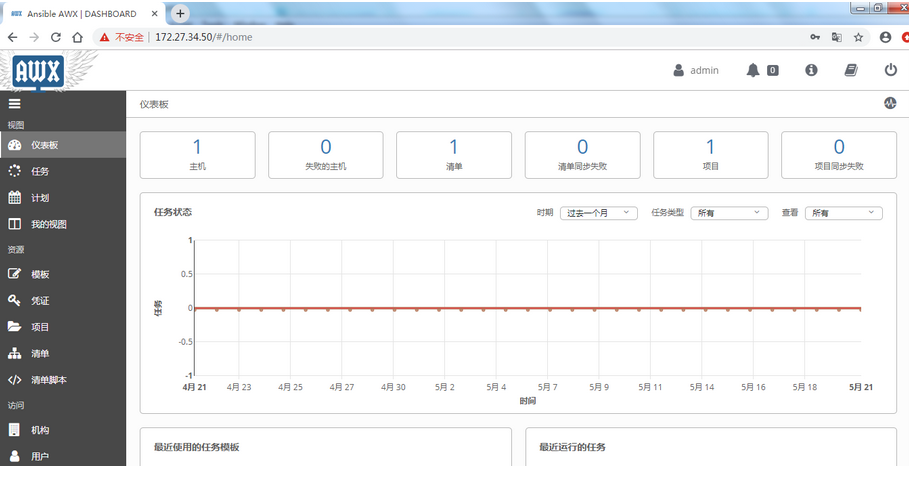
八、awx实践
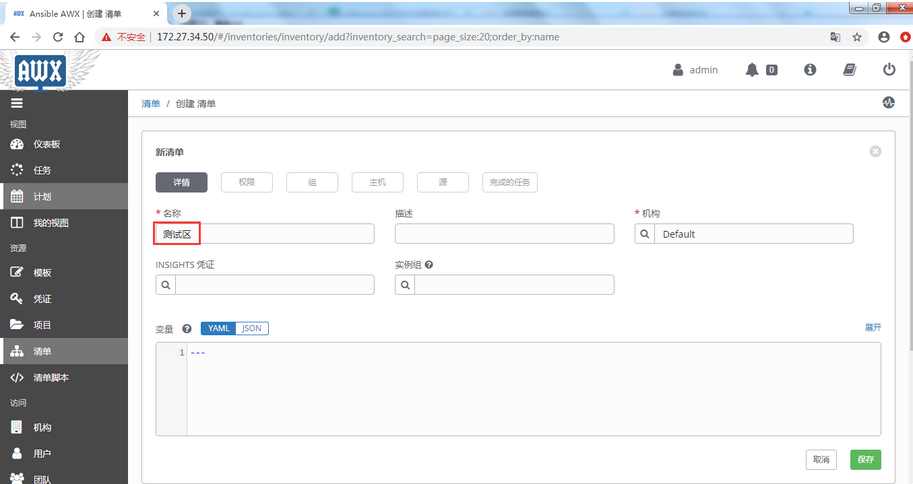
新增清单
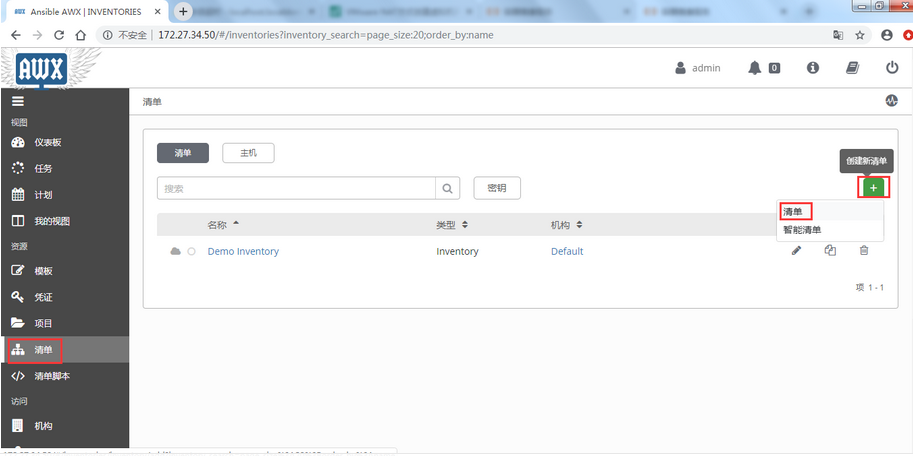
清单名称为测试区
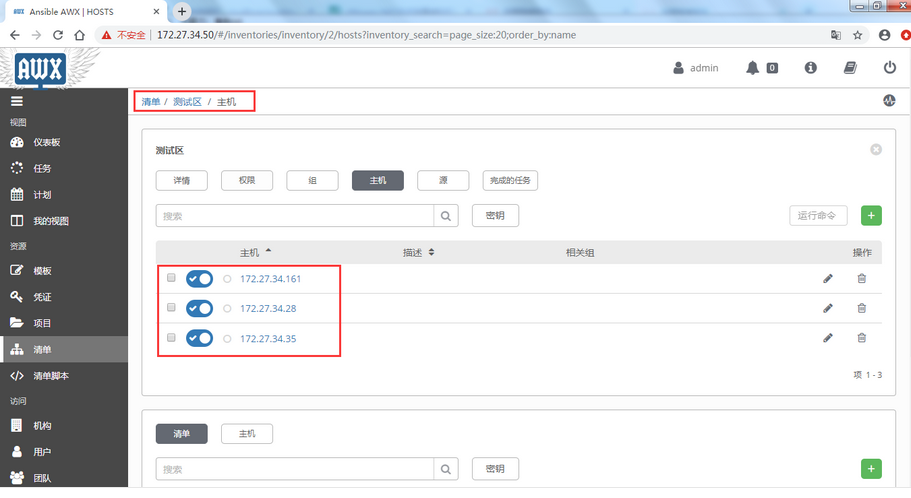
创建主机
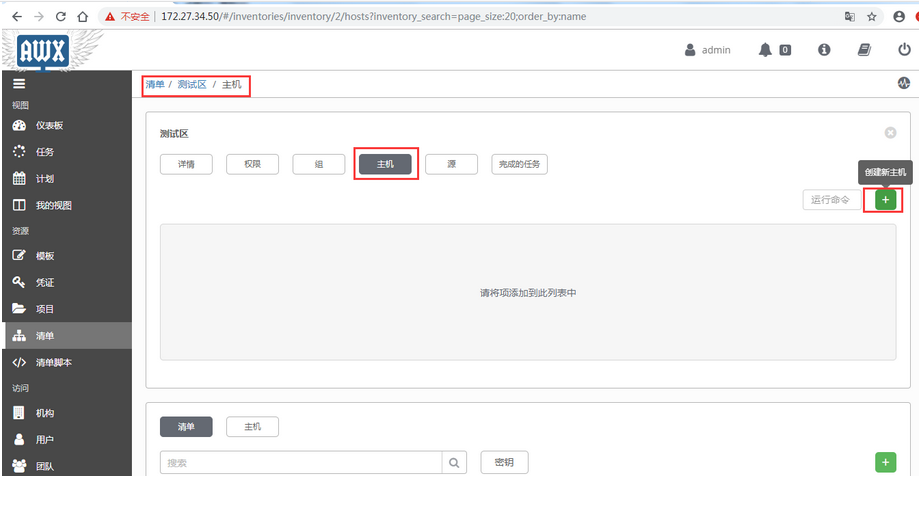
分别新增被管主机172.27.34.28/35/161,指定登录用户和密码
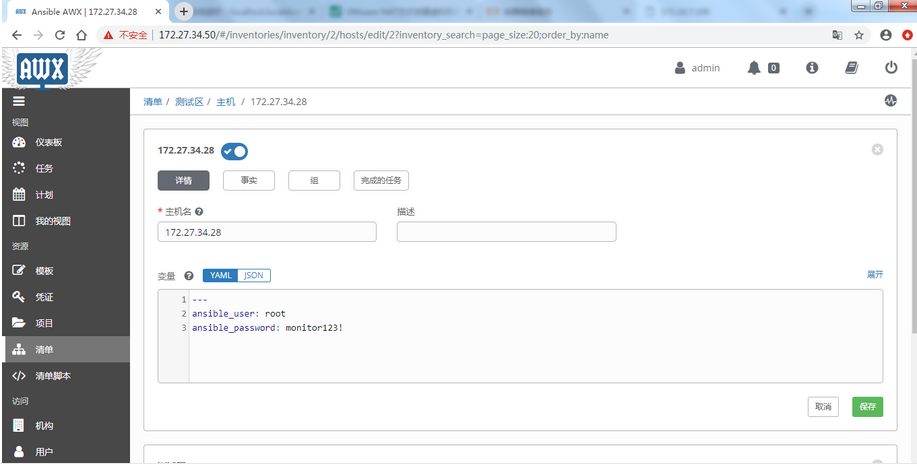
主机新增完毕
执行命令
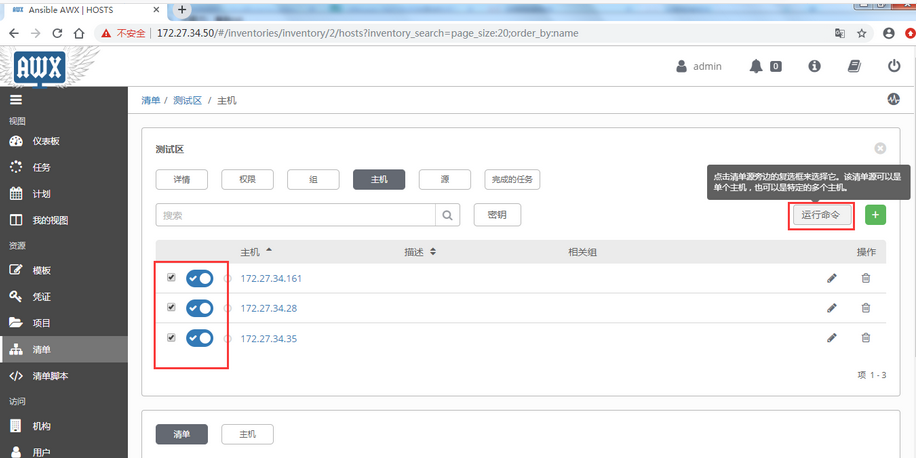
查看各被管主机用户
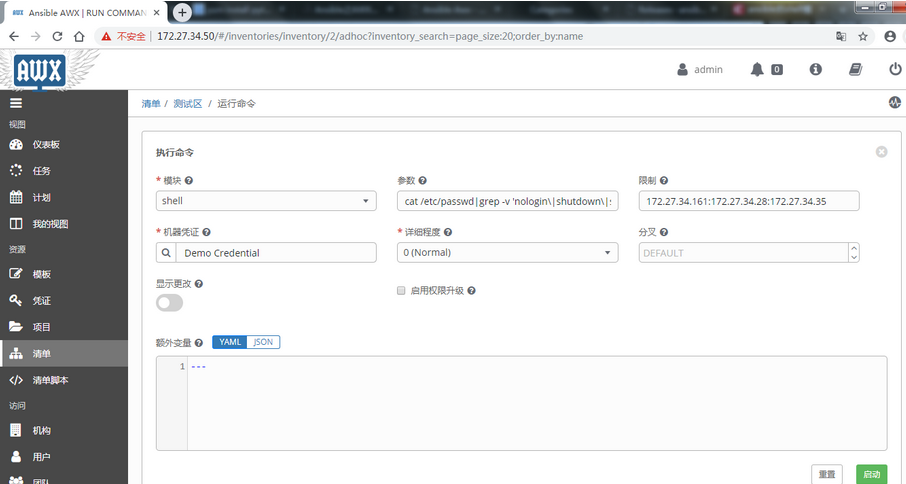
参数为:cat /etc/passwd|grep -v 'nologin|shutdown|sync|halt'|awk -F : '{print $1}'
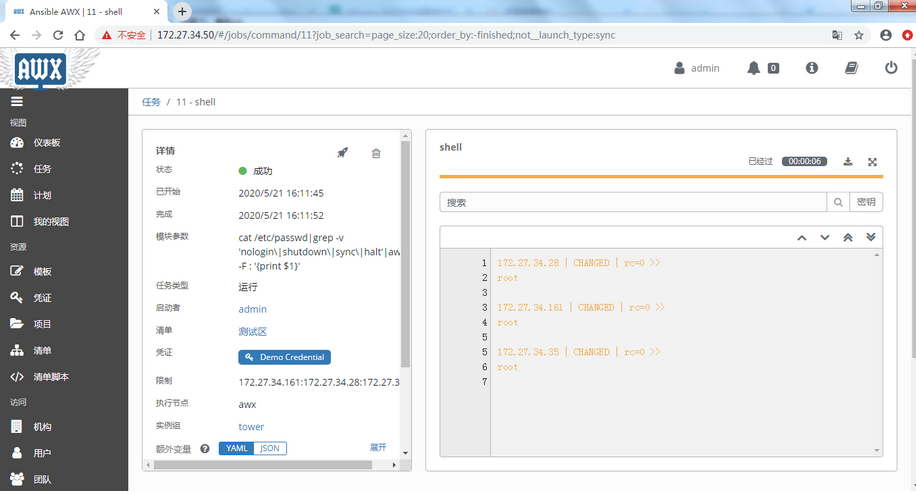
命令执行完成


 1520
1520


 被折叠的 条评论
为什么被折叠?
被折叠的 条评论
为什么被折叠?
 到【灌水乐园】发言


