


参考:java中图片与二维数组的互相转换,ARGB与RGB的互相转换_HJ他说他在笑_新浪博客
JAVA实现本地文件批量重命名 - 景向后山的博客 - CSDN博客
起因:帮学长预处理做一个图像识别的卷积神经网络的训练集。
首先学长发来200张658*492的tiff图片文件。我一开始直接用java进行读取,一直读取不了,后来才发现jdk源码是不支持tiff图片文件的读取的,需要引入其它的jar包,感觉比较麻烦。所以我直接下载了一个图片转换软件进行转换:
这类成型的软件还是比较好用的,有批处理能力,比起网上在线的转换好多了。后面发现还可以直接使用matlab或者python进行转换,调调api就可以了,这样就不用下载软件了。
然后我就全部转换成了jpg文件。
刚开始想着不太熟悉,所以先转一张图片试试。
总体思路:我比较熟悉数组操作图片。我已打算把图片转化为数组,然后进行数组的分割,然后再把小数组转化为图片。
1.首先先读取图片。
public static BufferedImage readImage(String imageFile) {
		File file = new File(imageFile);
		BufferedImage bf = null;
		try {
			bf = ImageIO.read(file);
		} catch (IOException e) {
			e.printStackTrace();
		}
		return bf;
	}
这里是使用了bufferedimge进行图片的存储,java一般都是使用它来操作处理图片。
ImageIO.read(file) 读取图片文件。
2.图片转化为数组
public static int[][] convertImageToArray(BufferedImage bf) {
		// 获取图片宽度和高度
		int width = bf.getWidth();
		int height = bf.getHeight();
		// 将图片sRGB数据写入一维数组
		int[] data = new int[width * height];
		bf.getRGB(0, 0, width, height, data, 0, width);
		// 将一维数组转换为为二维数组
		int[][] rgbArray = new int[height][width];
		for (int i = 0; i < height; i++)
			for (int j = 0; j < width; j++)
				rgbArray[i][j] = data[i * width + j];
		return rgbArray;
	}
函数输入为bufferedimage,返回为一个int类型的二维数组。数组里的值表示这个像素点的RGB值,入如果不理解的可以另外了解。
这里是有个api:bf.getRGB(0, 0, width, height, data, 0, width); 它的作用是读取bufferedimage的像素值存取进一个一维数组里面,这是封装好了的。然后把一维数组按照计划转成二维数组。
3.我这里先不进行切割,直接再把二维数组转成图片,验证代码是否正确。大家可以输出二维数组进行观察理解。
public static void writeImageFromArray(String imageFile, String type, int[][] rgbArray) {
		// 获取数组宽度和高度
		int width = rgbArray[0].length;
		int height = rgbArray.length;
		// 将二维数组转换为一维数组
		int[] data = new int[width * height];
		for (int i = 0; i < height; i++)
			for (int j = 0; j < width; j++)
				data[i * width + j] = rgbArray[i][j];
		// 将数据写入BufferedImage
		BufferedImage bf = new BufferedImage(width, height, BufferedImage.TYPE_INT_BGR);
		bf.setRGB(0, 0, width, height, data, 0, width);
		// 输出图片
		try {
			File file = new File(imageFile);
			ImageIO.write((RenderedImage) bf, type, file);
		} catch (IOException e) {
			e.printStackTrace();
		}
	}
有了前面的基础,相信大家非常好理解这段代码了,我验证成功,所以没问题。
4.看主函数。
public static void main(String[] args) {
		// 读取图片到BufferedImage
		BufferedImage bf = readImage("d:jpgfile1.jpg");// 这里写你要读取的绝对路径+文件名
		// 将图片转换为二维数组
		int[][] rgbArray1 = convertImageToArray(bf);
		// 输出图片到指定文件
		writeImageFromArray("d:2.jpg", "jpg", rgbArray1);// 这里写你要输出的绝对路径+文件名
		System.out.println("图片输出完毕!");
	}
操作成功,没什么问题。
然后我开始进行我的批量图片切割:
由于492*658不合适28*28的匹配,所以我先整体切割成476*644的图,然后一张图片就会出来23 * 17=391张图片 200张图片一共分割成78200张小图片。
我另外封装了切割图片大小的函数:
public static BufferedImage resize(BufferedImage bi) {
		BufferedImage subimage = bi.getSubimage(0, 0, 644, 476);
		return subimage;
	}
这个函数的关键就是bi.getSubimage,它就是直接截取图片,java的0,0图片坐标是在左上角。大家理解一下动动手就可以了。
这里使用了ImageToArrayUtils工具类,这是参考前面链接里的工具类写的。
也就是封装了操作图片数组的函数,这样调用起来比较方便。
我的完整代码如下:
public static void main(String[] args) {
		int k = 0;
		for (int fff = 0; fff < 200; fff++) {
			// if (fff == 6 || fff == 26 || fff == 38 || fff == 59 || fff == 61
			// || fff == 64)
			// continue; 这段代码是我后来发现里面图片的命名是会缺少的,并不是完整的,所以后面进行了批量的文件重命名
			System.out.println(fff);
			BufferedImage bi = ImageToArrayUtils.readImage("d:jpgfile" + fff + ".jpg");
			bi = ImageToArrayUtils.resize(bi);
			// 将图片转换为二维数组

			int[][] rgbArray = ImageToArrayUtils.convertImageToArray(bi);
			// 高476 宽644
			System.out.println(rgbArray.length + " " + rgbArray[0].length);

			BufferedImage subimage = null;
			int[][] imageToArray = null;
			for (int i = 0; i < rgbArray[0].length - 1; i = i + 28) {
				for (int j = 0; j < rgbArray.length - 1; j = j + 28) {
					// System.out.println(i + " " + j);
					subimage = bi.getSubimage(i, j, 28, 28);
					imageToArray = ImageToArrayUtils.convertImageToArray(subimage);
					ImageToArrayUtils.writeImageFromArray("d:jpgsonfile" + k++ + ".jpg", "jpg", imageToArray);
				}

			}
		}
	}
首先前一部分是读取图片里的每一张图片,然后转化为二维数组,后来发现其实没必要这样的,用file类就可以把文件名全部存取进数组中,这样更方便,当时一下子没想到。
然后就是两个for循环,巧妙地利用getSubimage进行获取小图片,然后再将图片转化为数组,然后再将数组转化成图片。这里是使用api方便,所以这样写,大家可以直接将获取的小图片进行存储即可,没必要再转化成数组,有相应的api左这件事情。
这个工具类和前面的差不多,之类拿出来吧:
public class ImageToArrayUtils {
	public static BufferedImage readImage(String imageFile) {

		File file = new File(imageFile);

		BufferedImage bf = null;

		try {

			bf = ImageIO.read(file);

		} catch (IOException e) {

			e.printStackTrace();

		}

		return bf;

	}

	public static void writeImageFromBufferedImage(String imageFile, String type, BufferedImage bf) {

		File file = new File(imageFile);

		try {

			ImageIO.write((RenderedImage) bf, type, file);

		} catch (IOException e) {

			e.printStackTrace();

		}

	}

	public static int[][] convertImageToArray(BufferedImage bf) {

		// 获取图片宽度和高度

		int width = bf.getWidth();

		int height = bf.getHeight();
		// System.out.println("宽=" + width + " 高=" + height);

		// 将图片sRGB数据写入一维数组

		int[] data = new int[width * height];

		bf.getRGB(0, 0, width, height, data, 0, width);

		// 将一维数组转换为为二维数组

		int[][] rgbArray = new int[height][width];

		for (int i = 0; i < height; i++)

			for (int j = 0; j < width; j++)

				rgbArray[i][j] = data[i * width + j];

		return rgbArray;

	}

	public static int[][] convertImageToArrayByCoordinate(BufferedImage bf, int startX, int startY, int outWidth,
			int outHeight) {

		// 获取图片宽度和高度

		int width = bf.getWidth();

		int height = bf.getHeight();

		// 判断截取区域是否大于图片

		if (outWidth + startX > width || outHeight + startY > height)

			throw new IllegalArgumentException("截取区域大于图片");

		// 将图片sRGB数据写入一维数组

		int[] data = new int[outWidth * outHeight];

		bf.getRGB(startX, startY, outWidth, outHeight, data, 0, outWidth);

		// 将一维数组转换为为二维数组

		int[][] rgbArray = new int[outHeight][outWidth];

		for (int i = 0; i < outHeight; i++)

			for (int j = 0; j < outWidth; j++)

				rgbArray[i][j] = data[i * outWidth + j];

		return rgbArray;

	}

	public static void writeImageFromArray(String imageFile, String type, int[][] rgbArray) {

		// 获取数组宽度和高度

		int width = rgbArray[0].length;

		int height = rgbArray.length;

		// 将二维数组转换为一维数组

		int[] data = new int[width * height];

		for (int i = 0; i < height; i++)

			for (int j = 0; j < width; j++)

				data[i * width + j] = rgbArray[i][j];

		// 将数据写入BufferedImage

		BufferedImage bf = new BufferedImage(width, height, BufferedImage.TYPE_INT_BGR);

		bf.setRGB(0, 0, width, height, data, 0, width);

		// 输出图片

		try {

			File file = new File(imageFile);

			ImageIO.write((RenderedImage) bf, type, file);

		} catch (IOException e) {

			e.printStackTrace();

		}

	}

	public static int[] convertARGBToRGB(int ARGB) {

		int[] rgb = new int[3];

		rgb[0] = (ARGB & 0xff0000) >> 16;

		rgb[1] = (ARGB & 0xff00) >> 8;

		rgb[2] = (ARGB & 0xff);

		return rgb;

	}

	public static int convertRGBToARGB(int r, int g, int b) {
		int color = ((0xFF << 24) + (r << 16) + (g << 8) + b);
		return color;
	}

	public static BufferedImage resize(BufferedImage bi) {
		BufferedImage subimage = bi.getSubimage(0, 0, 644, 476);
		return subimage;
	}

}
然后就ok完事了。
然后说一下文件的批量重命名:
这个是我发现名字不好读取,所以想写个脚本批量修改:参考的链接贴在上面:
public class ChangeName2 {
	public static String[] getFileName(String path) {
		File file = new File(path);
		String[] fileName = file.list();
		return fileName;
	}

	public static void renameFile(String path, String oldname, String newname) {
		if (!oldname.equals(newname)) {// 新的文件名和以前文件名不同时,才有必要进行重命名
			File oldfile = new File(path + "" + oldname);
			File newfile = new File(path + "" + newname);
			if (!oldfile.exists()) {
				return;// 重命名文件不存在
			}
			if (newfile.exists())// 若在该目录下已经有一个文件和新文件名相同,则不允许重命名
				System.out.println(newname + "已经存在!");
			else {
				oldfile.renameTo(newfile);
			}
		} else {
			System.out.println("新文件名和旧文件名相同...");
		}
	}

	public static void main(String[] args) {
		String[] fileName = getFileName("d:jpgfile");// <span
														// style="font-family:
														// Arial,
														// Helvetica,
														// sans-serif;">此处修改为你的本地路径</span>
		for (int i = 0; i < fileName.length; i++) {
			renameFile("d:jpgfile", fileName[i], i + ".jpg");// cx修改为你要修改的文件名格式
		}
	}

}
这个函数经过测试,没啥毛病。主要都是文件类的api都写得很不错了,重命名啥的都有,直接调用就行了。
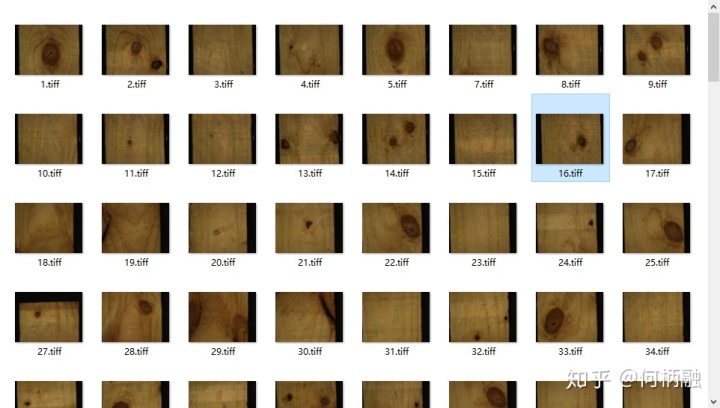
下面是缺少6.tiff的
下面是重命名后的:
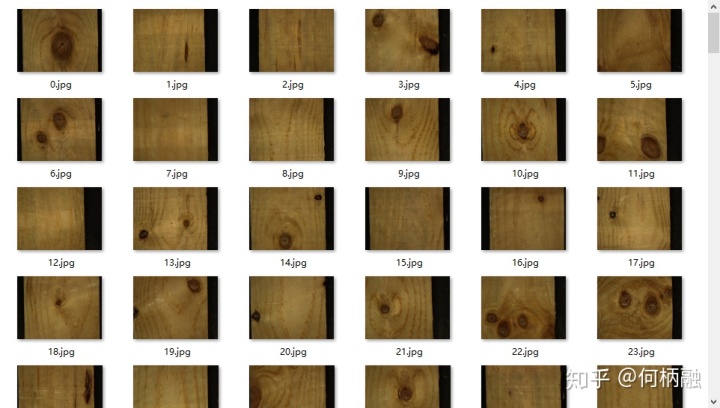
效果不错。
然后看一下我最后切割出来的成果:
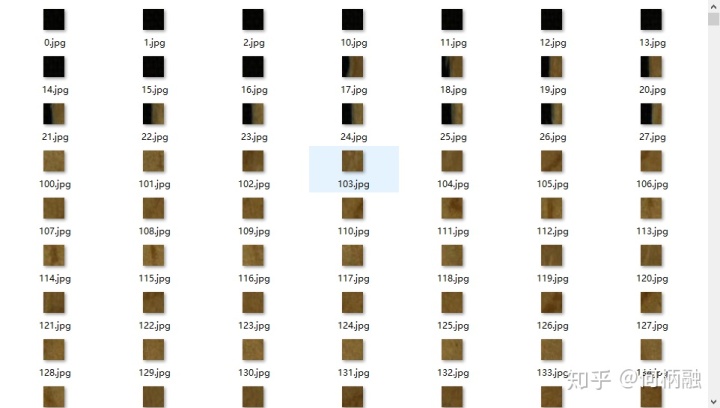
基本上算把训练集做好了。
学长说使用matlab和python处理图片会方便很多,我也是想熟悉一下java在这方面的api。所以在知乎上记录一下自己的收获。


 3472
3472


 被折叠的 条评论
为什么被折叠?
被折叠的 条评论
为什么被折叠?
 到【灌水乐园】发言


