


开篇
每一个PHP程序员基本都有一段学JAVA的艰辛之路,不管是正在学JAVA还是已经放弃学JAVA的猿/媛,都被JAVA折磨过,同样,我也正在被折磨。。。
用该系列文章记录我被折磨后的成果。
学习方法分享
我要分享的学习方法很简单,一个字:干
很简单粗暴的方式,其实学习最好的方式就是输出,所以我会经常写博文,分享我学到的东西,只要把学习到的东西输出出来,才会深刻。
工具准备
Intellij IDEA
Navicat
Docker
环境准备
搭建完成java环境
搭建完成mysql数据库
Spring Boot项目搭建
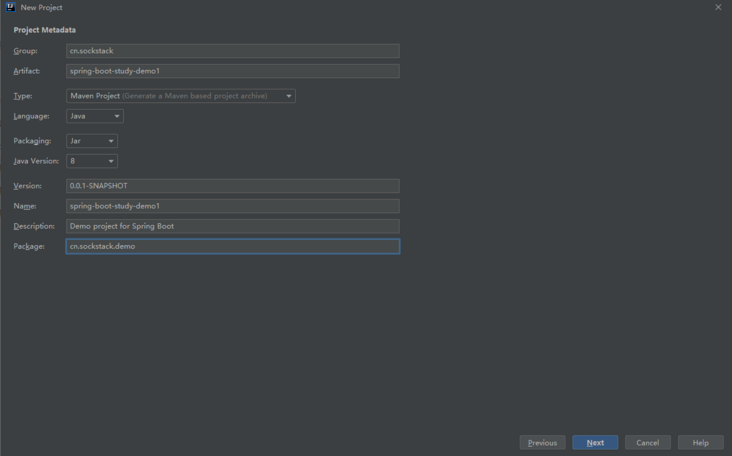
打开IDEA,新建一个项目:

填写项目参数:
添加spring web starter依赖:
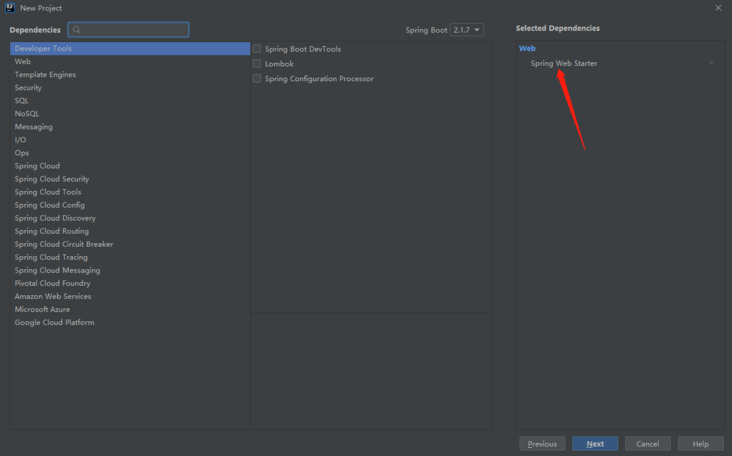
点击next等待加载依赖完成
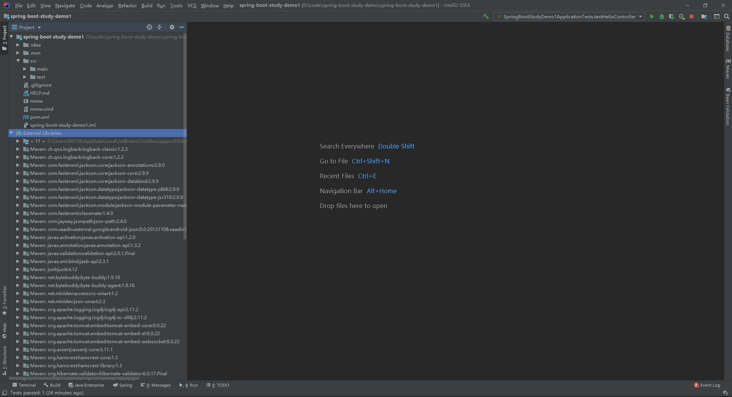
出现该页面证明依赖加载完成。
编写代码
打开SpringBootStudyDemo1Application文件输入如下代码:
package cn.sockstack.demo;
import org.springframework.boot.SpringApplication;
import org.springframework.boot.autoconfigure.SpringBootApplication;
import org.springframework.web.bind.annotation.GetMapping;
import org.springframework.web.bind.annotation.RestController;
@SpringBootApplication
//使用restful风格的controller
@RestController
public class SpringBootStudyDemo1Application {
public static void main(String[] args) {
SpringApplication.run(SpringBootStudyDemo1Application.class, args);
}
//添加'/'路由,输出hello SockStack!
@GetMapping("/")
public String hello() {
return "hello SockStack!";
}
}
添加测试代码
在spring-boot-study-demo1\src\test\java\cn\sockstack\demo\SpringBootStudyDemo1ApplicationTests.java添加如下代码:
package cn.sockstack.demo;
import org.junit.Assert;
import org.junit.Before;
import org.junit.Test;
import org.junit.runner.RunWith;
import org.springframework.beans.factory.annotation.Autowired;
import org.springframework.boot.test.context.SpringBootTest;
import org.springframework.http.MediaType;
import org.springframework.test.context.junit4.SpringRunner;
import org.springframework.test.web.servlet.MockMvc;
import org.springframework.test.web.servlet.MvcResult;
import org.springframework.test.web.servlet.request.MockMvcRequestBuilders;
import org.springframework.test.web.servlet.setup.MockMvcBuilders;
import org.springframework.web.context.WebApplicationContext;
@RunWith(SpringRunner.class)
@SpringBootTest
public class SpringBootStudyDemo1ApplicationTests {
@Autowired
private WebApplicationContext webApplicationContext;
private MockMvc mockMvc;
@Before
public void buildMockMvc() {
mockMvc = MockMvcBuilders.webAppContextSetup(webApplicationContext).build();
}
@Test
public void testHelloController() throws Exception {
MvcResult mvcResult = mockMvc.perform(MockMvcRequestBuilders.get("/").accept(MediaType.TEXT_HTML_VALUE)).andReturn();
int status = mvcResult.getResponse().getStatus();
String contentAsString = mvcResult.getResponse().getContentAsString();
Assert.assertEquals(200, status);
Assert.assertEquals("hello SockStack!", contentAsString);
}
}
启动测试,测试结果:

测试通过,同样也可以在浏览器打开127.0.0.1:8080,查看结果
更多精彩文章,请关注我的博客SOCKSTACK,分享我的工作经验。


 328
328


 被折叠的 条评论
为什么被折叠?
被折叠的 条评论
为什么被折叠?
 到【灌水乐园】发言


