


本文讲解liunx环境安装MySQL集群的第一步安装MySQL服务,如下:
本来想安装一主一备两从的,本人目前机器不足哦,只准备了三台机器。望见谅。
| IP | 系统 | MySQL版本 | 节点 |
|---|---|---|---|
| 172.16.186.161 | Centos7.6 | 8.0 | 主 |
| 172.16.186.162 | Centos7.6 | 8.0 | 备 |
| 172.16.186.163 | Centos7.6 | 8.0 | 从 |
我这里默认三台机器都没安装MySQL 。
如果你们有安装MySQL 的话,可以先卸载,这里就不讲解卸载的方式了,可自行百度。
首先去官方网站下载最新版本:
MySQL官方地址
我们选择liunx 通用,进行下载就好了。
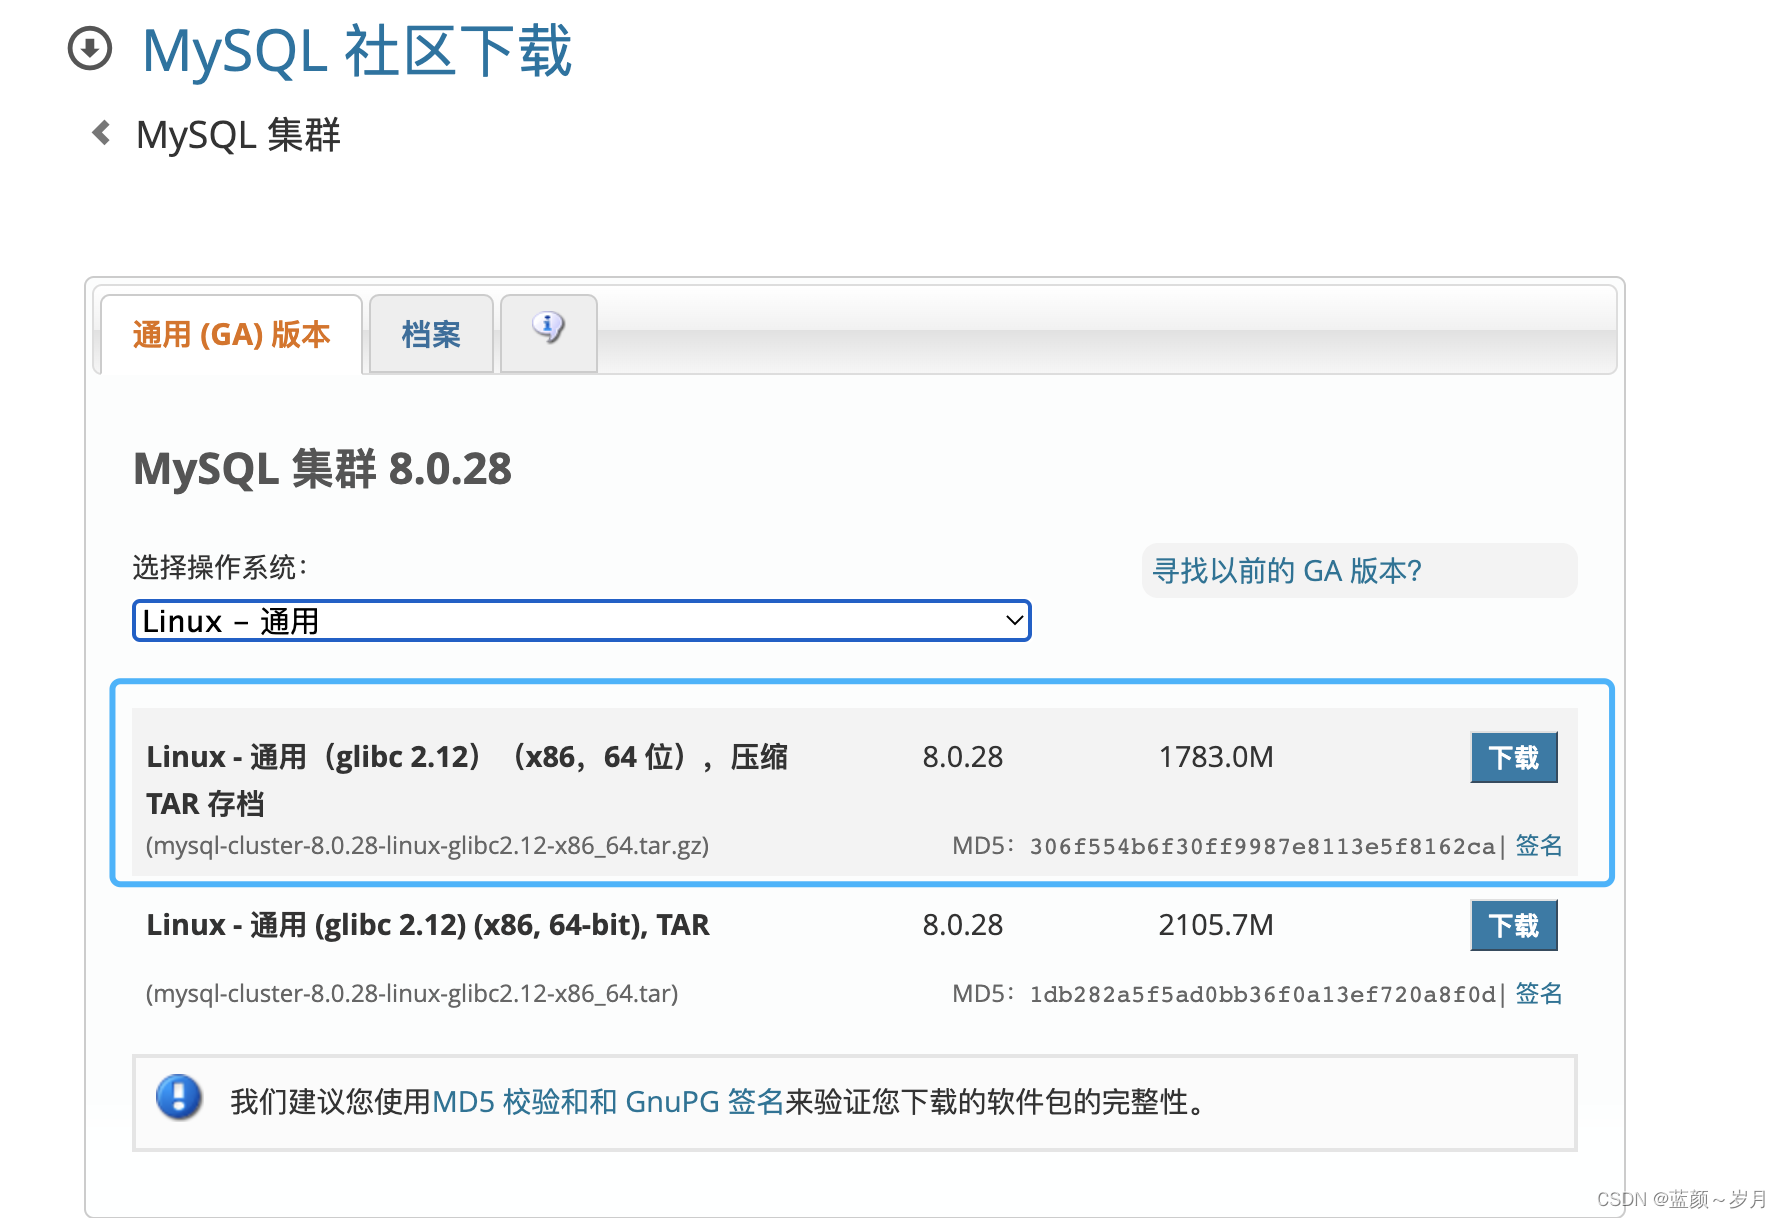
下载好了,将包上传到你的服务器上。
我这里就通过 scp 工具上传
$ scp mysql-cluster-8.0.28-linux-glibc2.12-x86_64.tar.gz root@172.16.185.163:/usr/local/src
下面我们开始安装:
这里我只演示一台服务器的安装,其它两台时一样的操作。
#1.解压:
[root@主 src]# tar -zxvf mysql-cluster-8.0.28-linux-glibc2.12-x86_64.tar.gz
[root@主 src]# ls
mysql-cluster-8.0.28-linux-glibc2.12-x86_64
mysql-cluster-8.0.28-linux-glibc2.12-x86_64.tar.gz
#2.将解压下的目录重命名mysql
[root@主 src]# mv mysql-cluster-8.0.28-linux-glibc2.12-x86_64 mysql
#然后将mysql 目录移到你想要的目录下,我这里是移到local下
[root@主 mysql]# pwd
/usr/local/mysql
#我们可以看到mysql 目录下的文件及目录
[root@主 mysql]# ls
bin  docs  include  lib  LICENSE  man  README  share  support-files
#3.我们在mysql 目录下创建 data目录【存储文件】
[root@主 mysql]# mkdir data
#4.创建用户组以及用户和密码
[root@主 mysql]# groupadd mysql
[root@主 mysql]# useradd -g mysql mysql
#5.授权用户 chown -R mysql.mysql /usr/local/mysql
[root@主 mysql]# chown -R mysql.mysql /usr/local/mysql
#切换到bin 目录下
[root@主 mysql]# cd bin/
#6.初始化基础信息
[root@主 bin]# ./mysqld --user=mysql --basedir=/usr/local/mysql --datadir=/usr/local/mysql/data/ --initialize
2022-03-05T07:49:30.424376Z 0 [Warning] [MY-011070] [Server] 'Disabling symbolic links using --skip-symbolic-links (or equivalent) is the default. Consider not using this option as it' is deprecated and will be removed in a future release.
2022-03-05T07:49:30.424858Z 0 [System] [MY-013169] [Server] /usr/local/mysql/bin/mysqld (mysqld 8.0.28-cluster) initializing of server in progress as process 7565
2022-03-05T07:49:30.443261Z 1 [System] [MY-013576] [InnoDB] InnoDB initialization has started.
2022-03-05T07:49:30.984264Z 1 [System] [MY-013577] [InnoDB] InnoDB initialization has ended.
2022-03-05T07:49:32.837028Z 6 [Note] [MY-010454] [Server] A temporary password is generated for root@localhost: w8JEll;yTU:X

#得到临时密码 记录一下。
#7.打开my.cnf 文件修改配置
[root@主 bin]# vi /etc/my.cnf
#[mysqld]
datadir=/var/lib/mysql
socket=/var/lib/mysql/mysql.sock
# Disabling symbolic-links is recommended to prevent assorted security risks
symbolic-links=0
# Settings user and group are ignored when systemd is used.
# If you need to run mysqld under a different user or group,
# customize your systemd unit file for mariadb according to the
# instructions in http://fedoraproject.org/wiki/Systemd

[mysqld_safe]
log-error=/var/log/mariadb/mariadb.log
pid-file=/var/run/mariadb/mariadb.pid

#
# include all files from the config directory
#
!includedir /etc/my.cnf.d


#8.注释【mysqld_safe】
#[mysqld_safe]
#log-error=/var/log/mariadb/mariadb.log
#pid-file=/var/run/mariadb/mariadb.pid
#修改信息
basedir=/usr/local/mysql/
datadir=/usr/local/mysql/data/
socket=/tmp/mysql.sock
character-set-server=UTF8MB4
#保存文件
#再次查看
[root@主 bin]# vi /etc/my.cnf
[mysqld]
basedir=/usr/local/mysql/
datadir=/usr/local/mysql/data/
socket=/tmp/mysql.sock
character-set-server=UTF8MB4
# Disabling symbolic-links is recommended to prevent assorted security risks
symbolic-links=0
# Settings user and group are ignored when systemd is used.
# If you need to run mysqld under a different user or group,
# customize your systemd unit file for mariadb according to the
# instructions in http://fedoraproject.org/wiki/Systemd

#[mysqld_safe]
#log-error=/var/log/mariadb/mariadb.log
#pid-file=/var/run/mariadb/mariadb.pid

#
# include all files from the config directory
#
!includedir /etc/my.cnf.d


#9.切换到上级目录,添加mysqld服务到系统
[root@主 mysql]# cp -a ./support-files/mysql.server /etc/init.d/mysql

#10.授权以及添加服务
[root@主 mysql]# chmod +x /etc/init.d/mysql
[root@主 mysql]# chkconfig --add mysql

#11.启动mysql
[root@主 mysql]# service mysql start
Starting MySQL.Logging to '/usr/local/mysql/data/主.err'.
 SUCCESS!
#查看状态
[root@主 mysql]# service mysql status
 SUCCESS! MySQL running (7960)
#12.将mysql命令添加到服务
[root@主 mysql]# ln -s /usr/local/mysql/bin/mysql /usr/bin

#13.登录mysql
[root@主 mysql]# mysql -uroot -p 密码使用之前随机生成的密码
Enter password:
Welcome to the MySQL monitor.  Commands end with ; or \g.
Your MySQL connection id is 9
Server version: 8.0.28-cluster

Copyright (c) 2000, 2022, Oracle and/or its affiliates.

Oracle is a registered trademark of Oracle Corporation and/or its
affiliates. Other names may be trademarks of their respective
owners.

Type 'help;' or '\h' for help. Type '\c' to clear the current input statement.

mysql>


#14.修改root密码 ALTER USER 'root'@'localhost' IDENTIFIED WITH mysql_native_password BY '123456'; 其中123456是新的密码自己设置
mysql> ALTER USER 'root'@'localhost' IDENTIFIED WITH mysql_native_password BY '123456';
Query OK, 0 rows affected (0.00 sec)

#执行 flush privileges;  使密码生效
mysql> flush privileges;
Query OK, 0 rows affected (0.00 sec)

#使用mysql数据库
mysql> use mysql;
Reading table information for completion of table and column names
You can turn off this feature to get a quicker startup with -A

Database changed
#15.修改远程连接并生效
mysql>  update user set host='%' where user='root';
Query OK, 1 row affected (0.01 sec)
Rows matched: 1  Changed: 1  Warnings: 0
mysql>   flush privileges;
Query OK, 0 rows affected (0.00 sec)
使用Navicat 远程登陆
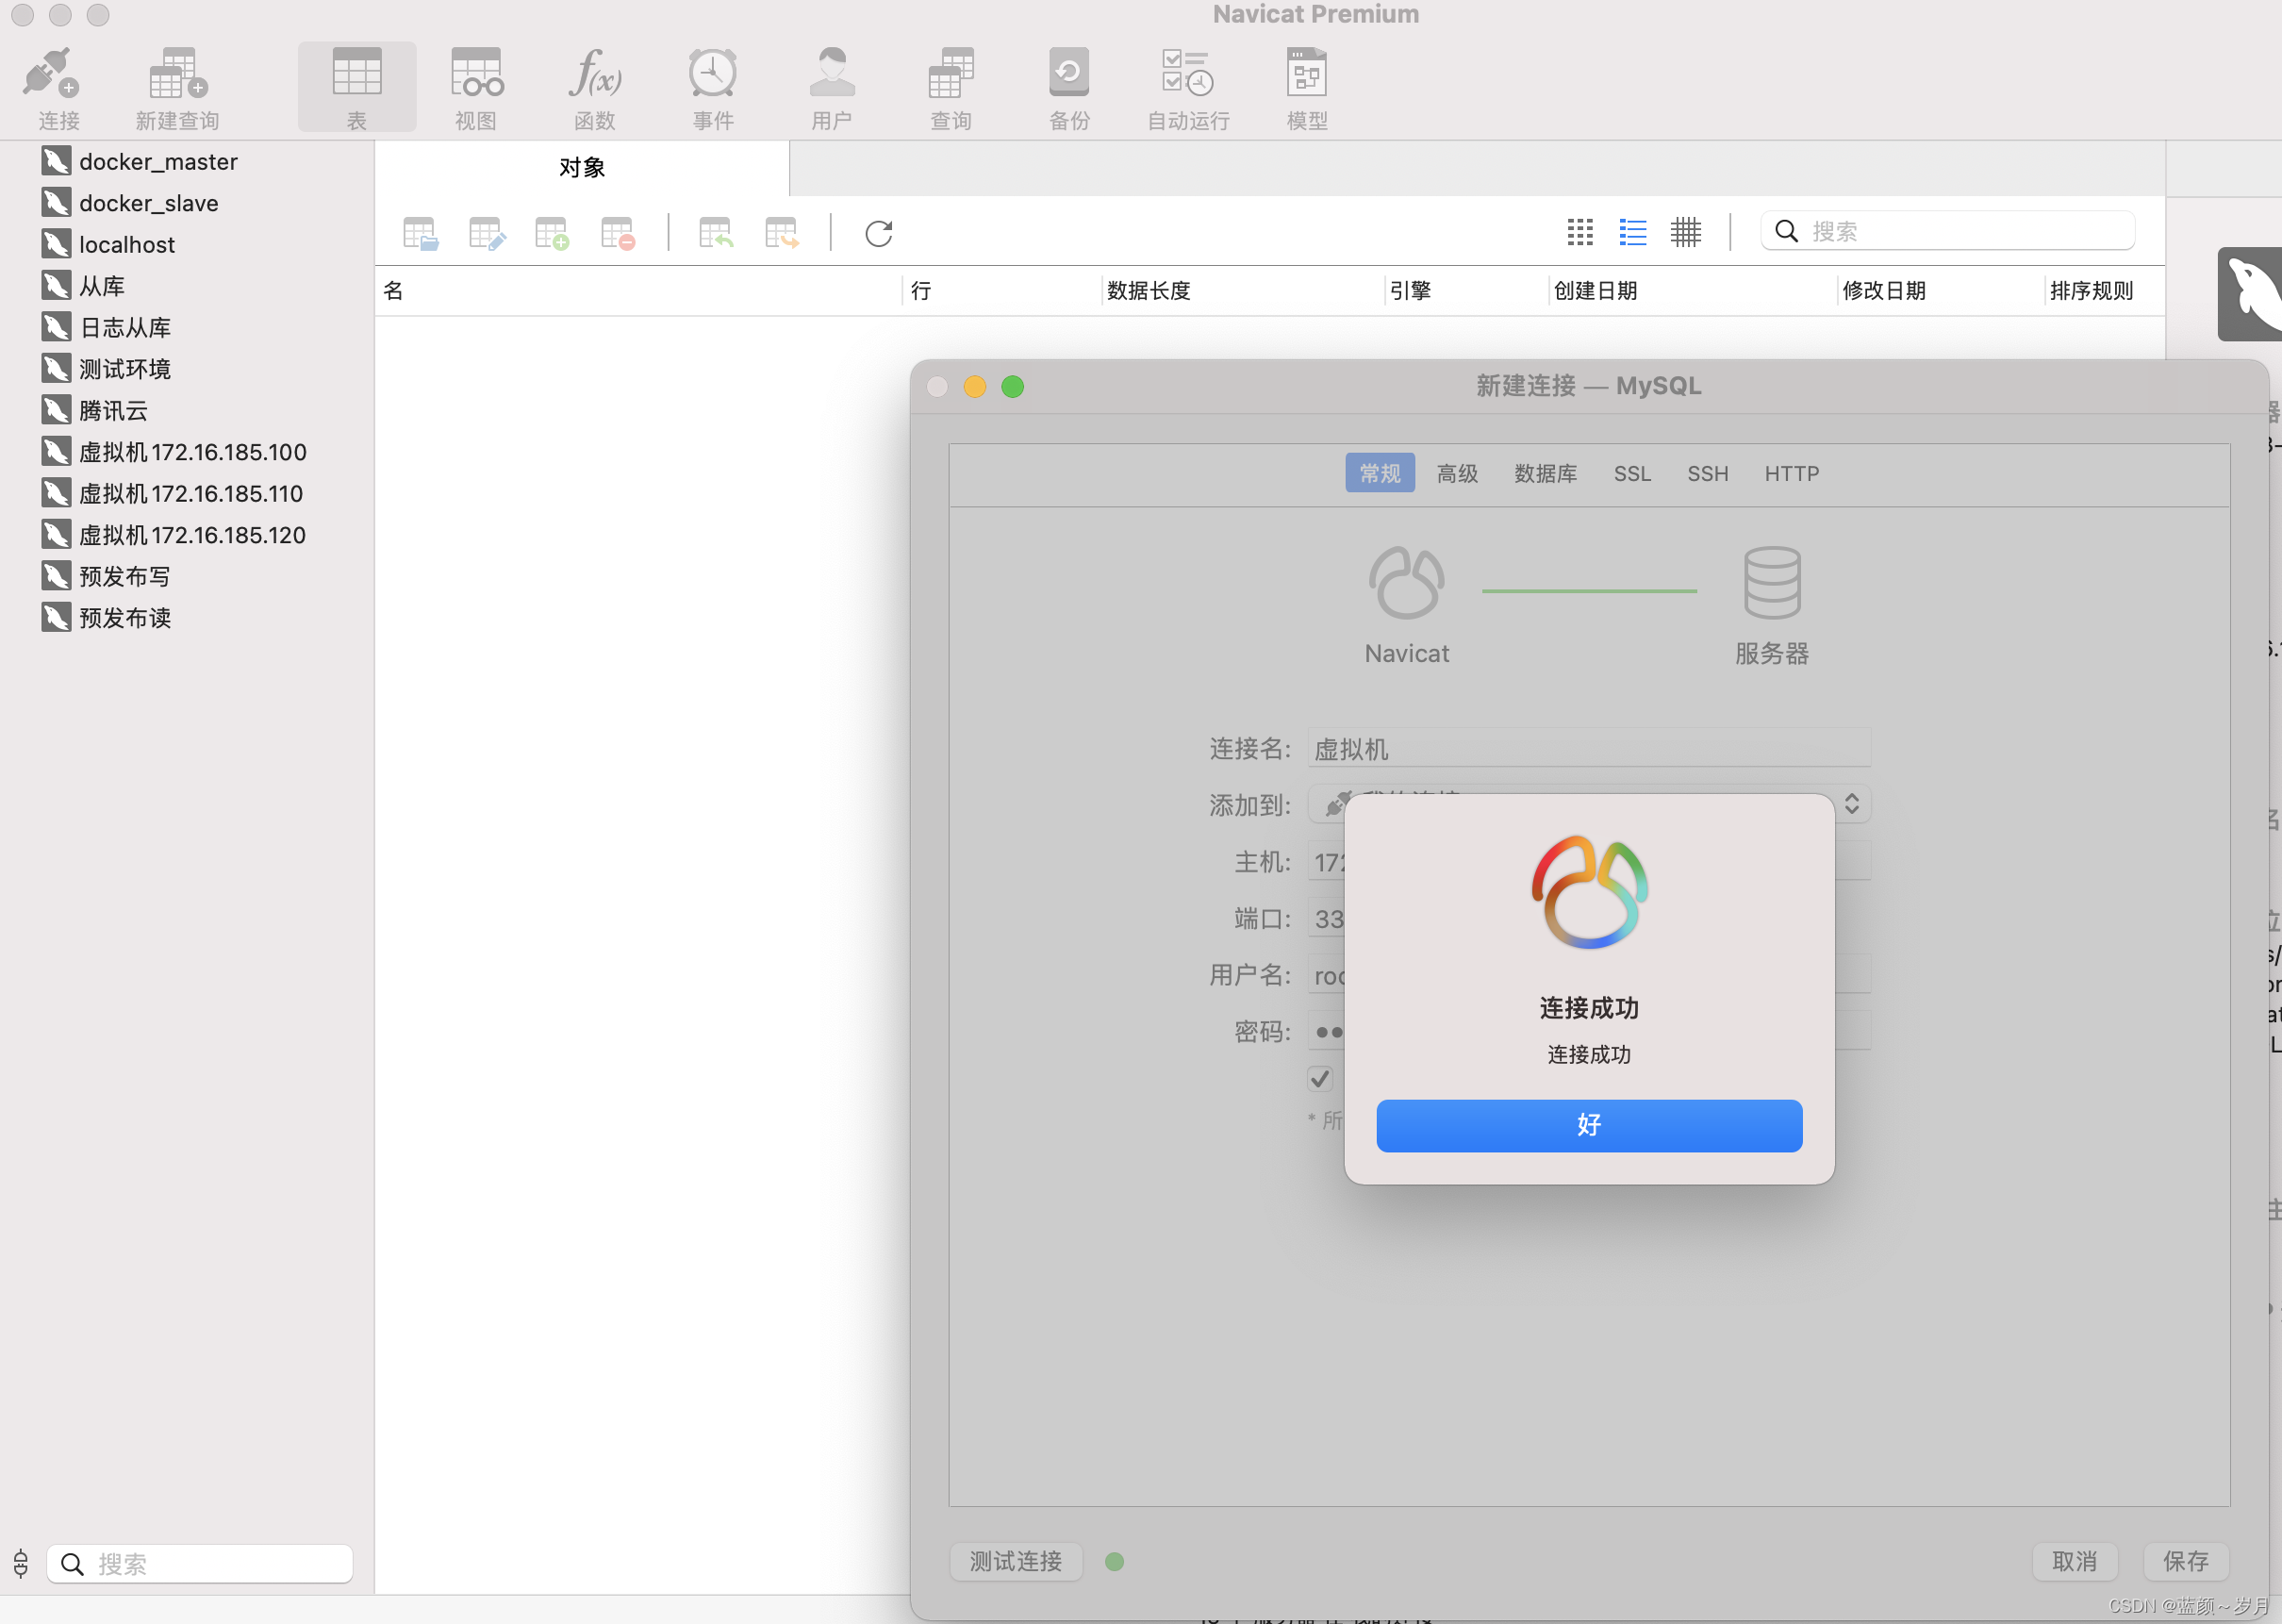
可能会报错:Can’t connect to MySQL server
这个可能是你的防火墙的问题,你关闭一下就行了:
关闭防火墙
firewall-cmd --state	    #查看防火墙状态
systemctl stop firewalld.service    	#停止firewall
systemctl disable firewalld.service    	#禁止firewall开机启动
至此三台机器安装MySQL 已完成。


 214
214


 被折叠的 条评论
为什么被折叠?
被折叠的 条评论
为什么被折叠?
 到【灌水乐园】发言


