


 本文详细介绍了如何在IntelliJ IDEA中创建一个带有Hibernate框架的Java Web项目,包括项目创建、数据库连接配置、持久化类及映射文件创建、配置文件调整以及测试过程。
Intellij IDEA创建第一个hibernate项目
环境: Intellij IDEA 2019 CI
具体步骤:
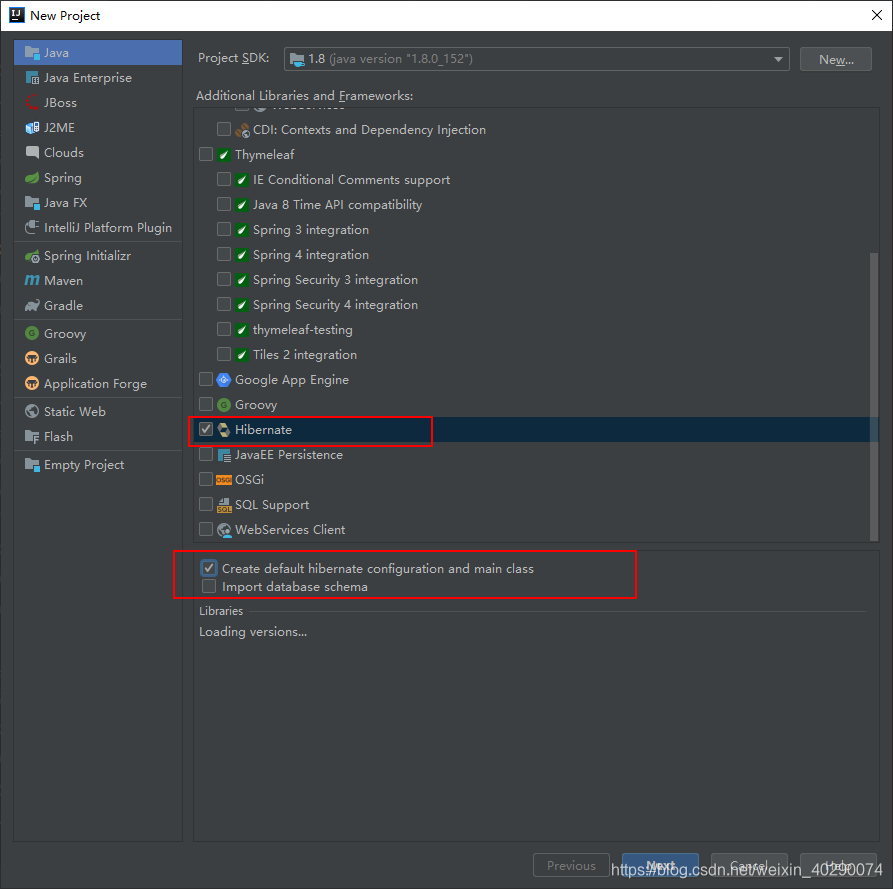
1、新建Project(此处以创建web项目为例)
- 勾选Web Application + Hibernate 同时勾选 ”Create default hibernate
configuration and main class” (当然也可以不勾选,在项目创建好后再手动创建也是一样的)
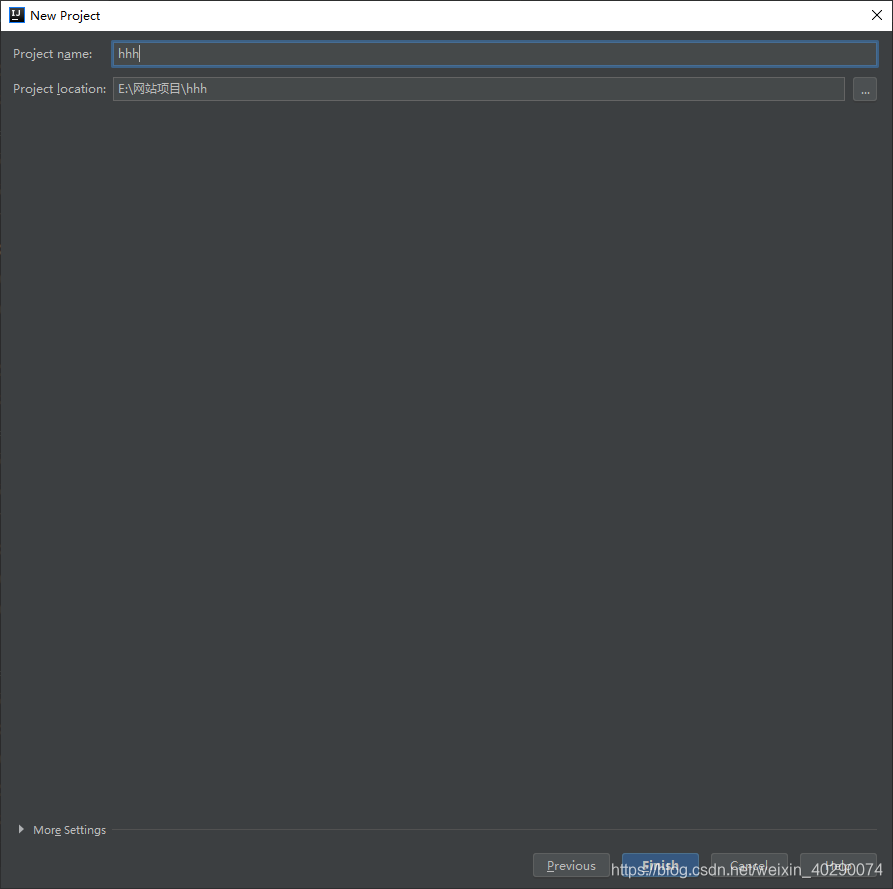
2、点击next,填写项目名称,finish
- IDEA已经帮我们创建好了hibernate.cfg.xml文件、导入了相应的jar包
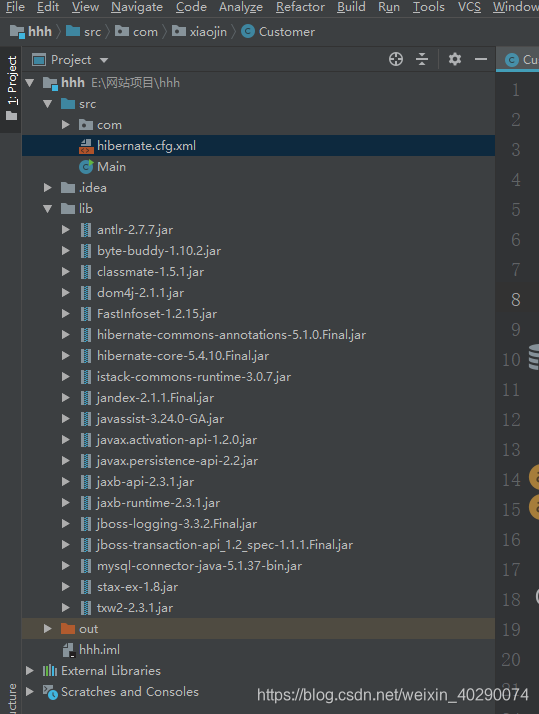
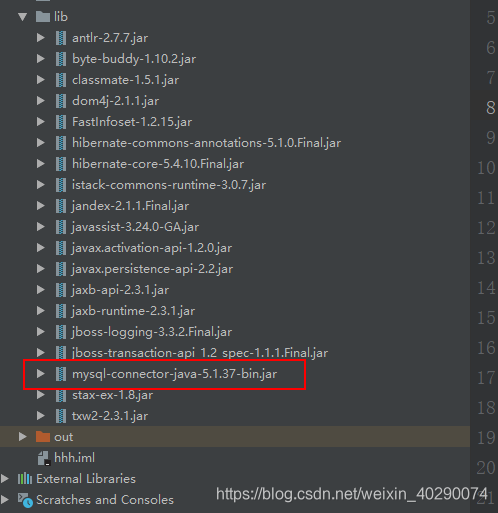
注意:此时需要自己再导入mysql的链接包
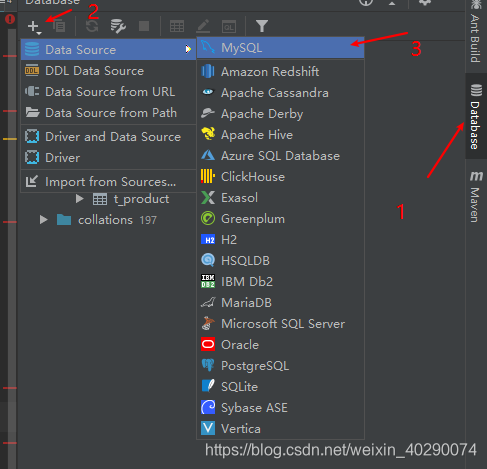
3、连接数据库(以MySQL为例)
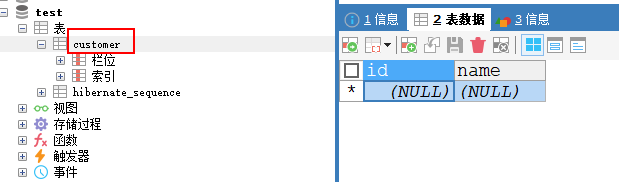
- 在连接数据库之前,需创建好数据库) 我用的是SQLyog,先创建一个customer表。
CREATE TABLE `customer` (
 `id` int(11) NOT NULL,
 `name` varchar(255) DEFAULT NULL,
 PRIMARY KEY (`id`)
) ENGINE=InnoDB DEFAULT CHARSET=utf8
注:如果遇到配置文件xml漂红的话,可以打开Idea自带的mysql数据库
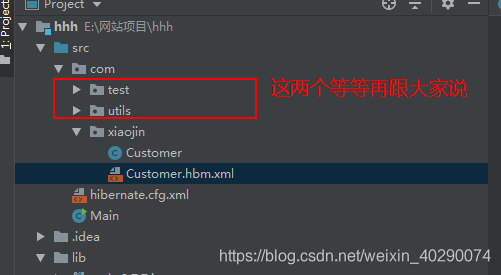
4、创建持久化类
- 持久化类满足JavaBean规范,具体路径和类字段、方法见图
package com.xiaojin;

public class Customer {

    private int id;
    private String name;

    public Customer() {
    }

    public int getId() {
        return id;
    }

    public void setId(int id) {
        this.id = id;
    }

    public String getName() {
        return name;
    }

    public void setName(String name) {
        this.name = name;
    }

    @Override
    public String toString() {
        return "Customer{" +
                "id=" + id +
                ", name='" + name + '\'' +
                '}';
    }
}
5、创建持久化类的映射文件
- Customer.hbm.xml
<?xml version="1.0" encoding="UTF-8"?>
<!DOCTYPE hibernate-mapping PUBLIC "-//Hibernate/Hibernate Mapping DTD 3.0//EN"
"http://hibernate.sourceforge.net/hibernate-mapping-3.0.dtd">
<hibernate-mapping>
<!--name:实体类名,table:对应数据库表名-->
<class name="com.xiaojin.Customer" table="customer">
<!-- 配置主键映射 -->
<!--name:实体类的属性名,column:数据库表的字段名,type:数据类型-->
<id name="id" type="java.lang.Integer">
<column name="id"></column>
<!-- 设置主键生成方式 -->
<generator class="native"></generator>
</id>
<!-- 配置其他属性 -->
<!--name:实体类的属性名,column:数据库表的字段名,type:数据类型-->
<property name="name" type="java.lang.String">
<column name="name"></column>
</property>
</class>
</hibernate-mapping>
## ```6、创建hibernate配置文件
**因为在新建项目的时候已经自动生成了hibernate配置文件,在这里就直接进行配置即可,也可重新创建新的配置文件进行配置**
- hibernate.cfg.xml
```xml
<?xml version='1.0' encoding='utf-8'?>
<!DOCTYPE hibernate-configuration PUBLIC
"-//Hibernate/Hibernate Configuration DTD//EN"
"http://www.hibernate.org/dtd/hibernate-configuration-3.0.dtd">
<hibernate-configuration>
<session-factory>
<property name="connection.username">root</property>
<property name="connection.password">root</property>
<property name="connection.driver_class">com.mysql.jdbc.Driver</property>
<property name="connection.url">jdbc:mysql://localhost:3306/test?useUnicode=true&characterEncoding=utf-8</property>
<!-- 配置Hibernate的基本信息 -->
<!-- hibernate 所使用的数据库方言 这个是MySql5.0之前才会自动创建表-->
<property name="dialect">org.hibernate.dialect.MySQLDialect</property>
<!-- MySql5.0之后的配置-->
<!-- <property name="dialect">org.hibernate.dialect.MySQL5Dialect</property>-->
<!-- MySql5.0之后的配置 并且生成的表字符集为utf-8,这个是自己重写的方法com.utils.MySQL5DialectUTF8-->
<!-- <property name="hibernate.dialect">com.utils.MySQL5DialectUTF8</property>-->
<!-- 执行操作时是否在控制台打印 SQL -->
<property name="show_sql">true</property>
<!-- 是否对 SQL 进行格式化 -->
<property name="format_sql">true</property>
<!-- 指定是否自动生成数据库表 -->
<property name="hbm2ddl.auto">update</property>
<!-- 添加实体关系映射文件 -->
<mapping resource="com/xiaojin/Customer.hbm.xml"/>
<!-- 采用注解自动生成实体关系映射文件 -->
<!-- <mapping class="com.xiaojin.Customer"></mapping>-->
</session-factory>
</hibernate-configuration>
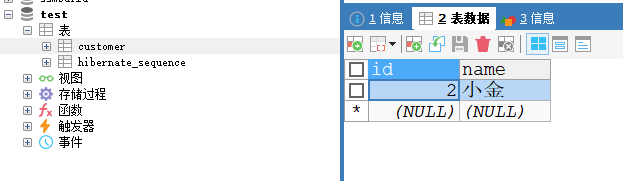
7、创建测试类并测试

- 测试类
package com.test;
import com.xiaojin.Customer;
import org.hibernate.Session;
import org.hibernate.SessionFactory;
import org.hibernate.Transaction;
import org.hibernate.cfg.Configuration;


public class Test {

    public static void main(String[] args) {
        Configuration conf=new Configuration();
        conf.configure("hibernate.cfg.xml");
        SessionFactory sessionFactory=conf.buildSessionFactory();
        Session session=sessionFactory.openSession();//创建Session
        Transaction tx=session.beginTransaction();//开启事务
        //上面这个是固定的必要的

        Customer c=new Customer();
        c.setName("小金");

        session.save(c);//执行保存
        tx.commit();//提交事务

        //关闭
        session.close();
        sessionFactory.close();

    }
}
运行成功后如同:
补充: 如果想要自动生成表的话,只要把hibernate.cfg.xml配置文件中的 hbm2ddl.auto改为update就可以了。
 <!-- 指定是否自动生成数据库表 -->
   <property name="hbm2ddl.auto">update</property>
如果出错的话请看这里: 1、hibernate.dialect改为org.hibernate.dialect.MySQL5Dialect 2、如果表中的字符集不是utf-8,自己重写一个MySQL5DialectUTF8 3、如果表中的字符集不是utf-8,jdbc:mysql://localhost:3306/test?useUnicode=true&characterEncoding=utf-8后面记得加characterEncoding=utf-8 * MySQL5DialectUTF8类
package com.utils;

import org.hibernate.dialect.MySQL5InnoDBDialect;

public class MySQL5DialectUTF8 extends MySQL5InnoDBDialect {
    @Override
    public String getTableTypeString() {
        return " ENGINE=InnoDB DEFAULT CHARSET=utf8";
    }
}
解决以上问题后,运行,就算之前没有创建customer表,hibernate也会自动创建。
使用注解
package com.xiaojin;

import javax.persistence.Entity;
import javax.persistence.GeneratedValue;
import javax.persistence.Id;
import javax.persistence.Table;

@Entity
@Table(name = "customer")
public class Customer {

    @Id
    @GeneratedValue
    private int id;
    private String name;


    public Customer() {
    }

    public int getId() {
        return id;
    }

    public void setId(int id) {
        this.id = id;
    }

    public String getName() {
        return name;
    }

    public void setName(String name) {
        this.name = name;
    }

    @Override
    public String toString() {
        return "Customer{" +
                "id=" + id +
                ", name='" + name + '\'' +
                '}';
    }
}
并且在hibernate.cfg.xml加上实体类的关系映射文件就可以了
<!-- 采用注解自动生成实体关系映射文件 -->
        <mapping class="com.xiaojin.Customer"></mapping>
以上内容如果有帮助的话,还请多多关注,如果想要看更多更加详细的博客,请到我的博客来,继续关注我,大家一起讨论学习!!


 2873
2873

 被折叠的 条评论
为什么被折叠?
被折叠的 条评论
为什么被折叠?
 到【灌水乐园】发言


