


前言
网络爬虫可以爬取网页公开显示的内容或请求接口返回的数据
网站通常拒绝爬虫访问,因此网络爬虫在向网站发送请求前需要将自己伪装成正常用户,而正常用户访问网站获取数据的步骤:
1、打开浏览器
2、输入要访问的网址发送请求,等待服务器返回数据,通过浏览器加载网页
2、从网页中找到需要的数据
3、保存需要的数据
对应到爬虫就是以下几个步骤:
1、伪装用户
2、发送请求
3、解析数据
4、保存数据
一、 将爬虫伪装成正常用户
定义请求头headers 伪装成浏览器发送请求,这里我们使用Chrome 浏览器。
按F12 或右键-检查,打开开发者模式
在network 中可以看到所有发送的请求,点开一个,在Headers 中找到User-Agent
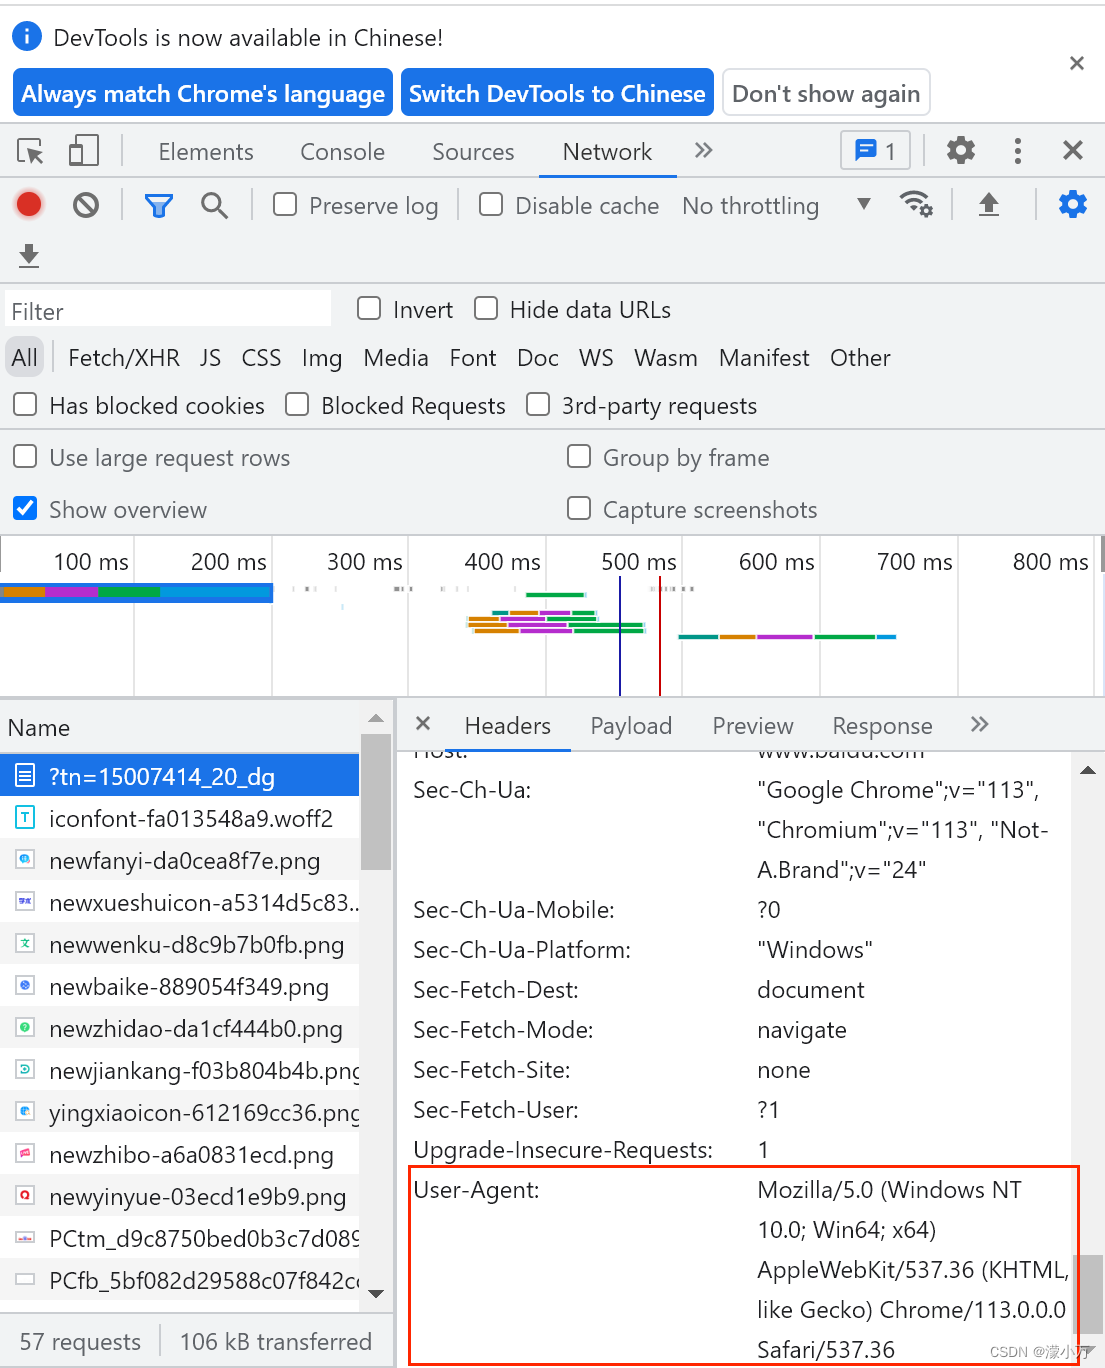
此外,还可以添加Referer 说明网页是从哪个链接跳转过来的
headers={
	"User-Agent":"Mozilla/5.0 (Windows NT 10.0; Win64; x64) AppleWebKit/537.36 (KHTML, like Gecko) Chrome/113.0.0.0 Safari/537.36",
	"Referer":"https://www.baidu.com/"
}
二、 向网站发送请求
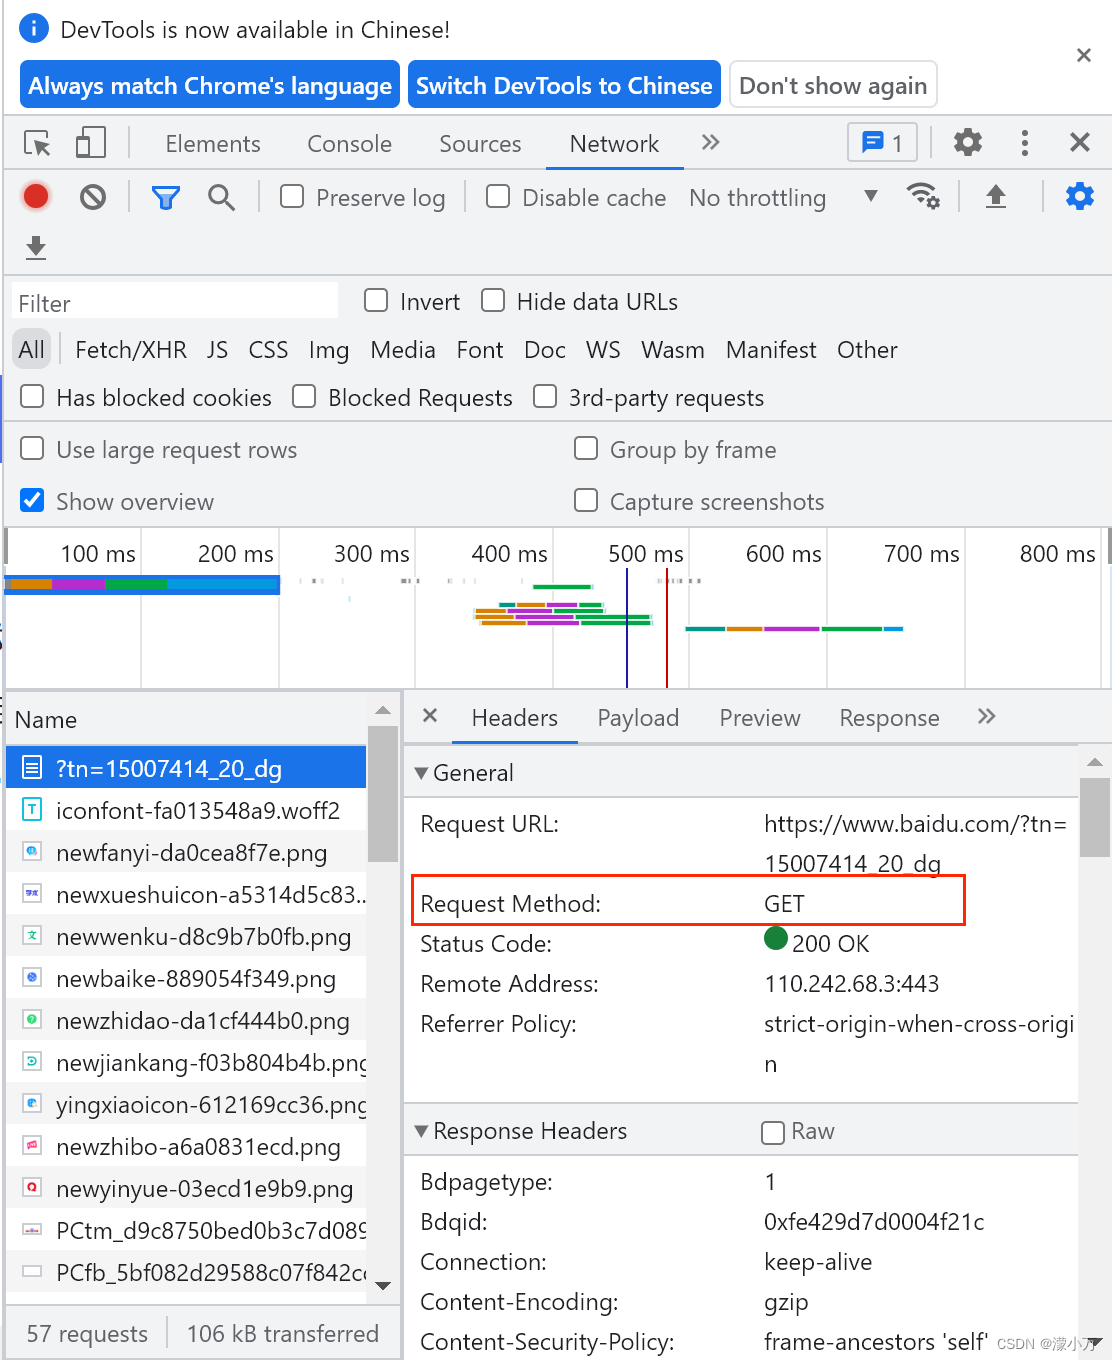
1、请求方式
常见的请求方式有get 和post 两种
get 方式只从服务器获取数据
post 方式向服务器发送数据如登录账号、上传文件等,会对服务器资源产生影响
具体使用哪种方式可以查看Headers 下General 中的Request Method
2、用Python 发送请求
在Python 中可以使用urllib 和requests 向网站发送请求。相较于urllib ,requests 模块代码更简洁,推荐初学者使用。
requests 是第三方模块,导入前需安装
pip install requests
发送get 请求
语法:
requests.get(url, params=None)
url: 需要爬取的网址
params: 请求参数
# 导入模块
import requests

# 填写要访问的网址
url='https://www.baidu.com/'

# 构造请求头
headers={
	"User-Agent":"Mozilla/5.0 (Windows NT 10.0; Win64; x64) AppleWebKit/537.36 (KHTML, like Gecko) Chrome/113.0.0.0 Safari/537.36"
}

# 发送get请求,返回的结果为response对象
resp=requests.get(url, headers=headers, params=None)
resp.encoding='utf-8'

# 显示返回结果,将response对象转为字符串数据
print(resp.text)
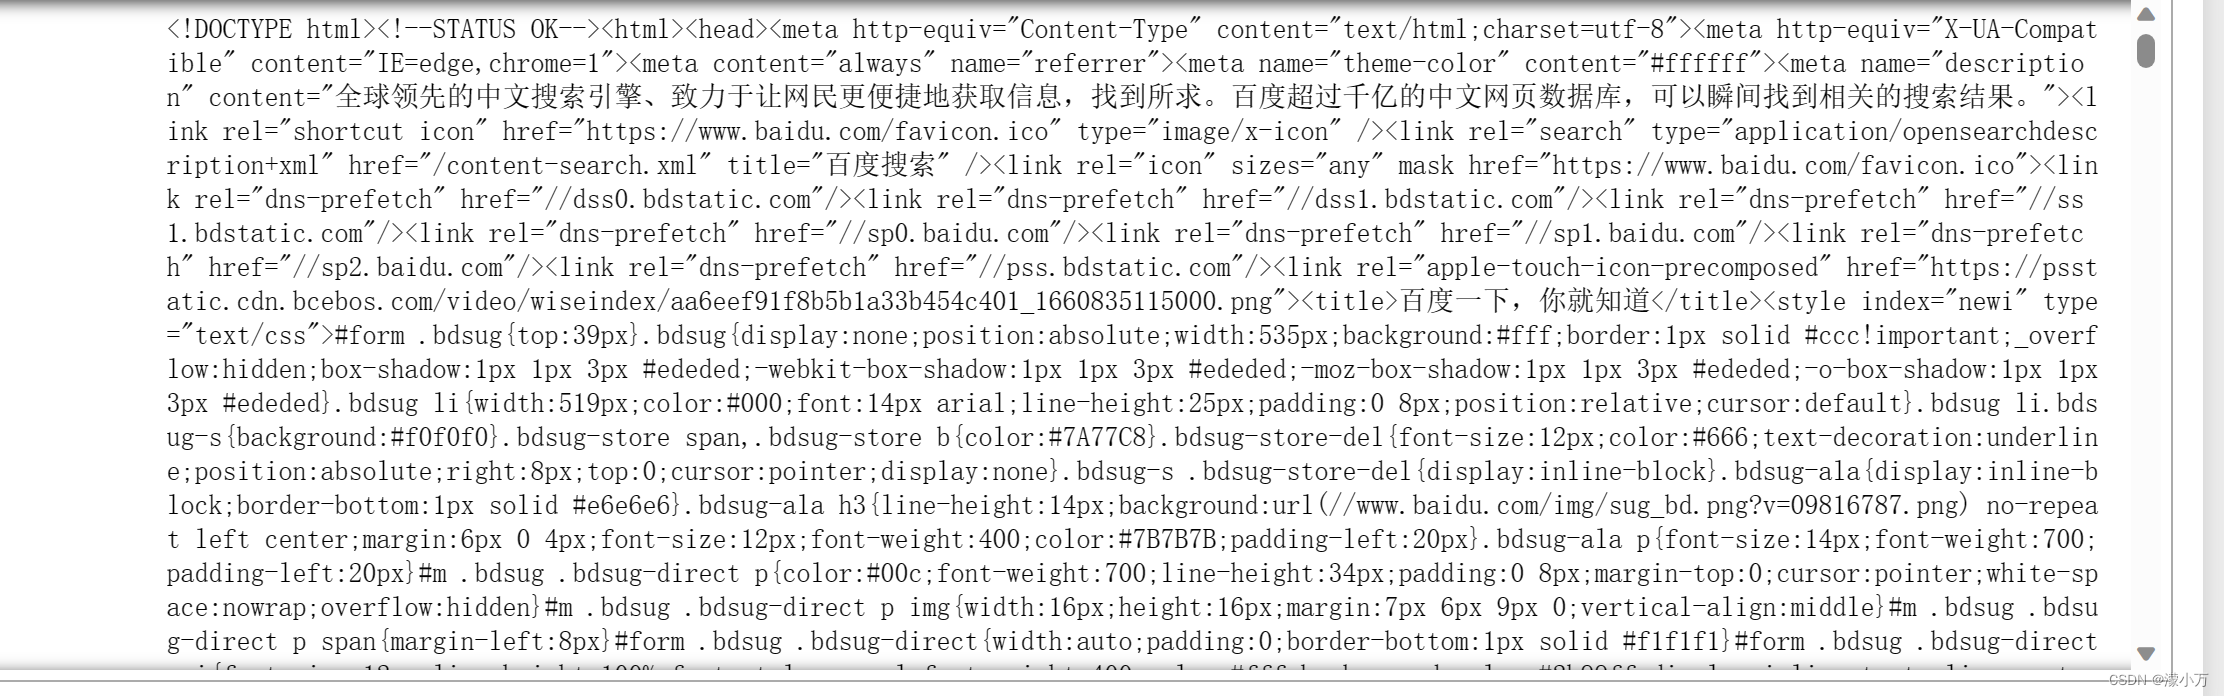
获取的结果如下,我们已经获取到网页数据,但是包含很多我们并不需要的东西,要想让结果只包含我们需要的数据,则需要对数据进行解析
response 对象常用的方法:
> response.status_code  #响应状态码
> response.content  #把response 对象转为二进制数据
> response.text  #把response 对象转为字符串
> response.encoding  #定义response 对象的编码
> response.cookies  #获取请求后的cookies
> response.url  #获取请求后的url
> response.json()  #内置的JSON 编码器
> response.headers  #以字典对象存储服务器的响应头
为了防止返回的数据乱码,我们需要定义response 对象的编码,网站的编码可以右键查看网页的源代码,如百度首页charset=utf-8

发送post 请求
语法:
requests.post(url, data=None, json=None)
url: 需要爬取的网址
data: 请求数据
json: json格式的数据
三、解析数据
对新手比较友好的方式推荐以下三种
1、XPath 解析数据
2、BeautifulSoup 解析数据
3、正则表达式
1、XPath 解析数据
XPath即为XML路径语言(XML Path Language),它是一种用来确定XML文档中某部分位置的语言。
XPath 需要依赖lxml 库,使用前需要安装
pip install lxml
XPath 常用的路径表达式
| 路径表达式 | 描述 |
|---|---|
| nodename | 选取此节点的所有子节点 |
| / | 从根节点选择 |
| // | 从匹配选择的当前节点选择,不考虑它们的位置 |
| . | 选取当前节点 |
| . . | 选取当前节点的父节点 |
| /text() | 选取当前路径下的文本内容 |
| /@xxx | 提取当前路径下xxx标签的属性 |
| | | 可选符 |
我们以小说网站举例,获取小说的书名和作者
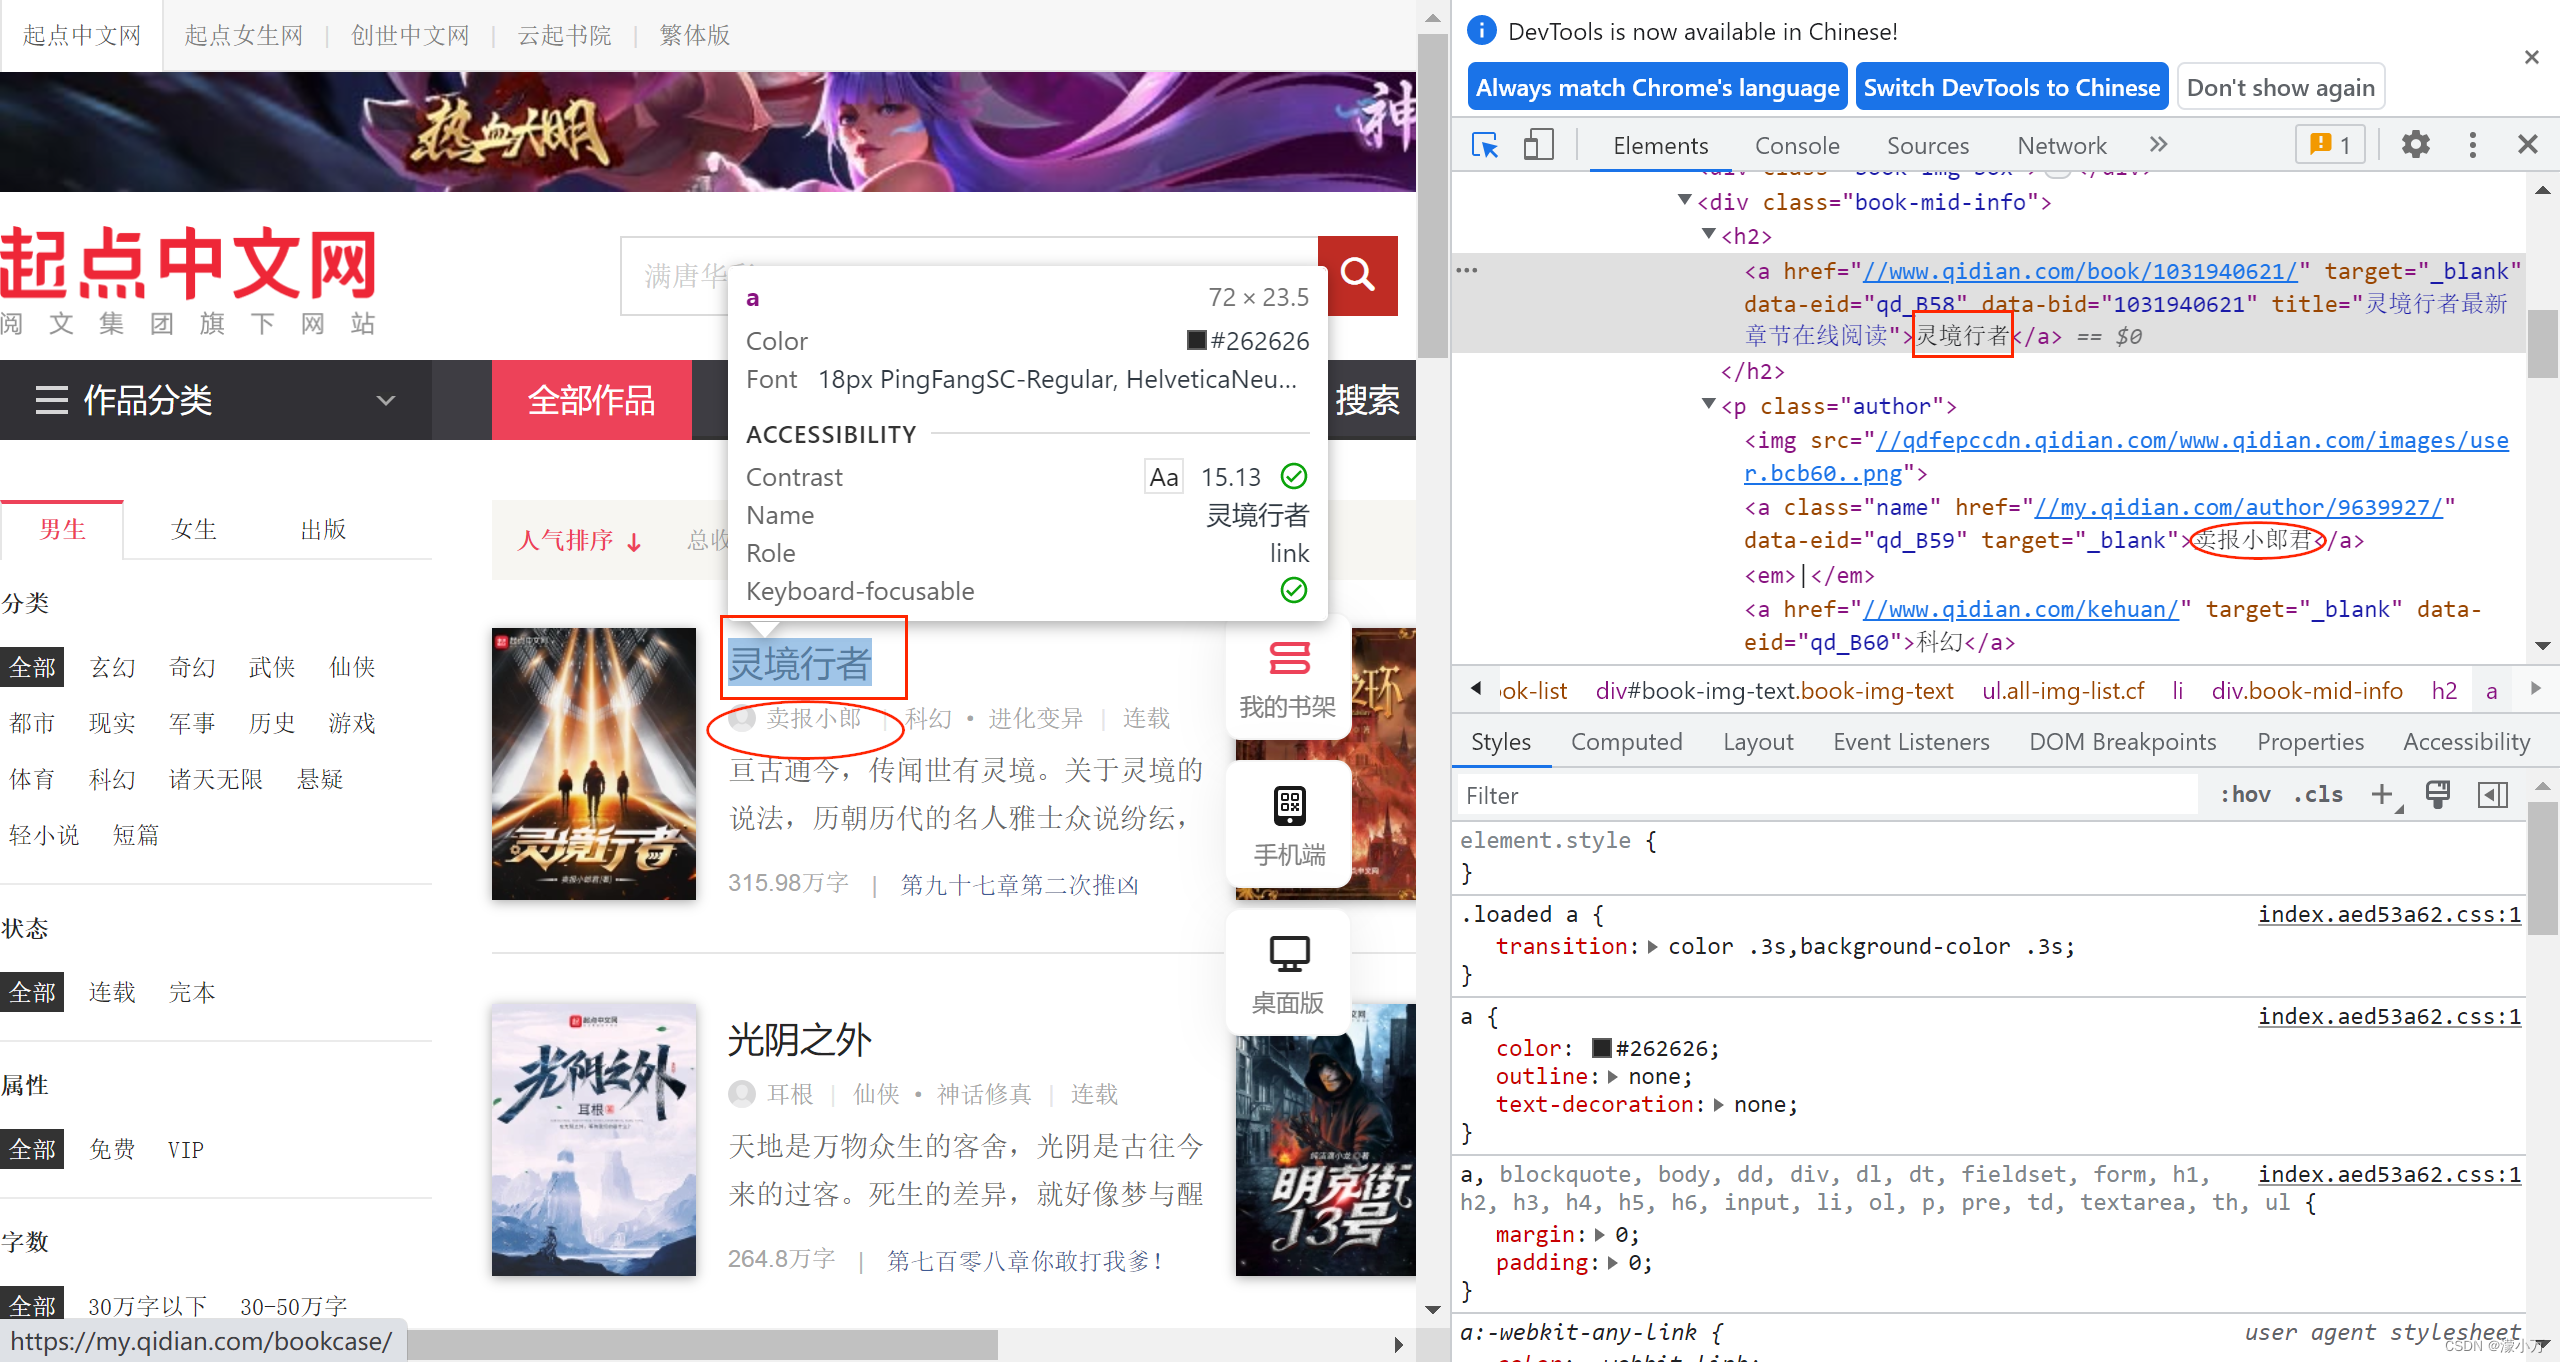
打开开发者工具,发现书名都在class=“book-mid-info” 的div 标签下,//div[@class=“book-mid-info”]
具体是在div 标签下/h2/a 标签的文本内容中
//div[@class="book-mid-info"]/h2/a/text()
作者名称在class=“author” 的p 标签下的第一个a 标签的文本内容中
//p[@class="author"]/a[1]/text()
具体代码如下:
import requests
from lxml import etree
url='https://www.qidian.com/all/'
headers={
"User-Agent":"Mozilla/5.0 (Windows NT 10.0; Win64; x64) AppleWebKit/537.36 (KHTML, like Gecko) Chrome/113.0.0.0 Safari/537.36",
"Referer":"https://www.qidian.com/"
}
# 发送请求
resp=requests.get(url,headers)
# 类型转换,将str类型转换成lxml.etree._Element,这样才能使用XPath
e=etree.HTML(resp.text)
# 获取书名和作者
books=e.xpath('//div[@class="book-mid-info"]/h2/a/text()')
authors=e.xpath('//p[@class="author"]/a[1]/text()')
#print(books)
#print(authors)
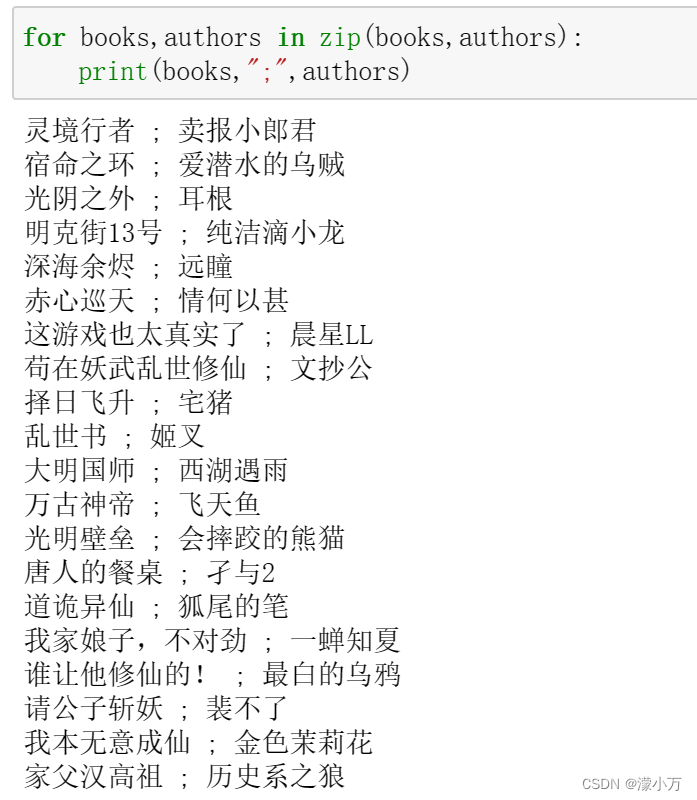
for books,authors in zip(books,authors):
print(books,";",authors)
输出结果
2、BeautifulSoup 解析数据
使用前需要安装
pip install bs4
BeautifulSoup 默认的解析器速度慢,可以指定使用lxml
bs=BeautifulSoup(html,'lxml')
BeautifulSoup 提取数据常用的方法:
1、find() 与find_all()
find() 提取满足要求的首个数据
find_all() 提取满足要求的所有数据
语法:
find_all(name,attrs,text)
name:标签的名称
attrs:标签的属性
text:标签节点中的文本
2、tag 标签选择
获取标签 bs.title
获取所有属性 bs.title.attrs
获取单个属性的值
bs.div.get(‘class’)
bs.div[‘class’]
bs.a[‘herf’]
获取标签下内容
bs.title.string 能获取注释内容
bs.title.text 不能获取注释内容
3、css 选择器
以css 选择器为例获取书名和作者:
from bs4 import BeautifulSoup
import requests

url='https://www.qidian.com/all/'

headers={
	"User-Agent":"Mozilla/5.0 (Windows NT 10.0; Win64; x64) AppleWebKit/537.36 (KHTML, like Gecko) Chrome/113.0.0.0 Safari/537.36",
	"Referer":"https://www.qidian.com/"
}


# 发送请求
resp=requests.get(url,headers)

# 解析数据
bs=BeautifulSoup(resp.text,'lxml')

# 使用css 选择器获取书名和作者
books_list=bs.select('div.book-mid-info>h2>a')
authors_list=bs.select('p.author>a:nth-of-type(1)')

for books,authors in zip(books_list,authors_list):
    print(books.text+':'+authors.text)
3、正则表达式
之前有文章专门介绍过正则表达式,可以跳转查看
https://blog.csdn.net/weixin_40474941/article/details/124414163
至此爬虫的部分就讲解完毕
四、保存数据
爬取到的数据可以保存到本地文件或数据库中,主要涉及python 与文件和数据库的交互操作,网上有很多教程可供参考,这里不再过多赘述
python 操作文件也可以跳转查看
https://blog.csdn.net/weixin_40474941/article/details/123709359
下面放上一段用python 爬取链家数据并存储到mysql 中的代码以供参考
import requests
from bs4 import BeautifulSoup
import mysql.connector

class LianJiaSpider():
	mydb=mysql.connector.connect(host='',user='',passwd='',database='test')
	mycursor=mydb.cursor()


	def __init__(self):
		self.url='https://bj.lianjia.com/ershoufang/pg{0}/'
		self.headers={'User-Agent':'Mozilla/5.0 (Windows NT 10.0; Win64; x64) AppleWebKit/537.36 (KHTML, like Gecko) Chrome/113.0.0.0 Safari/537.36'}

	def send_request(self,url):
		resp=requests.get(url,headers=self.headers)
		if resp.status_code==200:
			return resp

	def parse_html(self,resp):
		lst=[]
		html=resp.text
		bs=BeautifulSoup(html,'lxml')
		ul=bs.find('ul',class_='sellListContent')
		li_list=ul.find_all('li')
		for item in li_list:
			title=item.find('div',class_='title').text
			house_info=item.find('div',class_='houseInfo').text
			total_price=item.find('div',class_='totalPrice totalPrice2').text
			unit_prince=item.find('div',class_='unitPrice').text
			position_info=item.find('div',class_='positionInfo')
			position_list=position_info.find_all('a')
			munity=position_list[0].text
			subdistrict=position_list[1].text
			lst.append((title,munity,subdistrict,total_price,unit_prince,house_info))
		self.save(lst)

	def save(self,lst):
		sql='insert into test.lianjia (title,munity,subdistrict,total_price,unit_prince,house_info) values(%s,%s,%s,%s,%s,%s)'
		self.mycursor.executemany(sql,lst)
		self.mydb.commit()
		print(self.mycursor.rowcount,'条数据')

	def start(self):
		for i in range(1,101):
			full_url=self.url.format(i)
			resp=self.send_request(full_url)
			#print(resp.text)
			self.parse_html(resp)
			print('插入第'+str(i)+'页')

if __name__=='__main__':
	lianjia=LianJiaSpider()
	lianjia.start()


 334
334


 被折叠的 条评论
为什么被折叠?
被折叠的 条评论
为什么被折叠?
 到【灌水乐园】发言


