一、安装包下载emqx-centos7-v4.1.5.zip

下载地址:https://packages.emqx.net/emqx-ce/v4.1.5/emqx-centos7-v4.1.5.zip
我们准备了两台服务进行安装,hostname和ip分别为,server01@192.168.100.21、server02@192.168.100.22

二、集群安装

1、将emqx-centos7-v4.1.5.zip上传至服务器/data目录

unzip emqx-centos7-v4.1.5.zip
mv emqx emqx-centos7-v4.1.5
cd emqx-centos7-v4.1.5/etc
  • 1.
  • 2.
  • 3.

2、编辑配置文件

vim emqx.conf
  • 1.

server01关键配置如下,其余配置默认,在此就是写出来

cluster.name = my-cluster
allow_anonymous = true
cluster.discovery = static #集群发现方式
cluster.static.seeds = server01@192.168.100.21,server02@192.168.100.22
node.name = server01@192.168.100.21
  • 1.
  • 2.
  • 3.
  • 4.
  • 5.

server02关键配置如下

cluster.name = my-cluster
allow_anonymous = true
cluster.discovery = static #集群发现方式
cluster.static.seeds = server01@192.168.100.21,server02@192.168.100.22
node.name = server02@192.168.100.22
  • 1.
  • 2.
  • 3.
  • 4.
  • 5.

3、启动,编写启动脚本,时间长了,命令容易忘

cd /data/emqx-centos7-v4.1.5/bin
vim mystart.sh
  • 1.
  • 2.

插入内容

./emqx start
  • 1.

执行启动脚本

sh mystart.sh
  • 1.

提示:
EMQ X Broker v4.1.5 is started successfully!
表示启动成功
如果提示 EMQ X Broker 4.1.5 failed to start within 15 seconds,表示openssl版本不正确,需要升级openssl
只有在不能正常启动时,才执行下面

## 只有在不能正常启动时,才执行下面 
## 下在最新版本 1.1.1
$ wget https://www.openssl.org/source/openssl-1.1.1c.tar.gz

## 上传至 ct-test-ha
$ scp openssl-1.1.1c.tar.gz ct-test-ha:~/

## 解压并编译安装
$ tar zxf   openssl-1.1.1c.tar.gz
$ cd openssl-1.1.1c
$ ./config
$ make test   		# 执行测试;如果输出 PASS 则继续
$ make install 

## 确保库的引用
$ ln -s /usr/local/lib64/libssl.so.1.1 /usr/lib64/libssl.so.1.1
$ ln -s /usr/local/lib64/libcrypto.so.1.1 /usr/lib64/libcrypto.so.1.1
  • 1.
  • 2.
  • 3.
  • 4.
  • 5.
  • 6.
  • 7.
  • 8.
  • 9.
  • 10.
  • 11.
  • 12.
  • 13.
  • 14.
  • 15.
  • 16.
  • 17.

4、验证可用,登陆http://192.168.100.21:18083,用户名admin和密码默认public
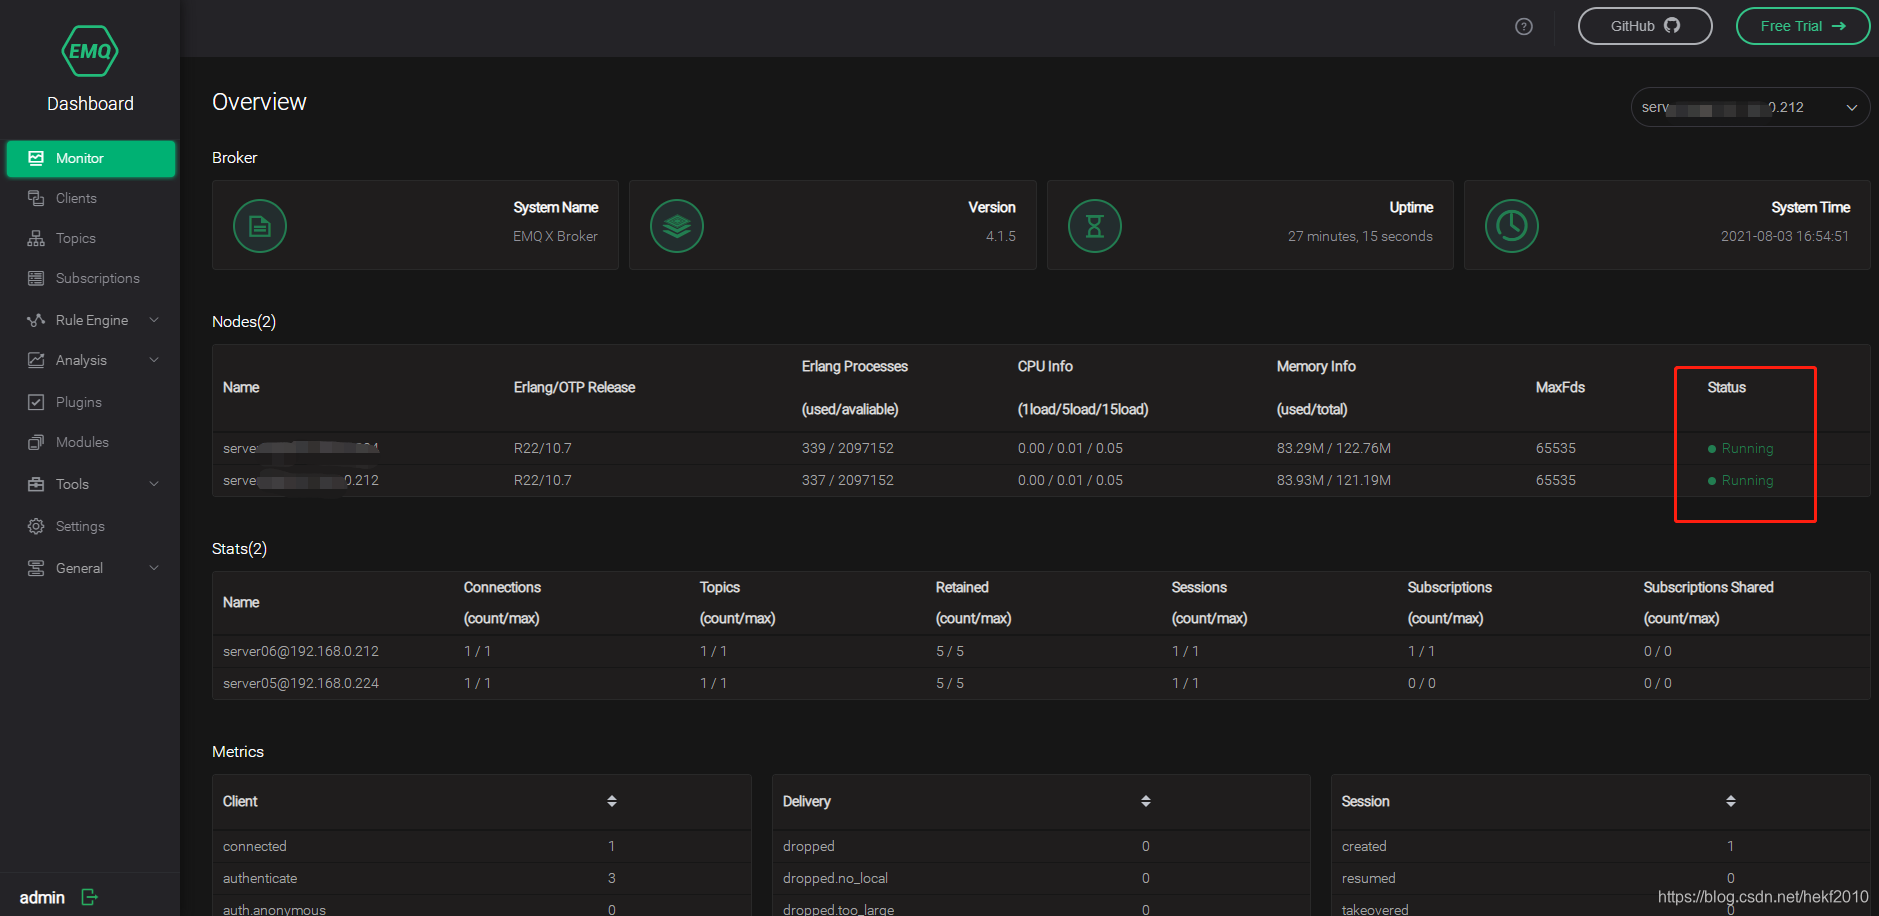
EMQX集群环境搭建_emqx集群环境安装

三、认证配置

说明:认证配置,我们选择的是用户名及密码方式
1、修改配置文件 emqx_auth_username.conf

cd /data/emqx-centos7-v4.1.5/etc/plugins
vim  emqx_auth_username.conf
  • 1.
  • 2.

关键配置如下:

auth.user.1.username = emqx
auth.user.1.password = 123456
auth.user.password_hash = plain
  • 1.
  • 2.
  • 3.

修改vim emqx.conf

allow_anonymous = false
  • 1.

2、启动插件

EMQX集群环境搭建_centos_02