


说明
原来不觉得配环境有多难,直到接触的多了,才深切感受到被环境支配的恐惧……tensorflow-gpu安装一定要关注对应版本问题。
了解整个配置过程
- 安装目的很明确,即通过gpu算力对整个模型推演过程进行加速。
- 目前tensorflow已更新至2.4,由诸多版本可供选择,但是在经过一番尝试以后,我发现cuda、cudnn、tensorflow版本实际上是有固定搭配的,经过了一天半的尝试并结合本机情况,最终解决了windows10下安装tensorflow-gpu的问题。
- 除此之外,配合anaconda对python包进行管理感觉是真的不错
- 本机环境版本搭配:cuda10.1、cudnn7.6、tensorflow-gpu2.2
本机环境
- windows10
- cuda10.1
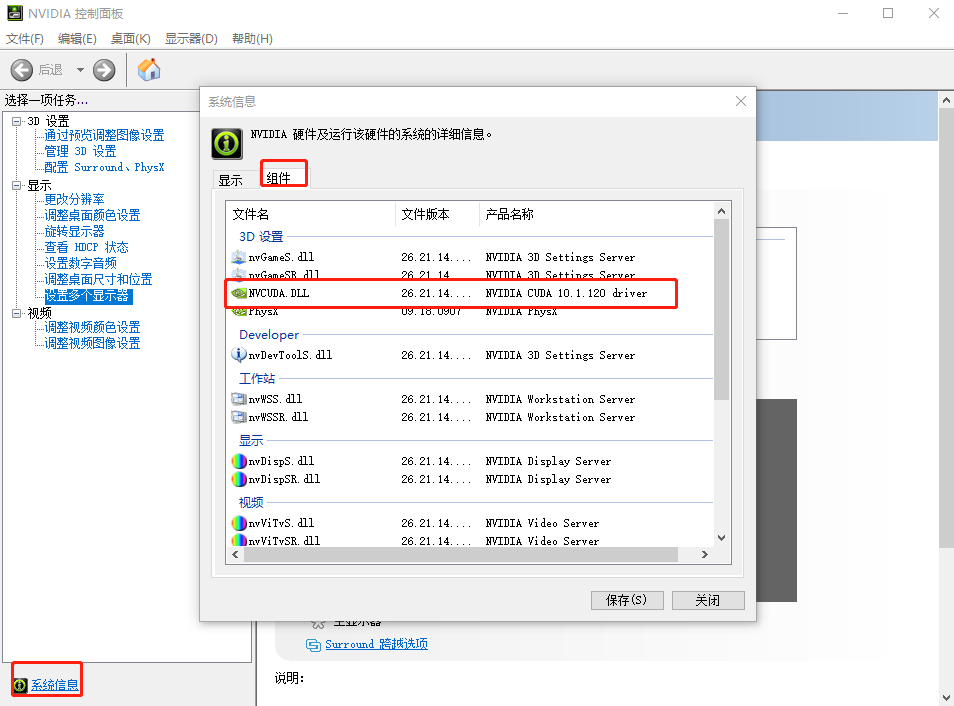
打开显卡驱动(NVIDIA设置)->系统信息->组件,可查看本机cuda driver版本,并依照该版本下载安装对应版本的cuda toolkit、cudnn。(一个anaconda可以解决所有问题)
anaconda
anaconda下载地址:https://www.anaconda.com/products/individual
安装完毕后,打开Anaconda Powershell Prompt
- cuda、cudnn安装
- 通过anaconda安装(推荐)
更改安装源
conda config --add channels https://mirrors.tuna.tsinghua.edu.cn/anaconda/pkgs/free/
conda config --set show_channel_urls yes
cuda、cudnn安装
conda install cudatoolkit=10.1
conda install cudnn=7.6
- 手动下载安装(可以,但没必要)
cuda下载地址:https://developer.nvidia.com/cuda-toolkit-archive
cudnn下载地址:https://developer.nvidia.com/rdp/cudnn-archive
具体下载安装不赘述。
- tensorflow安装
- 创建虚拟子环境
conda create -n tf pip python=3.6
- 激活环境
conda activate tf
- 安装tensorflow
暂时换源安装,避免下载过慢
pip install tensorflow==2.2 -i https://mirrors.aliyun.com/pypi/simple/
pip install tensorflow-gpu==2.2 -i https://mirrors.aliyun.com/pypi/simple/
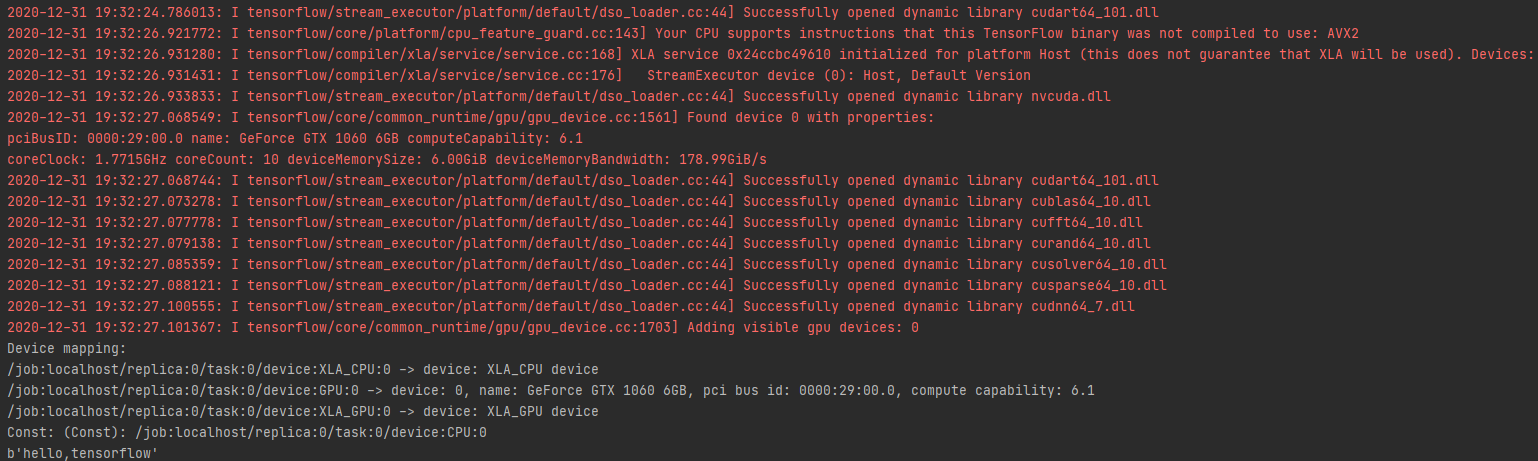
tensorflow测试
import tensorflow as tf
tf.compat.v1.disable_eager_execution()#保证sess.run()能够正常运行
hello = tf.constant('hello,tensorflow')
sess= tf.compat.v1.Session(config=tf.compat.v1.ConfigProto(log_device_placement=True))#版本2.0的函数
print(sess.run(hello))
pytorch安装
conda install pytorch torchvision torchaudio cudatoolkit=10.1
pytorch测试
import torch
print('CUDA: ',torch.cuda.is_available())  # CUDA是否可用
print('GPU: ', torch.cuda.device_count())  # gpu个数
print('curent device: ', torch.cuda.device_count())  # 当前使用设备


 525
525


 被折叠的 条评论
为什么被折叠?
被折叠的 条评论
为什么被折叠?
 到【灌水乐园】发言


